0:00
It's finally spring here in Ontario Canada after a long winter and spring means a lot of different
0:11
things to different people but to me one of the things that my mind begins to turn to is getting
0:16
out on my cycle and enjoying the beautiful weather. Today I'm going to look at a inexpensive set of
0:23
headlights and taillights for your cycle as well as do a little bit of a giveaway today
0:30
So let's jump in. Let's take a look. As a photographer, I have a reputation as a gear guy
0:36
and with bearing that in mind, it probably shouldn't be surprising that I also enjoy cycling
0:42
which tends to be a very gear-oriented sport as well. There's a perpetual race towards getting
0:49
lighter and stronger materials and all of the various little gadgets and attributes that make
0:55
cycling a richer experience, from pumping up those tiny little tires with the high-end pump
1:01
to putting together all of the gear like the shoes and the helmet and the riding gloves and all of
1:09
those little gadgety things. For me, the last step when I get ready to go out for a ride is to open
1:15
up the rear pouch on my bike, which some people may be storing other things like a wallet
1:21
in there or perhaps some tools. For me, that's the slot where my Canon EOS M3 goes and so that I always have a camera
1:29
packed along. You never know when you're out riding when a great photographic opportunity might present itself
1:36
Cycling is great fun and it also great exercise but along with it comes a certain amount of risk None of us wants to be hit by a car passing by or sideswiped by someone For that reason it important to have some kind of
1:50
lighting on your vehicle, particularly if you're riding in lower light conditions
1:55
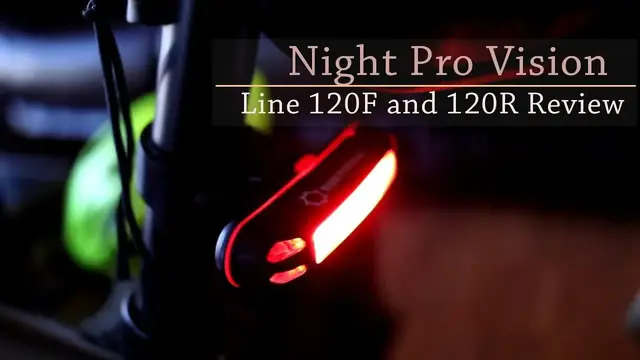
Today, I'm taking a look at the Knight ProVision headlight and the taillight that are easy to mount
2:01
on and this pumps out at its maximum setting 120 lumens of light with a 160 degree beam angle
2:11
You have the option to set it up to flash or at three different brightness intensities
2:16
and so that you can have some light coverage at night. Mounting the light is as simple as taking
2:22
the flexible strap and mounting hardware and just wrapping it around the post or handlebars or even
2:29
your helmet. There are four different holes too and it stretches to accommodate many different sizes
2:35
After that all you've got to do is to pop into place the little LED light and then you can angle
2:42
it up or down to the appropriate angle and then easily operate it by reaching around and clicking
2:48
the button on it. The light can be detached and easily recharged in a couple of hours via the
2:56
included micro USB cable. The tail light is shaped very similarly but unlike the
3:03
front it emits a nice red light that is easy to see. You can set it up to either
3:08
flash or to put out a constant light at three different intensity levels and
3:12
like the front light it easily recharges by attaching a micro USB cable
3:19
to recharge it The red light makes your bike much more visible to cars that are coming up at and looking to pass at night and will help to assure that you are safe when you out cycling in more dim conditions The runtime is up to six
3:35
hours and 20 minutes at the lowest setting and at minimum it is an hour and 40 minutes at the
3:41
highest setting. Cyclists are always weight conscious of what they put on their bike so
3:47
it's great to know that this weighs only 1.4 ounces or right around 35 grams for either the
3:54
front or the taillight. So you're adding on very little weight. On top of that, it is both water
4:00
and shockproof and so should be tough enough to survive the various conditions that you put it in
4:09
Installation is literally a matter of seconds, regardless of what your technical expertise might
4:14
be. It's as simple as taking the flexible rubber cord, wrapping around the post or even the rear
4:22
of your helmet, tightening it into one of the slots and then attaching the light to it and away
4:29
you go. Once you've attached it, it's a simple thing to adjust the light up and down to make
4:34
sure you have it in the optimal position. No tools needed at all. Unlike most cycling gear
4:41
The night provision headlight and taillight are both relatively inexpensive You can order them in the link below for only
4:50
$24.95 a piece and practical use I found the taillight very valuable and that it is very easy to see and definitely
4:58
Makes on approaching drivers more aware of my presence on the road
5:02
The headlight puts out a reasonable amount of light Don expect this to be like headlights on a car obviously but it will provide some reasonable illumination out to about 25 feet to 30 feet ahead of you
5:25
In conclusion, I would say that if you are looking to do a lot of nighttime writing and
5:31
you need something that's really powerful, you may need something a little bit more
5:34
extreme and of course more expensive than these night provision headlights. But if you are like myself, do most of your riding during the day, but would prefer to
5:46
have something for those situations when the light might start to drop on you that has
5:52
very little weight and cost involved with it, I think these would be a great option
5:56
for you. And certainly the tail light is a very practical safety feature that really everybody should
6:02
have on their bike just for that extra little bit of protection
6:05
The good news is today is that I have got a pair of both the headlights as well as the
6:12
tail lights to give away to one lucky winner today. And so if you'll look down in the description below along with there being linkage to how
6:20
to order these for yourself, there's also instructions on how to enter into the competition
6:25
and get your ballots in and so that you can win this set for yourself
6:30
I'm Dustin Abbott, and if you haven't already, please subscribe down below, and you can also
6:36
follow me on social media or take a look at my website. Thanks for watching today, and happy cycling