One of the key challenges for the modern photographer is finding a way to distinguish their work from the homogeny of a million and one other photographers around them that are doing pretty much the same thing. I do believe that ultimately the old fashioned ingredients of talent and an eye for seeing the world in a unique and creative way are one’s greatest assets in making their work stand out (that, and being motivated enough to go the extra mile of getting out of bed early or investing a little more thought into planning and execution). But like it or not, it isn’t enough to be just a good photographer these days. You also need to have some post-processing skills. I’m a gear guy, and as a professional lens reviewer I am fortunate enough that I am able to use gear worth tens of thousands of dollars every year that doesn’t belong to me. Few people have that kind of opportunity, however, but here’s the good news: if you learn how to do a great job with post processing you can still produce stunning work that stands out even if your gear isn’t top drawer.
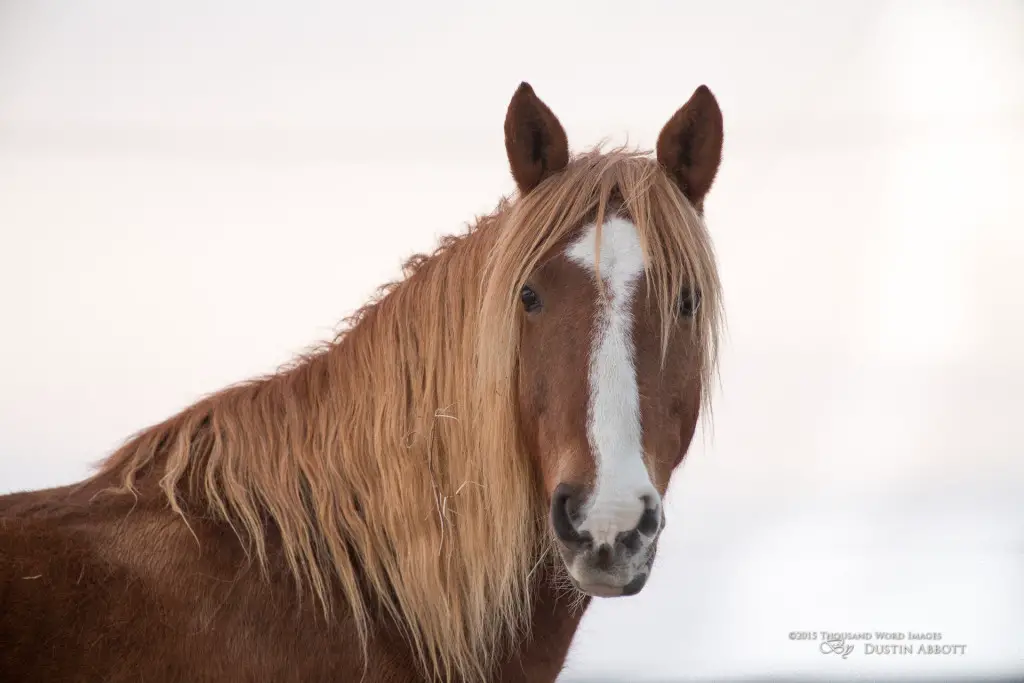
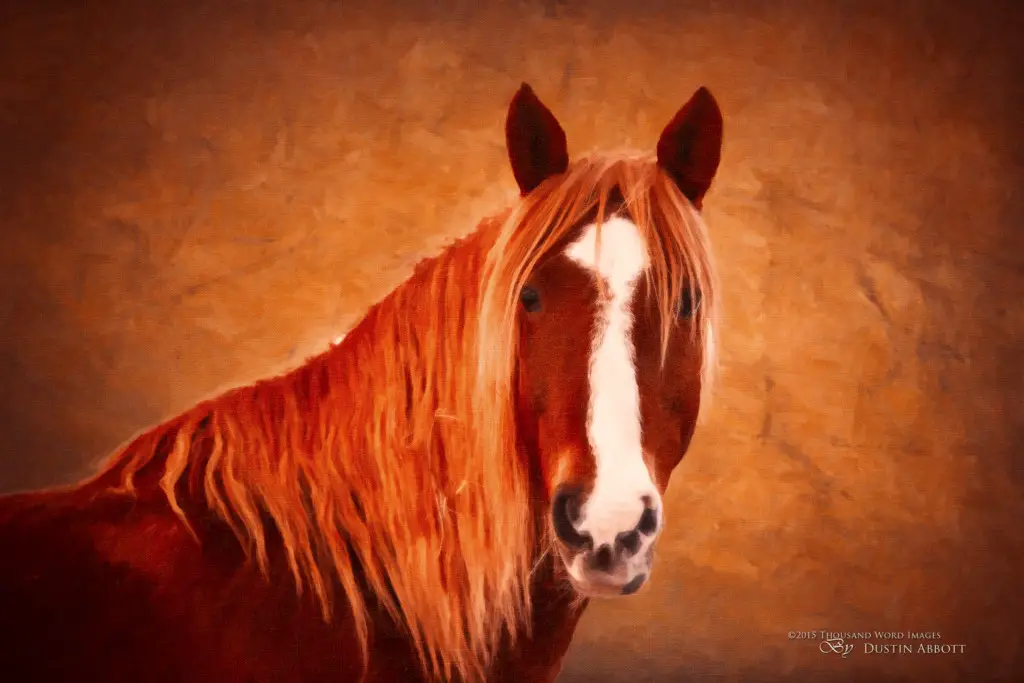
In this video workflow tutorial we are going to examine how we can take a relatively simple photo of a horse with a nearly high key background due to the snow beyond and turn it into what looks like a formal oil painting using a combination of Alien Skin Exposure and Snap Art. These are both amazing pieces of software for giving your photos that extra bit of magic that help to set them apart from the crowd.
In this workflow tutorial we will go from the original shot here:
To this “Formal” traditional portrait…all in about ten minutes.
Imagine the potential of this workflow for your portrait work! One final point for consideration: backdrops are expensive and not particularly easy to transport. The use of textures and Snap Art in your post processing can both save you money and a lot of effort when shooting on location. Best of all, using the code “dustinabbott” will get you 10% off all Alien Skin products in their store. Check out this video tutorial to see the magic happen.
Gear Used:
Canon EOS 6D DSLR Camera (Body Only)
Canon EF 100-400mm f/4.5-5.6L IS II USM Lens
Adobe Photoshop Lightroom 5 Software for Mac and Windows (Boxed Version)
Adobe Photoshop Creative Cloud 1-Year Subscription
Alien Skin Exposure 7 and Snap Art 4 (Use code “dustinabbott” to get 10% off)
Purchasing your gear through B&H and these links helps fund this website and keeps the articles coming. Thank you for your support.
Great News! I can now offer a 5% discount on all purchases at Amplis Foto, Canada’s Leading Photographic Supplier. Please enter discount code: AMPLIS52014 in your cart. It is good for everything in your cart, and is stackable with other coupons, too! It will take 5% off your entire order! Proceeds go towards keeping this site going and providing you with new reviews!

