“Fabulous Feline”:
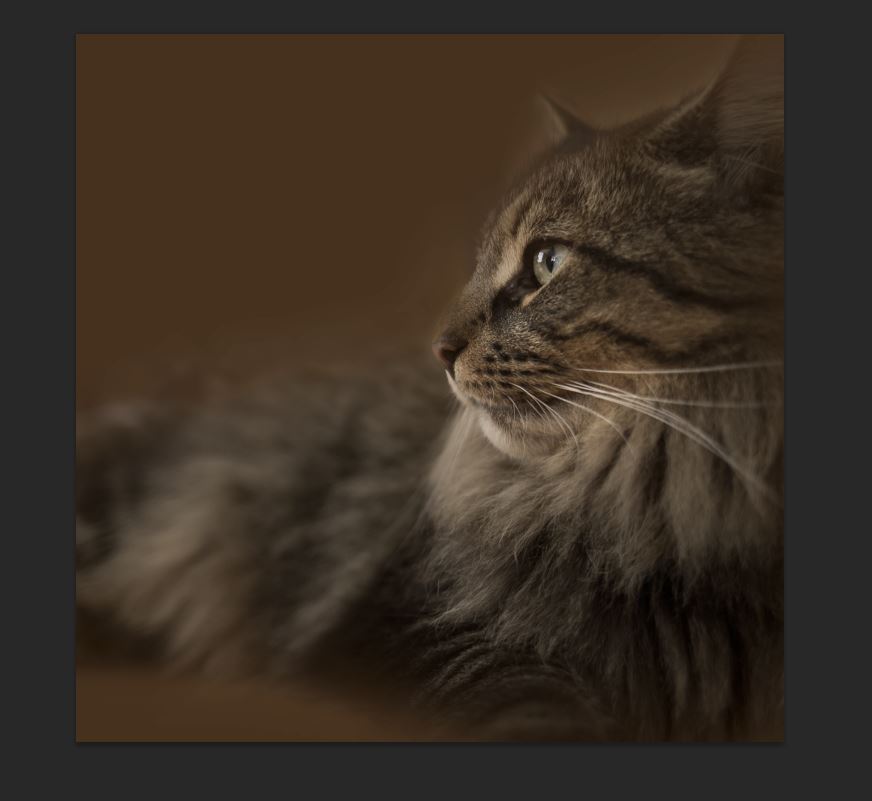
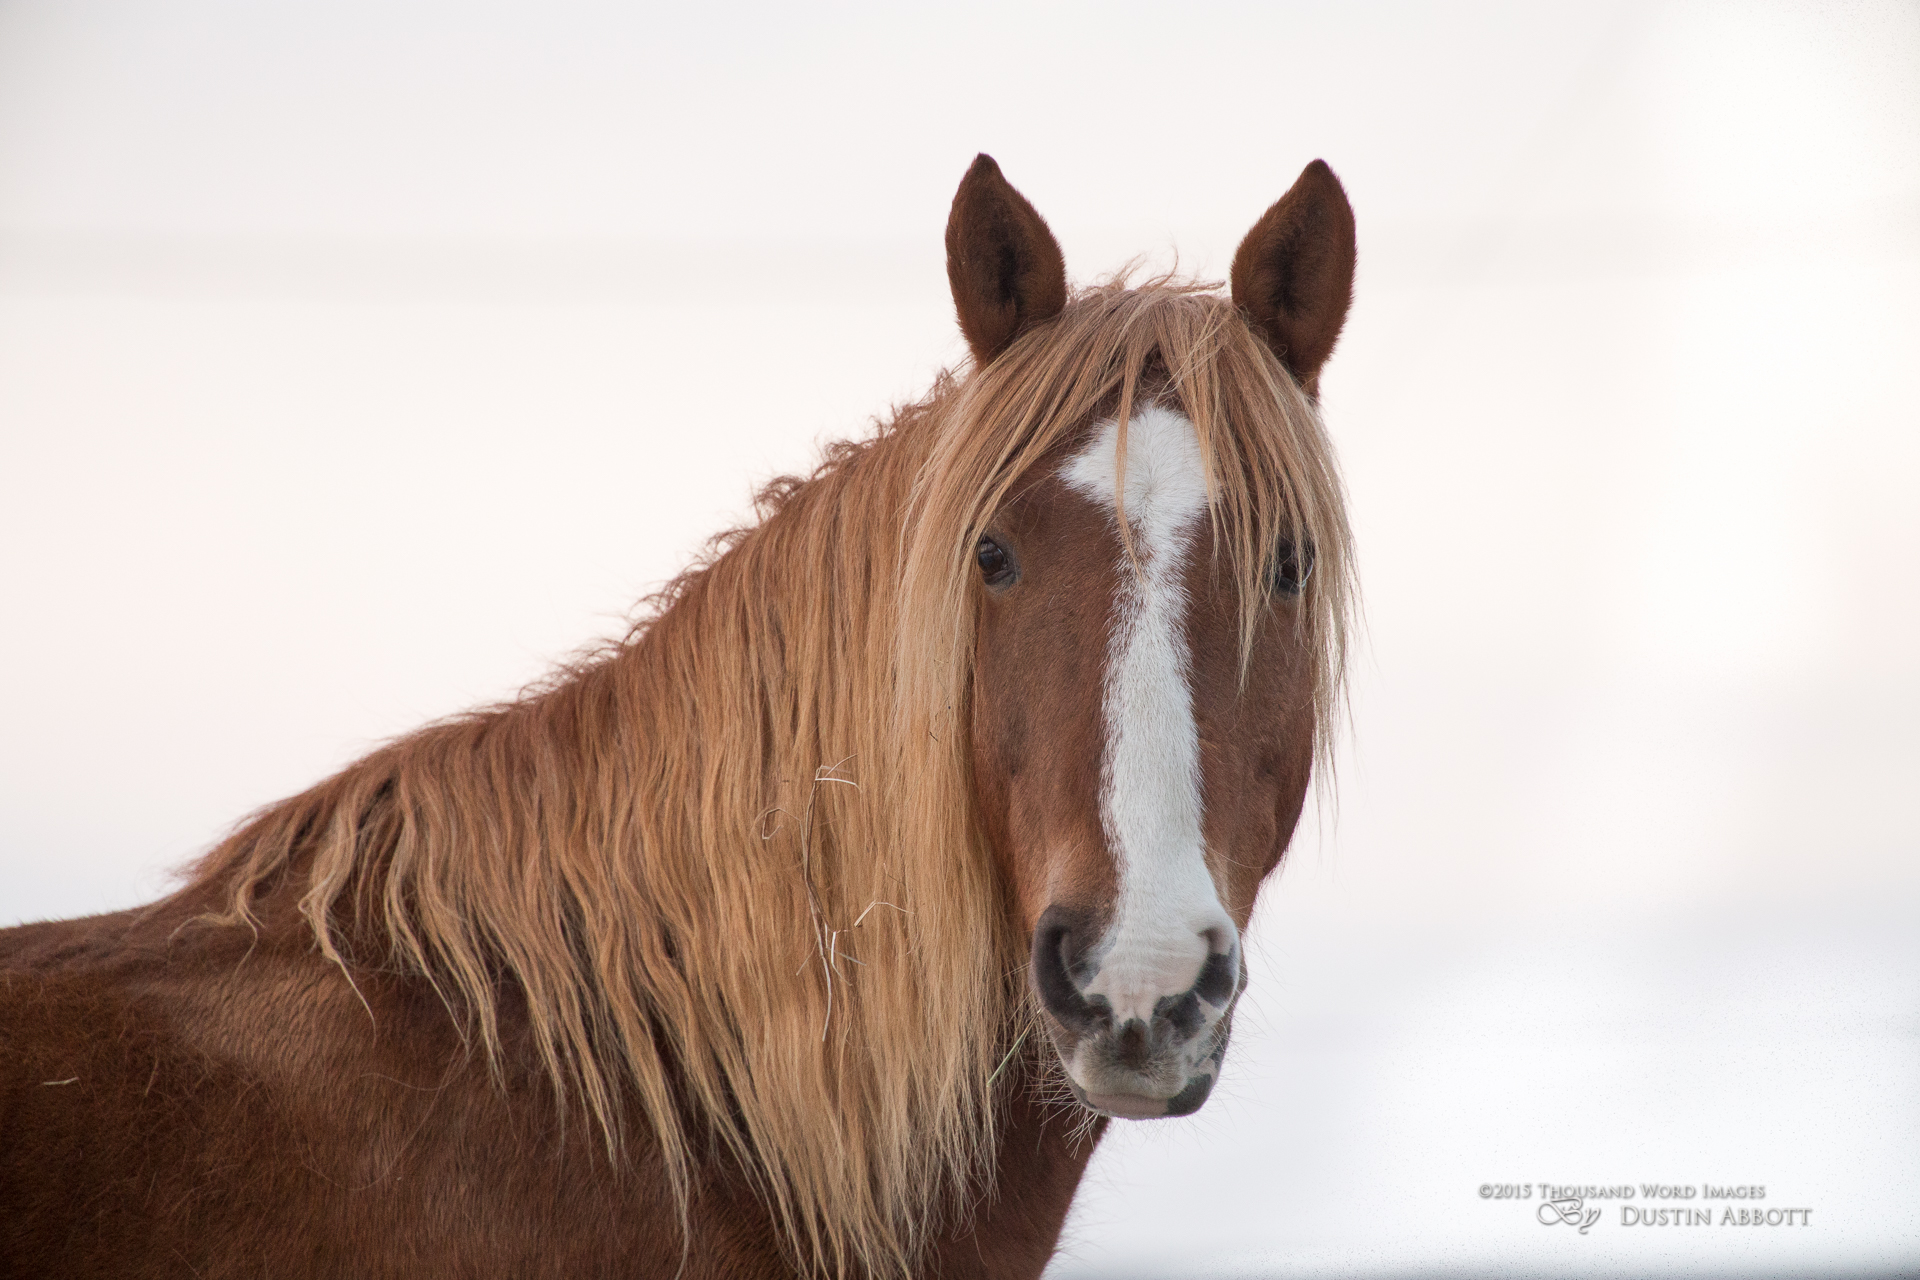
In today’s tutorial I want to demonstrate how that you can take an ordinary “snapshot” style photo and turn it into a handsome piece of art through the use of Alien Skin Snap Art 4. Best of all, I am including a coupon code for a discount copy of the software at the end of the tutorial! We are going to start with this:
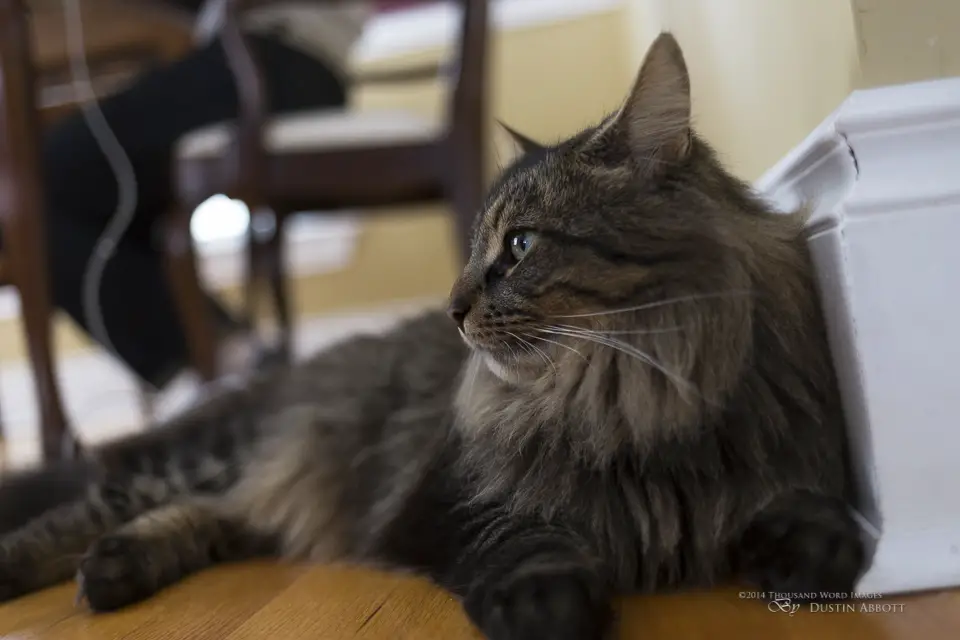
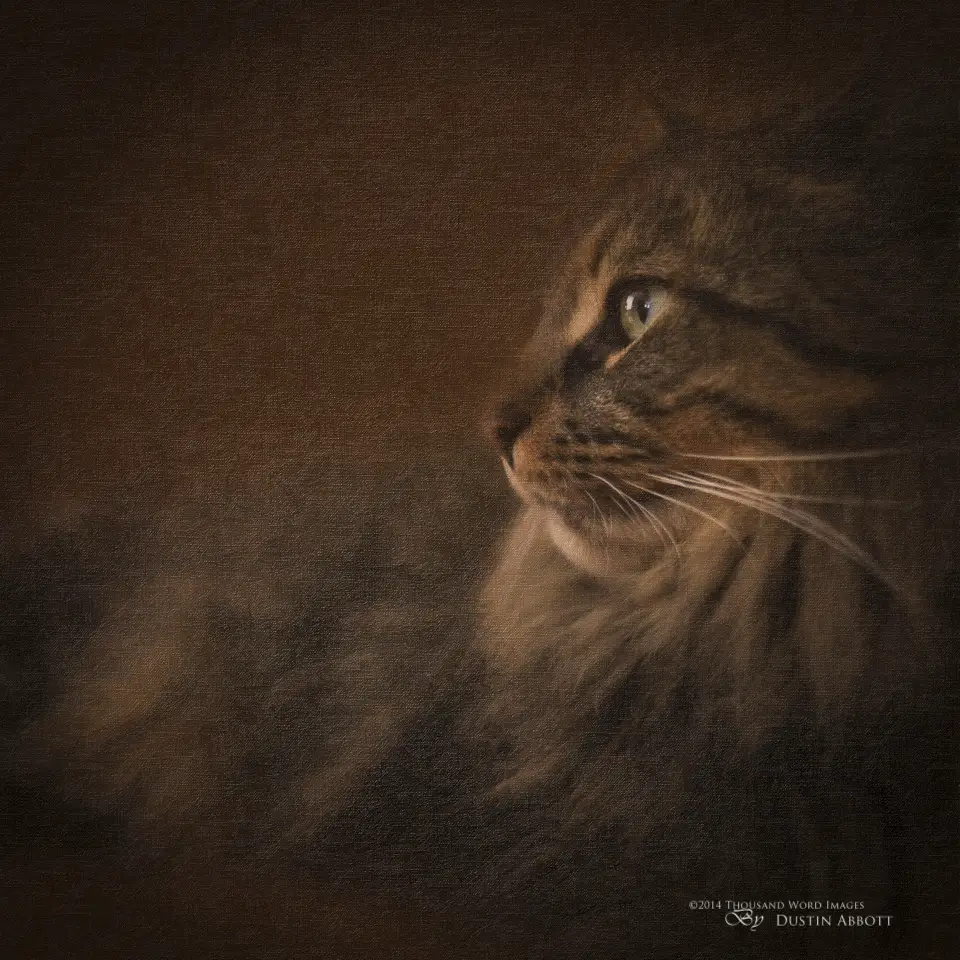
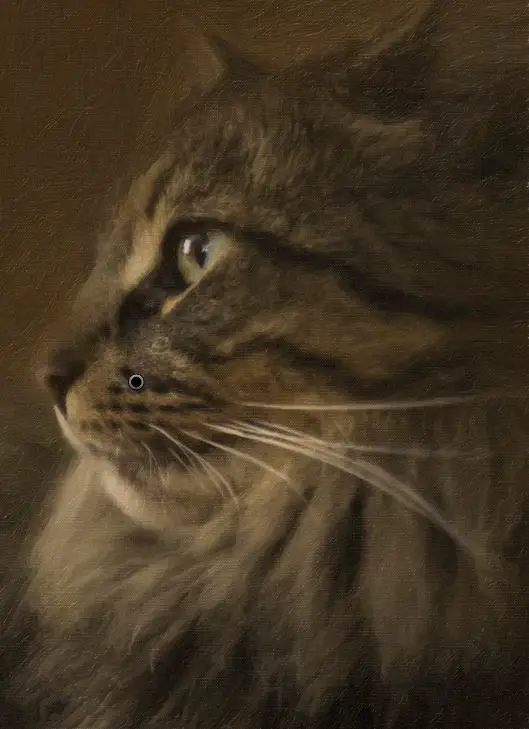
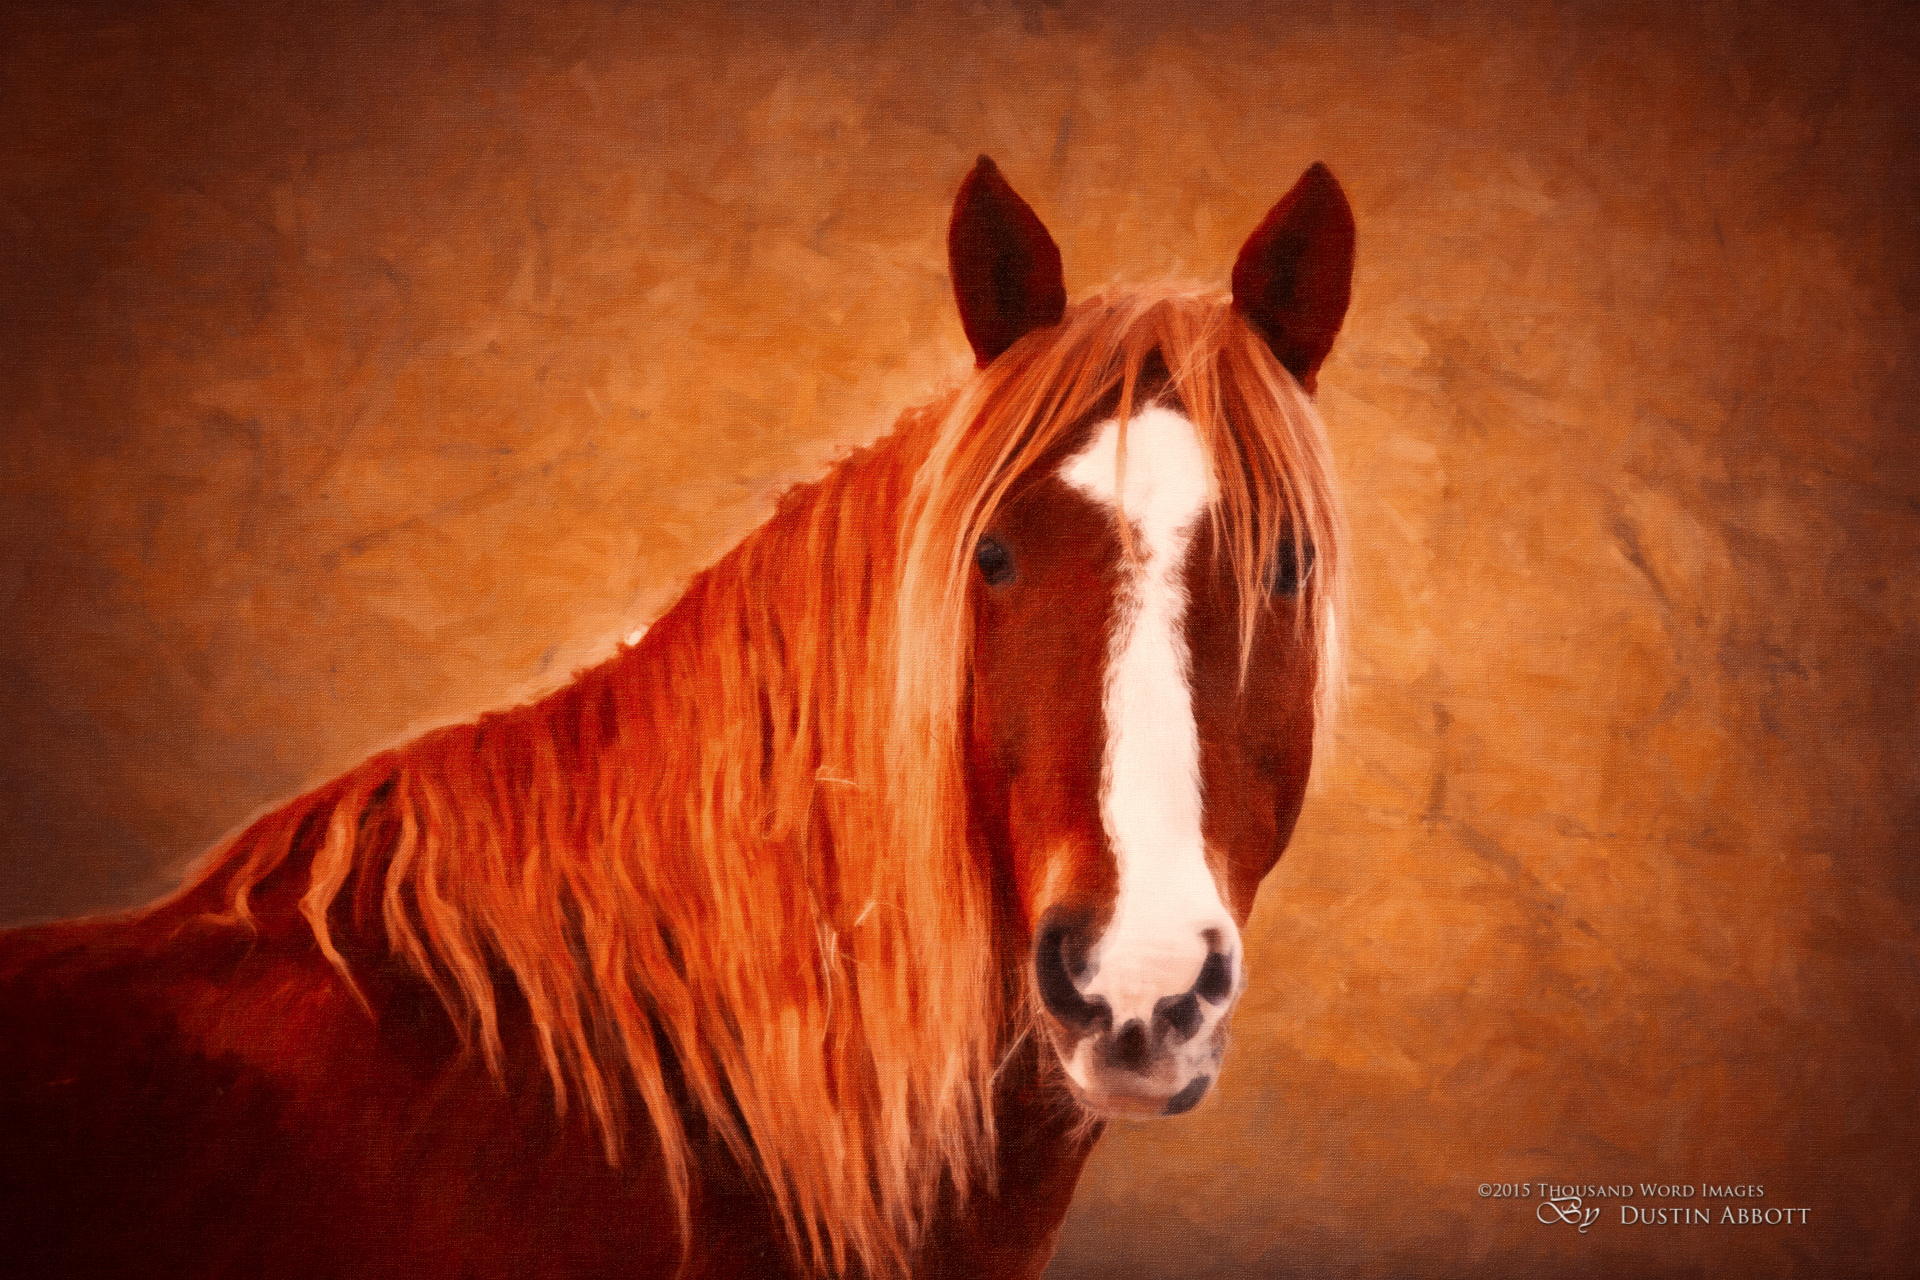
…and end up with this:
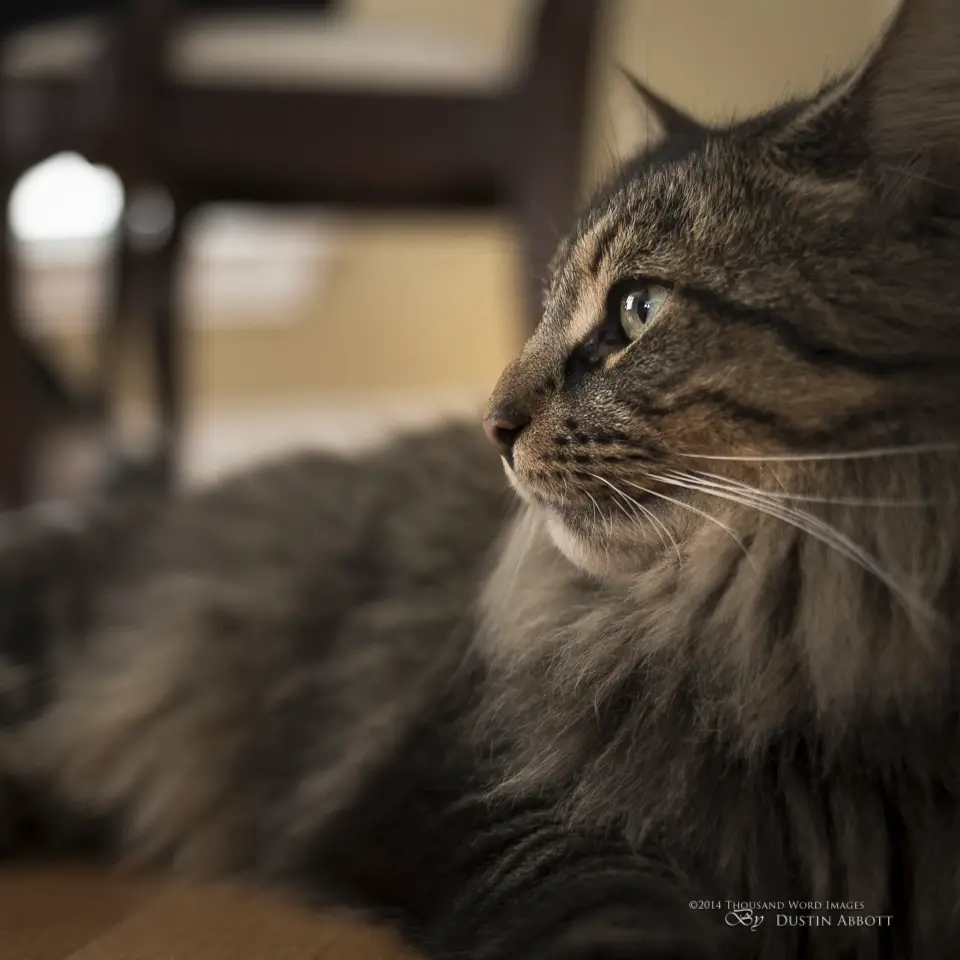
So let’s get to work. I will start with Lightroom, but you can imitate many of these steps in either a full version of Photoshop or even Elements. The original shot, as you can see, has a quite a few flaws. The horizon is off, there are some busy background elements, and the bright white of the baseboard tends to draw the eye. But the pose is strong, as is the focus. I knew this photo had potential. My work in Lightroom was focused on improving the technical merits of the photo. I leveled the horizon. I changed the ratio to a square crop and tightened it in to both remove the white baseboard and get us closer to the fine detail on the cat’s face. I added some exposure to the cat’s face along with some localized sharpness. I then decreased the vibrance and saturation, while increasing the temperature to create a warmer photo. The final stage in Lightroom was to add some vignetting. Here is a snapshot of all the changes I made in Lightroom:
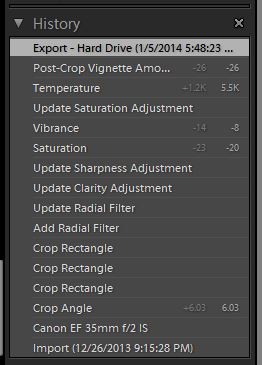
Here is how those visual changes look:
One of the key things I want to highlight here is the power of a good crop. I find this is particularly important when using a wider angle lens (this was shot with a 35mm lens). Wide angle produces certain unflattering distortions, but a good crop can minimize or even remove distracting or unflattering elements and create a much more pleasing result. The crop removed distracting elements and allows the strengths of the photo to shine. But there are still a lot of distractions here. Into Photoshop we go.
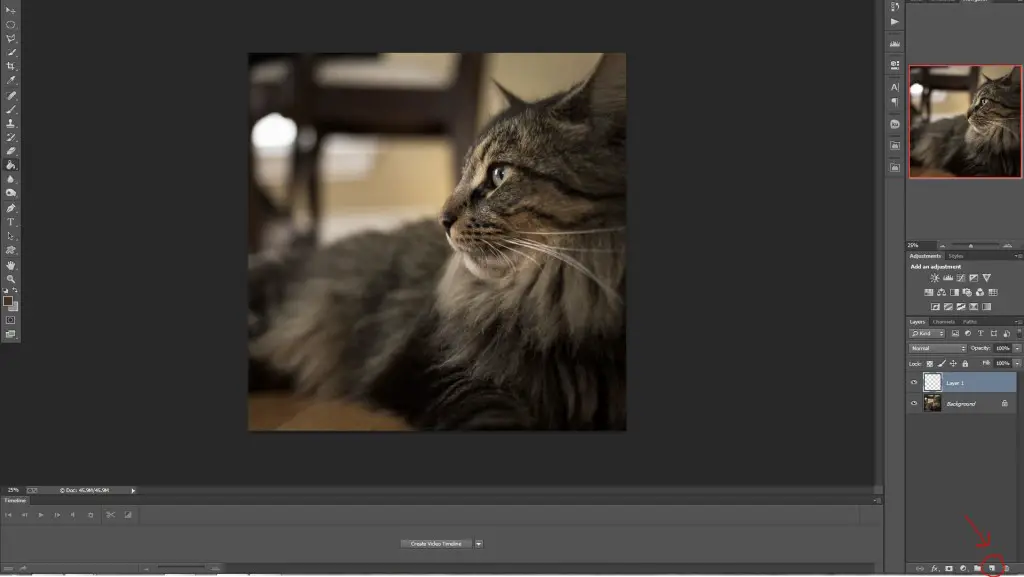
I personally use the most recent version of Photoshop (CC), but for this project I am using tools that have been around for most all versions of Photoshop and Elements. What I want to accomplish in Photoshop is to exchange the busy background elements for a solid, complimentary color. There are several ways of going about this. I am going to highlight a simple one: create a fresh layer with the appropriate color, add a mask, and then paint away the portion of the image (the cat) that we want left untouched. Let’s see what kind of result this produces.
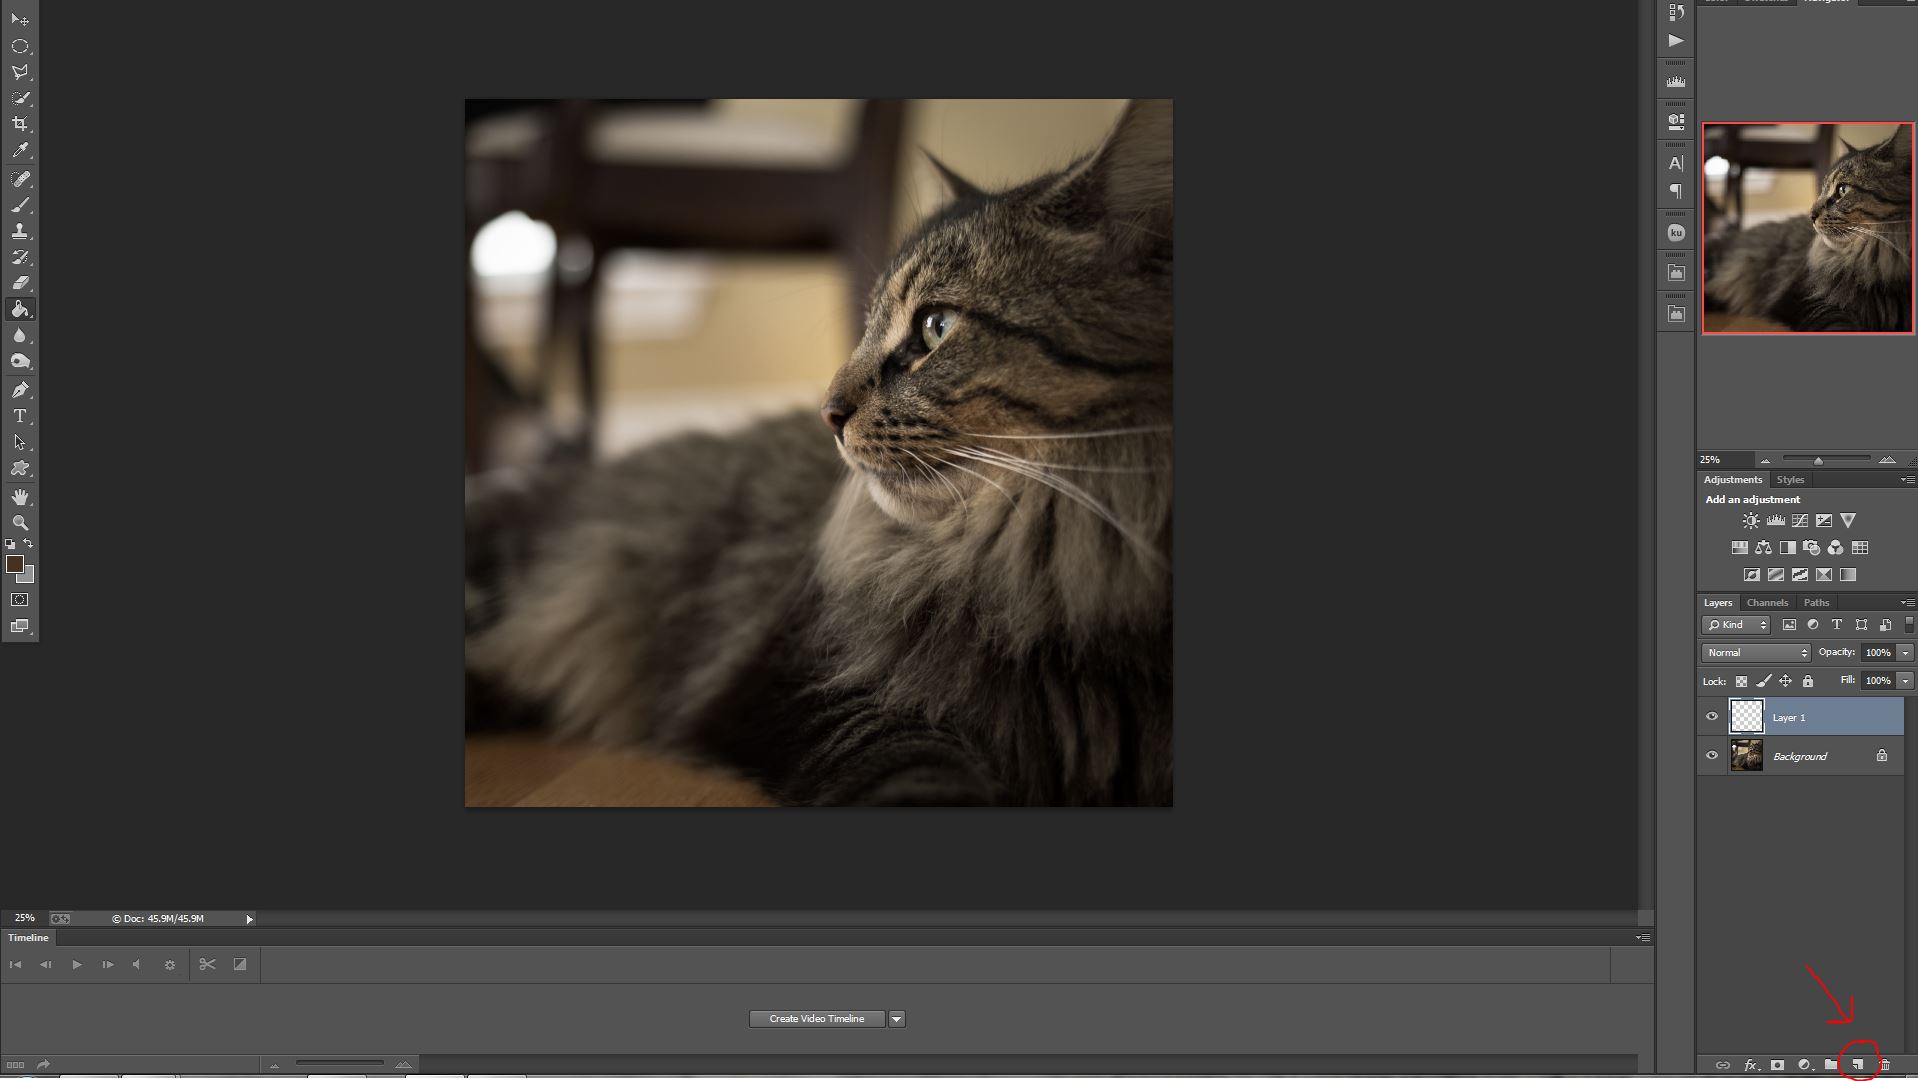
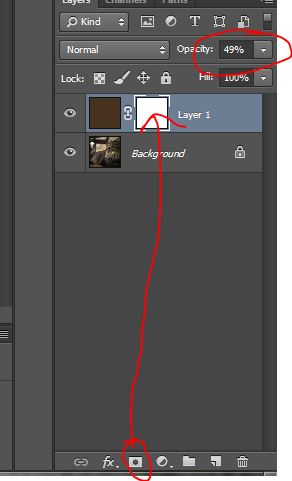
I created a blank layer by clicking the icon that looks like a page (you can also use the keyboard shortcut SHIFT+CONTROL+N).
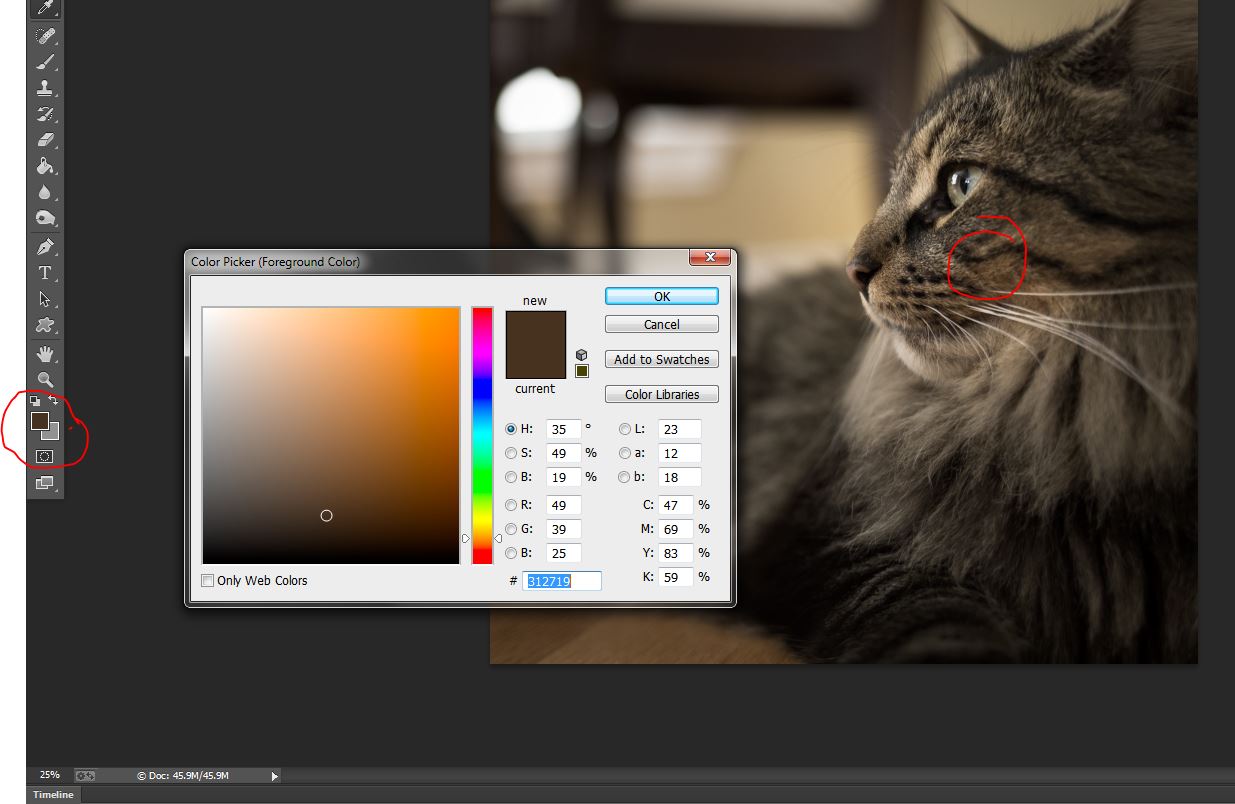
I then clicked on the color selector on the left. That brings up the Color Picker tool. If you hover your cursor over the image, however, you will see what looks like an eyedropper tool appear. My goal is create a complimentary color, so I choose a dark brown portion of the cat’s face.
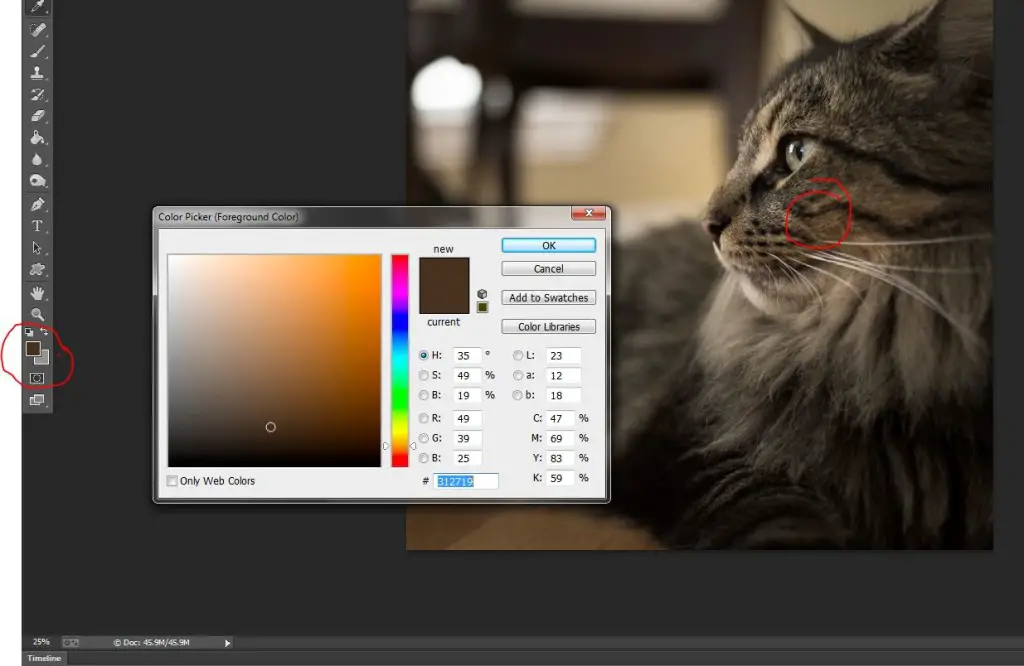
Once I have my color chosen, I click OK and then go over to the toolbar and select the Paint Bucket tool. Going back to my image (on the blank layer) I click once, and the image becomes a solid brown color. Don’t panic! We are now going to remove some of that paint to expose the cat. Hard to do, though, when I can’t see the image! So I will now do two things. First, I am going to add a layer mask, and second, I will reduce the opacity of my color layer enough that I can see where I want to paint away the color layer.
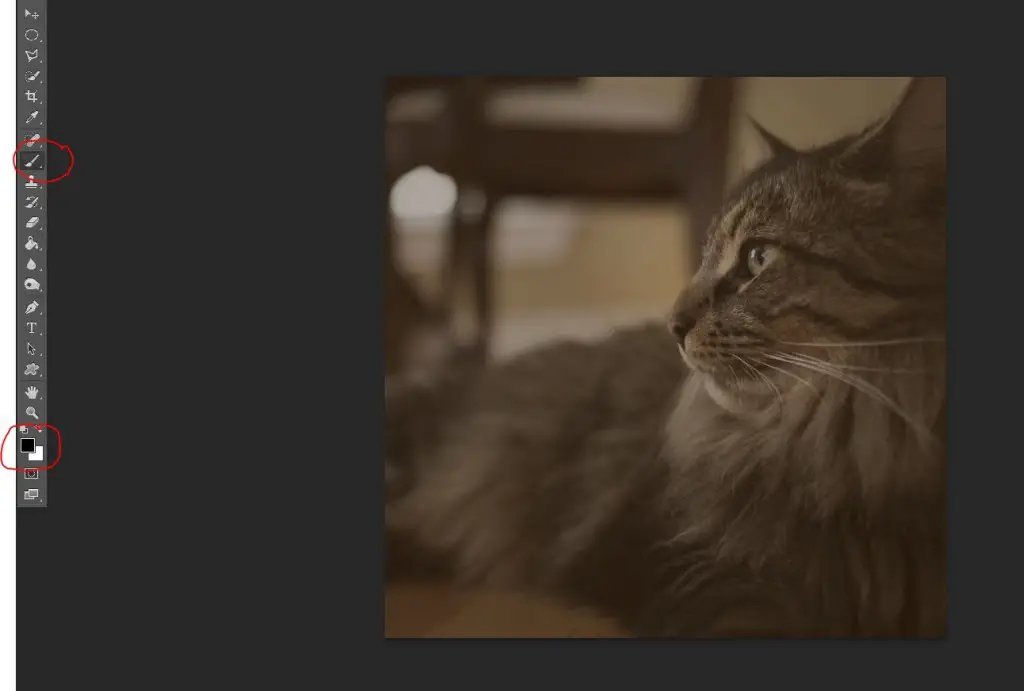
I will then select my paint brush tool and black color (black = remove on a layer mask). I have my brush settings at 0% Hardness, Opacity at 45%, and Flow at 43%. I will reduce those even more as I get close the edges. I am now going to paint away the brown color from the cat by painting on the mask (make sure it is highlighted in your layers palette on the right). I prefer to go over areas several times and gradually, I will start to paint away the brown color. The nice thing here is that because of the soft nature of the edges of this image (and what I want to do through Snap Art), I don’t have to be incredibly precise. Leaving just a slight tint of the color isn’t a bad thing as it will help blend the whole image together.
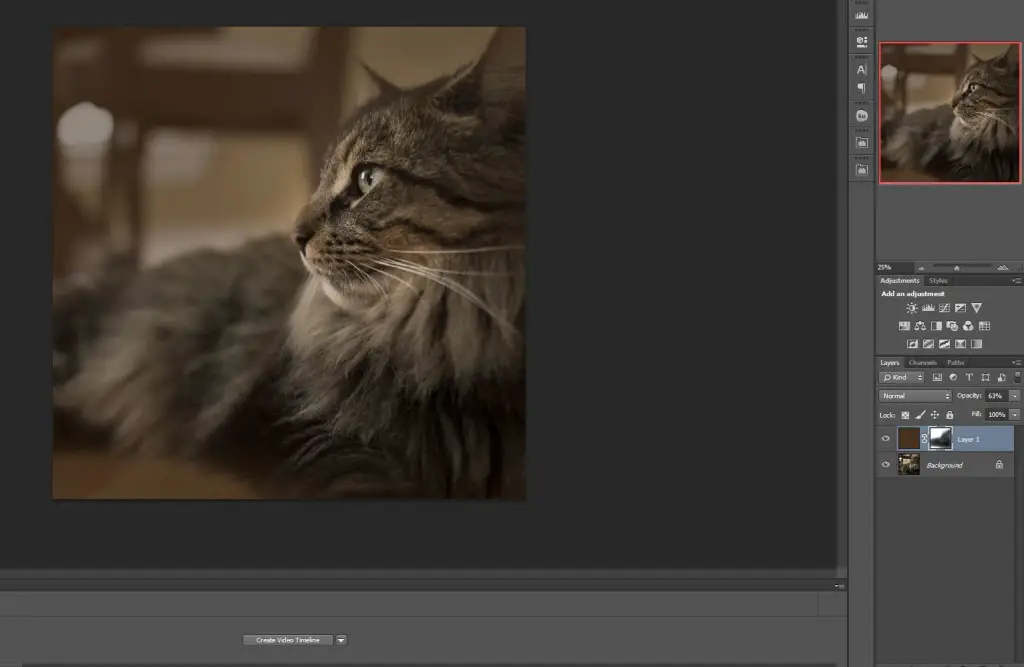
Everything looks pretty good here until I raise the opacity of the paint layer back up. Then I see there has been some overlap. The area outside the fur looks unnaturally light compared with the rest of the background. But this isn’t really a problem, because now we can do the fine work. The great thing about using layer masks is that all I have to do is change the color the brush from black to white (white = add on a layer mask), decrease my brush size, and I can paint the brown back in! I will also decrease my Flow on my brush so that I can feather in the results a little more. It’s a wise idea to also zoom in and work on a finer level. If it looks decent up close, it will probably look great at normal viewing sizes. A great tip here is that hitting the letter “X” on the keyboard will switch the color from black to white so that you can make quick adjustments on the fly. A couple of minutes of fine tuning produces a cleaner result that looks like this:
Great! Now we have a less distracting, more focused image. It isn’t perfect, but doesn’t have to be for what we are going to do. For those familiar with Photoshop, a similar result could be obtained by using the Quick Selection or Polygonal Lasso tool and then refining the edge before painting. Those will often produce a more precise result. But our goal here is not so much about precision but rather a soft transition. Before I go into Snap Art, I will merge the two layers by right-clicking on one the layers and selecting Merge Layers.
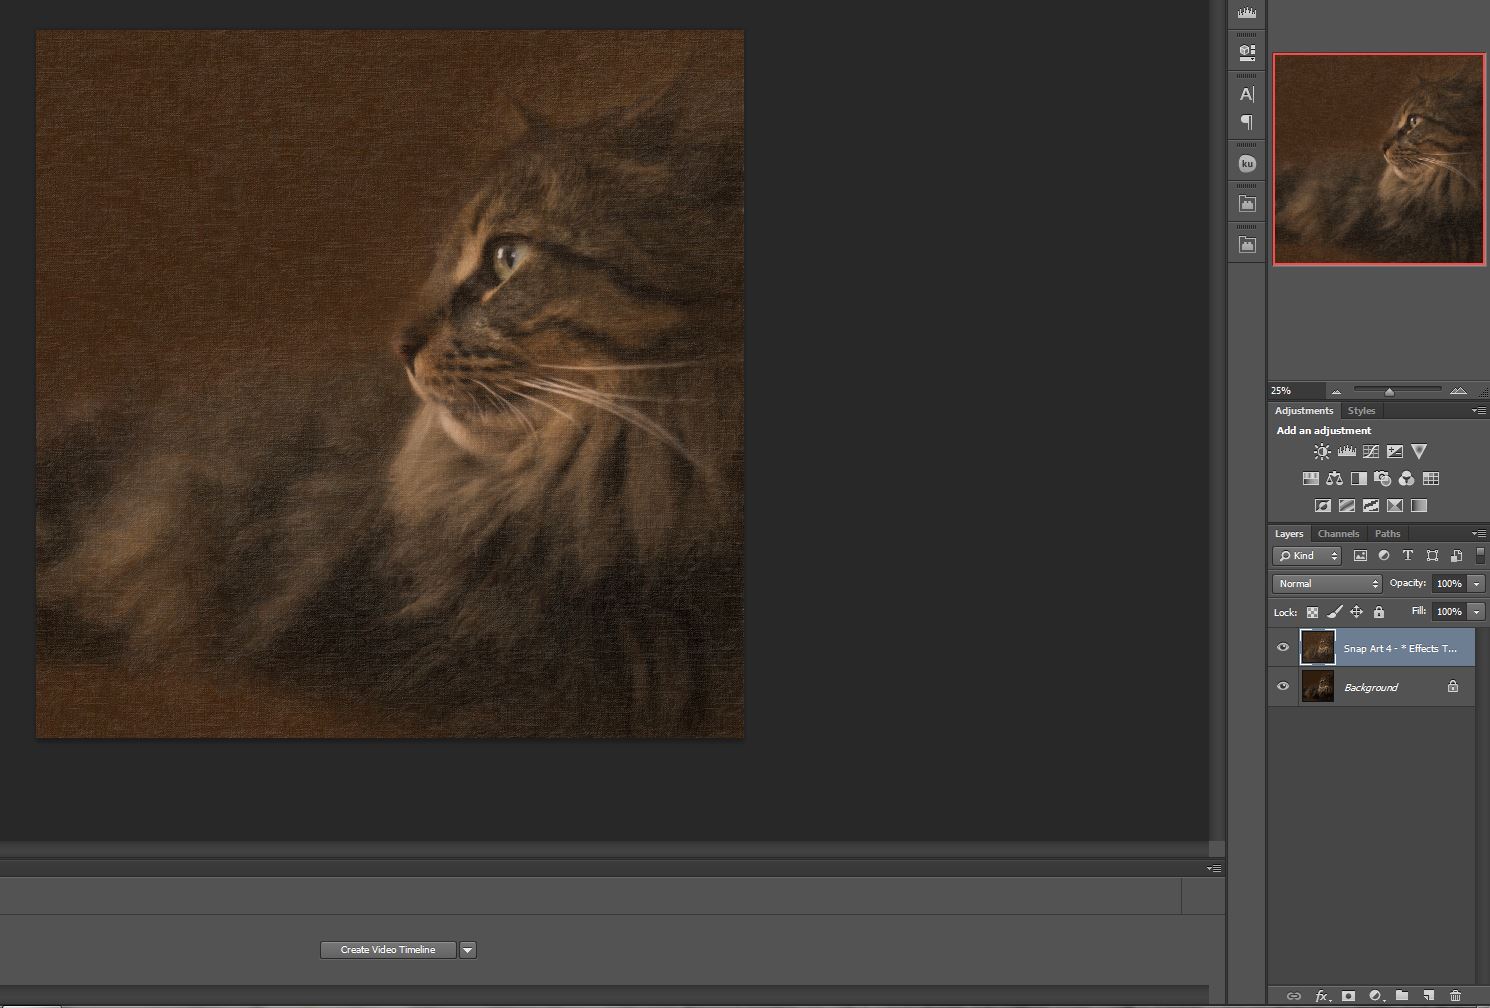
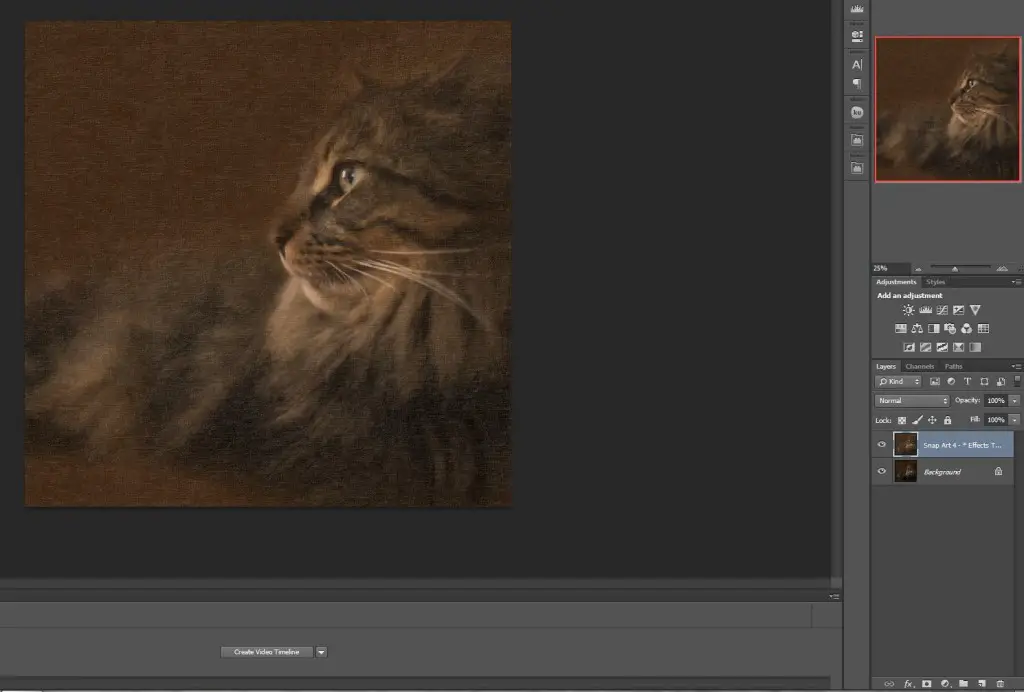
But here is where things get really good. I am now going to take this image into Snap Art. If you have found this tutorial a little overwhelming so far (and Photoshop is very overwhelming to the newcomer!), things are about to get much easier! There are a couple of different ways to launch Snap Art, but I typically will select Filter > Alien Skin > Snap Art 4. The new user interface in Snap Art 4 is a real dream to use because it renders the effects real time. You can SEE what you are doing, while in Photoshop you often have to be able to predict the outcome of certain processes through familiarity. When you arrive in Snap Art, you are greeted with renderings of how your photo will look using the various styles on the left, and then a huge range of ways to tweak that preset to your own style on the right. (P.S. I took this screenshot after the process was already done, so what you see here is a “doubling up” on our actual image and the effect is a little heavy. I wanted you to be able to see the user interface, though.)
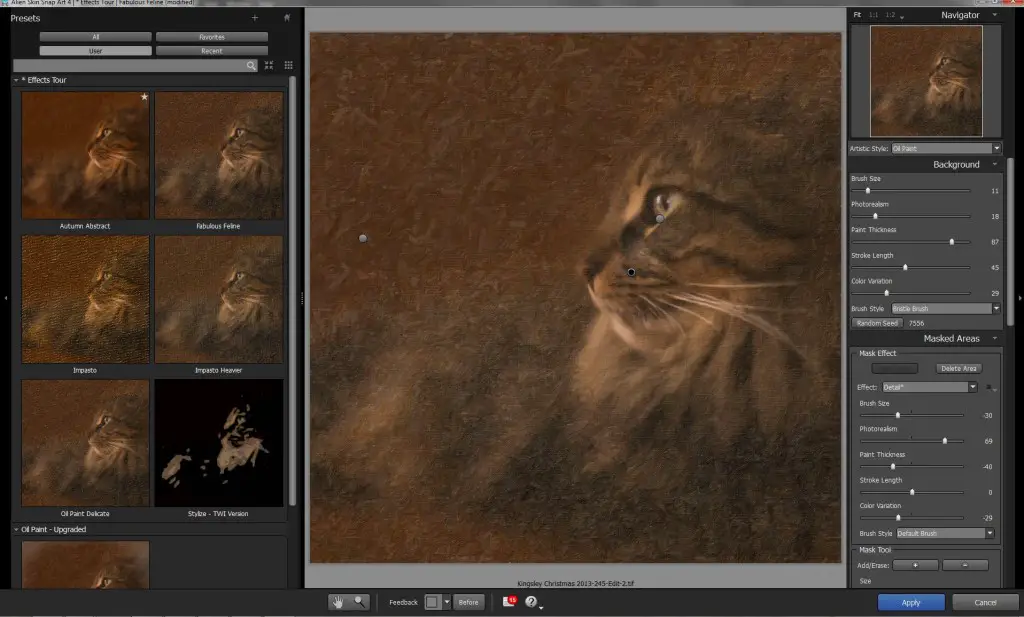
I am most fond of the “Oil Paint” look, and it suits my purpose of creating a “formal portrait”. I start with the Oil Paint preset and begin to make tweaks by just sliding the settings sliders on the right until I get what I want. Here’s what my final results are in the basic settings (click any of them for a larger view):
-

-
Background Settings
-
-
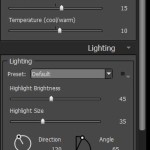
Color and Lighting Settings
-
-
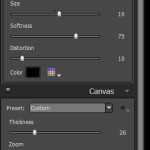
Vignette and Canvas Settings
You can also download these settings as a preset called “Fabulous Feline” here: Fabulous Feline Preset
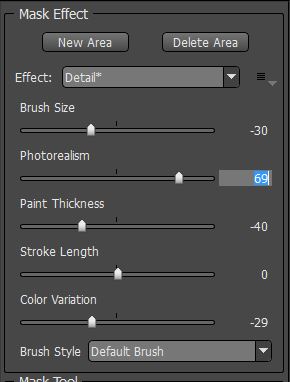
But it gets better! One of the most powerful aspects of Snap Art 4 is the ability to do masked areas very simply right in the program. So, for example, I want the face of the cat to remain sharply defined, so I will paint more realism and definition into that area. Here are my settings and the result:
I could add new masks for any other kind of tweaks I want to make, including making that boring brown area a little more abstract and textured. It only takes a few seconds. The best thing is that each one of these changes can be seen as you go. You don’t like it? No problem, just undo it (Keyboard shortcut: Control + Z). When satisfied with all of my tweaks, I click “Apply”.
Here’s what I have now produced:
My final step is that I added a layer mask to the Snap Art level and painted (very lightly) just a bit on the face of the cat. I don’t want the texture of the canvas to detract from the fine detail there. It’s subtle, but the details is what sets your work apart. Now satisfied, I click “save” and bring the image back into Lightroom. I add a bit of a vignette to focus the eye, and, voila! We have gone from a snapshot to what looks like a formal portrait done by a skilled painter. The distracting elements are gone, and the finished product is something a client/owner would probably be thrilled to hang on their wall. Here’s the final product (click the image to view it larger):
The key here is Snap Art’s easy ability to transform the boring color that I added in Photoshop into a rich texture with nuance and character. The same has happened to the out of focus area of the cat’s fur. We started with something simple and created art. Now, the nature of a tutorial makes it seem like a long process, but when I was doing this shot, I invested no more than about 12 minutes into it. 12 minutes! But what a difference!
An investment into Snap Art could really set your portraiture work apart from the crowd. What if I had started by shooting on a backdrop and didn’t have to eliminate the clutter of a snapshot? I could turn a more technically perfect portrait into something very special in just a couple of minutes. One of the great challenges in today’s competitive market is creating something more unique. Here is a quick and easy way to add that unique quality to your portraiture.
If you are interested in giving Snap Art a try, there is a free 15 day trial available. You can access the Alien Skin store here, and I have a special discount coupon for you as a part of this tutorial. Just enter dustinabbott at checkout and receive 10% off anything in the store. Happy processing!
[contact-form][contact-field label=’Name’ type=’name’ required=’1’/][contact-field label=’Email’ type=’email’ required=’1’/][contact-field label=’Website’ type=’url’/][contact-field label=’Comment’ type=’textarea’ required=’1’/][/contact-form]
DISCLAIMER: This article and description contains affiliate links, which means that if you click on one of the product links, I’ll receive a small commission. As an Amazon Associate I earn from qualifying purchases.


 Sigma 17-40mm F1.8 DC | ART Gallery
  Sigma 17-40mm F1.8 DC | ART Review
  Viltrox Pro AF 85mm F1.4 FE Gallery
  Viltrox AF 85mm F1.4 PRO FE Review