Sigma 35mm F1.4 DG II | ART Review
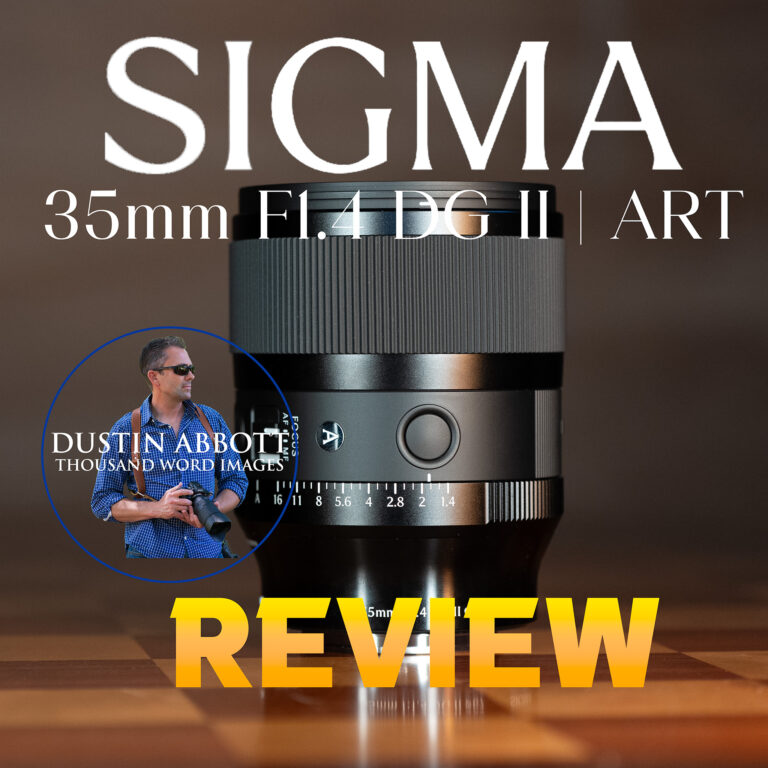
Sigma released the second generation of their 35mm F1.2 | ART lens in the fall of 2025, and they are quickly following that up with a MK II version of their 35mm F1.4 | ART lens. The original 35mm F1.4…

Sigma released the second generation of their 35mm F1.2 | ART lens in the fall of 2025, and they are quickly following that up with a MK II version of their 35mm F1.4 | ART lens. The original 35mm F1.4…
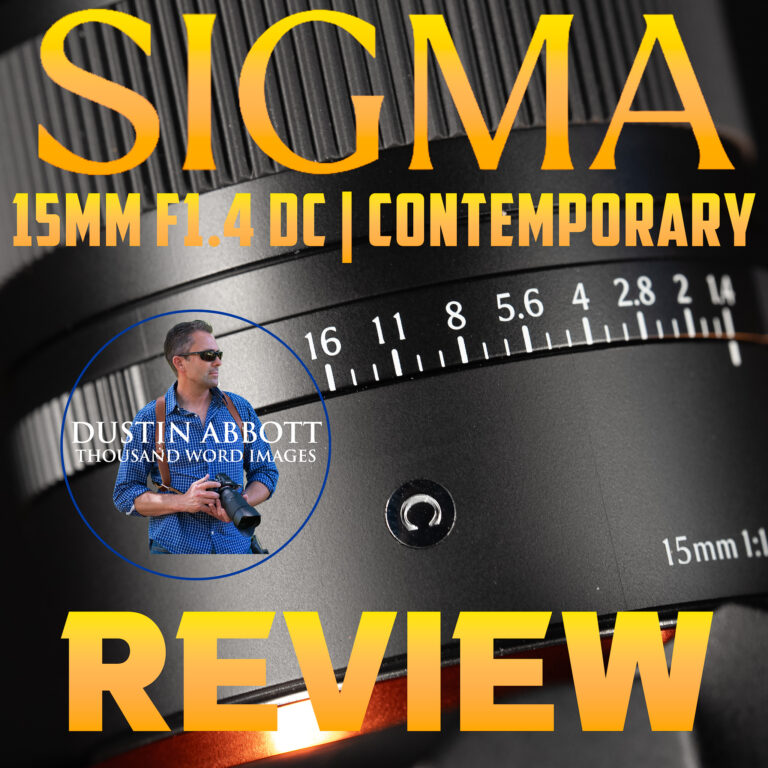
Last year I reviewed a beautiful new little APS-C prime from Sigma in the form of the 12mm F1.4 DC. I really liked that lens and gave it a positive review. I had noted that Sigma hadn’t gone any wider…
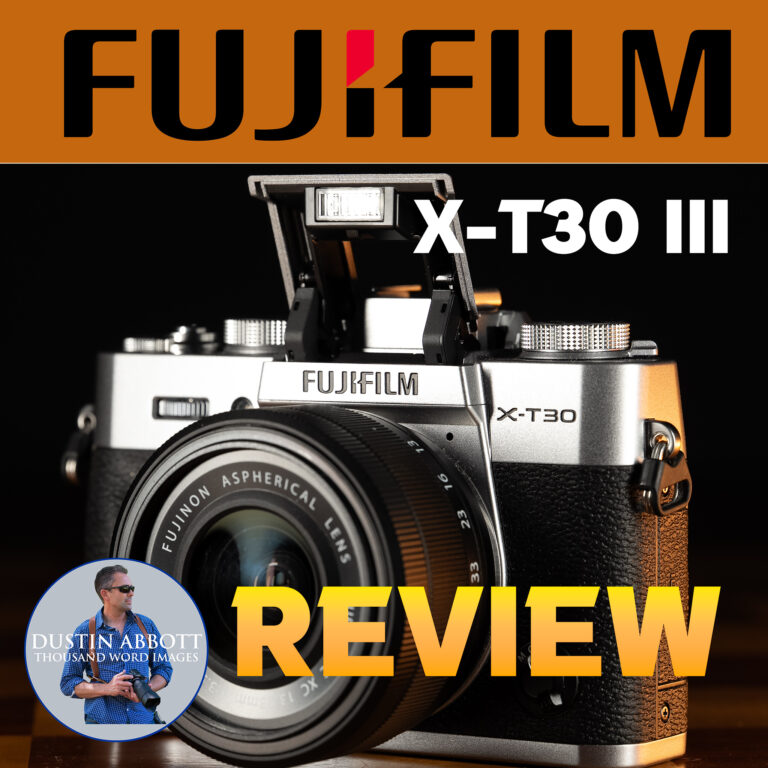
Fujifilm knows how to leverage nostalgia. It seems like the majority of their camera releases are designed to evoke memories of the film era (including their emphasis on film simulations) and bring back vintage controls. The X-T30 series is one…
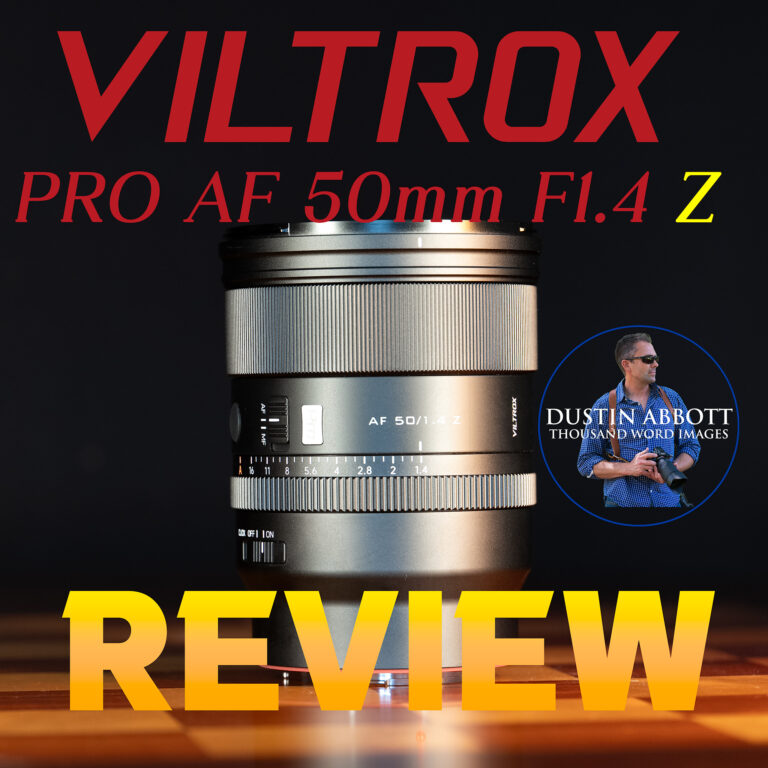
The buzz over Viltrox and Nikon is that the latter is currently suing the former, and while this has generated a fair bit of angst amongst Nikon Z-mount shooters, Viltrox is clearly fairly positive over the outcome, as they told…
The promise of Canon’s new RF mount is that it was going to release new and novel lens designs not possible on EF mount. I would say that in many ways that is a promise that was overstated, but every…
The prime complaint about the Canon RF ecosystem has been that it was closed to third party development when the system launched in 2018…and here in 2026 that remains the case. Canon has allowed some development for APS-C on RF,…

Every brand has a flagship, and, for Sony, that is their α1 series. I reviewed the original α1 back in 2021, and went into that review mostly thinking that it was just way too expensive ($6500 USD, or more like…

What an interesting year! Earlier this year, when reviewing the Sigma 200mm F2 OS SPORT, I marveled that it had been so long since we had seen a new 200mm F2 lens, and even more so that Sigma had beaten…