A Visit To Sigma’s Aizu Factory

The day started off with soft pastels in the sky, but before long the fat, heavy snowflakes that Aizu, Japan is famous for started to fall. To judge from the amount of snow weighing down roofs and banked along the…
The day started off with soft pastels in the sky, but before long the fat, heavy snowflakes that Aizu, Japan is famous for started to fall. To judge from the amount of snow weighing down roofs and banked along the…
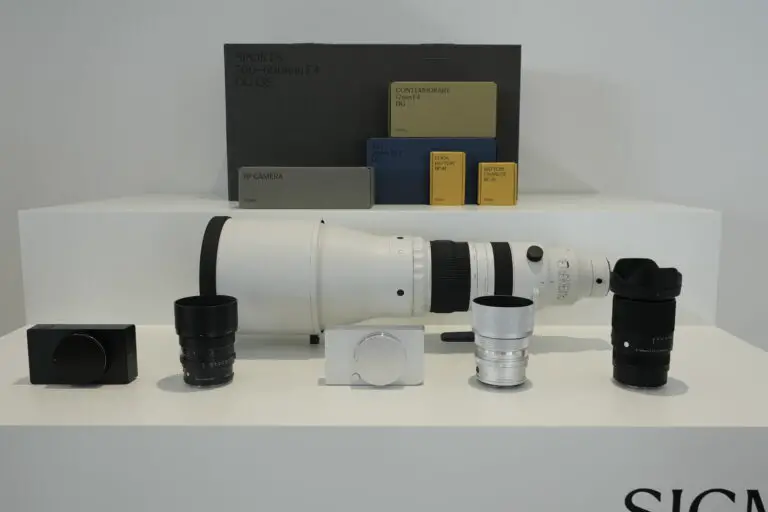
It has been rare that I’ve had a chance to accept opportunities to travel to press events in my career as a photographer and influencer, my wife and team encouraged me to accept an invitation to Japan to be present…
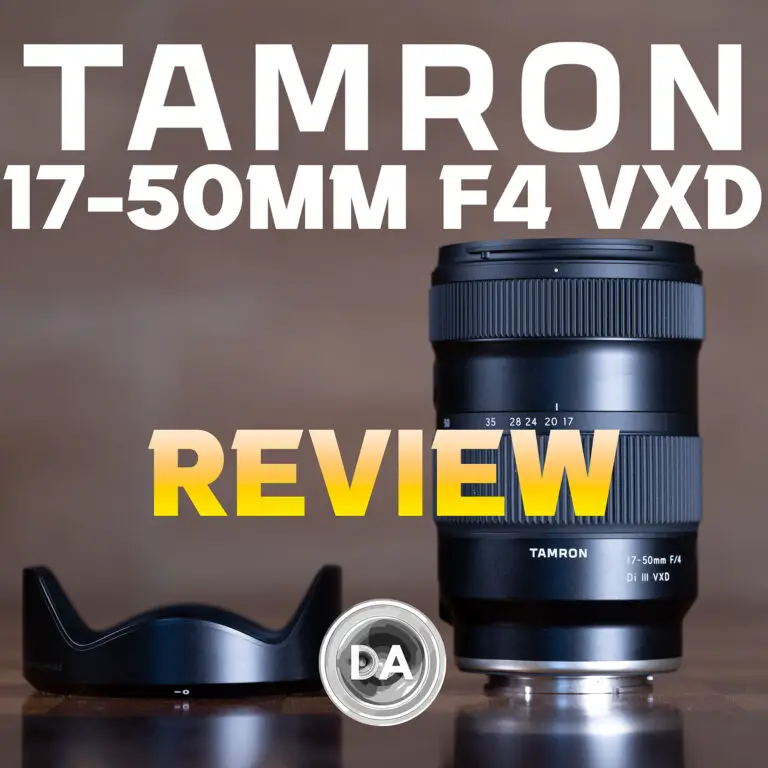
Photographer Dustin Abbott shares a thorough, real world review of the Tamron 17-50mm F4 VXD wide angle zoom

Photographer Dustin Abbott shares a variety of images from the Tamron 17-50mm F4 VXD wide angle zoom lens for full frame mirrorless

I was in a press briefing regarding this lens when the Sony rep said something that resonated with me. He noted with today’s high resolution bodies (I currently do my Sony reviews on the 61MP a7RV body) that getting length…
I was in a press briefing regarding this lens when the Sony rep said something that resonated with me. He noted with today’s high resolution bodies (I currently do my Sony reviews on the 61MP a7RV body) that getting length…

Powerzoom lenses are always a bit of the oddball in the room – caught between video and photography. The PowerZoom function is most reminiscent of the focus on camcorders or similar video cameras, but the cameras that a PZ lens…
Powerzoom lenses are always a bit of the oddball in the room – caught between video and photography. The PowerZoom function is most reminiscent of the focus on camcorders or similar video cameras, but the cameras that a PZ lens…

Sony just keeps hitting one home run after another. Their newest lens – the Sony FE 70-200mm F4 Macro G OSS II (or SEL70200G II) – is one of the most versatile telephoto lenses I’ve ever used. Perhaps that’s why…

Sony just keeps hitting one home run after another. Their newest lens – the Sony FE 70-200mm F4 Macro G OSS II (or SEL70200G II) – is one of the most versatile telephoto lenses I’ve ever used. Perhaps that’s why…

The Fujifilm GFX 100S is the third of Fuji’s medium format camera bodies that I have reviewed, and this is definitely my favorite of the bunch. I’ve reviewed their extremely high resolution and extremely high-priced Fujfilm GFX 100 camera body…

New lens releases for Fujifilm’s unique GFX medium format cameras don’t come often, so when one arrives, it is worth taking a look. Their newest lens is the Fujinon GF 20-35mm F4 WR, a wide angle zoom that proves to…

New lens releases for Fujifilm’s unique GFX medium format cameras don’t come often, so when one arrives, it is worth taking a look. Their newest lens is the Fujinon GF 20-35mm F4 WR, a wide angle zoom that proves to…
I’ve been openly questioning of Sony’s commitment to its APS-C platform, as both camera and lens releases in that space have been few and far between over the past 3 years. Sony’s development on full frame has been rather frenzied…
I’ve been openly questioning of Sony’s commitment to its APS-C platform, as both camera and lens releases in that space have been few and far between over the past 3 years. Sony’s development on full frame has been rather frenzied…

NiSi has historically been a company that has made filters for other people’s lenses, and a search of their products shows a lot of filters with very high reviews. But at some point they clearly decided that their optical glass…

NiSi has historically been a company that has made filters for other people’s lenses, and a search of their products shows a lot of filters with very high reviews. But at some point they clearly decided that their optical glass…

I was very impressed with the size Canon’s surprisingly compact RF 70-200mm F2.8L IS USM. when I reviewed the lens (my review here). It spoke to a new design philosophy at Canon which values compact size and reduced weight over…