llano 2-in-1 Dual Bay Camera Battery Charger Review
Dustin Abbott
April 14th, 2025
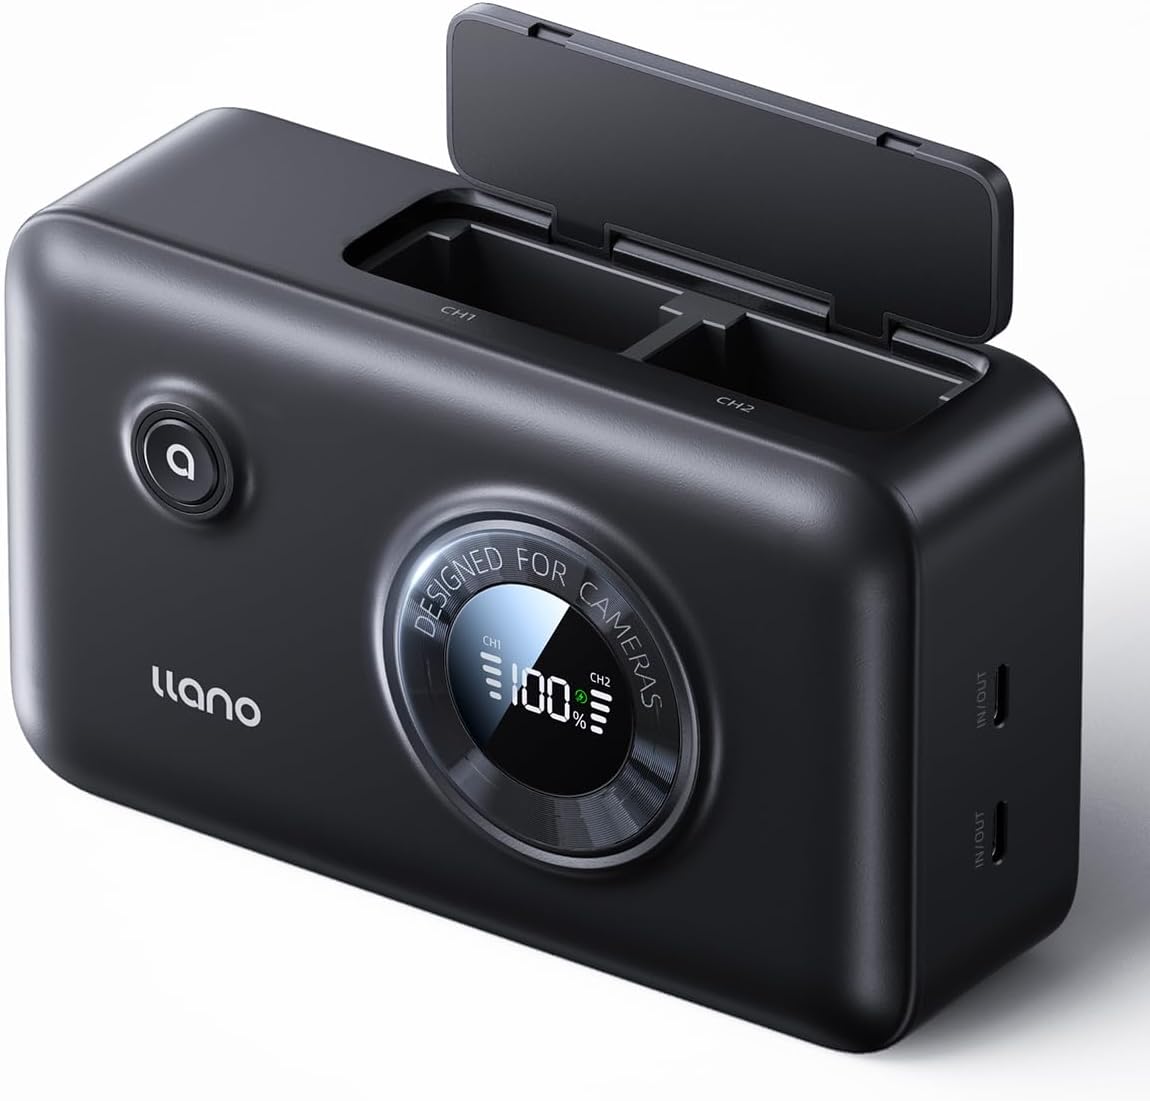
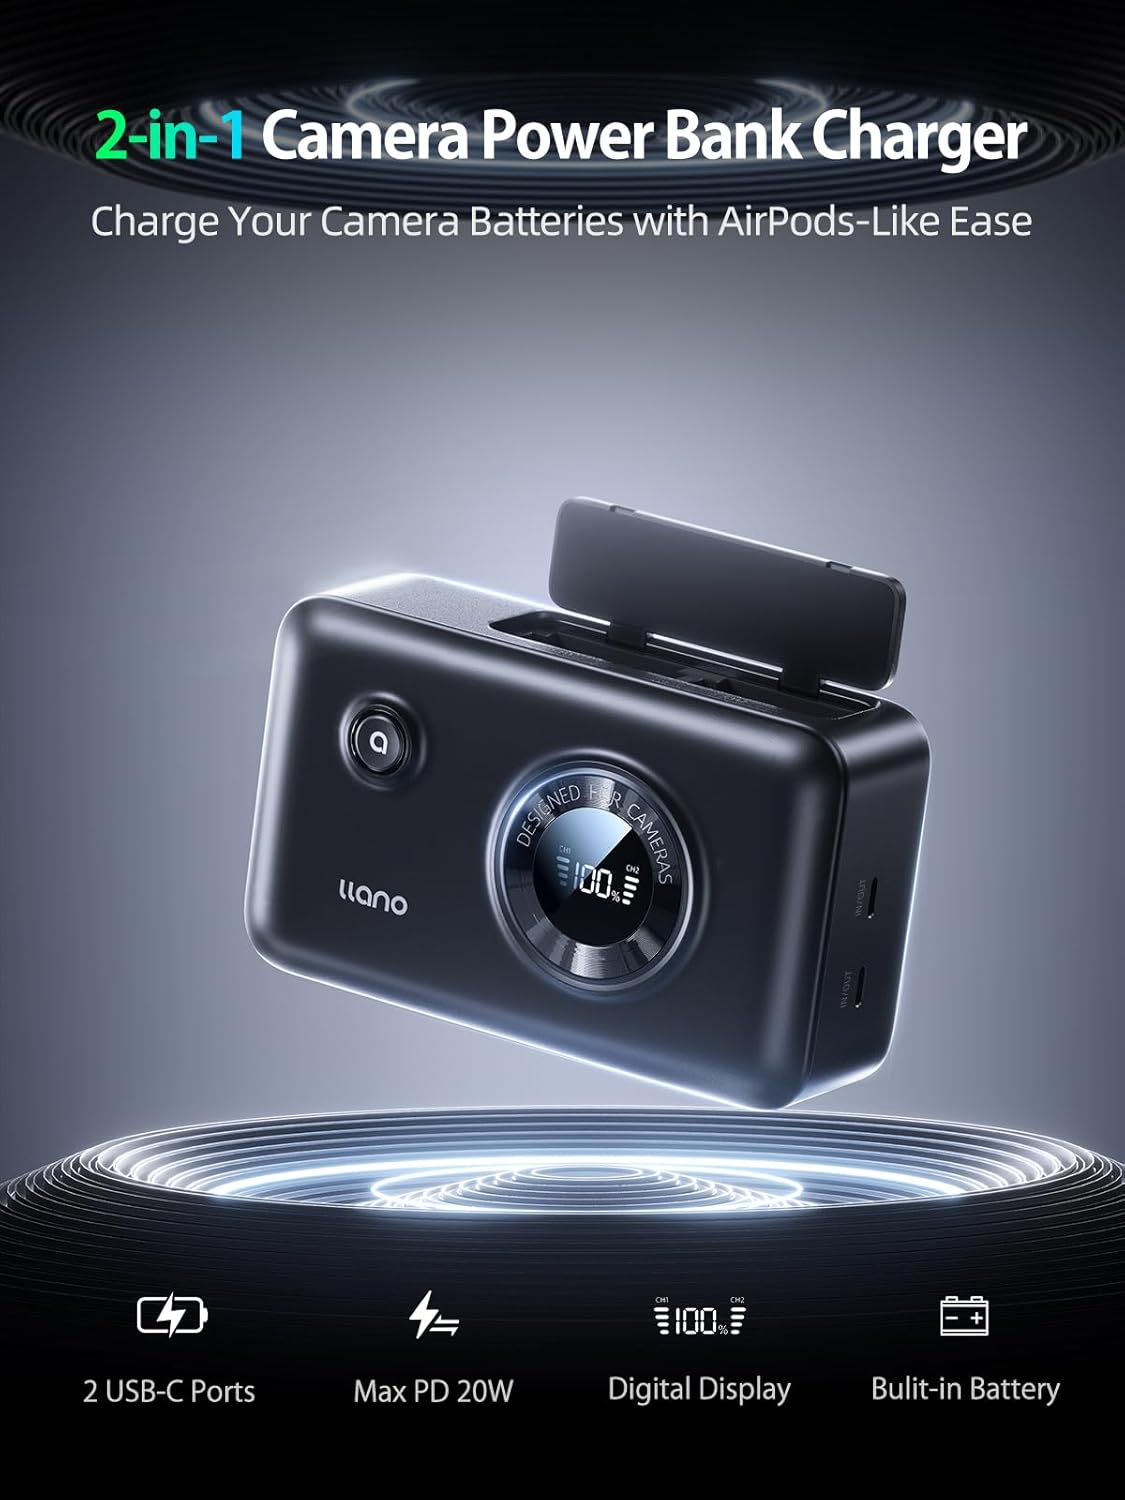
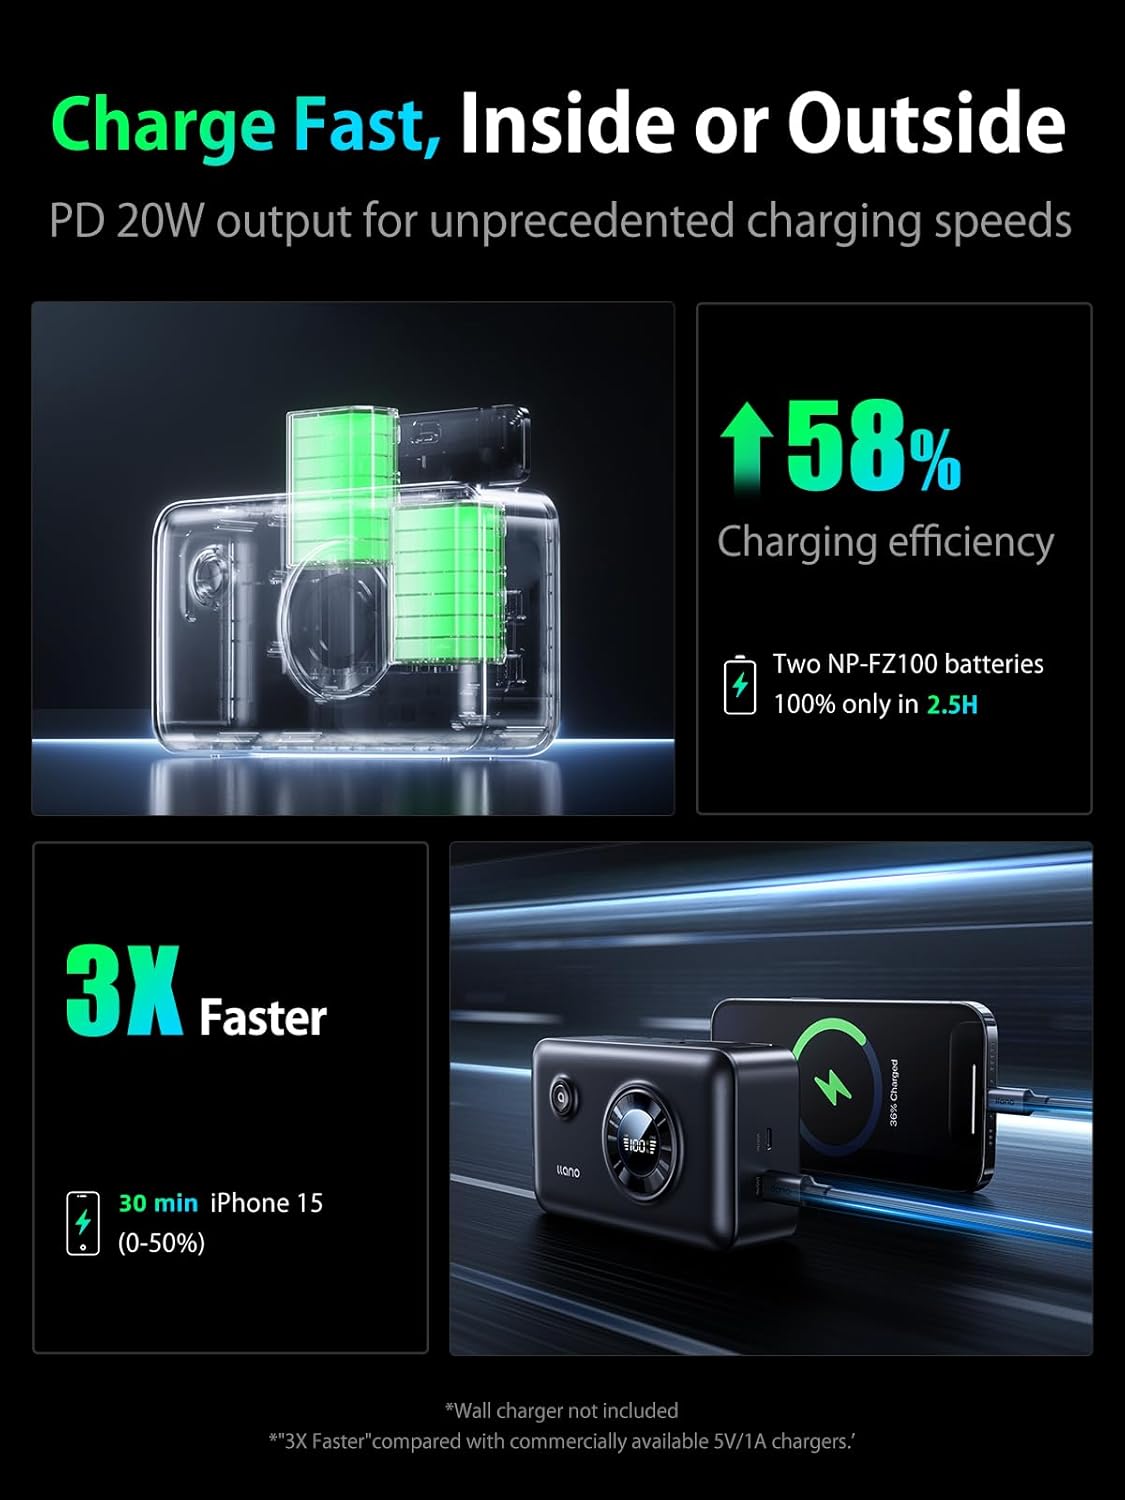
About a year ago I did a review of the llano dual bay battery charger, concluding that it was a clever way to charge your camera’s batteries and also to get discounted batteries. Since that point I’ve used the llano batteries a lot and without issue. But llano is back with an expanded concept – what about a dual bay battery charger that could charge your camera batteries and your phone or tablet, all off grid? They’ve made a combo battery charger and 12,400mAh power bank. It can put out power at a PD 20W rate, charge your camera battery faster, and only costs around $80. Sound interesting?
Thanks to llano for sending me a review sample. As always, this is a completely independent review. All thoughts and opinions expressed here are my own.
The full review can be found in the video linked above, but here are some of my review notes for those who are more text oriented.
Features and Observations:
Unboxing – a very nice presentation in the packaging
Nice soft touch materials
12,400 mAh power bank
Can do pass-through charging
Two USB-C ports (both in and out)
Shows rough state of charge at first. Click power button to start charging batteries in remote mode (means you can store batteries in there without constantly charging).
Charging one battery nearly 100% took about 36% of battery capacity. You should be able to charge two batteries plus your phone (100%)
Takes about 2.5 hours to charge two batteries completely
I’ve found that it takes only slightly longer to charge two batteries in the llano than one battery in a Sony charger.
Thinks I Like
Have personally had good success with llano’s batteries so far
Previous version required you to be tethered to some kind of charging source, while the new version can function completely independently.
Being able to potentially take one device to charge your phone, multiple batteries, earbuds, etc…
Well priced
Plug and play – essentially charge your camera batteries like airpods.
Both USB-C ports in and out, meaning you don’t need to worry about which to use.
Dual ports mean that you could use this to double your USB-C outputs.
I’m always glad to see more innovation on the practical side of things. Charging batteries is not the most exciting part of photography, but it is intensely practical. I’ve had a few key moments ruined because of a dead battery.
Who is this for? I think the llano 2-in-1 charger makes the most sense if you are a heavy user and often need to charge multiple batteries. You could charge one or two batteries in your camera bag while staying mobile and continuing to use your camera, assuring that you never run out of power.
If your typical shooting pattern involves only going through one battery a day, just purchasing a power bank and charging in camera probably makes more sense.
The llano 2-in1 charger comes in Sony, Canon, Fuji (x2), and Nikon flavors.
Keywords:Ilano, 2-in-1, Charger, Power Bank, Camera Battery, Camera, Dual Charger, Battery, USB-C, 12400 mAh, EN-EL15C, NP-FZ100, NP-W235, LP-E6NH, Canon, Sony, Demonstration, Test, Photography, OEM, Replacement, Charging, Coupon Code, Discount, Coupon
DISCLAIMER: This article and description contains affiliate links, which means that if you click on one of the product links, I’ll receive a small commission. As an Amazon Associate I earn from qualifying purchases.
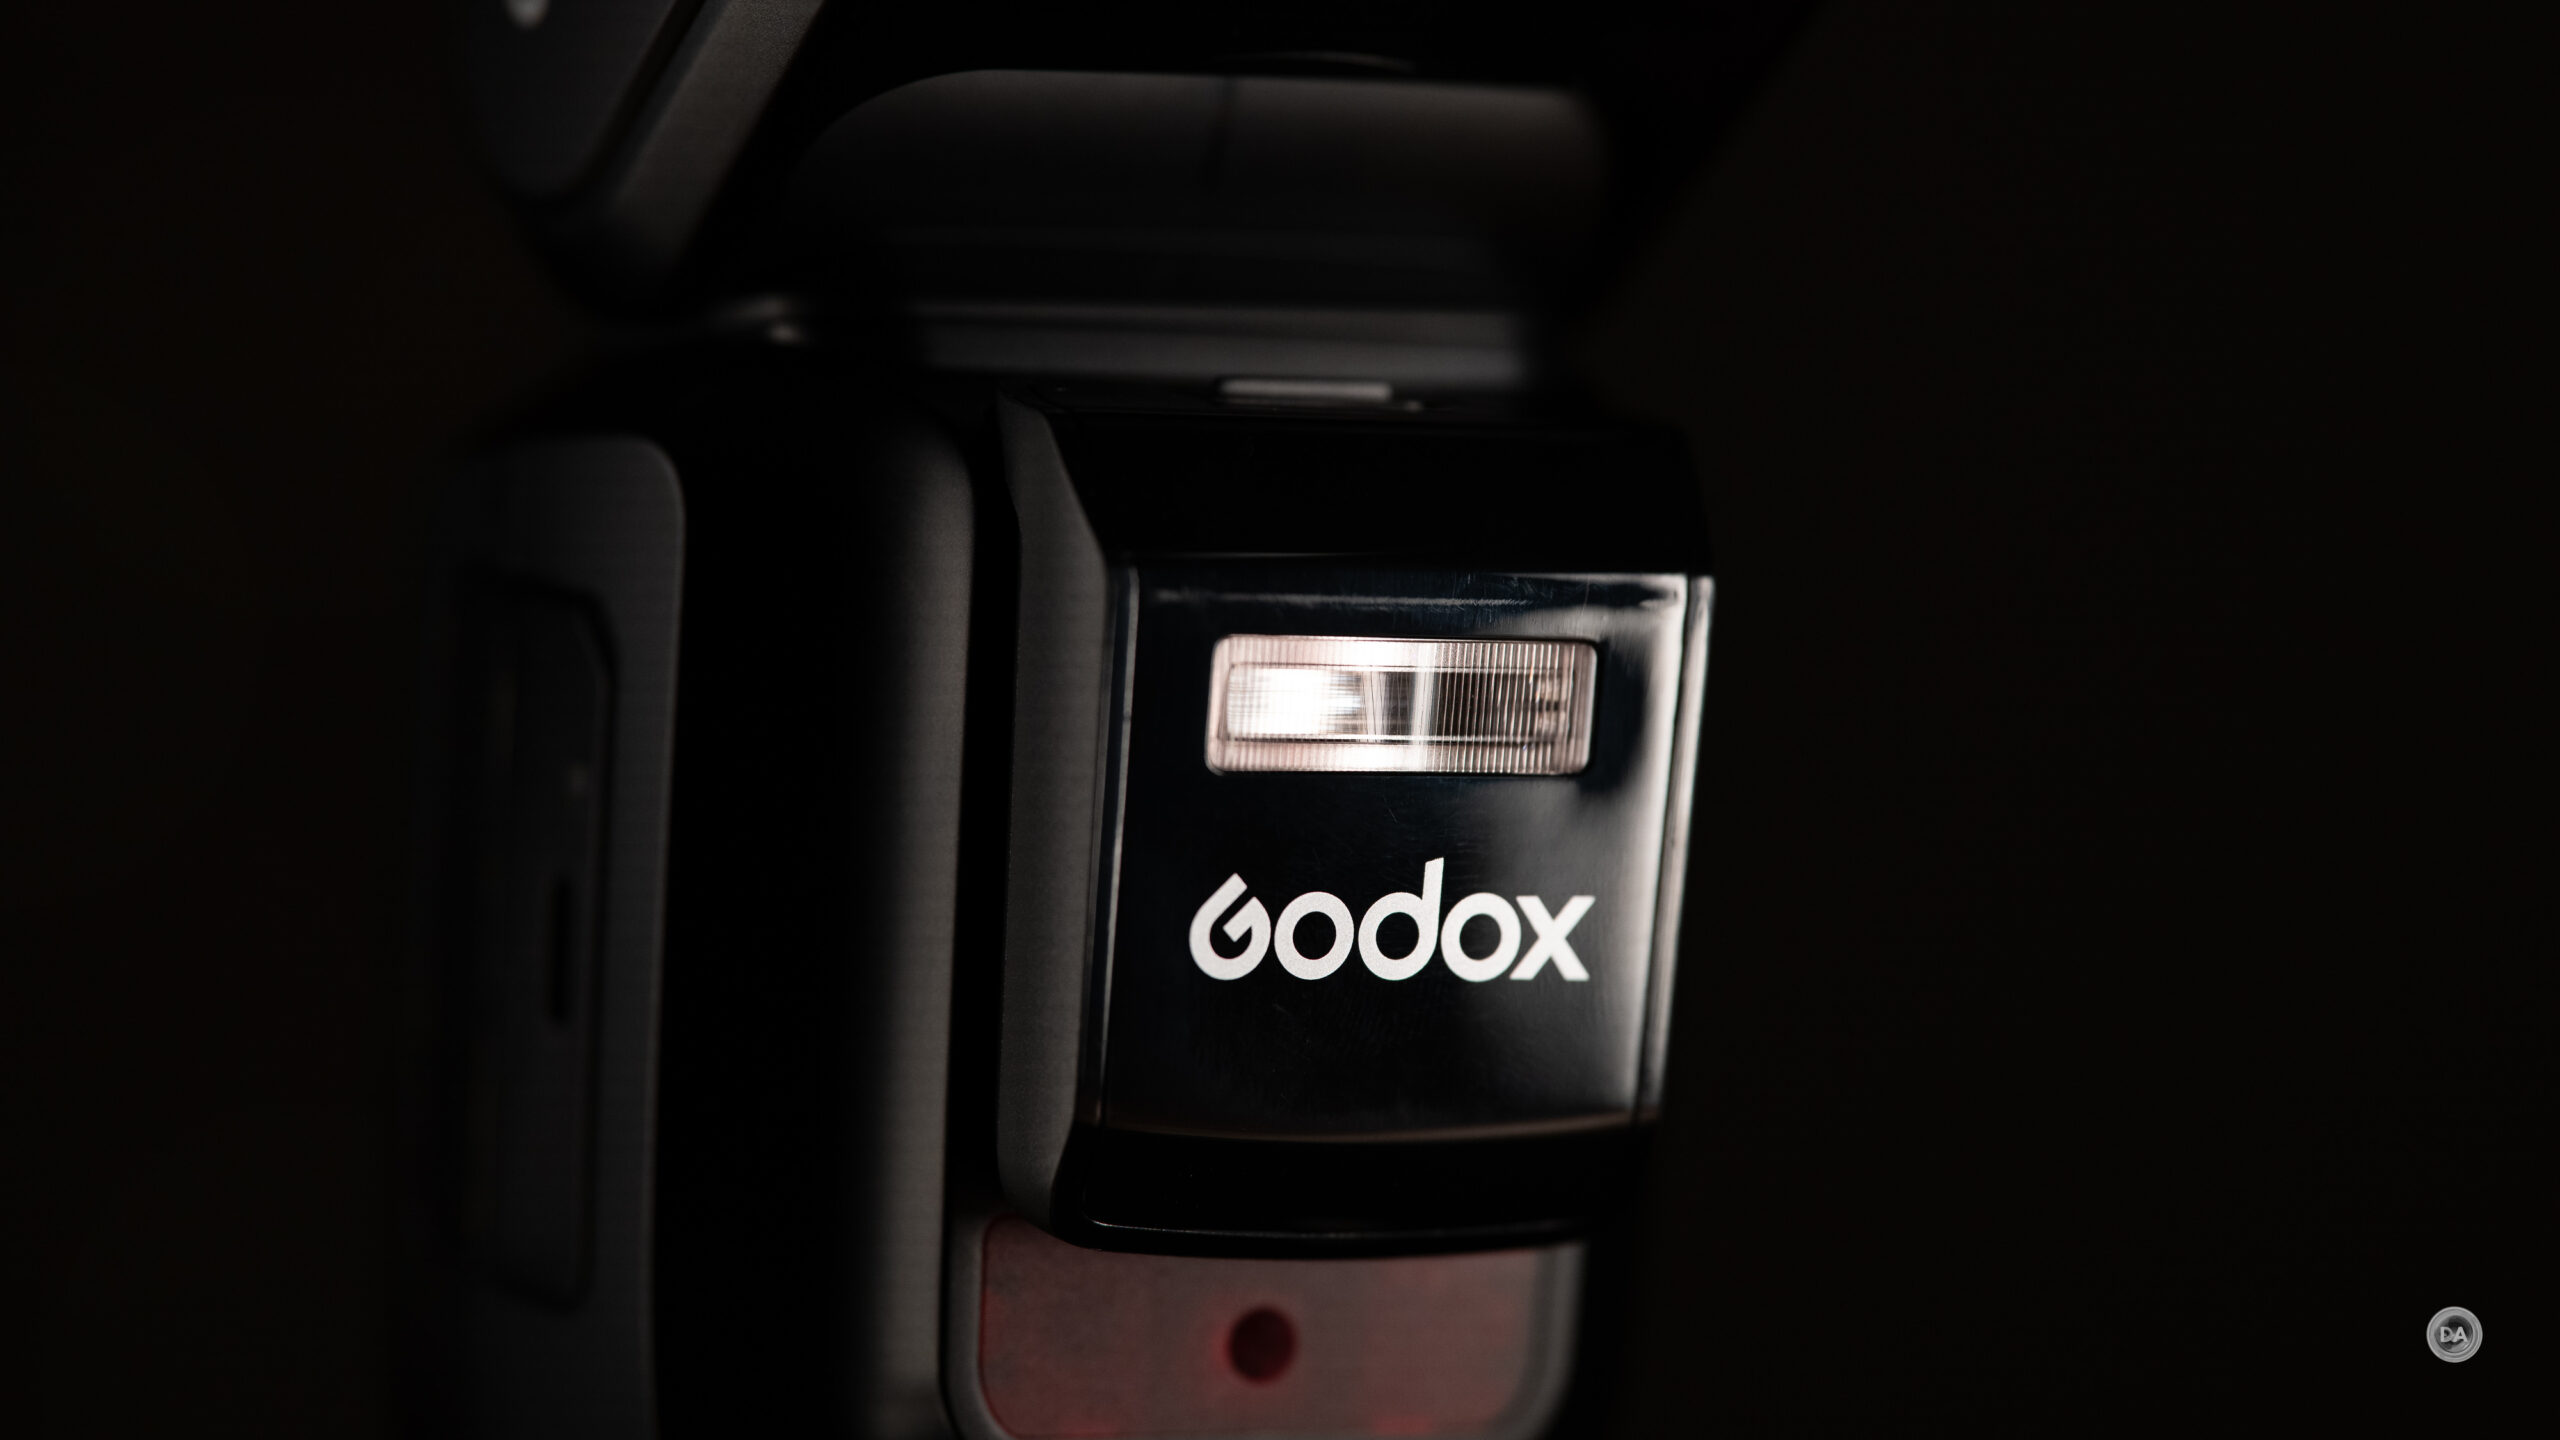
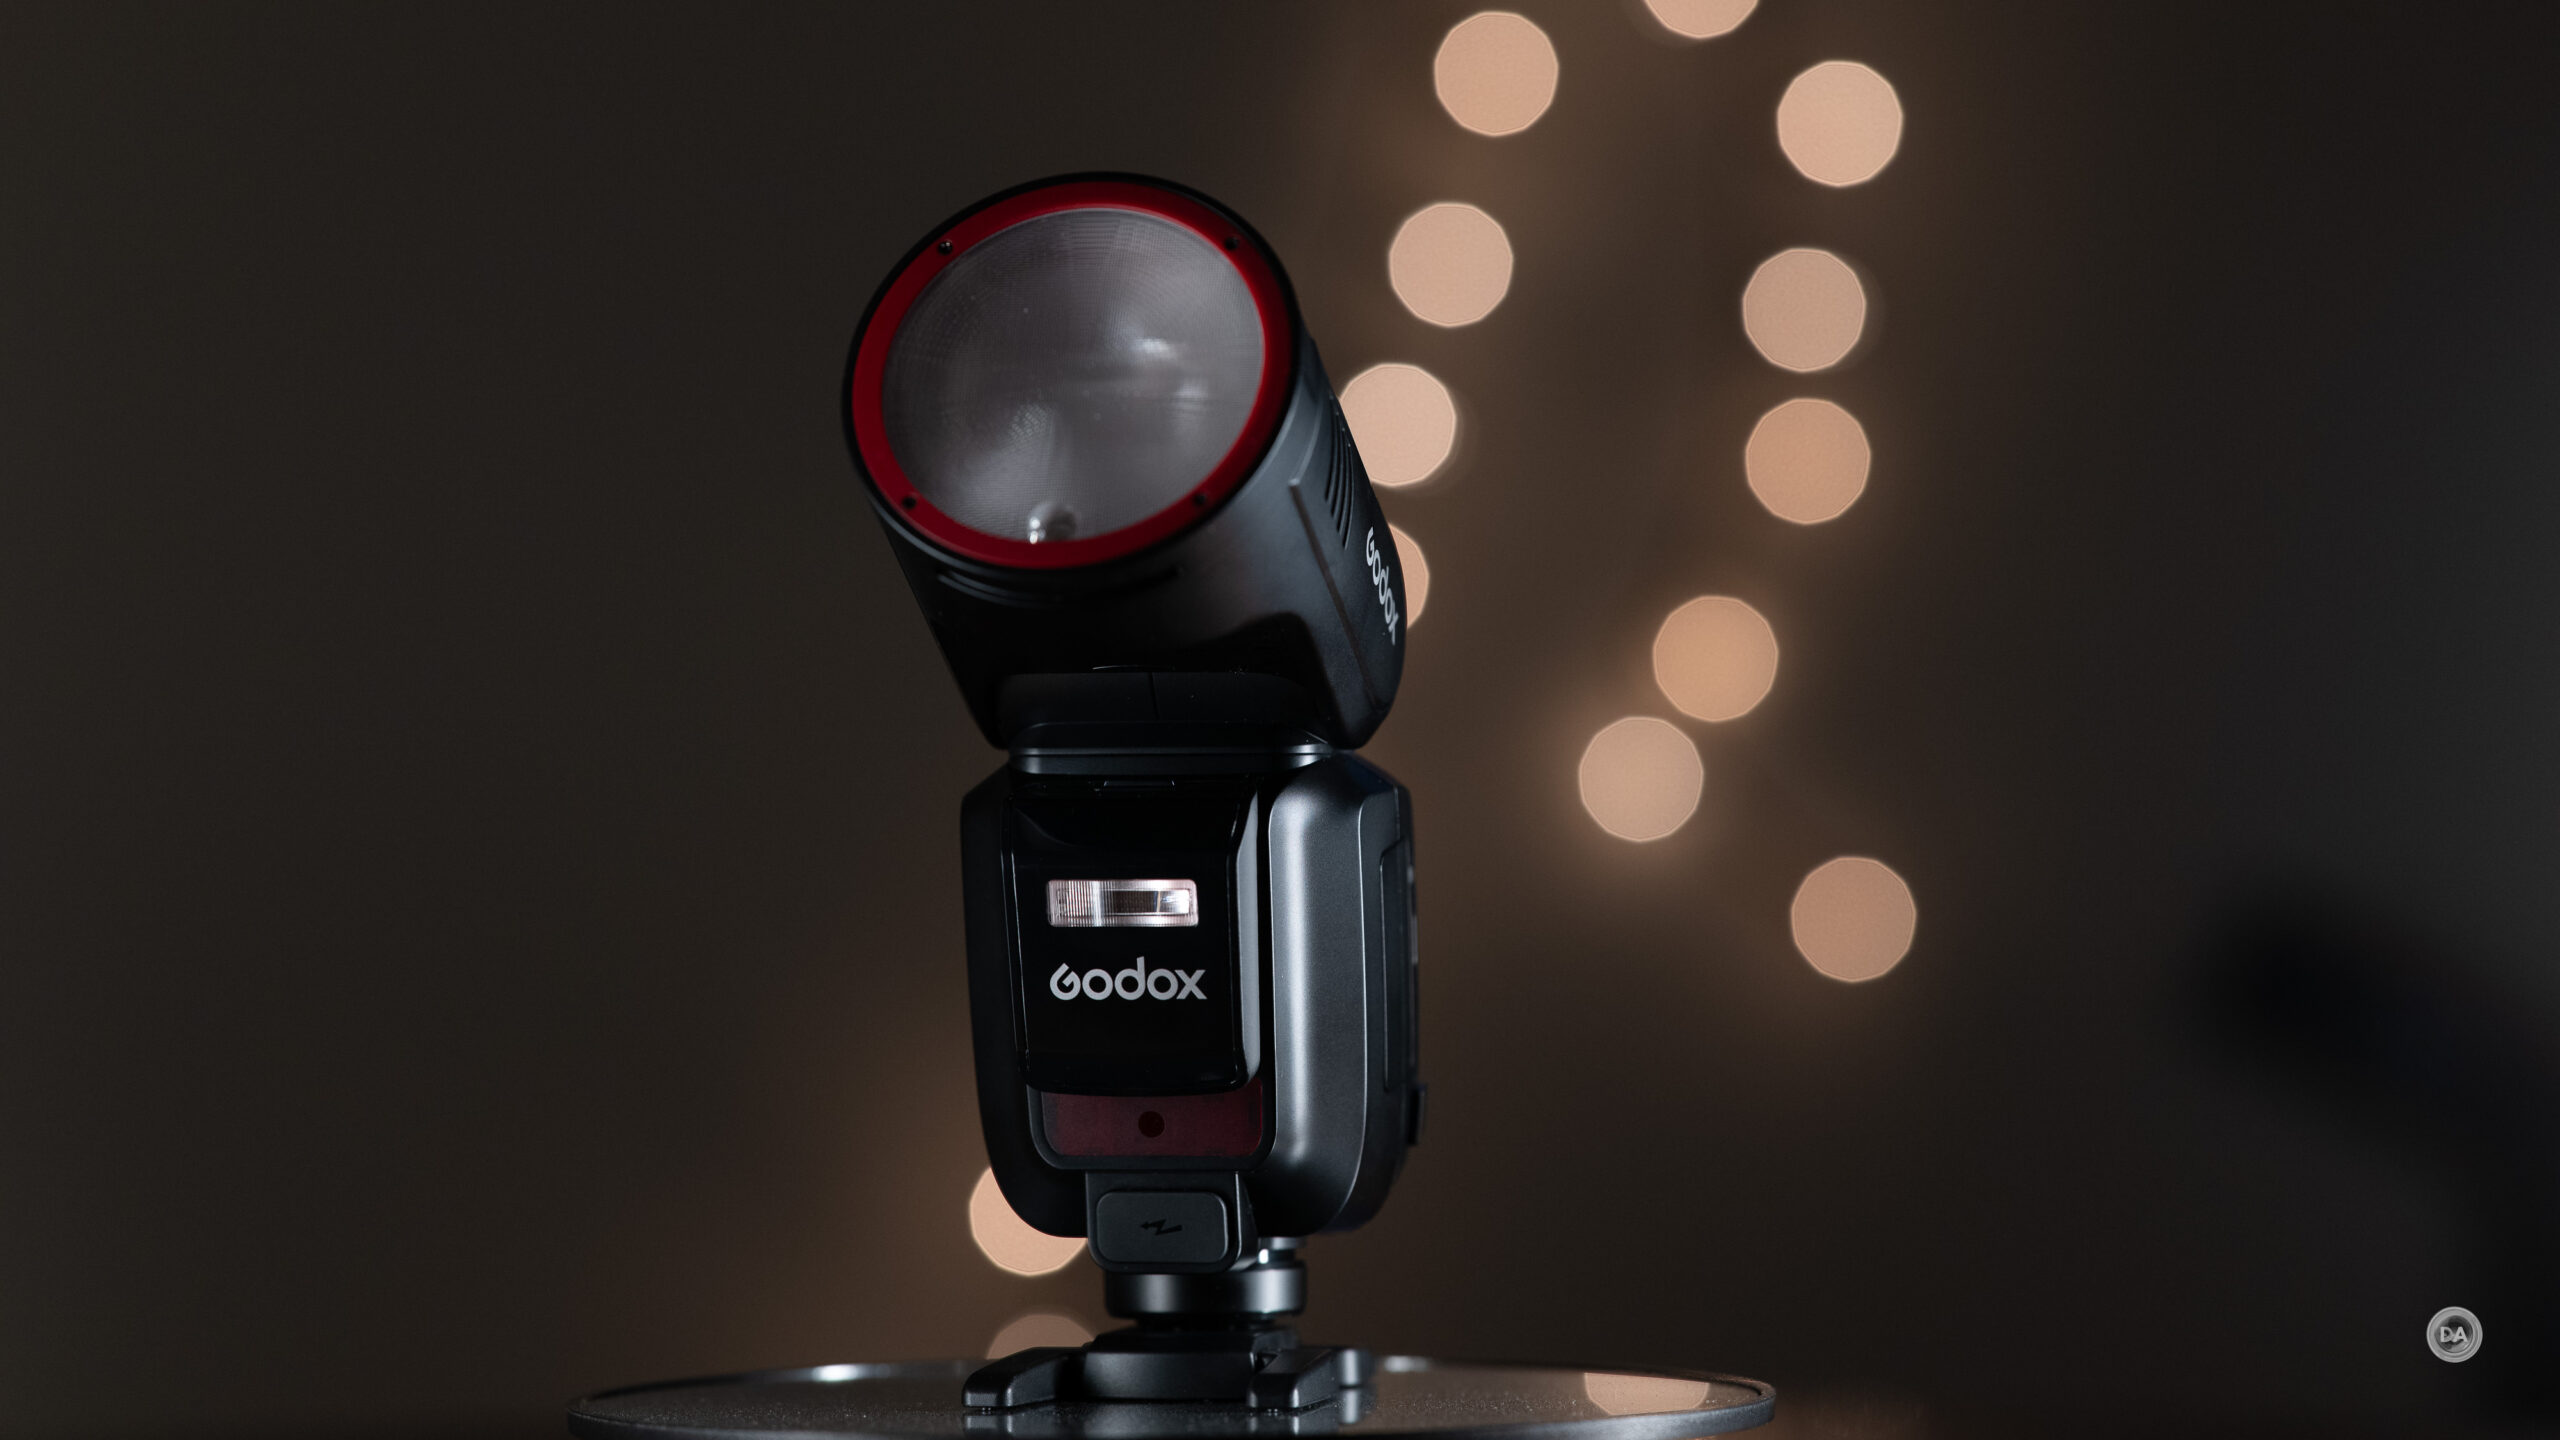
The Godox V100 is in many ways an update to their first round head flash (the V1) that they released in 2019. This is a modernized and vastly improved flash unit that thoroughly impressed me. This is one the best value premium flashes I’ve ever seen at roughly $350, and well worth your consideration. You can get my full thoughts and demonstrations in my video review, or look at a summary of my findings in this article.
Thanks to Godox for sending me a review sample. As always, this is a completely independent review. All thoughts and opinions expressed here are my own.
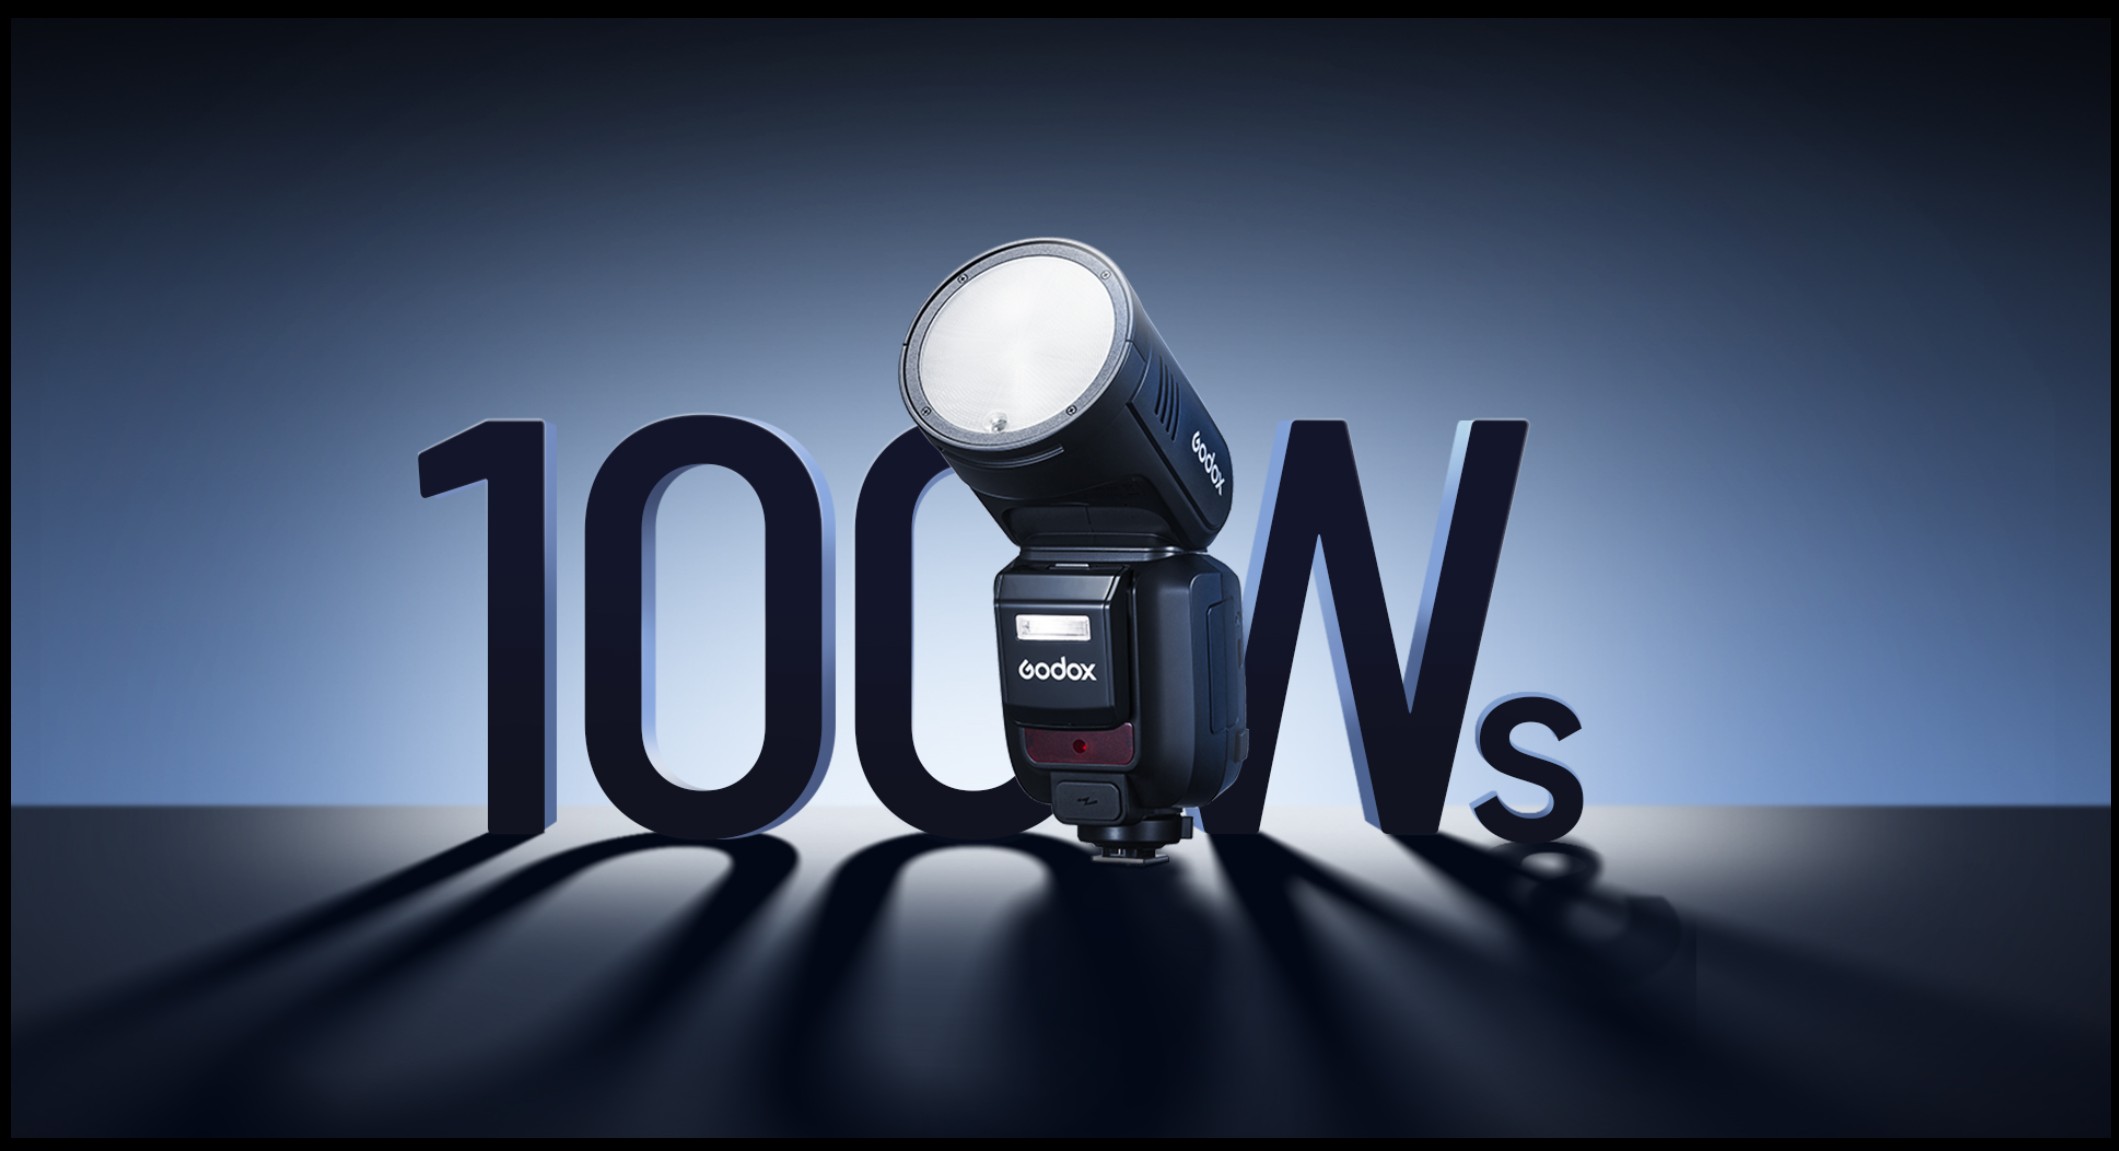
This is the first on camera flash unit with a power output of 100Ws, which is truly impressive. We are now getting into the territory of Godox’s off camera AD series (the AD100), and to have all of the additional controls and options here (TTL, command unit, etc…) in addition to having the receiver capabilities of the AD series makes this an amazing value.
Lets start by looking at the long list of upgrades from the V1:
Upgrades from the V1
Improved airflow for cooling (motorized)
Improved modeling light – brighter and now have kelvin control
New bare bulb head (with modeling light)
Group color indicator – better visual indications (red light)
I’ve gotten a lot of use from the V1 flashes over the years, and the V100 is a really solid upgrade. Great power output, good battery life, and ever improving TTL performance. Godox flashes work great, and the V100 seems to work better than ever, with more thoughtful features, better usability, and more power. A LOT of flash for $349, and a better option than something like the AD100 series if you need on camera flash at times or TTL for a command unit.
DISCLAIMER: This article and description contains affiliate links, which means that if you click on one of the product links, I’ll receive a small commission. As an Amazon Associate I earn from qualifying purchases.
The Godox AD200 Pro II is an update to Godox’s Popular AD200 Pro “pocket” flash that blends portability with relatively high power (200Ws output) that I reviewed in 2019. The new MK II version has a lot of key upgrades to make the flash more versatile and more easily controllable, and comes at the same price of $349 USD as the previous model. It is worth buying, or even upgrading to? That’s what I explore in the video review. You can also look at a summary of my findings in this article.
Thanks to Godox for sending me a review sample. As always, this is a completely independent review. All thoughts and opinions expressed here are my own.
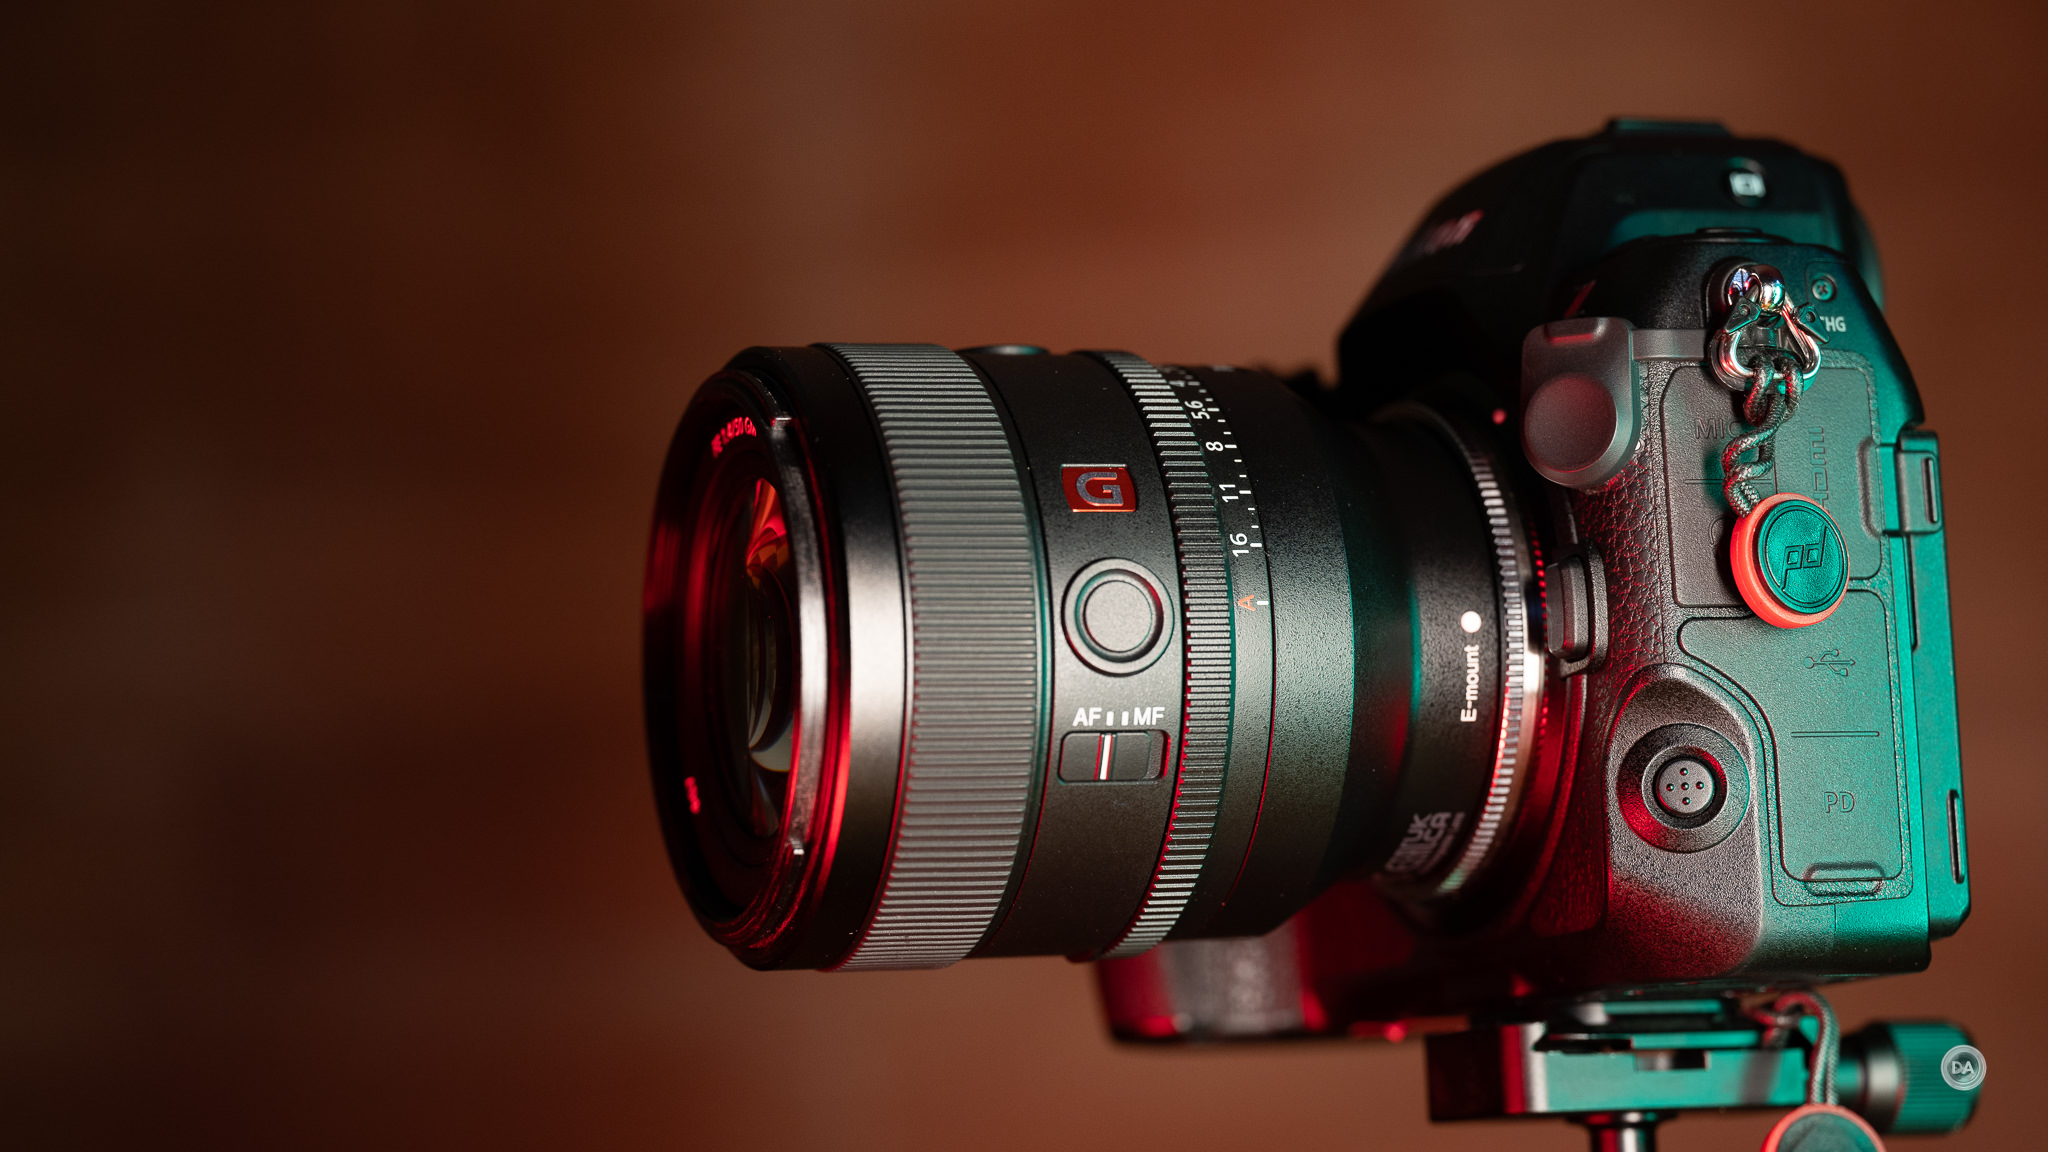
The AD200 Pro II has the SHAPE of an on-camera flash, but will require a flash trigger to control – optimized for use with Godox’s new X3 triggers but will work with older triggers, too. I did two portrait sessions using Nikon for the first time with a Godox setup, utilizing the Nikon Z8 with the Nikkor Z 50mm F1.4 for one, and then the Z8 with the upcoming Laowa Tilt/Shift 55mm F2.8 Macro for another (an amazing lens, by the way!). I also tested the AD200 Pro II with an older X-ProS trigger and the Sony Alpha 1 along with the Sirui Aurora 85mm F1.4 lens. Here are some photos from these shoots:
The results were what I’ve come to expect from Godox. Good power, reliable triggering, and lighting that just generally works. But that was true of the AD200 Pro as well, so what has actually changed?
Upgrades from AD200 Pro
Improved airflow for cooling (motorized)
Improved modeling light – brighter and now have kelvin control
New bare bulb head (with modeling light)
Group color indicator – better visual indications (red light)
I’m still not sure I would call this a “pocket flash”, but the AD200 Pro II has a vastly improved interface and functionality. If you are already familiar with working with the existing AD200 Pro, I’m not sure an upgrade is warranted as this is still the same flash and output at heart…and your existing modifiers may not work. But this remains a great option if you are starting fresh, as it not only competes on output and price, but now the AD200 Pro II is also competitive with its feature list and handling as well.
Keywords: AD200 Pro II, AD 200, AD200, Pro, II, Godox, Pro II, Portrait, Macro, Woman, X3, Godox X3, Nikon, Canon, Sony, Fuji, Dustin Abbott, #DA, #letthelightin, #dustinabbott, Demonstration, Test, Photography, Solar Power, Portable, Camping, Hiking, Video Lights, Back up Power, Coupon Code, Discount, Coupon
DISCLAIMER: This article and description contains affiliate links, which means that if you click on one of the product links, I’ll receive a small commission. As an Amazon Associate I earn from qualifying purchases.
Neewer NW-ETZ vs Megadap ETZ21 Pro | Sony E to Nikon Z Adapter Showdown
Dustin Abbott
November 29th, 2024
Neewer NW-ETZ vs Megadap ETZ21 Pro | Sony E to Nikon Z Adapter Showdown
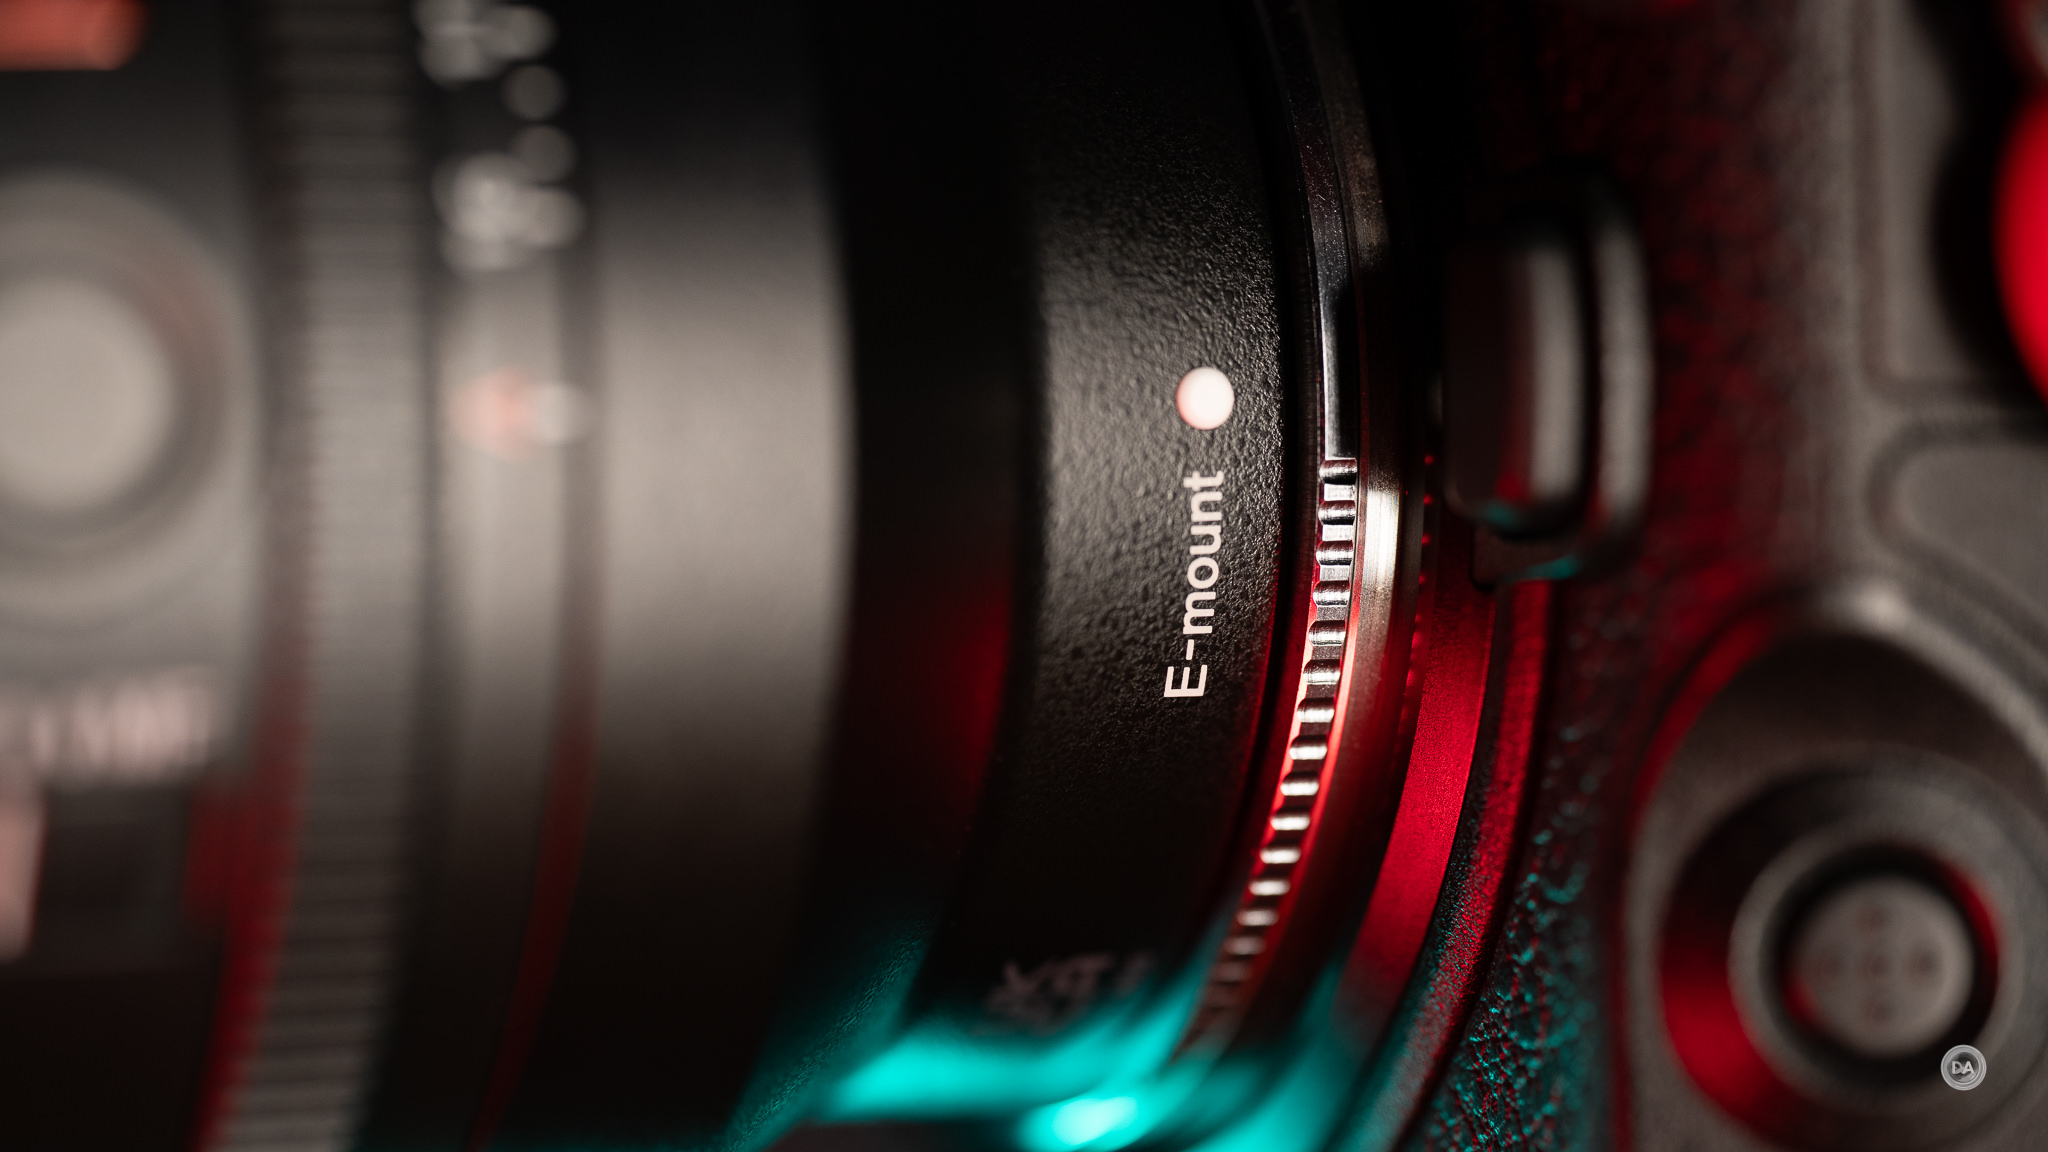
When I first started using Sony E-mount, I was coming off a period of more than a decade where I had used the Canon EF ecosystem exclusively. It was a delight to find that there were adapters that would allow me to use my Canon lenses on my Sony camera as well. I used and reviewed a number of popular adapters from brands like Metabones, Sigma, and Vello, but found that they all came with some serious limitations. Over time I tired of used my EF lenses adapted for two primary reasons: 1) size and weight. 2) Inadequate performance. My favorite of the adapters proved to be the Sigma MC-11, but it added 125g to the weight of every lens attached to it and added another 26mm in length. This was necessary to adapt a DSLR mount to a mirrorless design. The optical path needs to be in a completely different place, so the optics need to be moved further away from the sensor to achieve proper infinity focus. I found that there was a huge spectrum of performance, too, with some lenses working fairly well and others being very inconsistent. Video AF, in particular, was pretty rough where it existed at all.
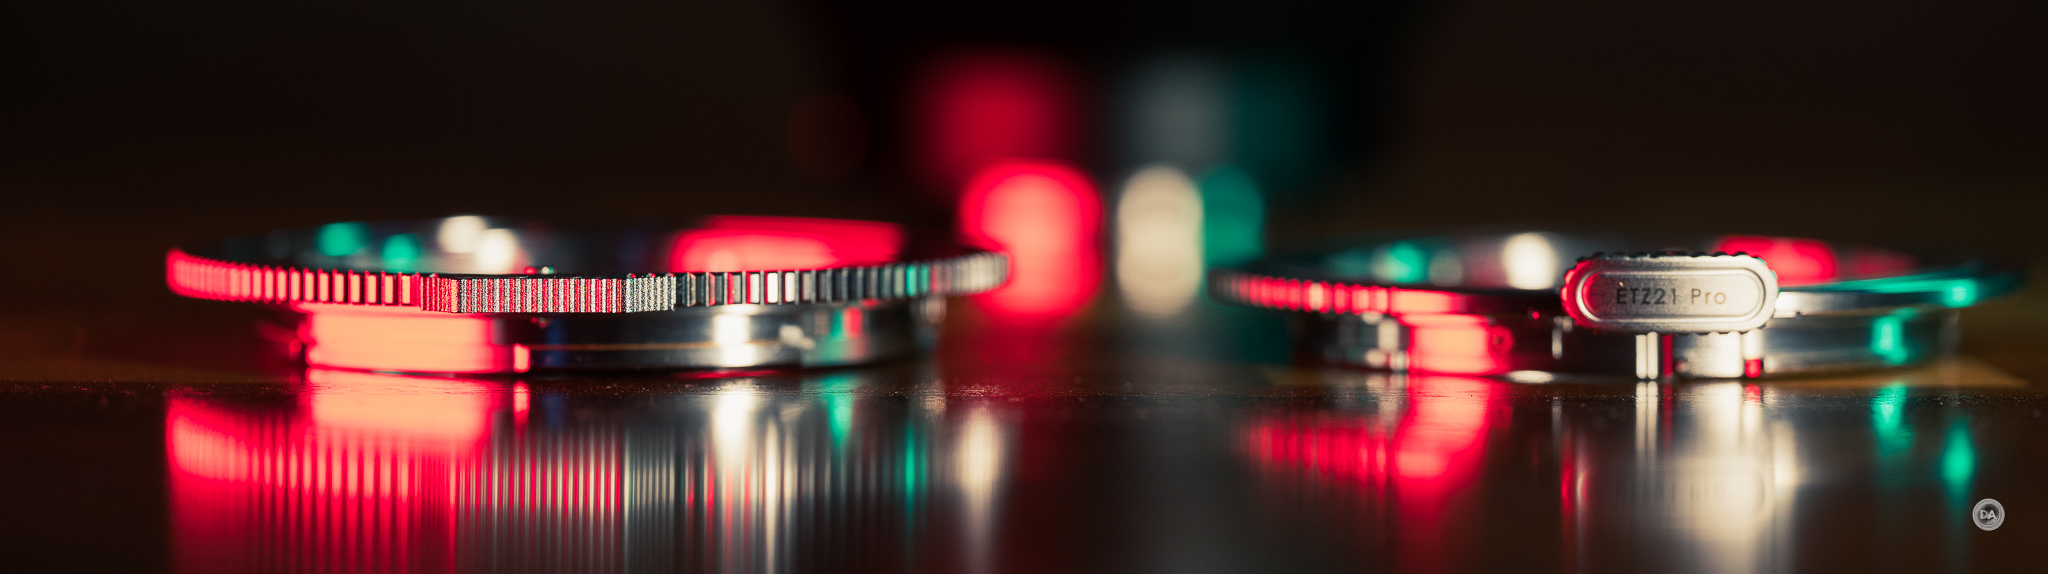
But over a series of reviews, I’ve been looking at very different types of adapters that now adapt one mirrorless lens mount (Sony E-mount) to another mirrorless lens mount (Nikon Z-mount). The rules are a bit different this time. For one, the “flange distance” between the two mounts is similar, so now the adapter itself is just a few millimeters thick (2mm, to be exact), adding almost no additional bulk to lenses. There is a bit of weight, but, at 43g for the Megadap ETZ21 Pro on my scale and 46g for the Neewer NE-ETZ, it’s a third of what we dealt with the EF to FE adapters. In my tests, the Megadap EZ21 Pro (my review here) has a few advantages over the Neewer NW-ETZ that I reviewed here, but also costs about $100 more. So which is the better buy? Find out my thoughts by watching the head to head video, or you can see a quick summary in the article below.
Thanks to Neewer for providing a review sample of the NW-ETZ and to Megadap for providing a review sample the ETZ21 Pro. As always, this is a completely independent review. All opinions and conclusions are my own.*The tests and most of the photos that I share as a part of my review cycle have been done with the 45MP Nikon Z8, which I reviewed here.
Both of these adapters have a simple premise – allow you to use Sony E-mount lenses – WITH AUTOFOCUS – on Nikon Z mount cameras. The claim includes transmitting EXIF data and information for VR (if your camera is so equipped). At their best, both adapters work really quite well, delivering some of the best autofocus I’ve seen from an adapted lens, though there’s always limits. Both add almost no bulk – just 2mm of additional thickness – and very little weight (43g for the Megadap, 46g for the Neewer).
So does they work? The answer is mostly yes, though with a few minor caveats which I detail in the individual reviews.
Reasons to Buy the Neewer NW-eTZ
Price – Costs $160 vs $250
Has a weather sealed option for $20 more
Provides focus confirmation for manual focus lenses even when they have no contacts (M42, M mount, etc…)
Reasons to buy the Megadap ETZ21 Pro
Better firmware process
Properly reports EXIF data
Provides more consistent autofocus performance
Works on APS-C/DX bodies
Works with more lenses
Conclusion
Both adapters have some unique strengths, but for most people I think the extra money for the Megadap is worth it. The Neewer shows promise, but it is a first gen adapter while Megadap is on the second variation of their second generation, and that longer development cycle shows. Megadap has squashed more bugs, and delivers a more consistent performance across a broader range of lenses. Megadap is an adapter company, period, and while Neewer has a great reputation for delivering excellent products at a strong value, their company is far more diversified. To me the Megadap adapter feels worth the extra $90, but it’s not my money to spend. It’s yours, and I hope the information in these comparisons has helped you make a more informed decision.
DISCLAIMER: This article and description contains affiliate links, which means that if you click on one of the product links, I’ll receive a small commission. As an Amazon Associate I earn from qualifying purchases.
When I first started using Sony E-mount, I was coming off a period of more than a decade where I had used the Canon EF ecosystem exclusively. It was a delight to find that there were adapters that would allow me to use my Canon lenses on my Sony camera as well. I used and reviewed a number of popular adapters from brands like Metabones, Sigma, and Vello, but found that they all came with some serious limitations. Over time I tired of used my EF lenses adapted for two primary reasons: 1) size and weight. 2) Inadequate performance. My favorite of the adapters proved to be the Sigma MC-11, but it added 125g to the weight of every lens attached to it and added another 26mm in length. This was necessary to adapt a DSLR mount to a mirrorless design. The optical path needs to be in a completely different place, so the optics need to be moved further away from the sensor to achieve proper infinity focus. I found that there was a huge spectrum of performance, too, with some lenses working fairly well and others being very inconsistent. Video AF, in particular, was pretty rough where it existed at all.
But over a series of reviews, I’ve been looking at very different types of adapters that now adapt one mirrorless lens mount (Sony E-mount) to another mirrorless lens mount (Nikon Z-mount). The rules are a bit different this time. For one, the “flange distance” between the two mounts is similar, so now the adapter itself is just a few millimeters thick (2mm, to be exact), adding almost no additional bulk to lenses. There is a bit of weight, but, at 46g on my scale, it’s a third of what we dealt with the EF to FE adapters. In my tests, the Megadap EZ21 Pro has a few advantages over the Neewer NW-ETZ that I’m, reviewing today, but also costs about $100 more. So is the Neewer NW-ETZ and its $160 price a better choice if you’re on a budget? Find out my thoughts by watching the video review below…or just keep reading.
Thanks to Neewer for providing a review sample of the NW-ETZ. As always, this is a completely independent review. All opinions and conclusions are my own.*The tests and most of the photos that I share as a part of my review cycle have been done with the 45MP Nikon Z8, which I reviewed here.
There will be some continuity between this review and another of the Megadap ETZ21 Pro, as I’ve spent time with both in an attempt to get up to speed as to which adapter works better.
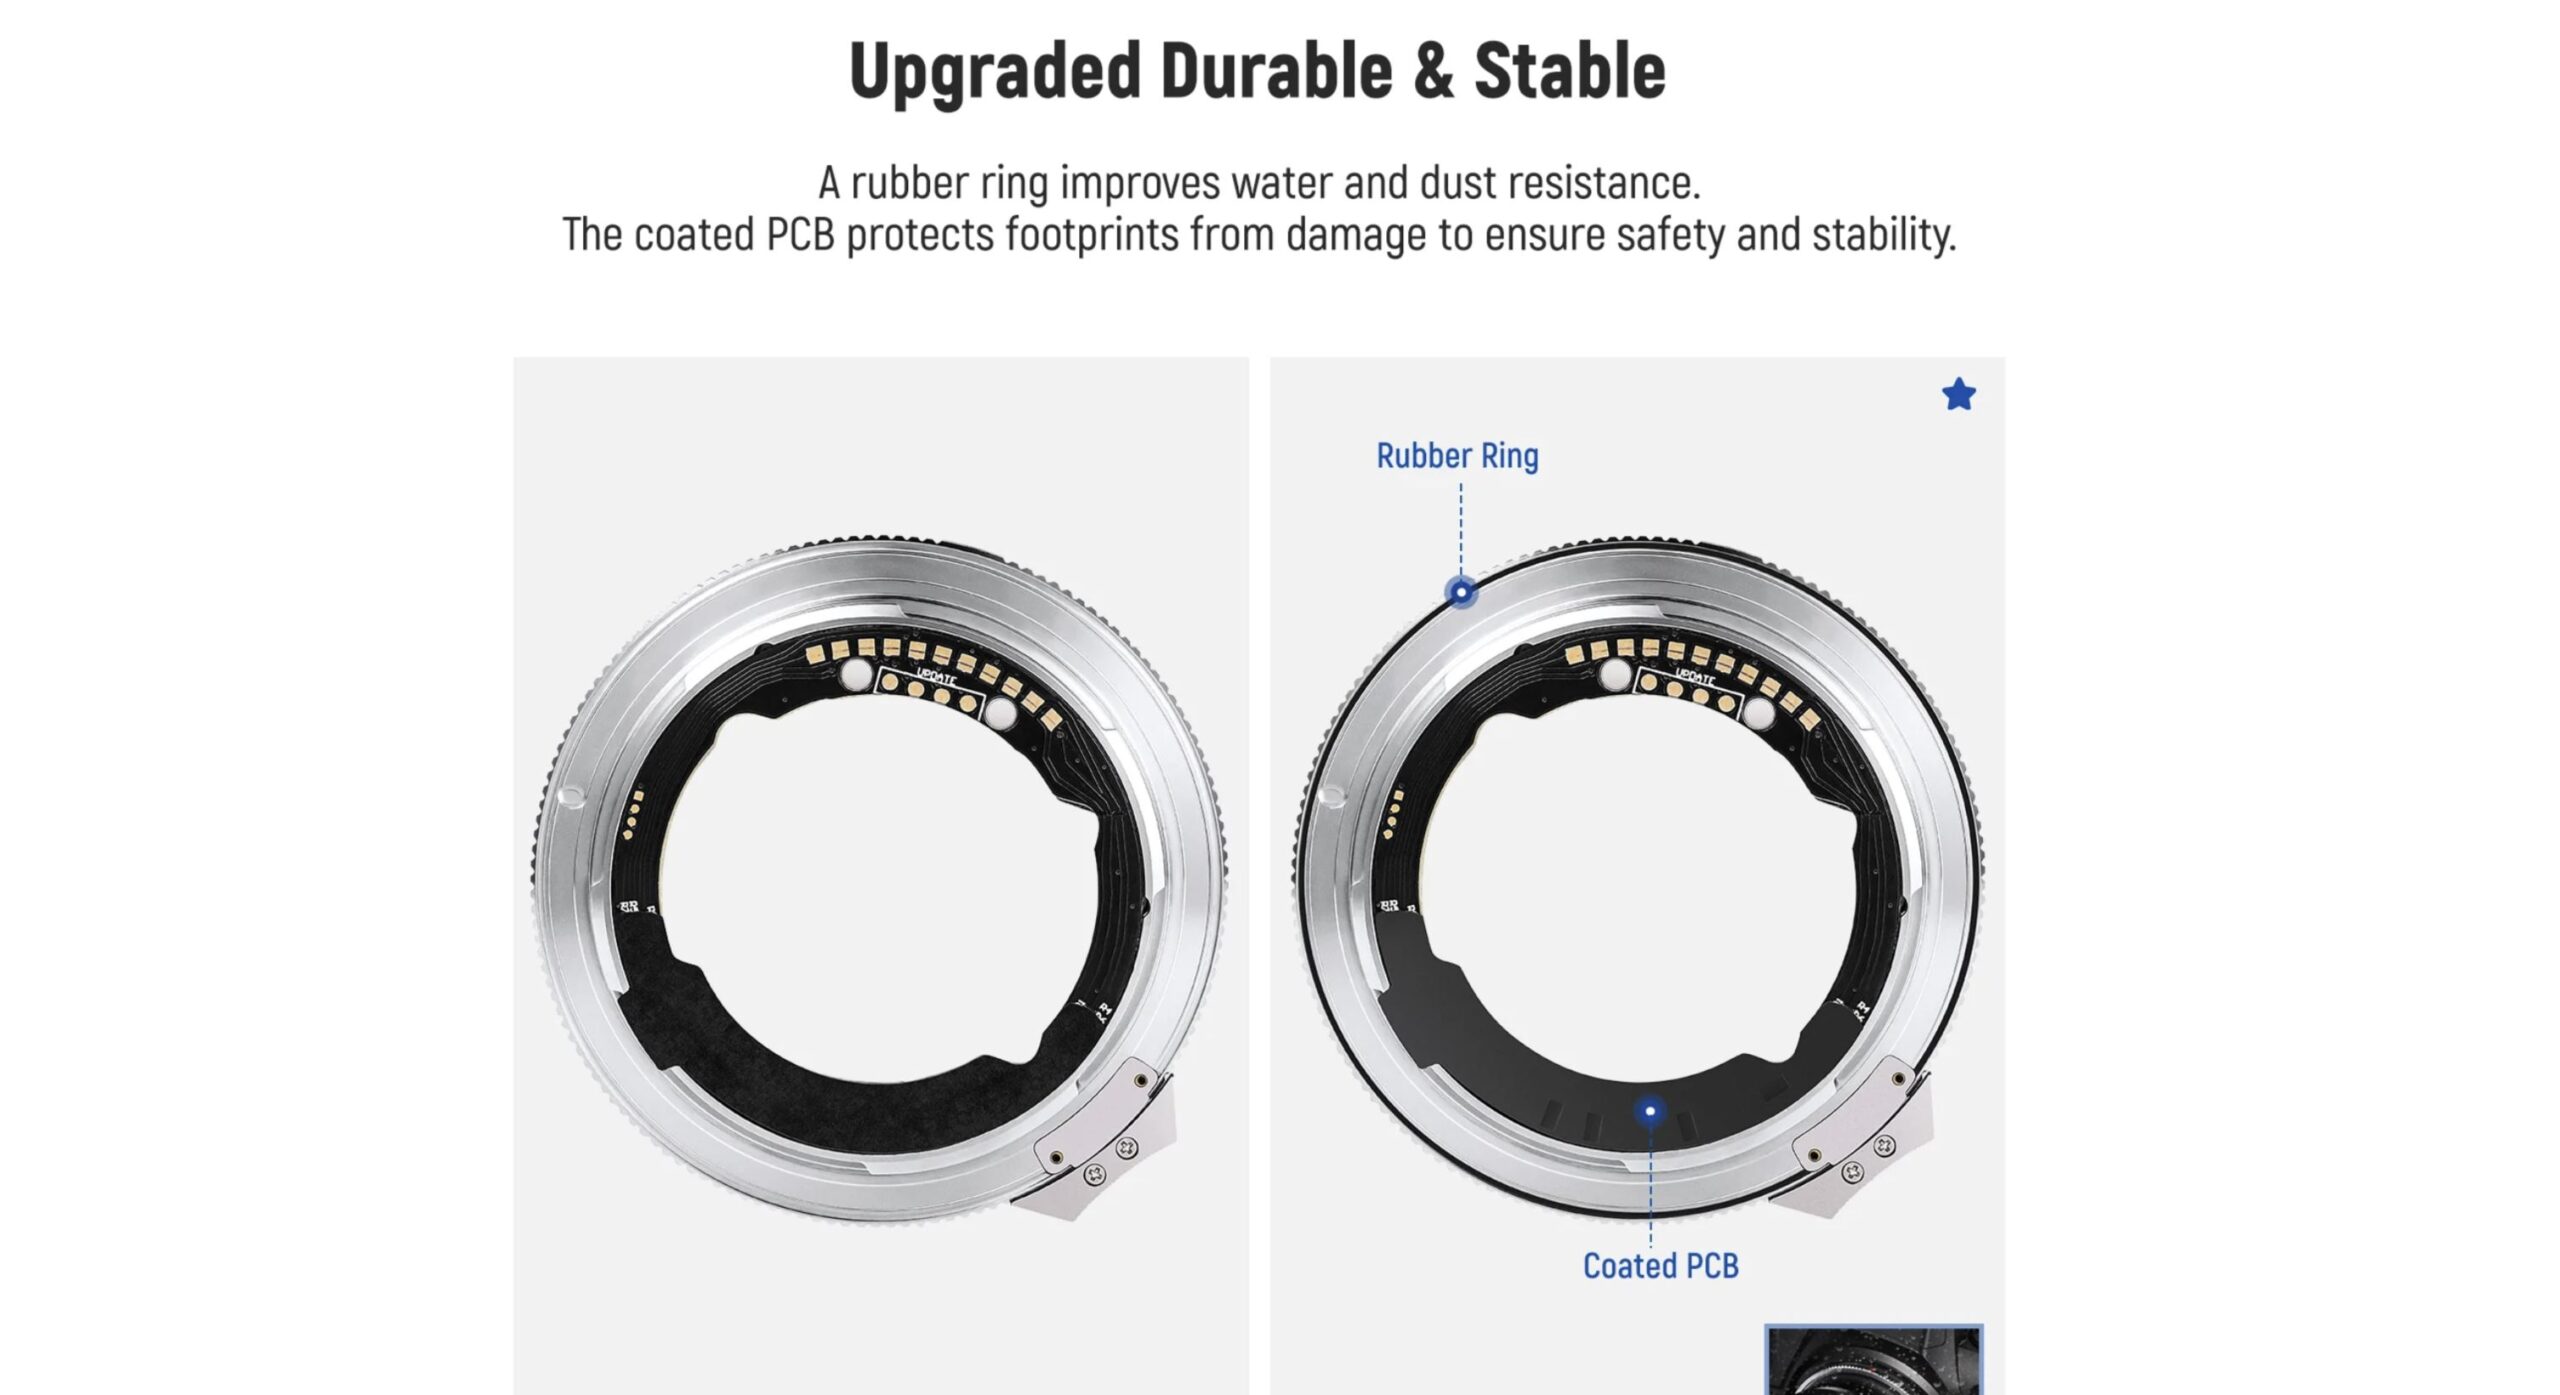
There are two versions of the NW-ETZ adapter; a regular version (like the one I’m testing here) and a Pro version that costs about $20 more. The primary difference to the Pro version seems to be the inclusion of a weather sealing gasket, which is a negative point I raised about the Megadap adapter in my review of that lens.
For some reason, however, user reviews tend to be higher for the cheaper adapter without the rubber gasket. Perhaps the fit is a little better without it, as functionally these should be the same.
The premise of the NW-ETZ adapter is pretty simple – it interprets the focus algorithms from the camera (Nikon Z) and translates them to the language of the lens (Sony E), and carries EXIF data and focus information back to the camera. The byproduct is that you can get effective autofocus from Sony E-mount lenses on a Nikon Z mount body…and there’s a lot of great Sony E-mount glass out there!
So does it work? The answer is a little more complicated than what I saw with the Megadap ETZ21 Pro in my review, as I saw a wider variety of performances. Initially, I actually thought that it might work better for stills, as I found that autofocus with the first two lenses that I used (Sony FE 35mm F1.4 GM and Tamron 35-150mm F2-2.8 VXDE) was arguably better than the Megadap.
But as I expanded out the pool of lenses that I used, I found that my results varied more widely. I’ll detail more about that in the review below.
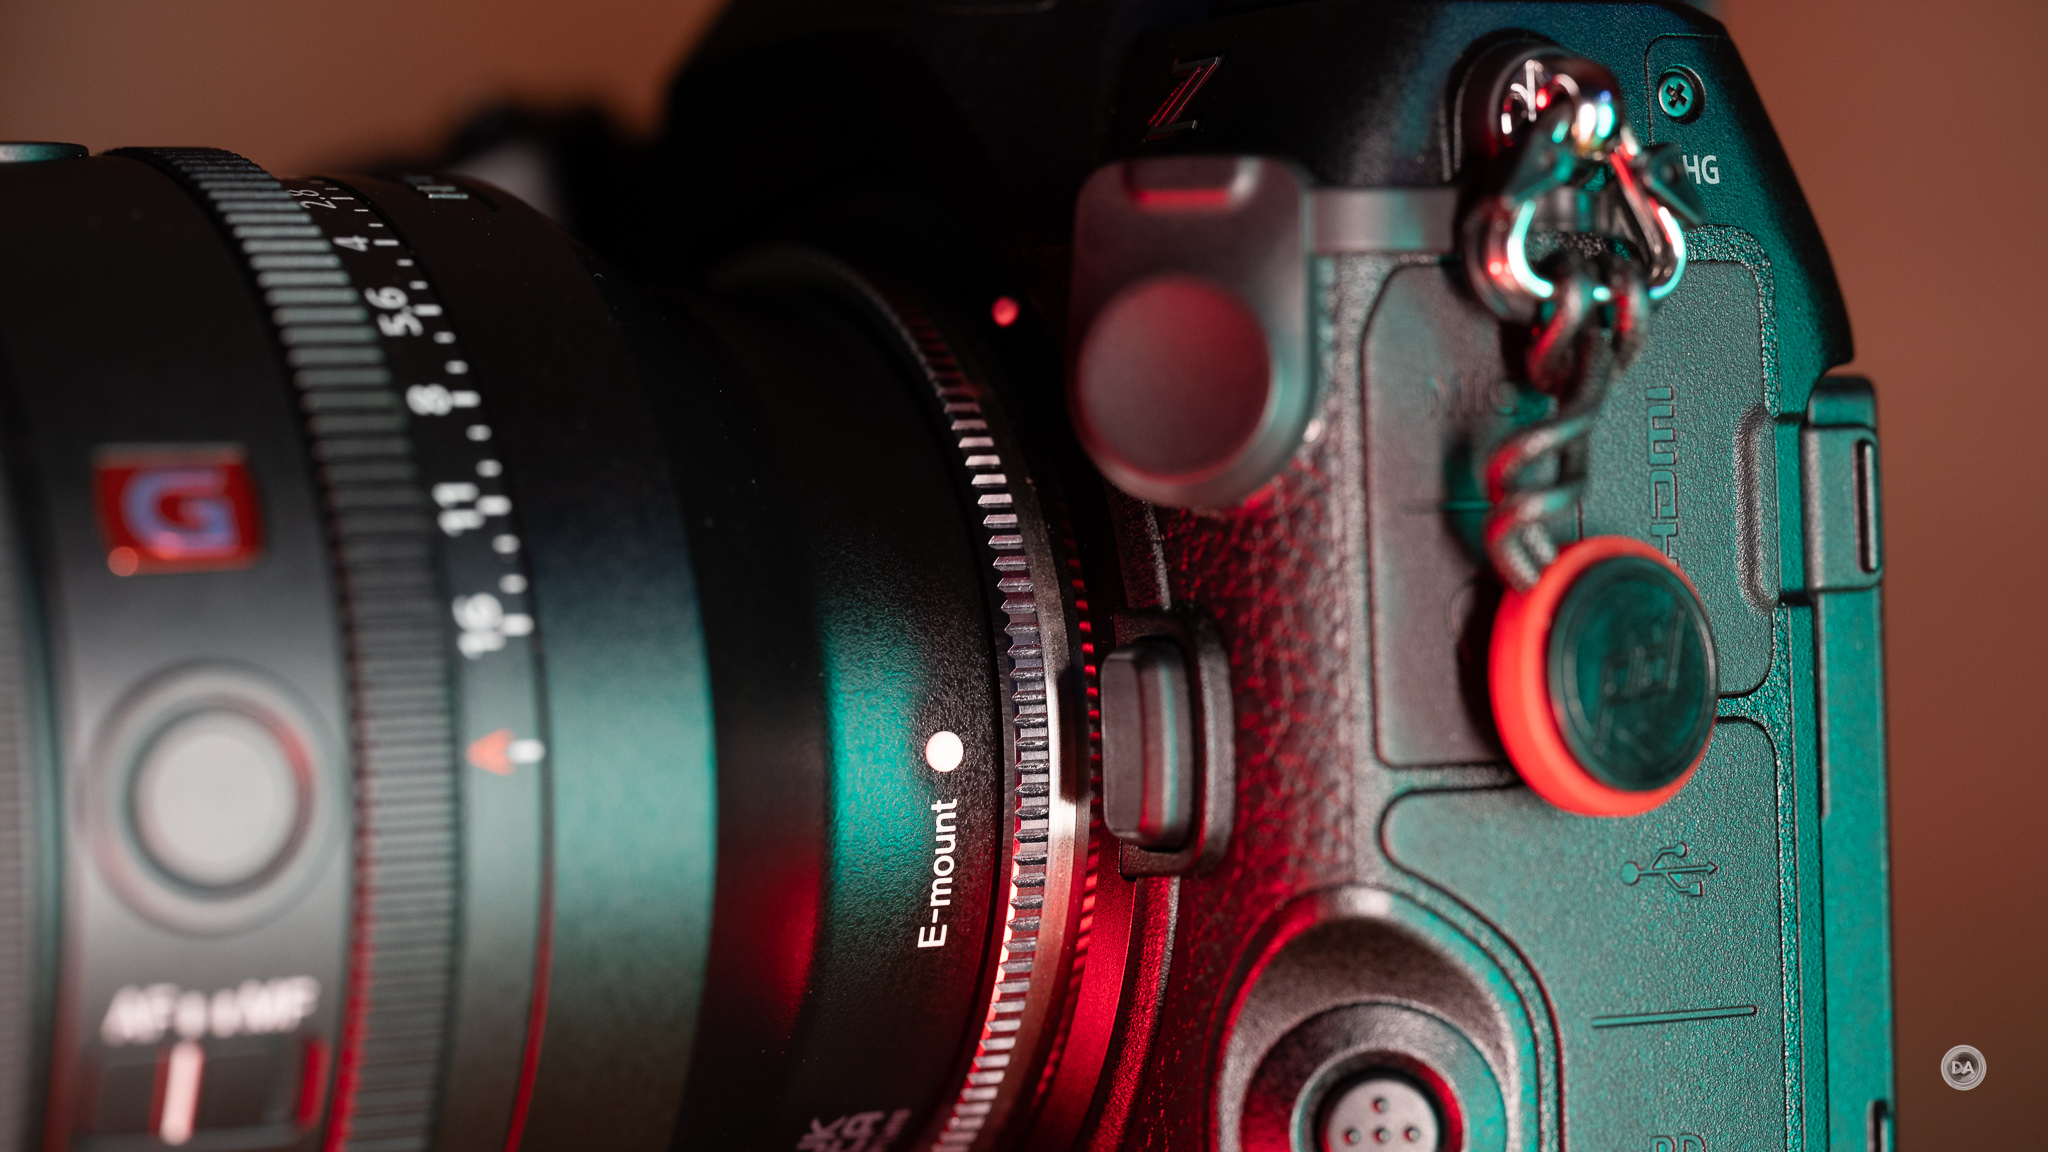
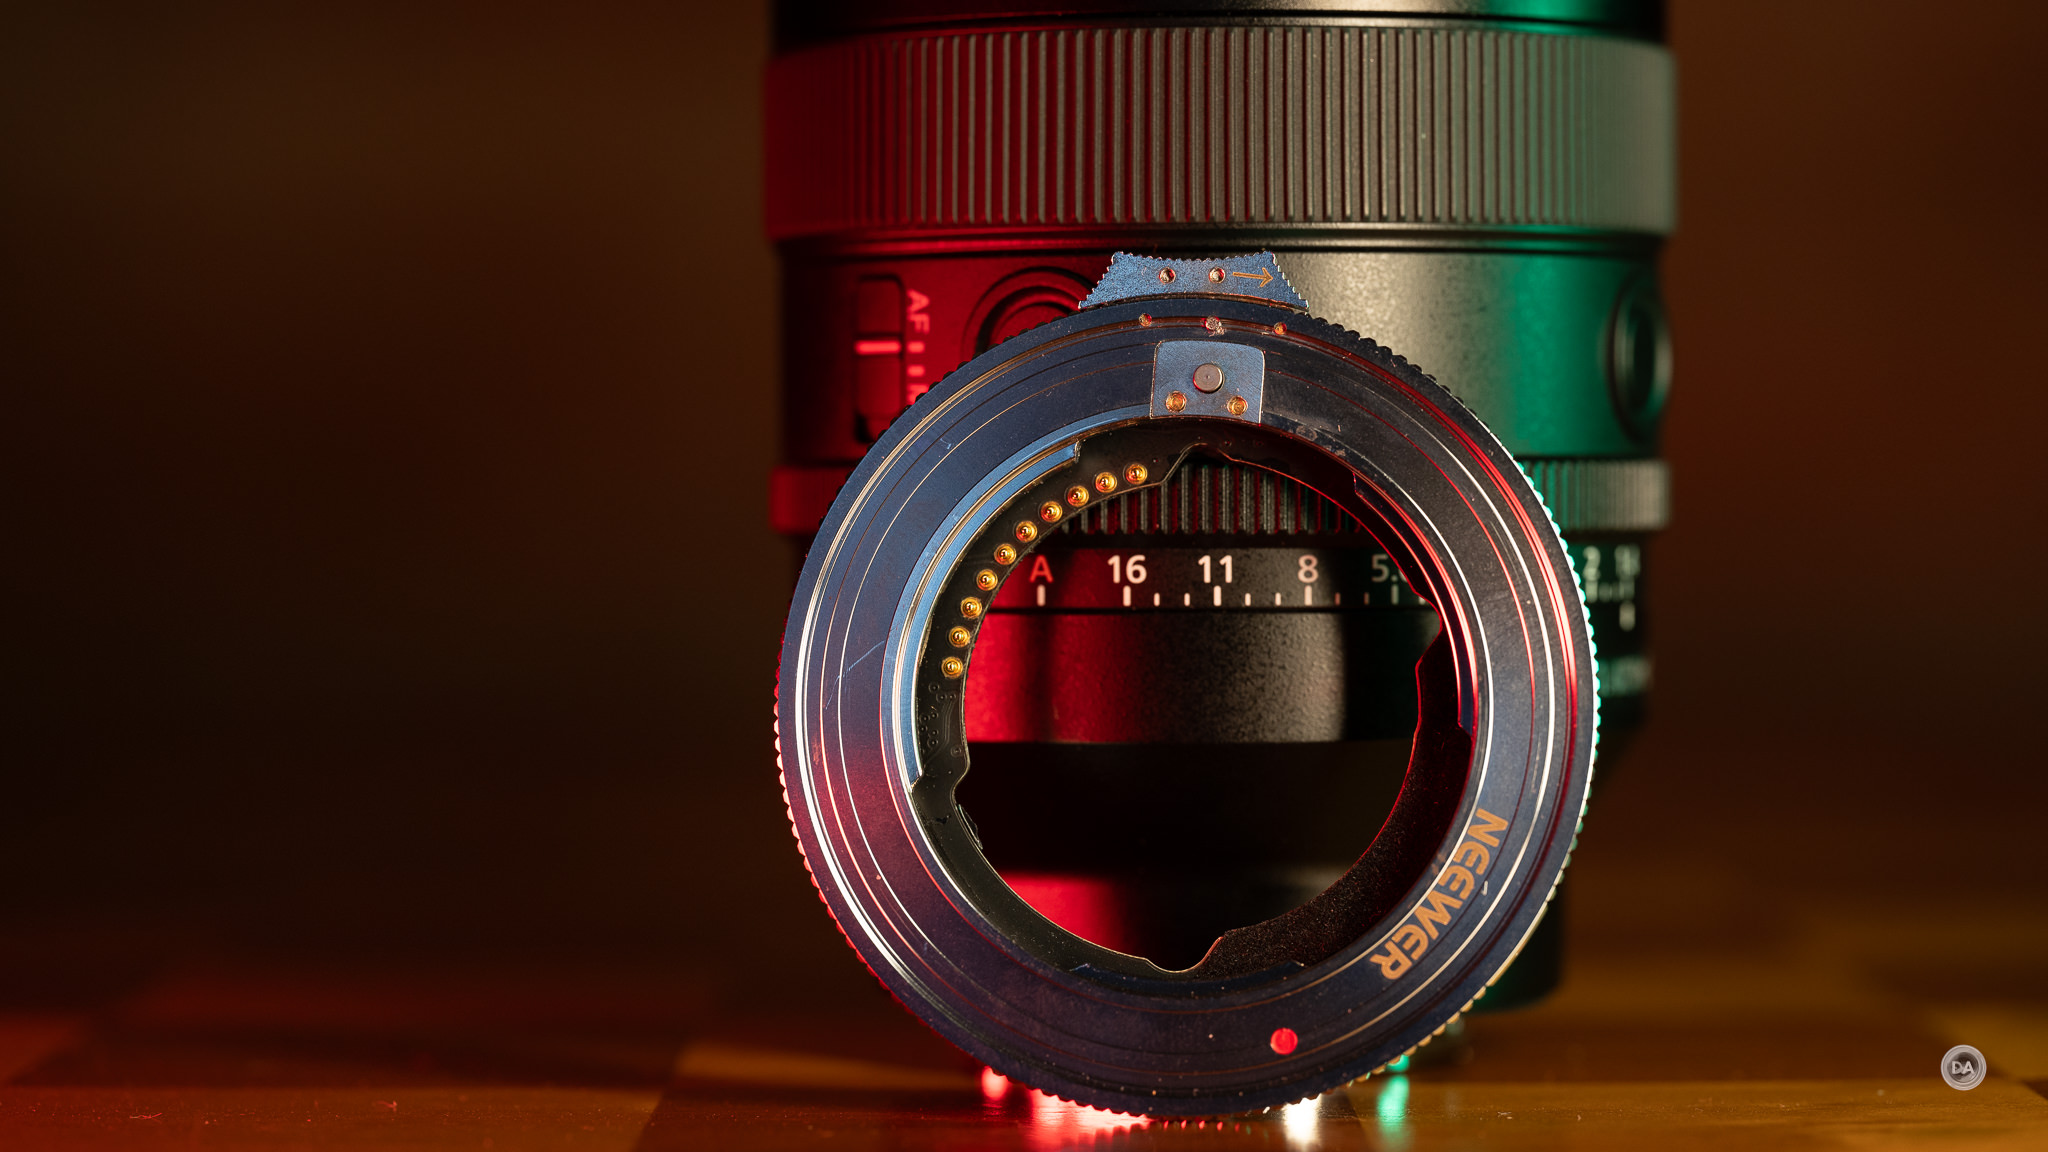
Build and Design
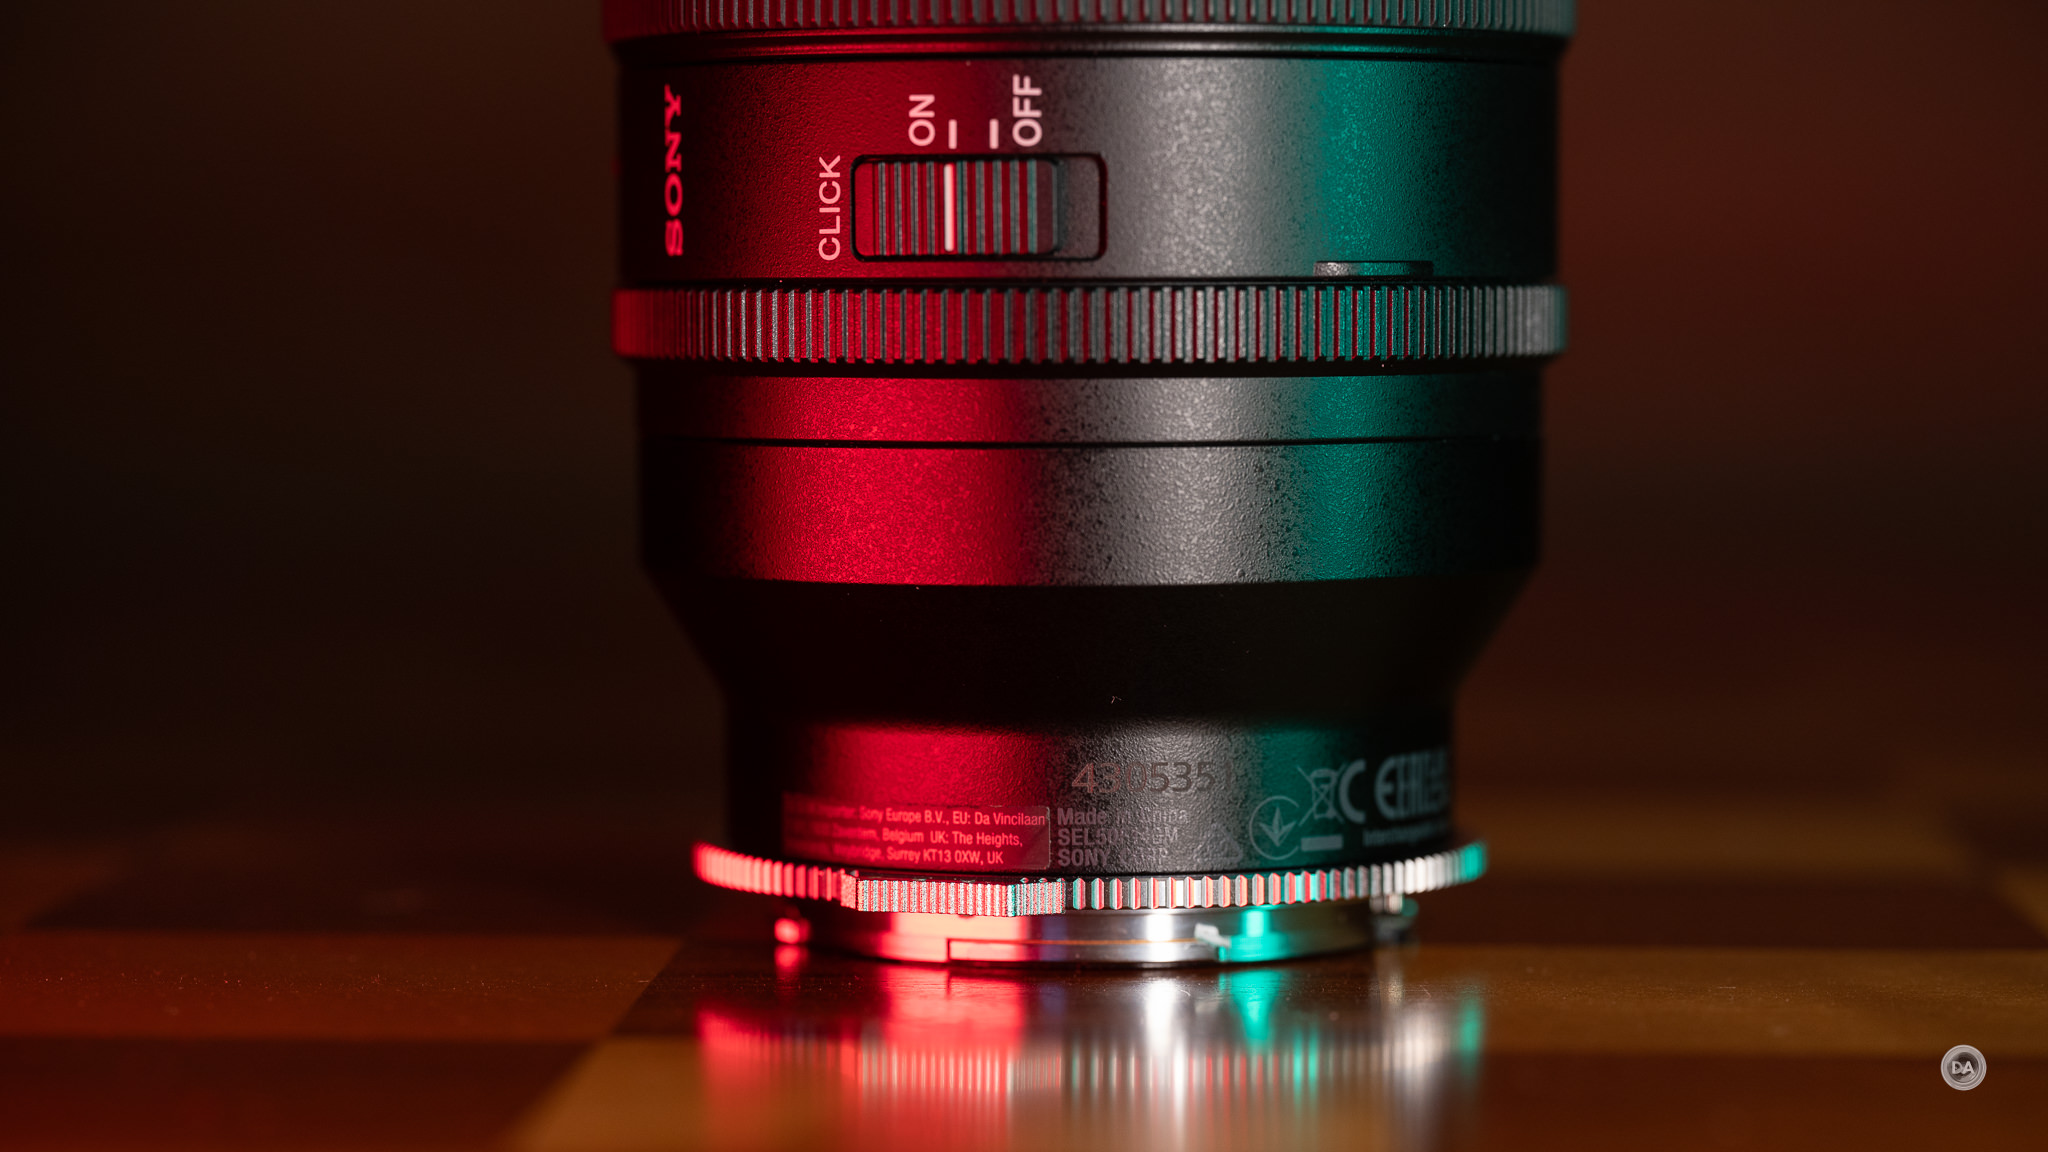
As noted previously this is a pretty simple device in some ways. Essentially it feels like a metal lens mount detached from a lens.
At just 2mm thick, it essentially just goes onto the lens like a second mount.
You really won’t notice that the adapter is there once mounted, and I found that in the half dozen lenses that I tested with it, mounting and unmounting lenses remained relatively simple. The fit of lenses will vary a bit, with some being tighter than others, but I never felt like I really had to force things.The adapter is very, very thin. Always be sure to power down the camera before removing anything, however.
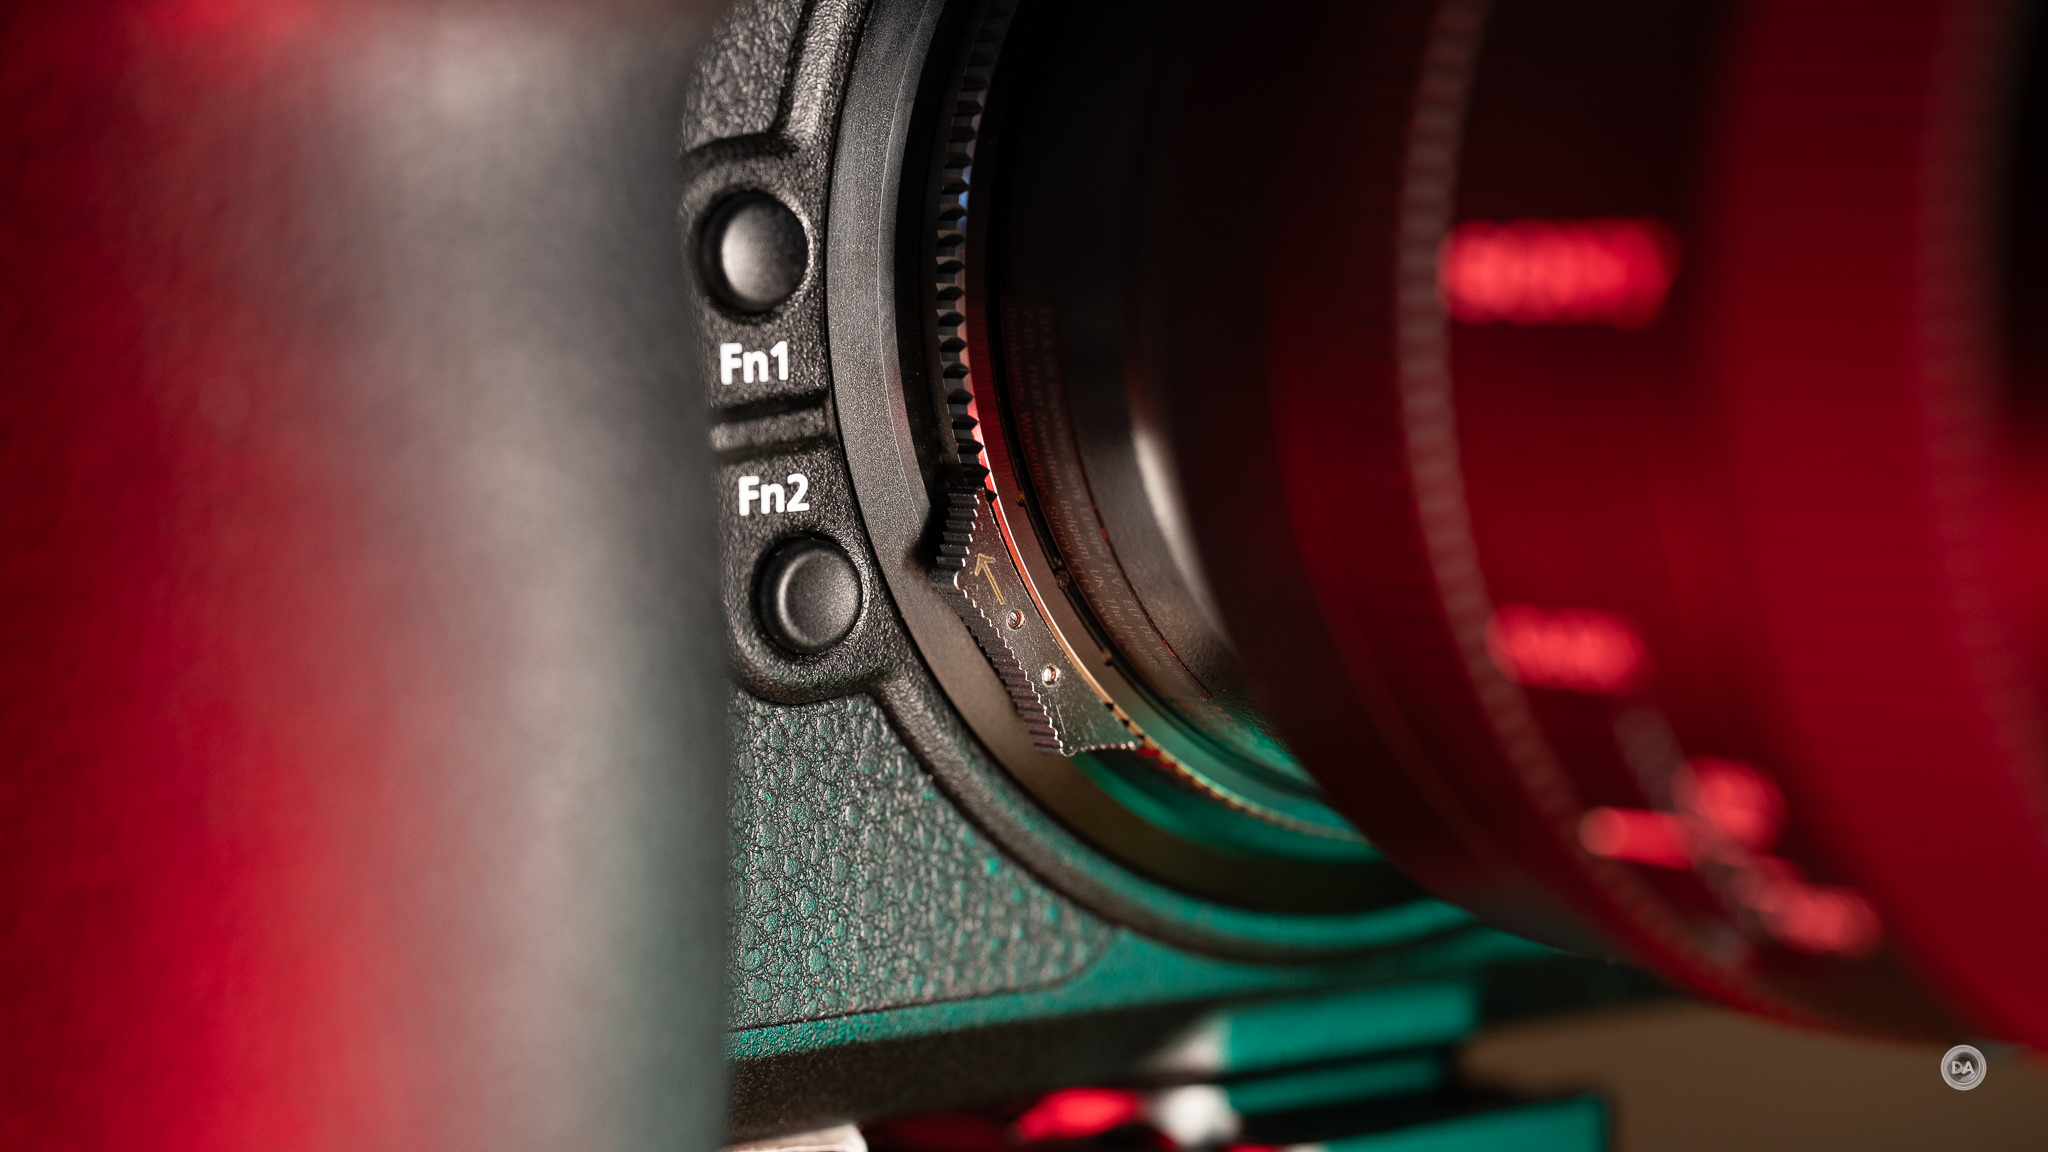
The release mechanism is different from the Megadap’s, as that release needs to be depressed while the NW-ETZ requires sliding the mechanism clockwise.
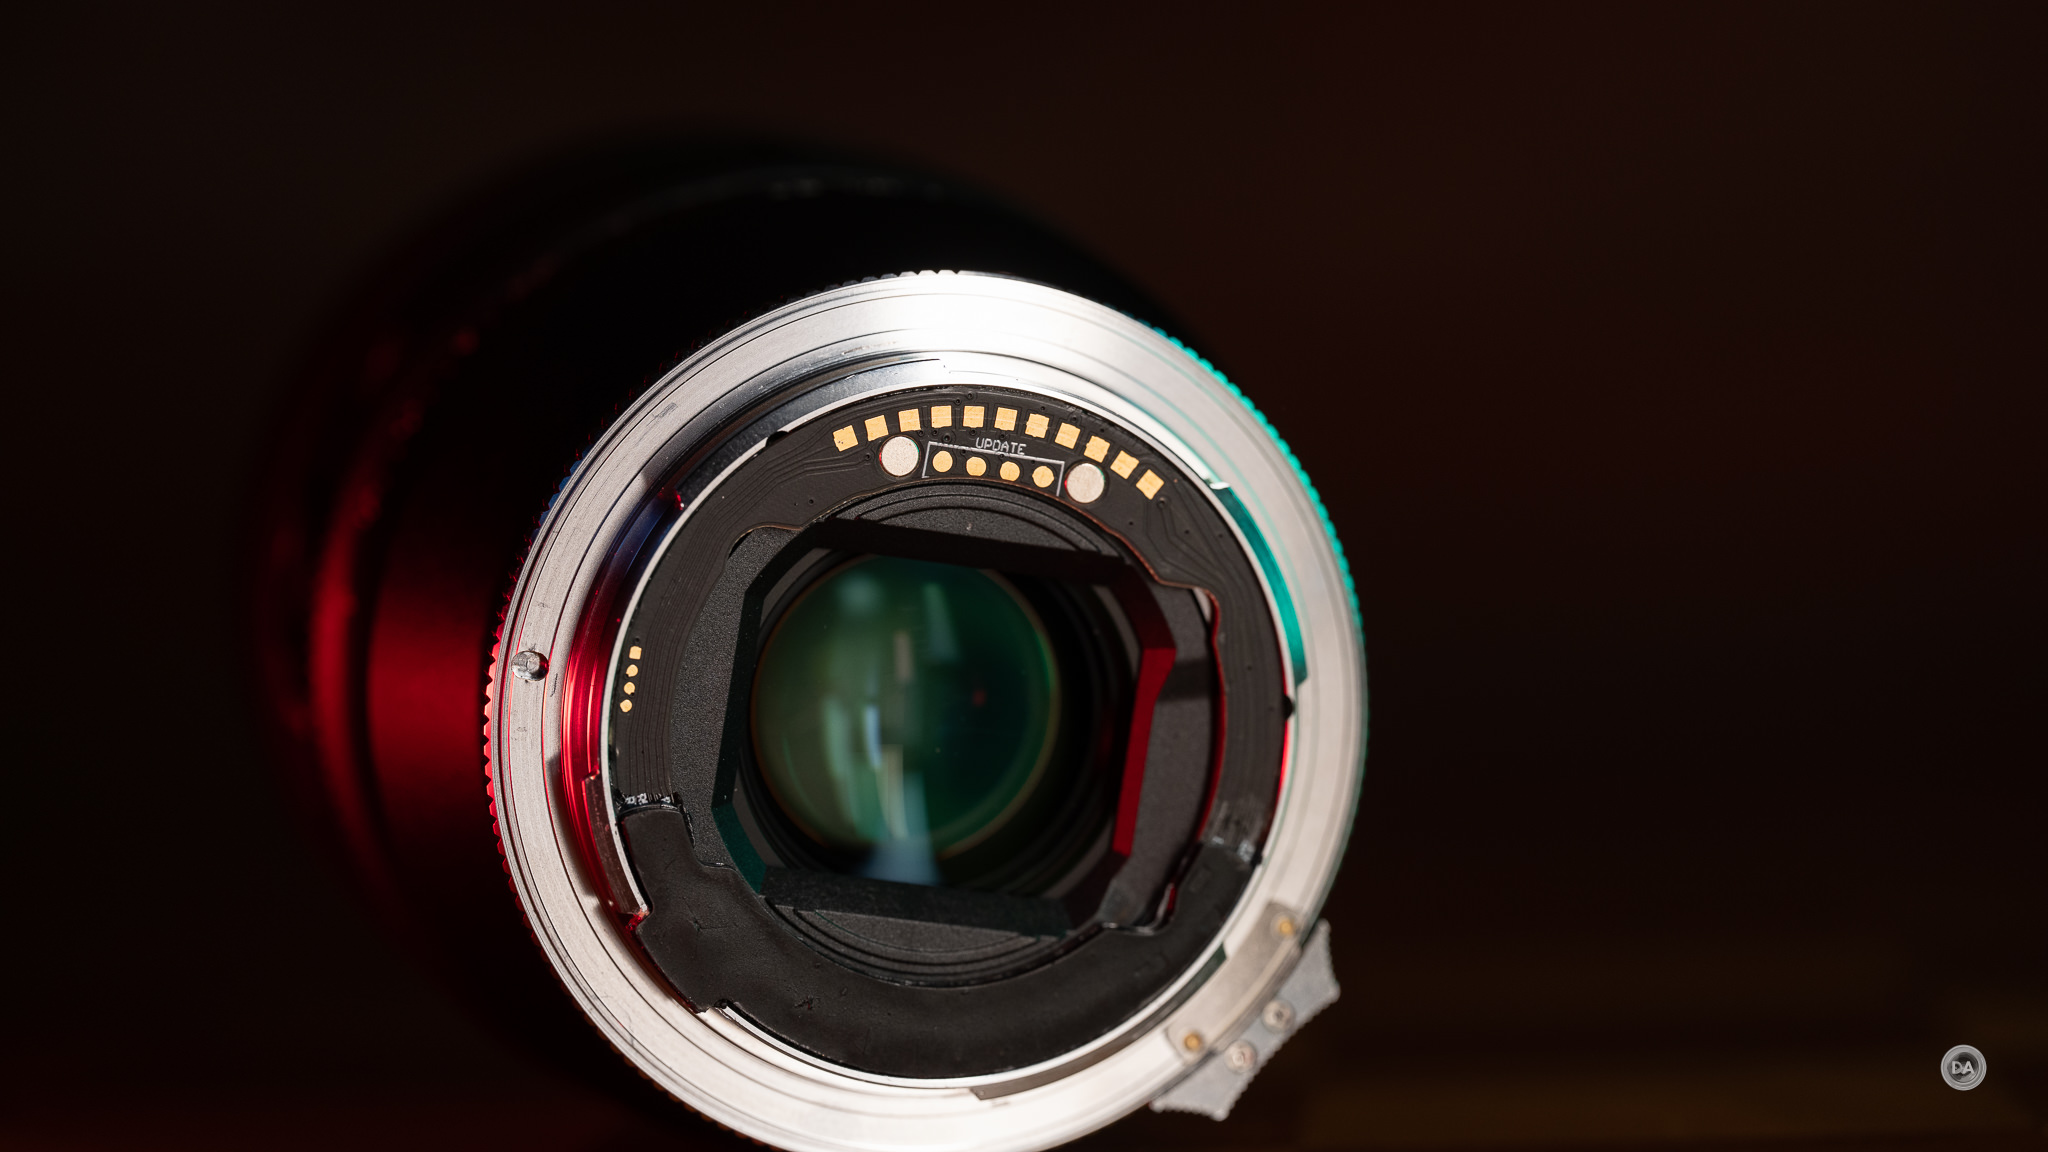
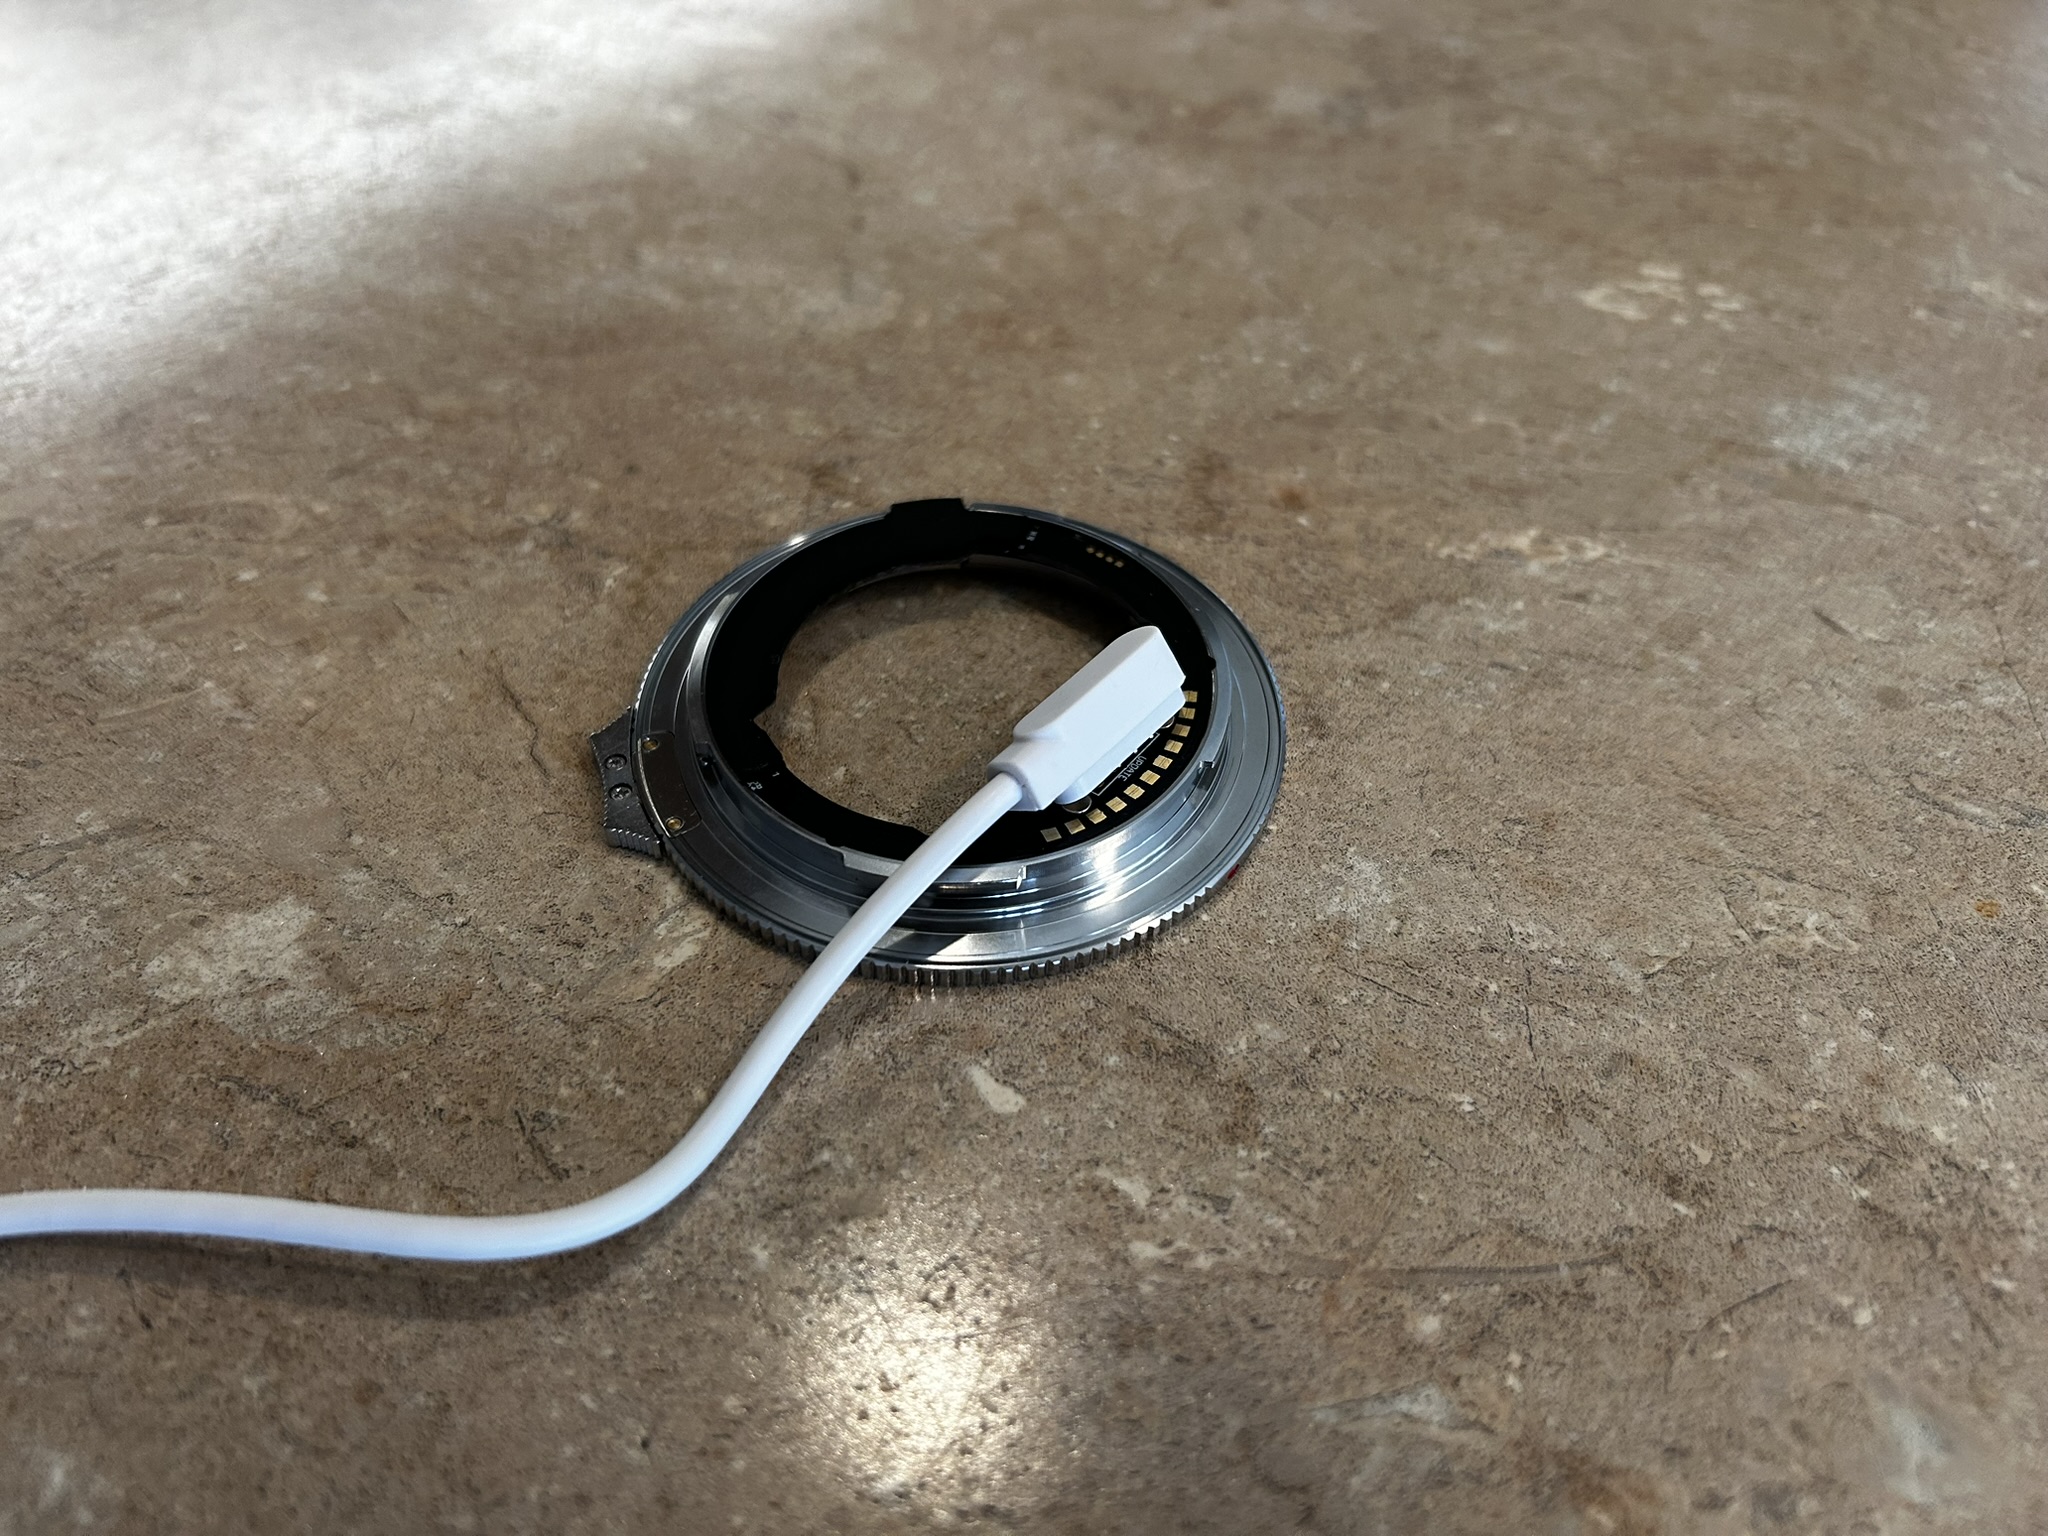
The magic of the adapter is the dual sets of electronic contacts front and back. On the backside you will see the electronic contacts for communicating with the Nikon camera. There is a second set of contacts that says, “Update” above it, and this is for doing firmware updates. There is an included cable that magnetically attaches to the larger circles and then data is transferred to the adapter. The other end of the cable is a USB-A connector.
I did do a firmware update, and found that the magnetic attachment wasn’t quite as strong as what I would have liked. You need to be sure that the cable doesn’t hang down in between the adapter and your computer, as it will pull the contacts away from having a firm connection. I actually held the cable tight to the adapter during the review.
The actual update was just a matter of dragging the firmware update file into the folder for the adapter that pops up once the connection is made. There isn’t really any kind of reaction, but if you let it sit for a minute, then eject the folder and reconnect, you’ll find that the update has in fact happened.
The front of the adapter has the pins that will come in contact with the Sony E-mount lenses.
Presumably there is some kind of processor hidden in there to do the focus algorithm conversions.
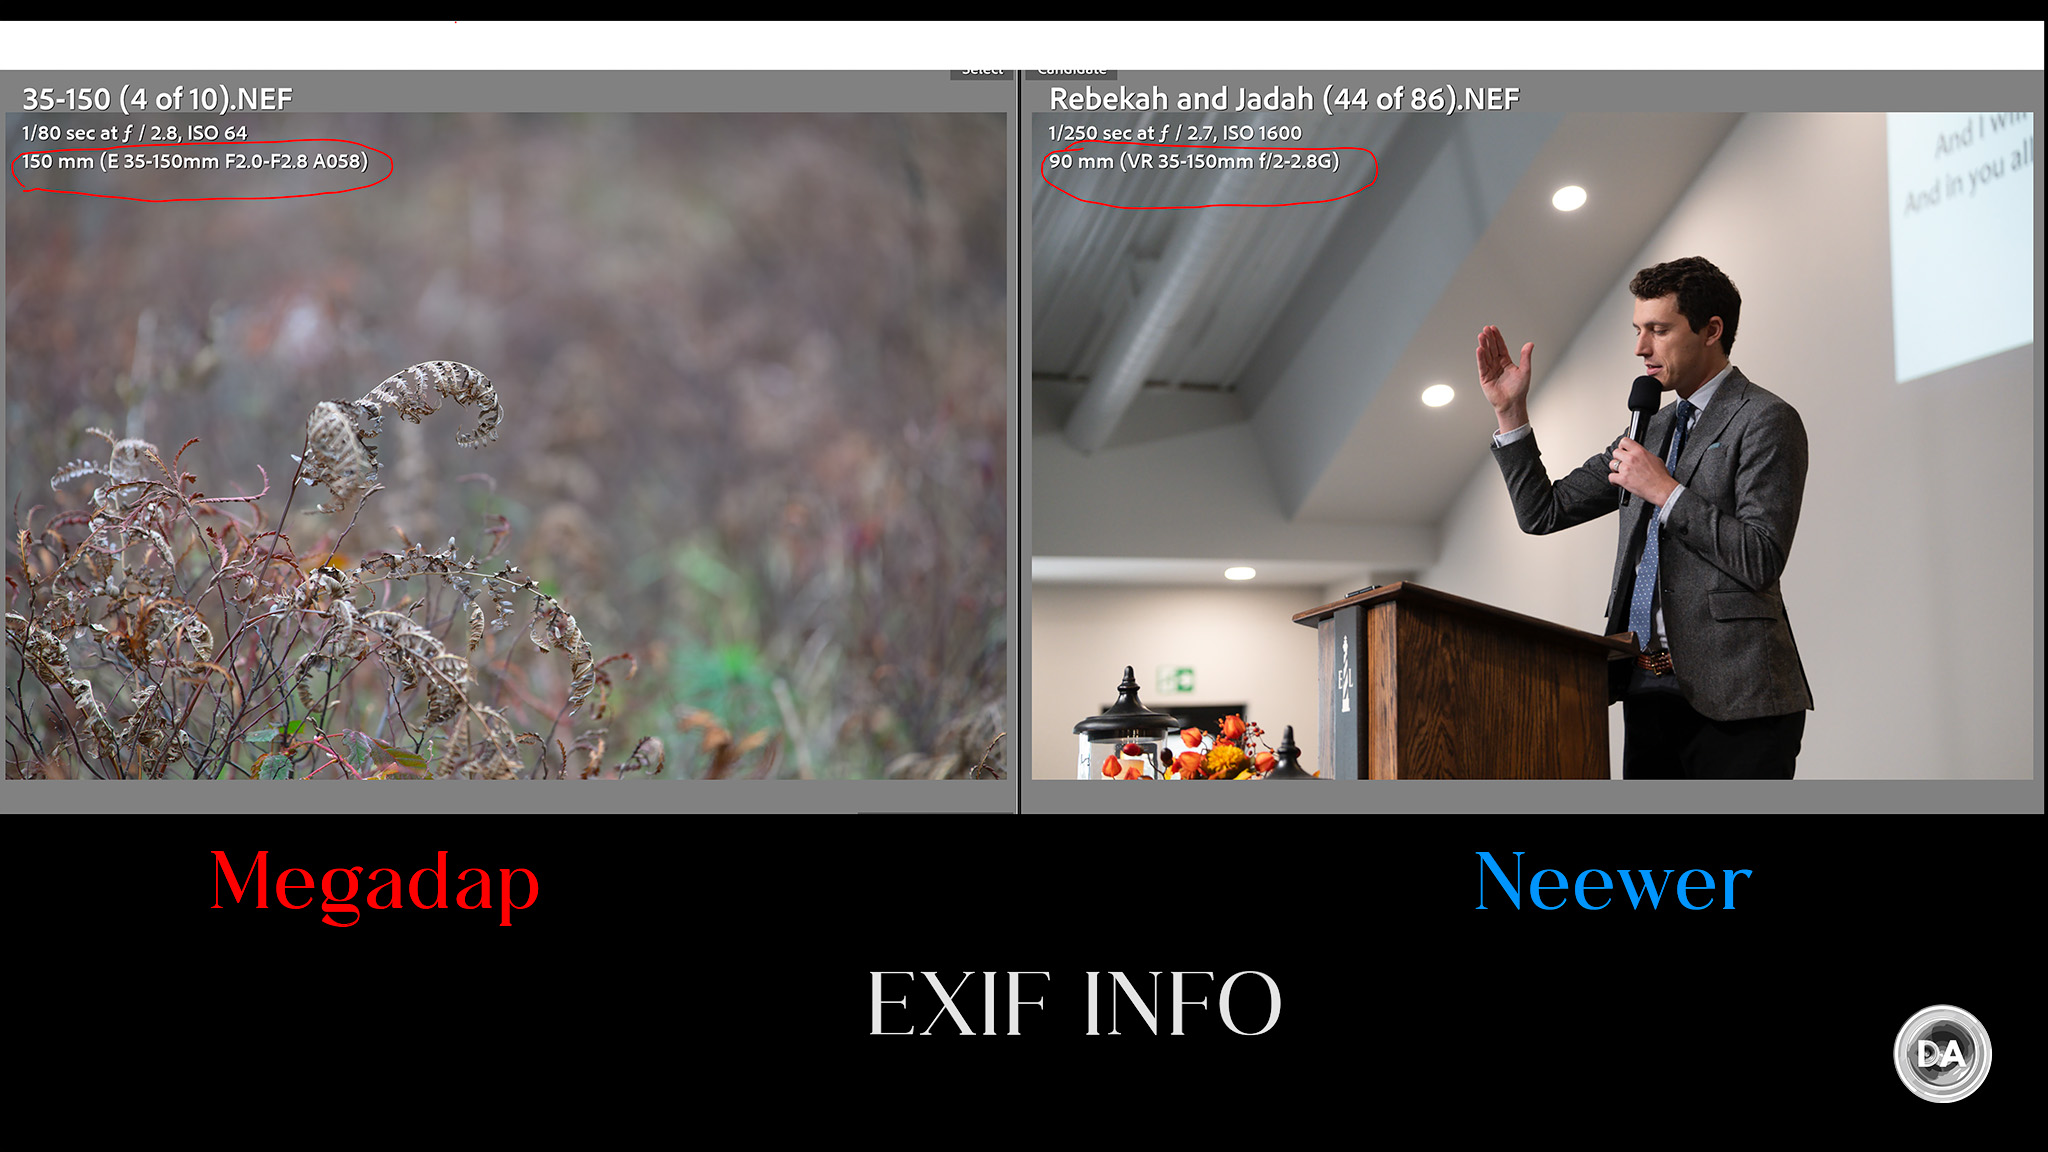
The Megadap adapter definitely bests the Newer in one regard: it accurately delivers the EXIF information, whereas the Neewer seems to try to find a Nikon equivalent.
Both of the images in the comparison were shot with the Tamron 35-150mm F2-F2.8 VXD, and the Megadap shows the proper lens designation (including A058, Tamron’s internal code for the lens), while the Neewer reported VR 35-150mm F2-2.8G, which is clearly not accurate (this is not a G lens, nor does it have VR). The Megadap also reported properly for the two Sony lenses I tested, the Sigma lens, and the Viltrox lens. The Neewer reported the Sony lenses as VR 35mm F1.4G and VR 50mm F1.4G, while the Megadap properly recorded them as FE 35mm and 50mm F1.4 GM, respectively.
Still, for a relatively low amount of money, you can mount your E-mount lenses on your Nikon camera and enjoy autofocus.
Manual Focus Aids?
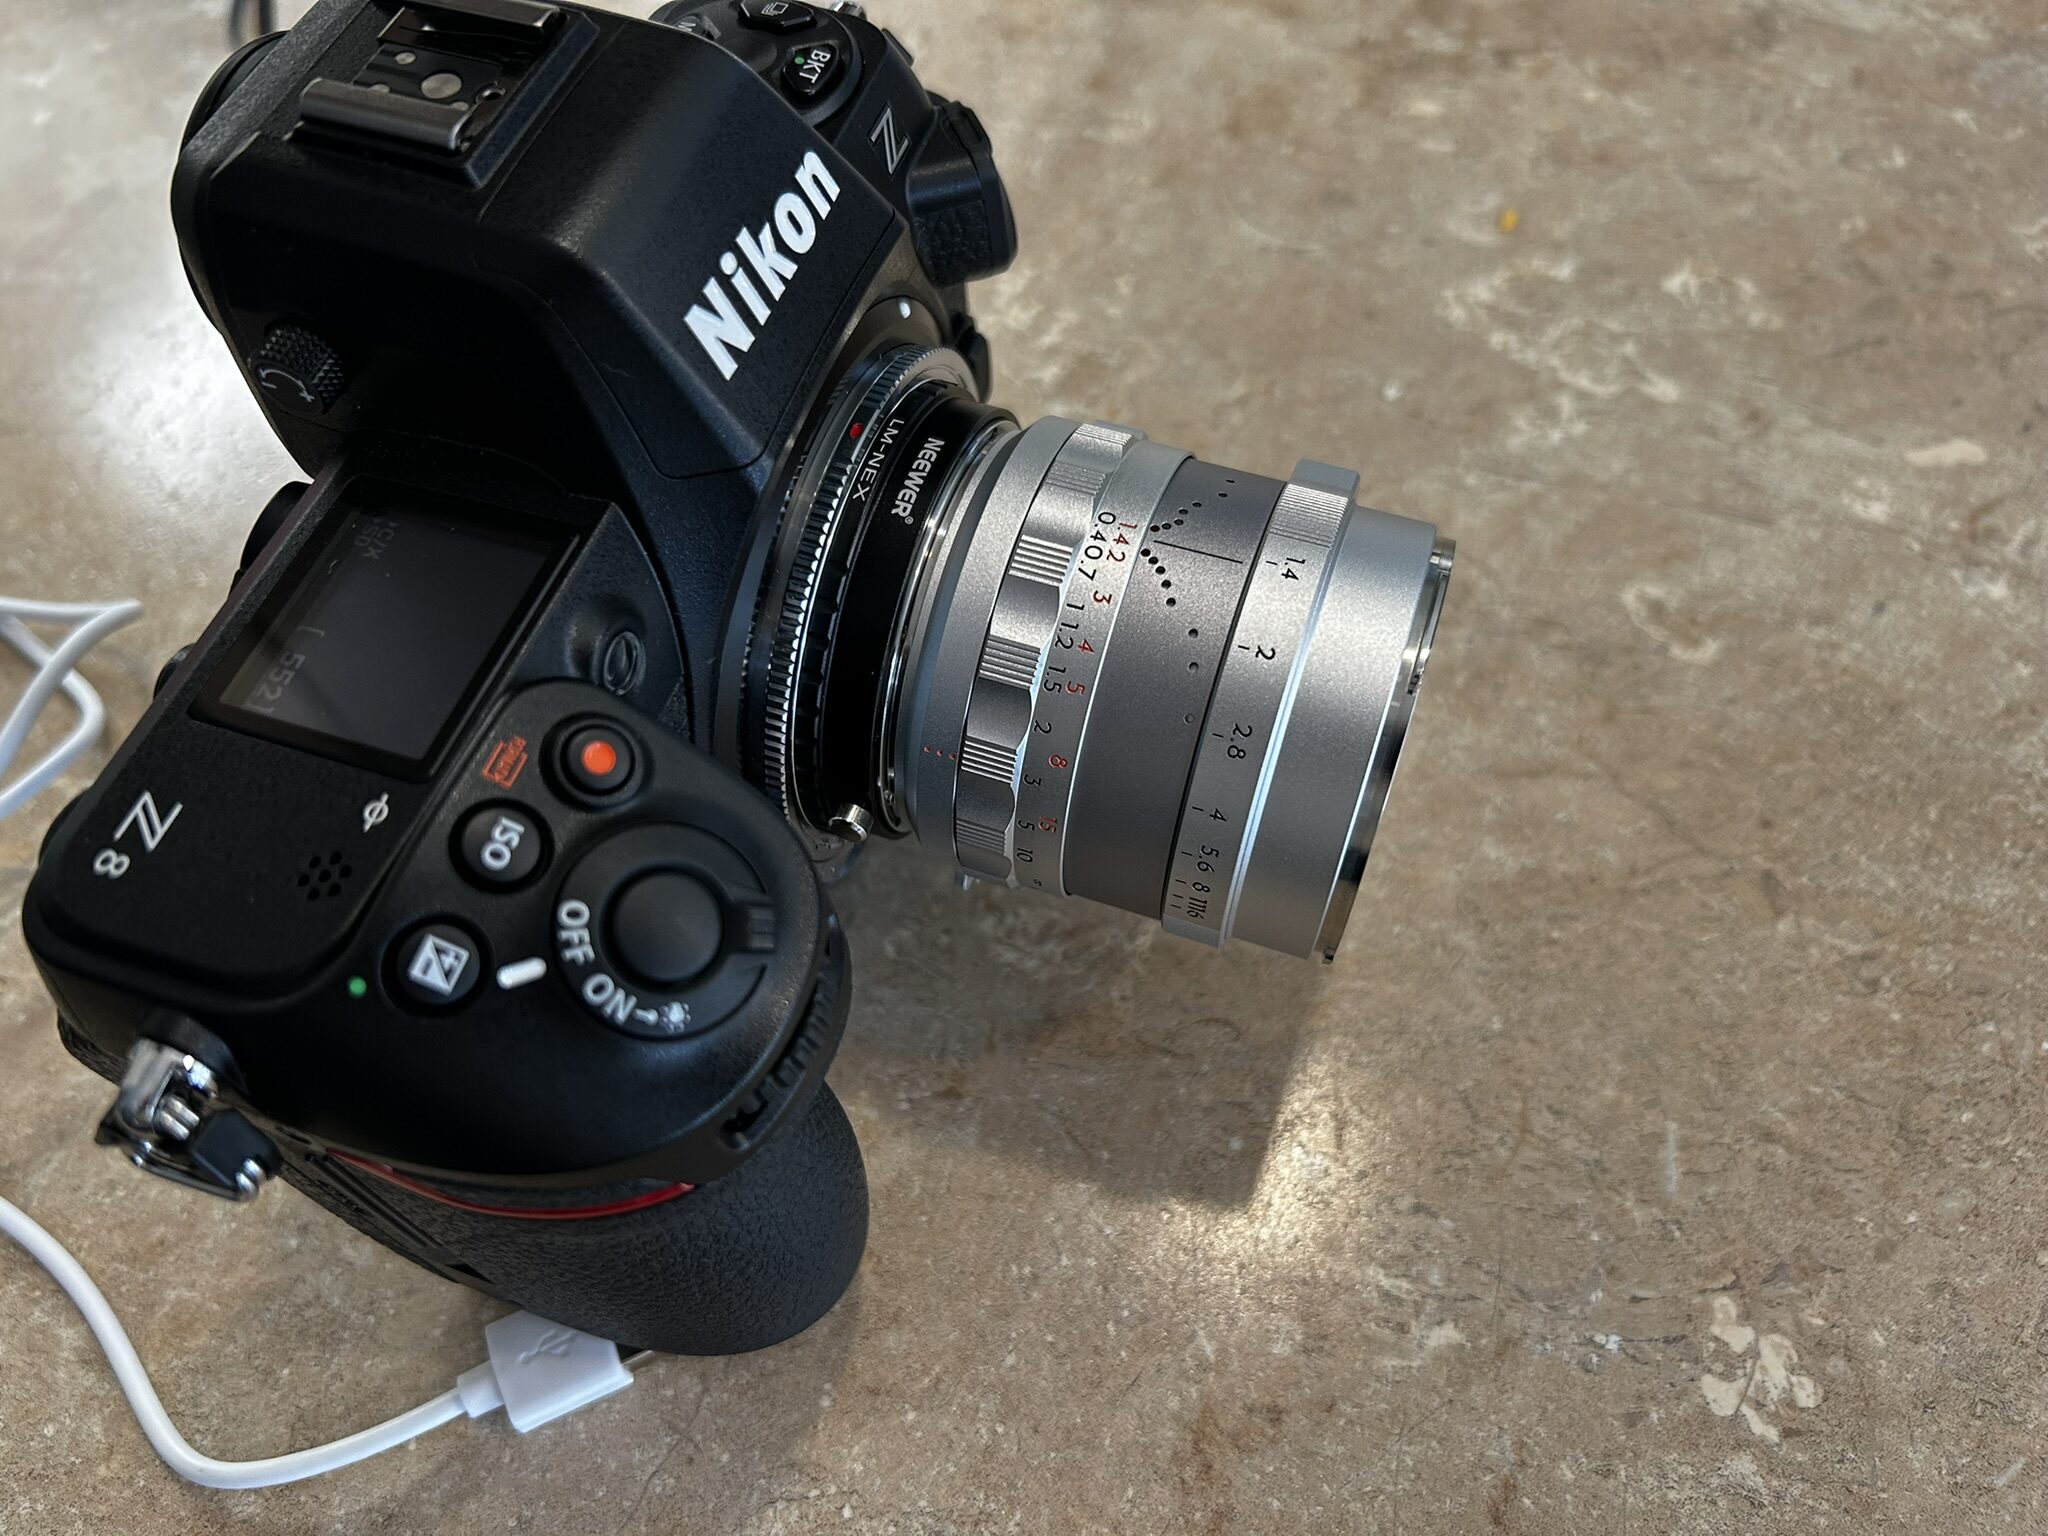
The Neewer NW-ETZ has an additional trick up its sleeve that the Megadap lacks. If you attach manual focus lenses (even those without electronic contacts), the NW-ETZ serves to provide electronic communication, giving you focus confirmation and even allowing Nikon’s focus guide to work (which prompts you which direction to turn the manual focus ring to achieve proper focus).
I had a lot of fun with my Thypoch Simera 28mm F1.4 (an M-mount lens), but utilizing an adapter from M-mount to E-mount, and then using the NW-ETZ to complete the journey to Z-mount. It was easy to nail focus, and the focus confirmation proved very accurate.
You can see just how precise that focus was here:
Somewhat disappointing, however, is that even while my Z8 camera allows me to manually enter the EXIF information for a lens like this (and I went to the trouble to do so!), the adapter reported the lens as 50mm F1G – not correct in any detail!
But this was unquestionably a nice hidden feature, as this worked for any fully manual (no electronics) lens that I tried, whether it was E-mount, M42, or M-mount. Just use an additional adapter to E-mount (if needed), and the NW-ETZ provides the electronics. Pretty cool!
Stills Autofocus with the NW-ETZ
When reviewing the Megadap ETZ21 Pro, I found that my focus results were pretty consistent. Lenses with faster focus motors focused faster, obviously, and more confident autofocusing lenses worked better at the extremes. My findings are more nuanced with the NW-ETZ, as some lenses worked fantastically, while others didn’t really work particularly well.
I tested the Sony 35mm and 50mm F1.4 G Master lenses, the Tamron 90mm F2.8 Macro, 28-200mm RXD, and the 35-150mm VXD, the Sigma 85mm F1.4 DN, and the Viltrox AF 16mm F1.8 and 135mm F1.8 LAB.
What’s wild is that my results were not consistent within brands. Let’s start with the two Sony lenses. The 35mm F1.4 GM works pretty much like a native lens, with fast, accurate results.
The very similar 50mm F1.4 GM behaved very differently. It focuses slowly and gradually, and with close focus targets I almost exclusively got results like this:
I would have to use manual override (which works great on Nikon, by the way) to get focus in the right zone, where autofocus would mostly do its job, getting me this properly focused result.
So your perception of the adapter is really going to depend on which lens you have attached to it. My initial impression (based on the 35mm) was the Neewer adapter might be better than the Megadap, but when I switched the 50mm, I was changing focus options, checking connections, and wondering if I was using the same adapter.
So, on the positive list. Outside the 35mm GM, I had very good results with the Tamron 35-150mm VXD. We used the combination for a church service and baptism, and I got fairly similar results to what I would have gotten normally with the lens on a Sony body. Very slightly slower, perhaps a hair less accurate, but perfectly usable.
The Tamron 90mm F2.8 Macro VXD also worked brilliantly, delivering results not far from what I would expect from a native lens.
I even found that I didn’t have the issues with focus not wanting to grab a foreground subject, so in this regard I found that it worked better than what I saw with the Megadap.
But when I put the Tamron 28-200mm RXD, I got absolutely terrible results, with focus basically not happening regardless of what I did to try to coax it along. I basically was resorting to manual override to get anything in focus.
In the case of Tamron lenses (at least the three I tested), it seems like the adapter likes the newer VXD motor, but doesn’t like the older RXD motor of the 28-200mm.
Ironically, however, the STM focus motor of the Sigma 85mm F1.4 DN (definitely not the latest and greatest technology) worked fine, with the Sigma delivering good speed and precision.
Finally, the Viltrox 16mm F1.8 worked perfectly, delivering accurate results even against strong backlighting.
The new 135mm F1.8 LAB lens sports a VCM motor that is similar in technology to the Tamron VXD focus motor, but the 135 LAB refused to focus at all, instead emitting a whine and refusing to do anything.
In the video review you can see my formal tests with the 35GM and 50GM, and how radically different the result with these two similar lenses is.
In other words, the results were all over the map. When a lens works on the Neewer NW-ETZ, it tends to work really well, but results are obviously much more inconsistent. It’s still generally true that better focusing lenses are going to make the transition better. That makes sense, as really the adapter’s job is to send the correct communications from the lens to the AF system via the contacts, so a fast focusing lens should continue to be a fast focusing lens, with the only real slowdown being from the need to “reinterpret” the focus algorithms from one language (Sony) to another (Nikon). The wild card in the mix here is that a fantastically focusing lens like the Sony FE 50mm F1.4 GM isn’t really all that great via the Neewer adapter, but was pretty great via the Megadap adapter.
Now, to be fair, you could eventually get the focus results you wanted with most lenses (save those that just really refused to work), like this lovely shot with the 50GM below.
But in many situations I felt like I could achieve greater success with the Megadap adapter.
Video Autofocus
*These results will be easier to see in the video review for obvious reasons.
The good news is that if you have a lens that focuses well for stills, you will also get fairly decent video AF. I did a series of test with the two GM lenses, and found that AF didn’t pick me up at all as I walked towards the camera with the 50mm F1.4 GM attached via the NW-ETZ.
With the 35mm F1.4 GM the combo tracked me perfectly, and even quickly picked me when I stepped out and back into frame.
I then tested focus pulls with the more functional lens (35GM), and found that I could generally get decent focus pulse, but I found that I encountered more pulsing during focus pulls, which is generally a byproduct of focus not being confident enough to lock.
So, as before, you’ll get your best results for video AF when using more confident lenses. I wouldn’t call video AF “native” in performance, but I would call it good enough…so long as you are using one of the lenses that the adapter likes.
Conclusion
Switching to a new camera brand can be a daunting experience, as the sheer cost of selling what you have (typically at a significant loss) and then rebuying everything for the new brand is expensive. The Neewer NW-ETZ is an inexpensive ways to bridge that gap. You can keep using the lenses you love without adding any bulk and only minimal weight, and that weight is right up close to the camera where you won’t notice it anyway. I also really like the potential benefit for manual focus lenses and the idea of getting a focus confirmation chip as a free bonus.
After a stellar start, I was disappointed that I got somewhat inconsistent results as I widened my pool of lenses. On the lenses where the adapter worked well, it worked really well, delivering fast, accurate autofocus.
But in other cases, I was obviously much less impressed. The Megadap seems like the safer choice to me, though you will have to pony up an extra $100. Perhaps that’s because the Megadap is two generations in, while this is Neewer’s first shot. I think there’s a lot of potential here, because when it works, it works really well, but there are definitely some bugs left to squash.
Pros:
Love how compact the adapter is
Manual focus electronic confirmation is a nice bonus
Autofocus for stills (with lenses it likes) is generally very good
Was able to track some action during video capture
DISCLAIMER: This article and description contains affiliate links, which means that if you click on one of the product links, I’ll receive a small commission. As an Amazon Associate I earn from qualifying purchases.
Megadap ETZ21 Pro Sony E to Nikon Z Adapter Review
Dustin Abbott
November 25th, 2024
Megadap ETZ21 Adapter Review
When I first started using Sony E-mount, I was coming off a period of more than a decade where I had used the Canon EF ecosystem exclusively. It was a delight to find that there were adapters that would allow me to use my Canon lenses on my Sony camera as well. I used and reviewed a number of popular adapters from brands like Metabones, Sigma, and Vello, but found that they all came with some serious limitations. Over time I tired of used my EF lenses adapted for two primary reasons: 1) size and weight. 2) Inadequate performance. My favorite of the adapters proved to be the Sigma MC-11, but it added 125g to the weight of every lens attached to it and added another 26mm in length. This was necessary to adapt a DSLR mount to a mirrorless design. The optical path needs to be in a completely different place, so the optics need to be moved further away from the sensor to achieve proper infinity focus. I found that there was a huge spectrum of performance, too, with some lenses working fairly well and others being very inconsistent. Video AF, in particular, was pretty rough where it existed at all.
But here we are again looking at a new type of adapter, in this case adapting one mirrorless lens mount (Sony E-mount) to another mirrorless lens mount (Nikon Z-mount). The rules are a bit different this time. For one, the “flange distance” between the two mounts is similar, so now the adapter itself is just a few millimeters thick (2mm, to be exact), adding almost no additional bulk to lenses. There is a bit of weight, but, at 43g on my scale, it’s a third of what we dealt with the EF to FE adapters. And the performance seems to be better, too, with even some usable (though not flawless) performance for video. So is the Megadap ETZ21 Pro worth a $250 investment? Find out my thoughts by watching the video review below…or just keep reading.
Thanks to Megadap for providing a review sample of the ETZ21 Pro. As always, this is a completely independent review. All opinions and conclusions are my own.*The tests and most of the photos that I share as a part of my review cycle have been done with the 45MP Nikon Z8, which I reviewed here.
There will be some continuity between this review and another of the Neewer NW-ETZ adapter, as I’ve spent time with both in an attempt to get up to speed as to which adapter works better.
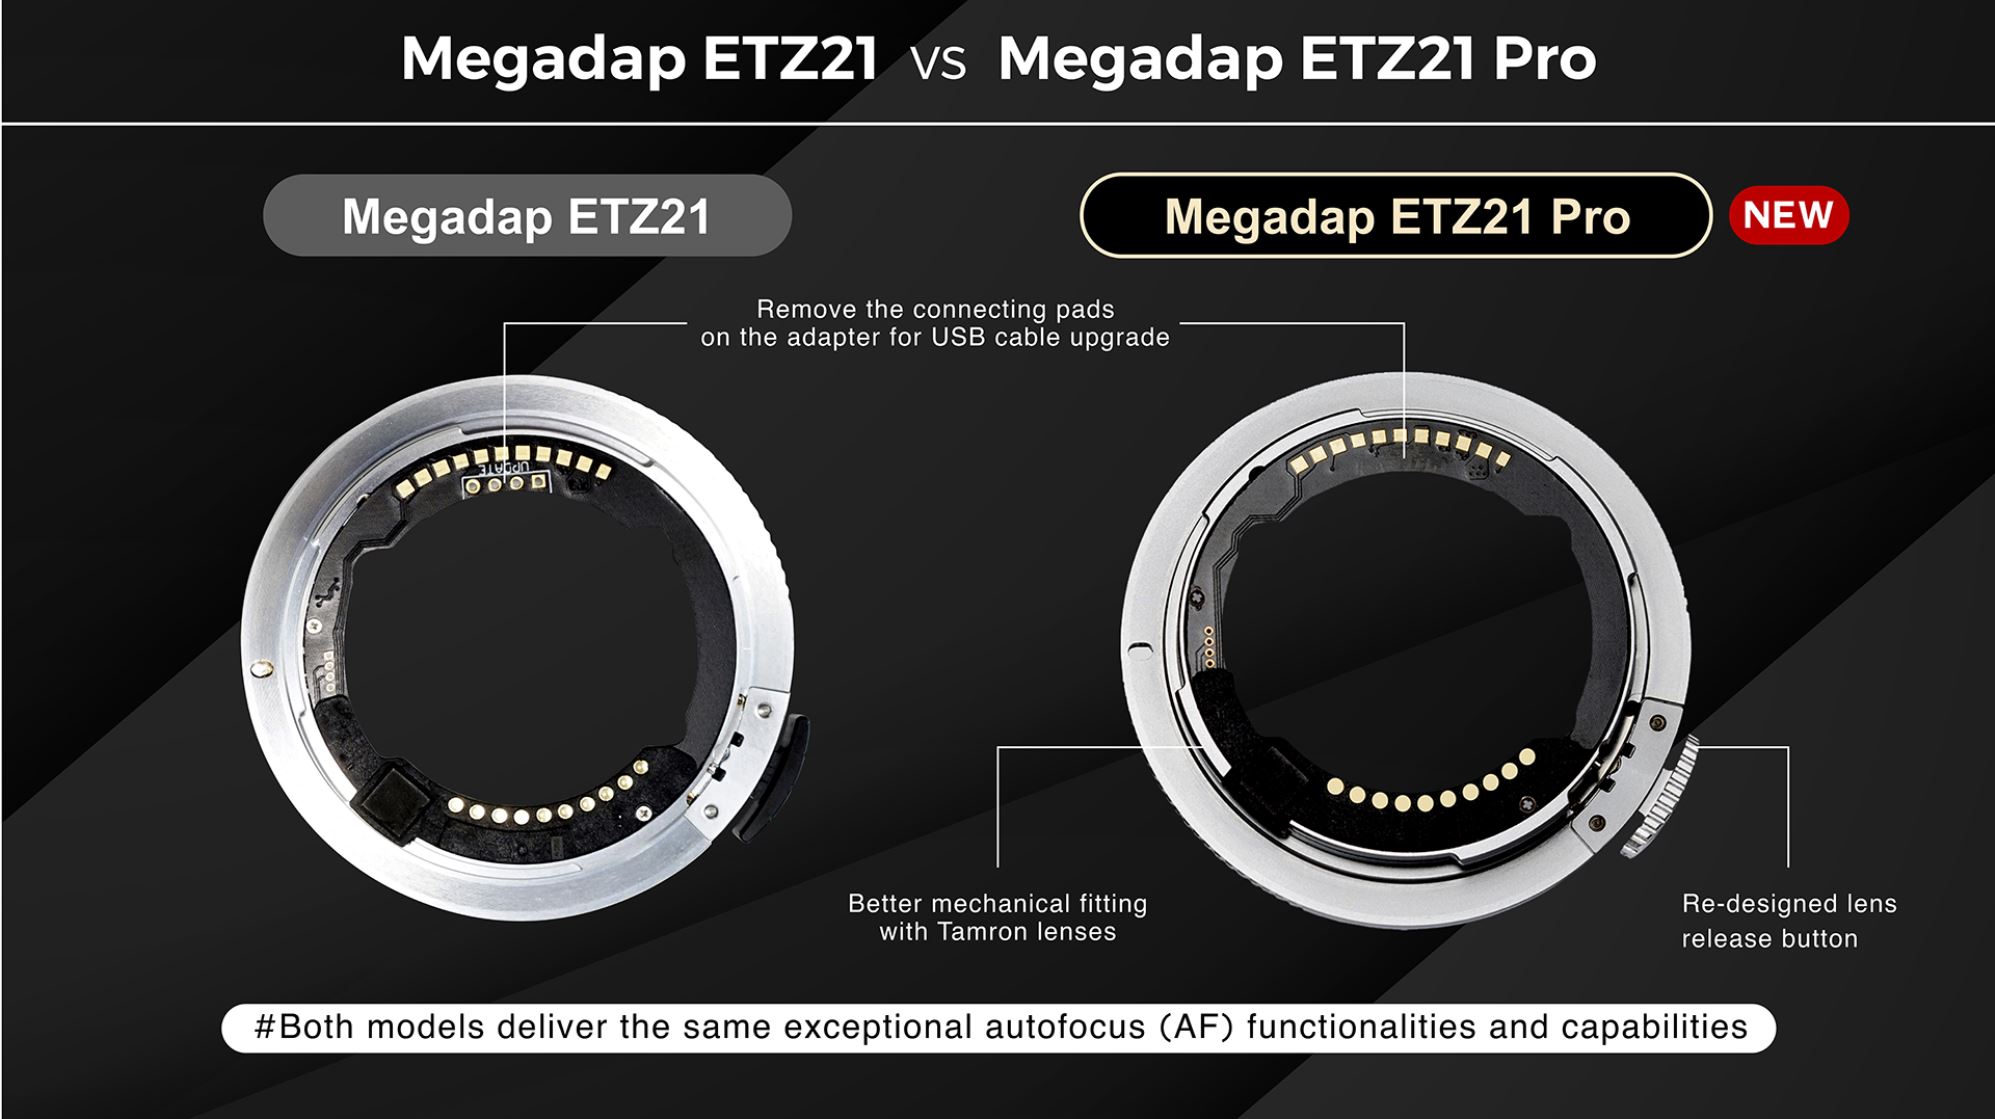
I’m reviewing the more recent ETZ21 Pro. There was previously an ETZ21 adapter as well that some of you may already own. What’s changed from the standard adapter to the Pro adapter?
There are two significant improvements. One is that rather than having to do firmware updates through a separate process, you can now run firmware updates through the camera body just as you would a Nikon lens. The second major improvement is to the mechanical design to allow for a better fit for Tamron lenses (and other third party lenses as well). There’s also a redesign to the lens release button to allow for a smoother mount/unmount process. Megadap repeatedly emphasizes that the performance of both adapters is the same, so this isn’t going to change the autofocus performances in any appreciable way.
In my research, I found that Megadap has released 5 firmware updates in the past year, which is encouraging, as that shows an ongoing commitment to improving their product not just via new releases. Improvements include squashing bugs with certain lenses, improving function, adding compatibility with new brands, and helping to eliminate issues like battery drain.
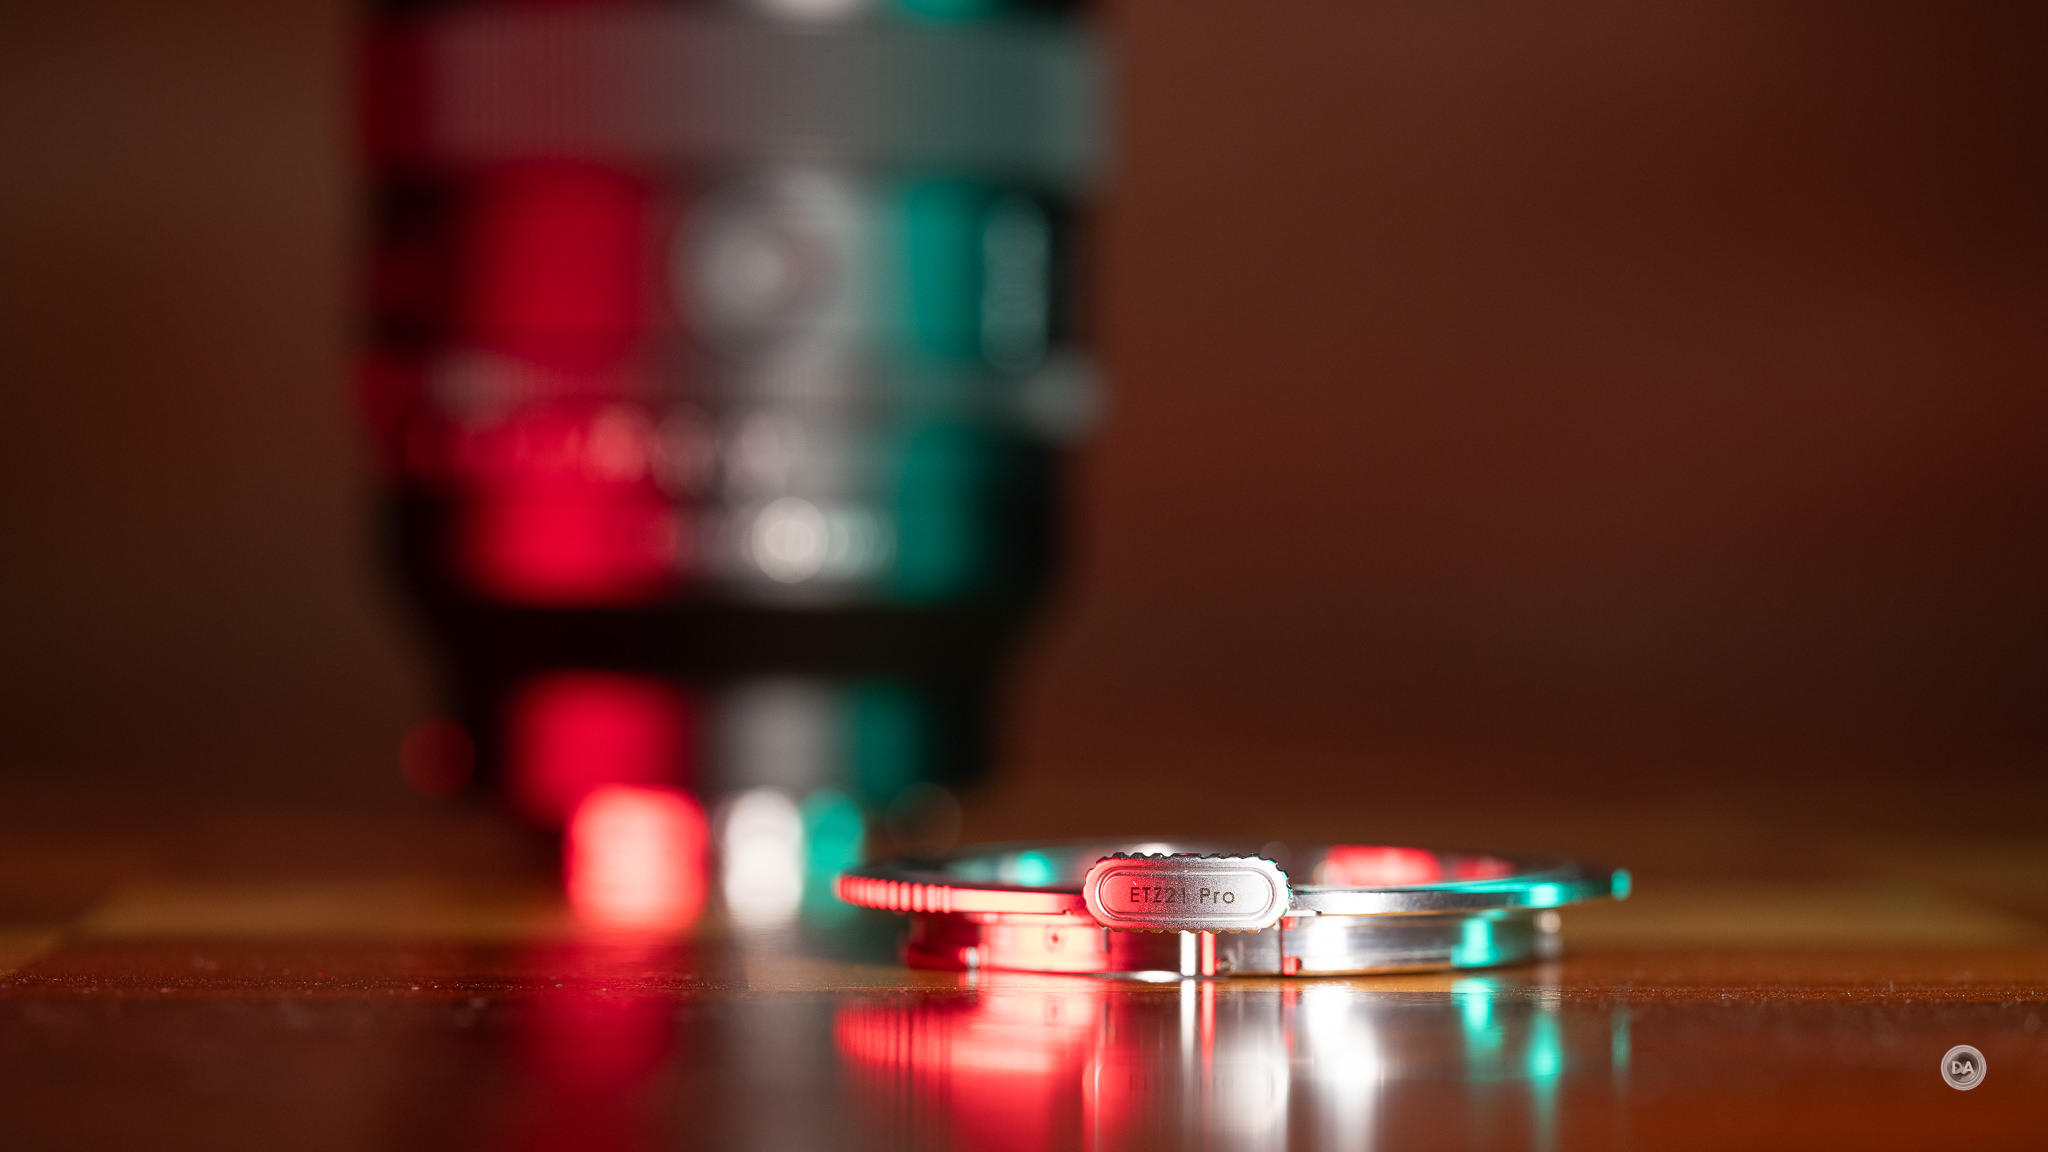
So does it work? The short answer is “yes”, and in many situations autofocus is remarkably ordinary. The shot above was taken with the ETZ21 Pro allowing my Sony FE 50mm F1.4 G Master (a beautiful lens!) to work on my Nikon Z8. And how precise is that focus at F1.4? Take a look here:
So let’s dive a little deeper.
Build and Design
As noted previously this is a pretty simple device in some ways. Essentially it feels like a metal lens mount detached from a lens.
At just 2mm thick, it essentially just goes onto the lens like a second mount.
You really won’t notice that the adapter is there once mounted, and I found that in the half dozen lenses that I tested with it, mounting and unmounting lenses remained relatively simple. Lenses fit well without any wobble. I prefer to remove the lens from the camera before removing the adapter from the lens, as there isn’t much left to grab from the camera mount once the lens is removed. The adapter is very, very thin. Always be sure to power down the camera before removing anything, however.
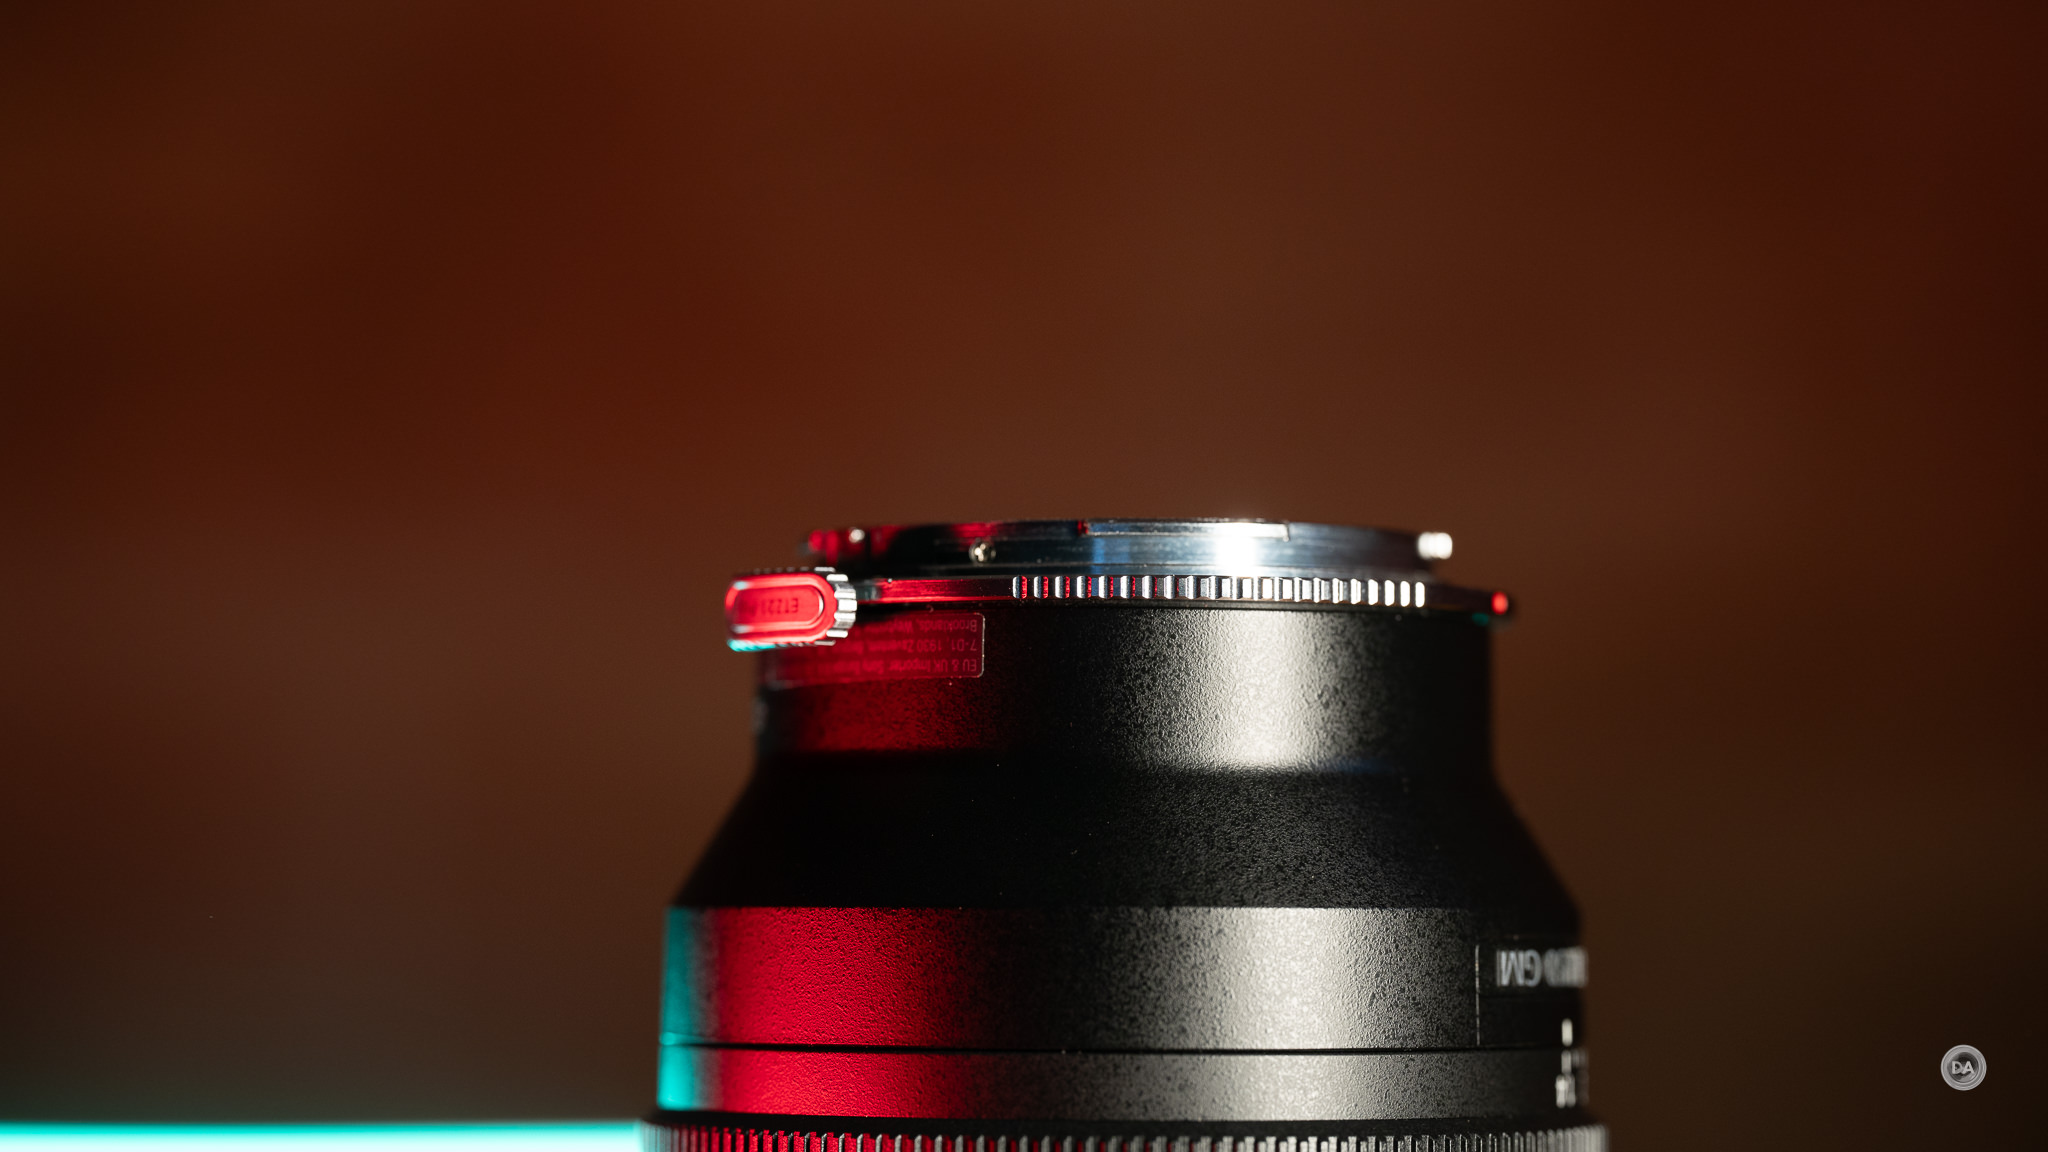
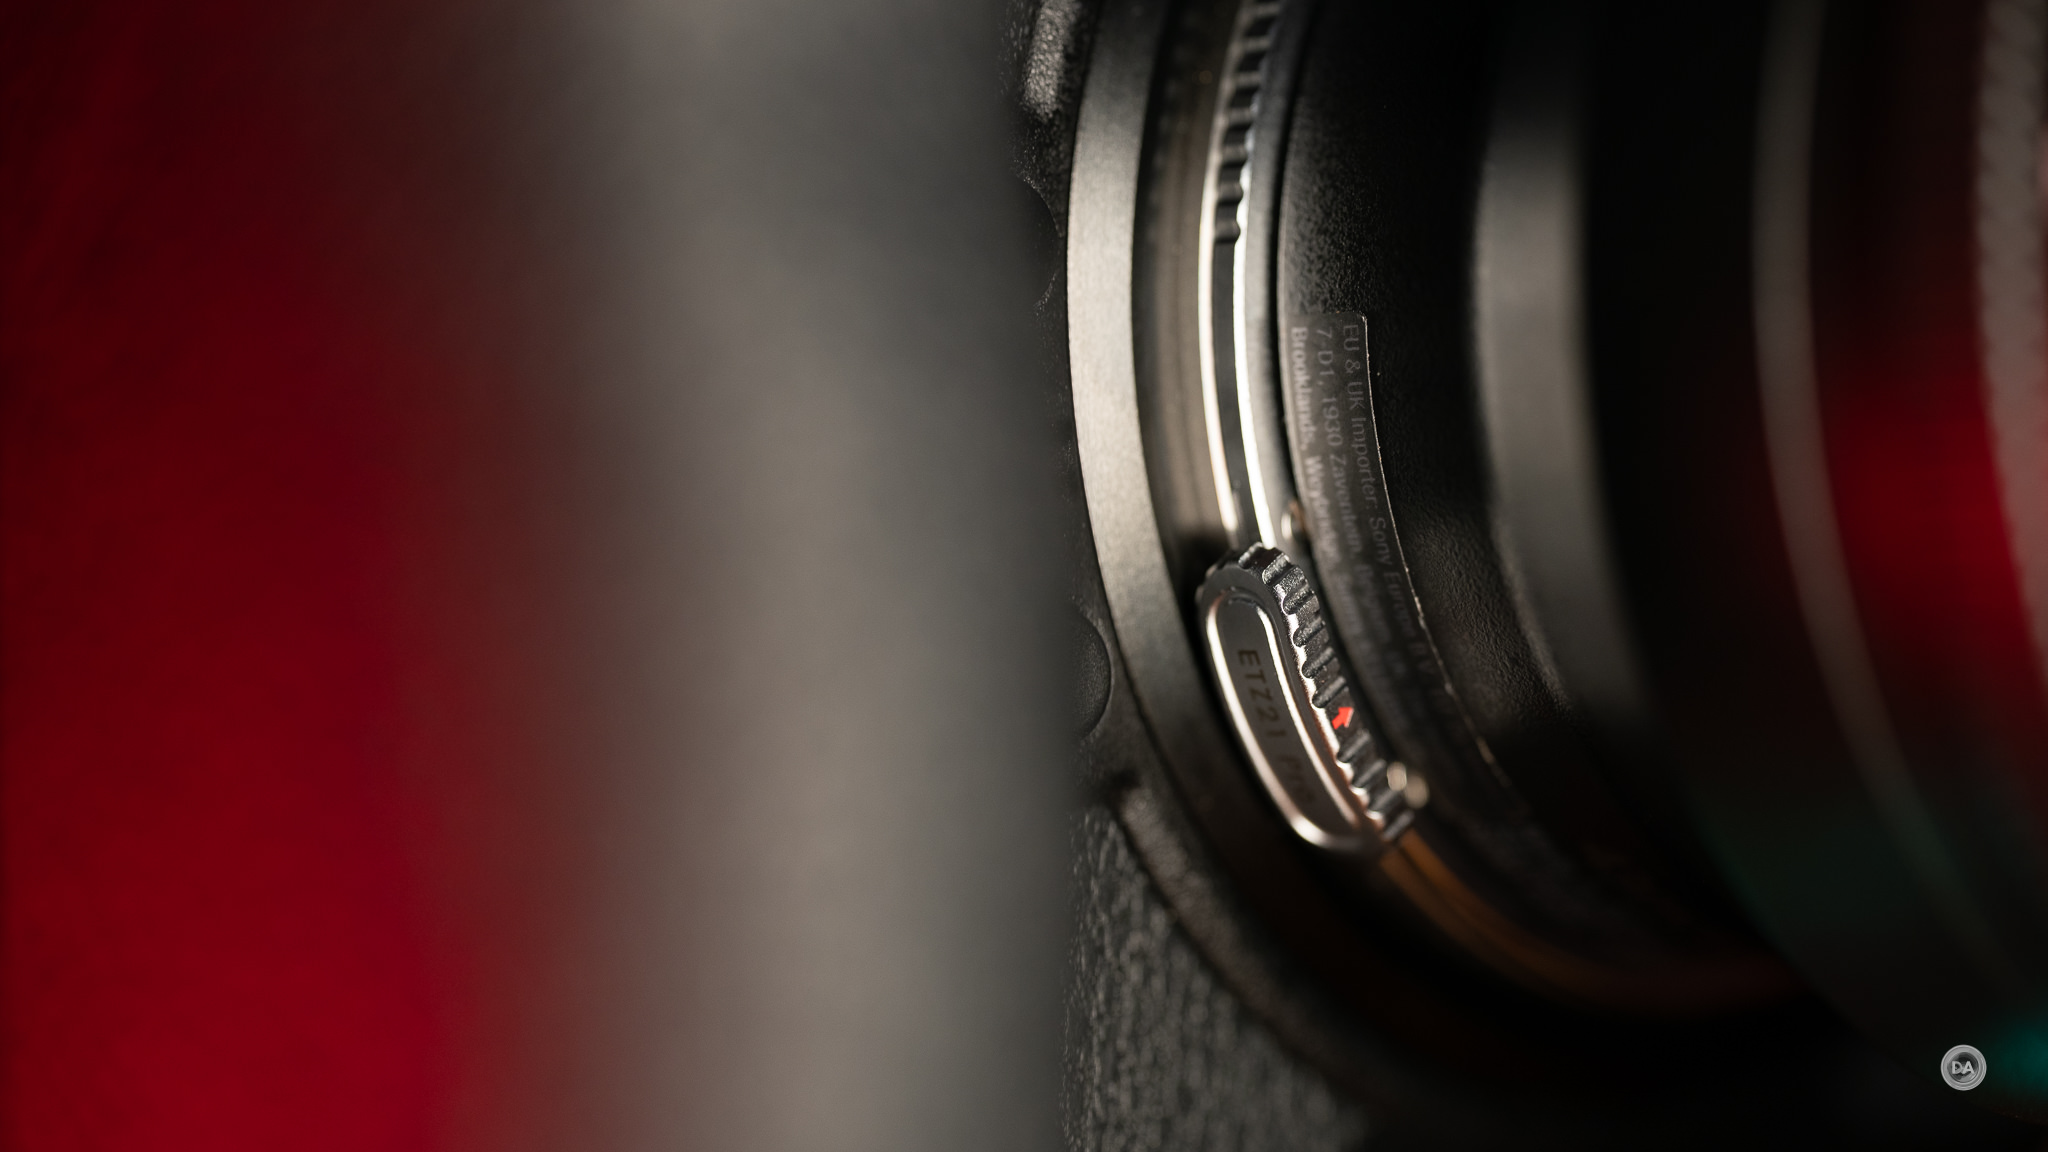
The improved release mechanism works nicely, and isn’t hard to depress for removing lenses.
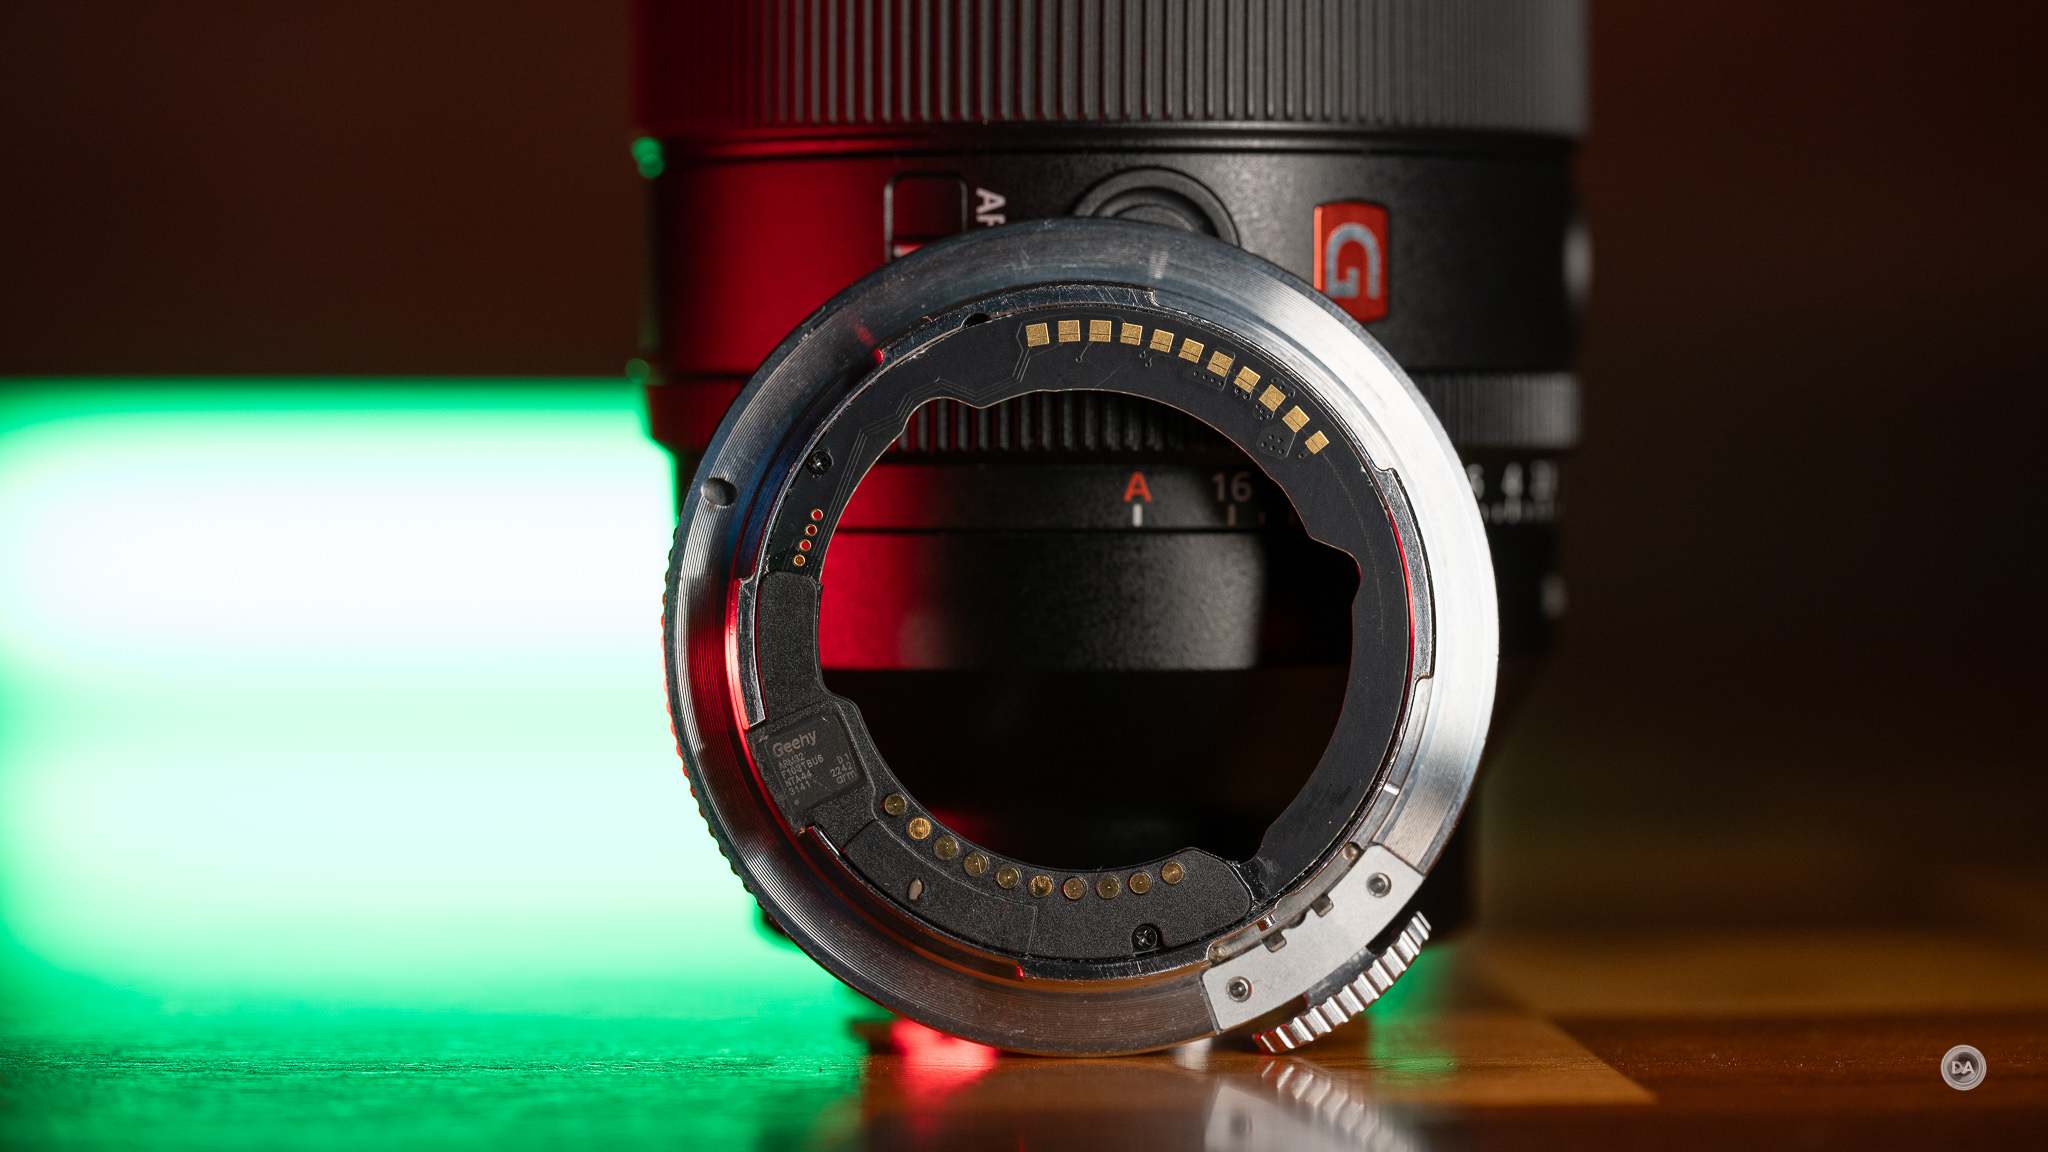
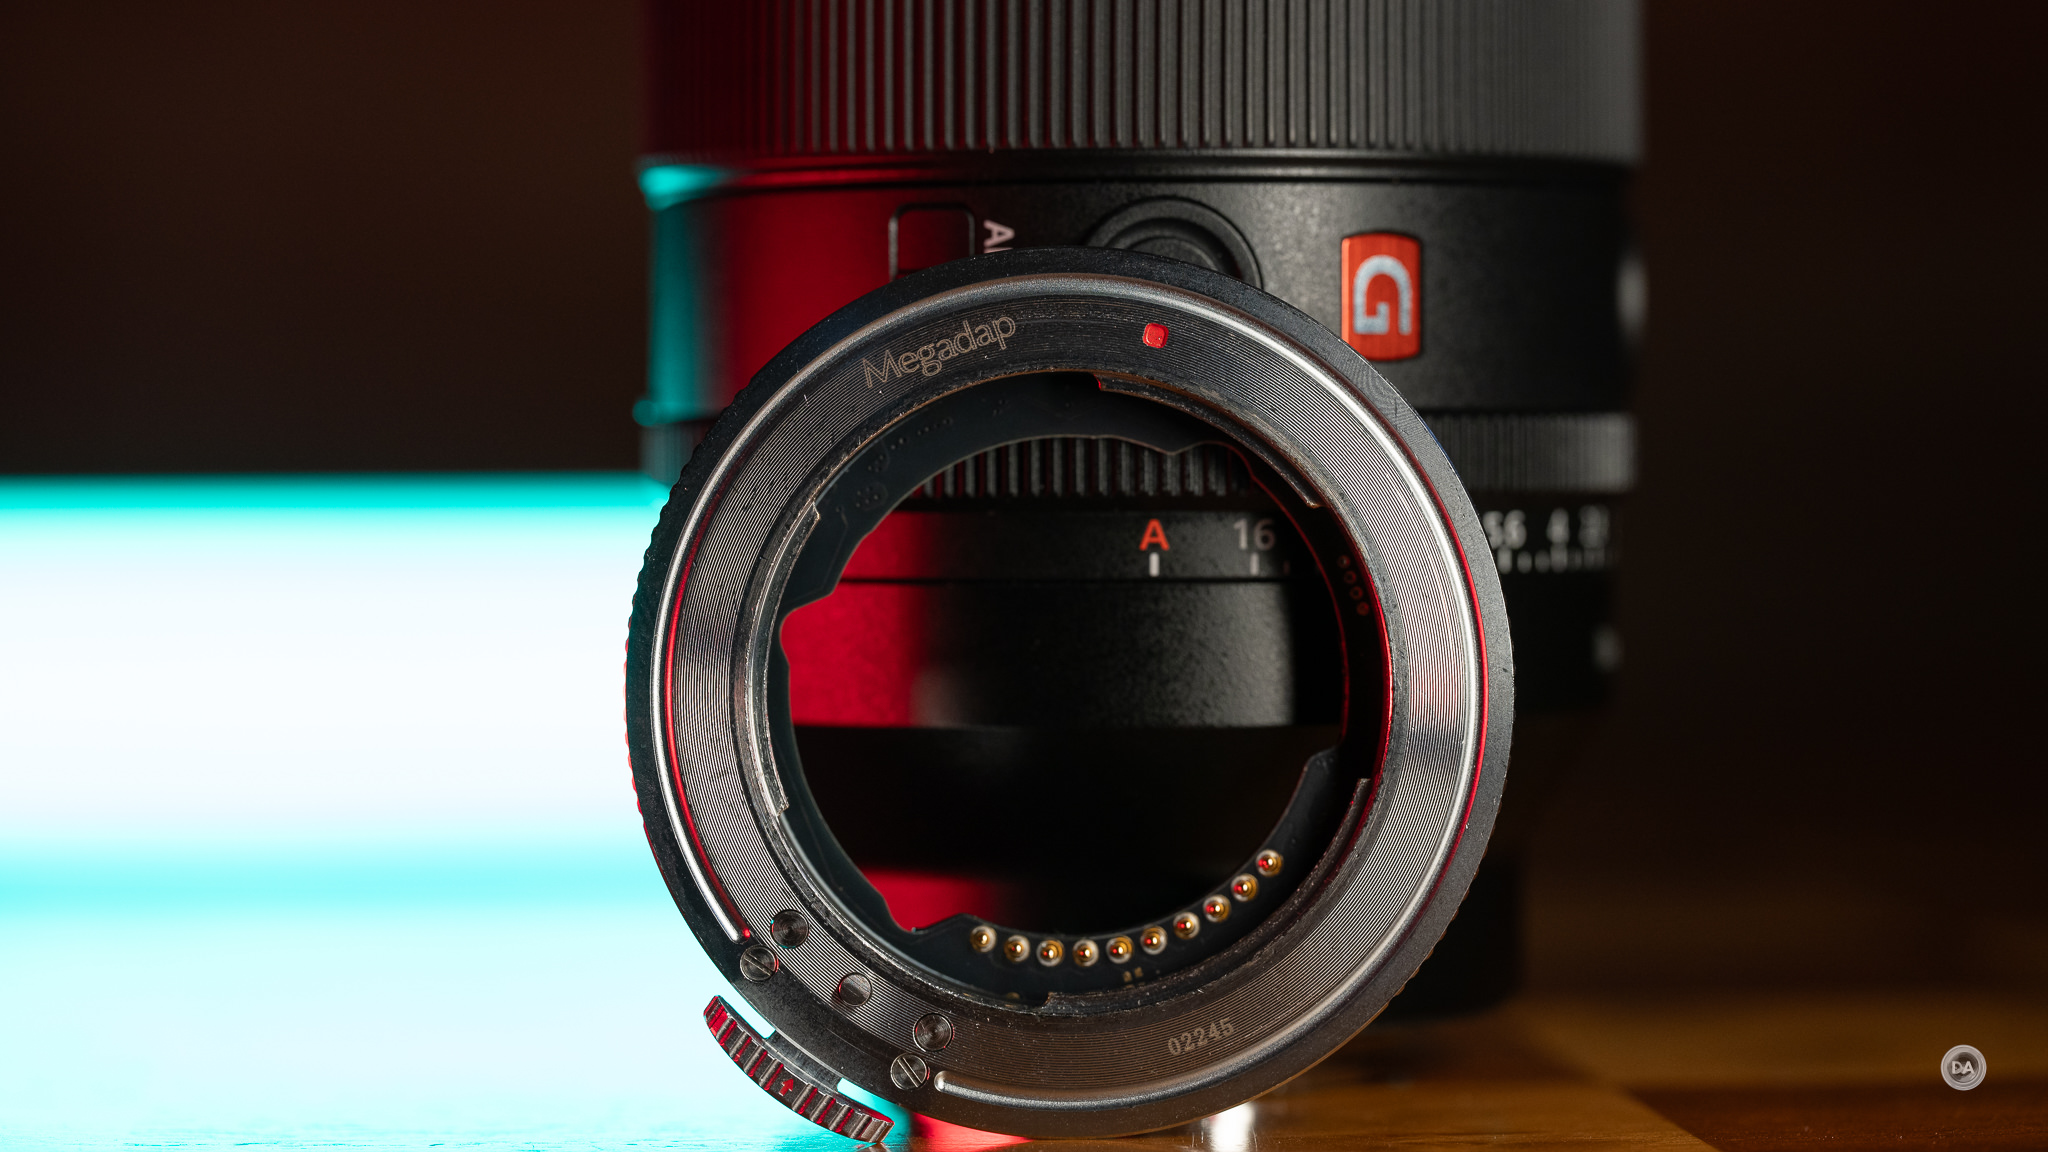
The magic of the adapter is the dual sets of electronic contacts you can see at the back of the adapter. One is the backside of the Sony contacts, while the most prominent contacts (on the top of the image below) are the Nikon Z-mount contacts.
The front of the adapter has the pins that will come in contact with the Sony E-mount lenses.
Presumably there is some kind of processor hidden in there to do the focus algorithm conversions, though I wasn’t able to find any information on that.
The Megadap adapter definitely bests the Newer in one regard: it accurately delivers the EXIF information, whereas the Neewer seems to try to find a Nikon equivalent.
Both of the images in the comparison were shot with the Tamron 35-150mm F2-F2.8 VXD, and the Megadap shows the proper lens designation (including A058, Tamron’s internal code for the lens), while the Neewer reported VR 35-150mm F2-2.8G, which is clearly not accurate (this is not a G lens, nor does it have VR). The Megadap also reported properly for the two Sony lenses I tested, the Sigma lens, and the Viltrox lens. The Neewer reported the Sony lenses as VR 35mm F1.4G and VR 50mm F1.4G, while the Megadap properly recorded them as FE 35mm and 50mm F1.4 GM, respectively.
Megadap reports that at the moment their adapter is the only one to work with Nikon DX (APS-C) cameras, though that will almost certainly change in the future.
One final observation – you will be covering the weather sealing gasket on your Sony FE mount lens, if so equipped, and the adapter itself has no gasket, so there is some possibility that your weather sealing may not be as complete with the adapter in place, so bear that in mind.
Stills Autofocus with the ETZ21 Pro
I’ve been interested in seeing how these adapters work with good Sony lenses, including the 35mm and 50mm GM lenses, but also how they work with some third party lenses, including popular lenses from Tamron, Sigma, and Viltrox.
Let’s start with a practical test. I took the the Sony 50mm F1.4 GM on a hike using the ETZ21 Pro on my Z8, and also had an inexpensive Yongnuo YN 33mm F1.4 mounted on a Sony body. Both combos, in theory, shake out to about the same thing, as the YN 33mm is an APS-C lens, leaving a 50mm equivalence. Autofocus in bare form would obviously favor the GM lens, which has multiple XD (Extreme Dynamic) linear motors whereas the Yongnuo has a more basic single STM focus motor. In many situations the adapted Sony lens worked about as well as the Yongnuo (which actually focuses quite well), with one exception that stood out to me. When attempting to focus on a close subject, the Megadap combo would often stick on the background, requiring me to try to find a more obvious (bigger, higher contrast) subject in about the same focus distance I wanted and then going back to the desired subject. If I didn’t do that, focus looked like this:
The correct focus (which I achieved by pointing the camera basically at the ground first and then returning to correct subject. Focus would lock accurately then.) looks like this:
It’s worth noting that the Yongnuo in shooting the exact same shot immediately locked on the correct focus point.
Now clearly the GM lens delivered a superior looking image than the cheaper lens, but it does go to show that even an inexpensive native lens is going to autofocus a little better than an adapted lens in this situation.
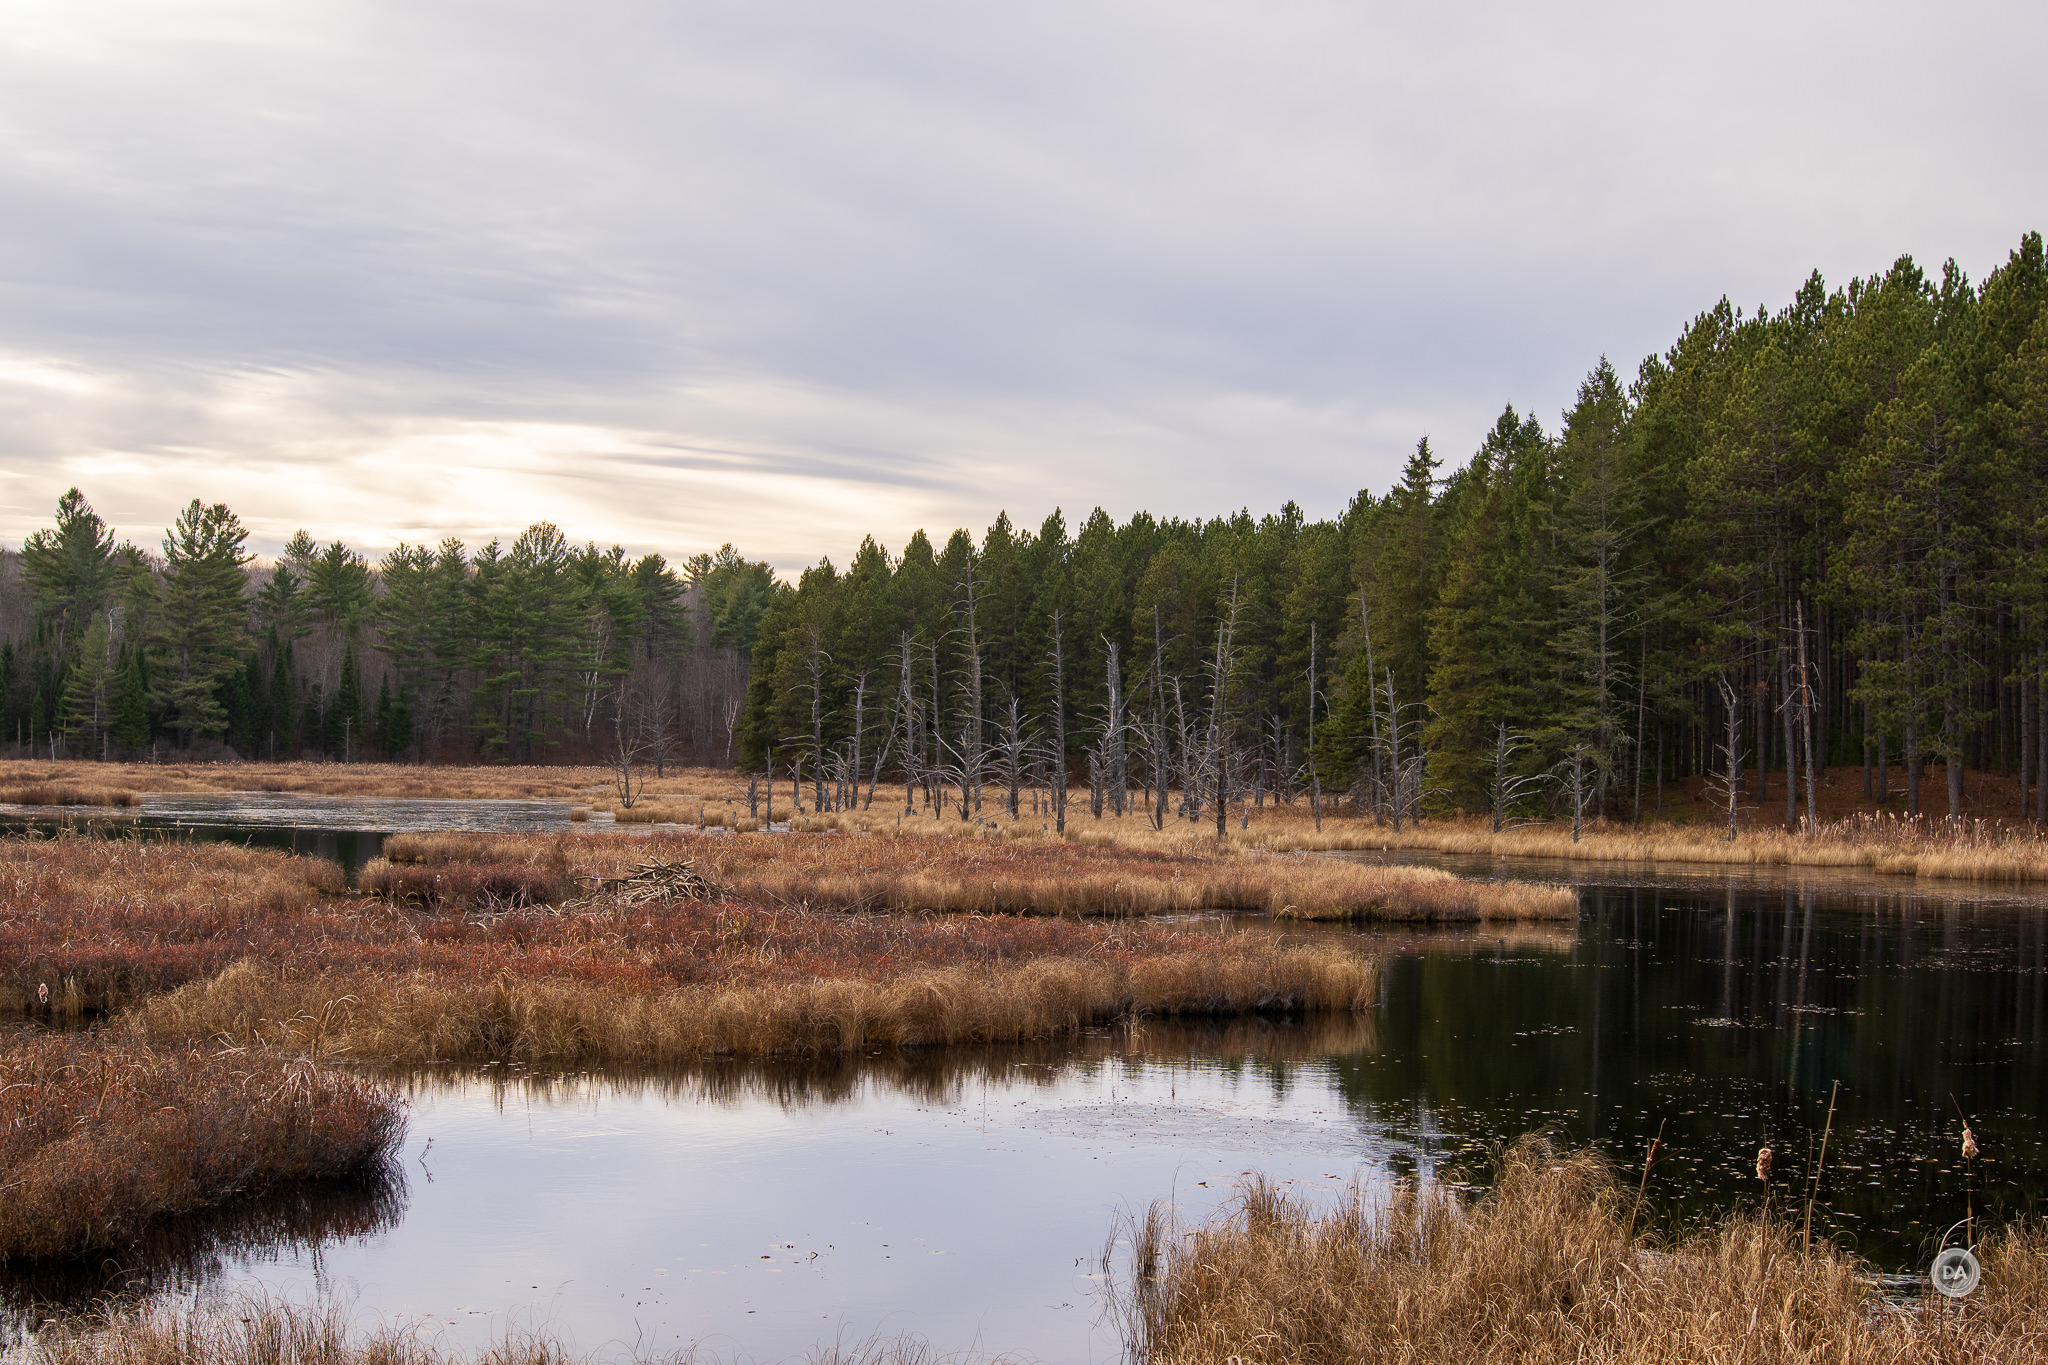
Still, however, I was able to get all the shots that I wanted on my hike, and the end results were accurately focused. Shots like these ferns that still provided a pop of green in the mid-November death of vegetation.
Or this bare branch with just enough moss growing on it to provide a nice subtle color contrast against the background.
These shots were all at F1.4, but I also had good results when shooting landscape shots at smaller apertures.
So, I think I can safely say that autofocus accuracy is not a problem. At the margins, however, I think you’ll find a few places where autofocus doesn’t quite match what’s possible with a native lens.
What’s interesting, however, is that if you have a high speed autofocus system on Sony, you will continue to get fast autofocus on Nikon via adapter. I compared the focus speed of the Nikkor Z 50mm F1.4 lens and that the of Sony 50mm F1.4 GM lens via adapter back to back on my Z8, and there was no question that the focus speed (and arguably confidence) in this test actually favored the GM lens.
That makes sense, as really the adapter’s job is to send the correct communications from the lens to the AF system via the contacts, so a fast focusing lens should continue to be a fast focusing lens, with the only real slowdown being from the need to “reinterpret” the focus algorithms from one language (Sony) to another (Nikon). So a faster focusing lens (Sony GM) bests a slower focusing lens (Nikkor Z 50mm) even if there is a slight slowdown due to focus algorithms.
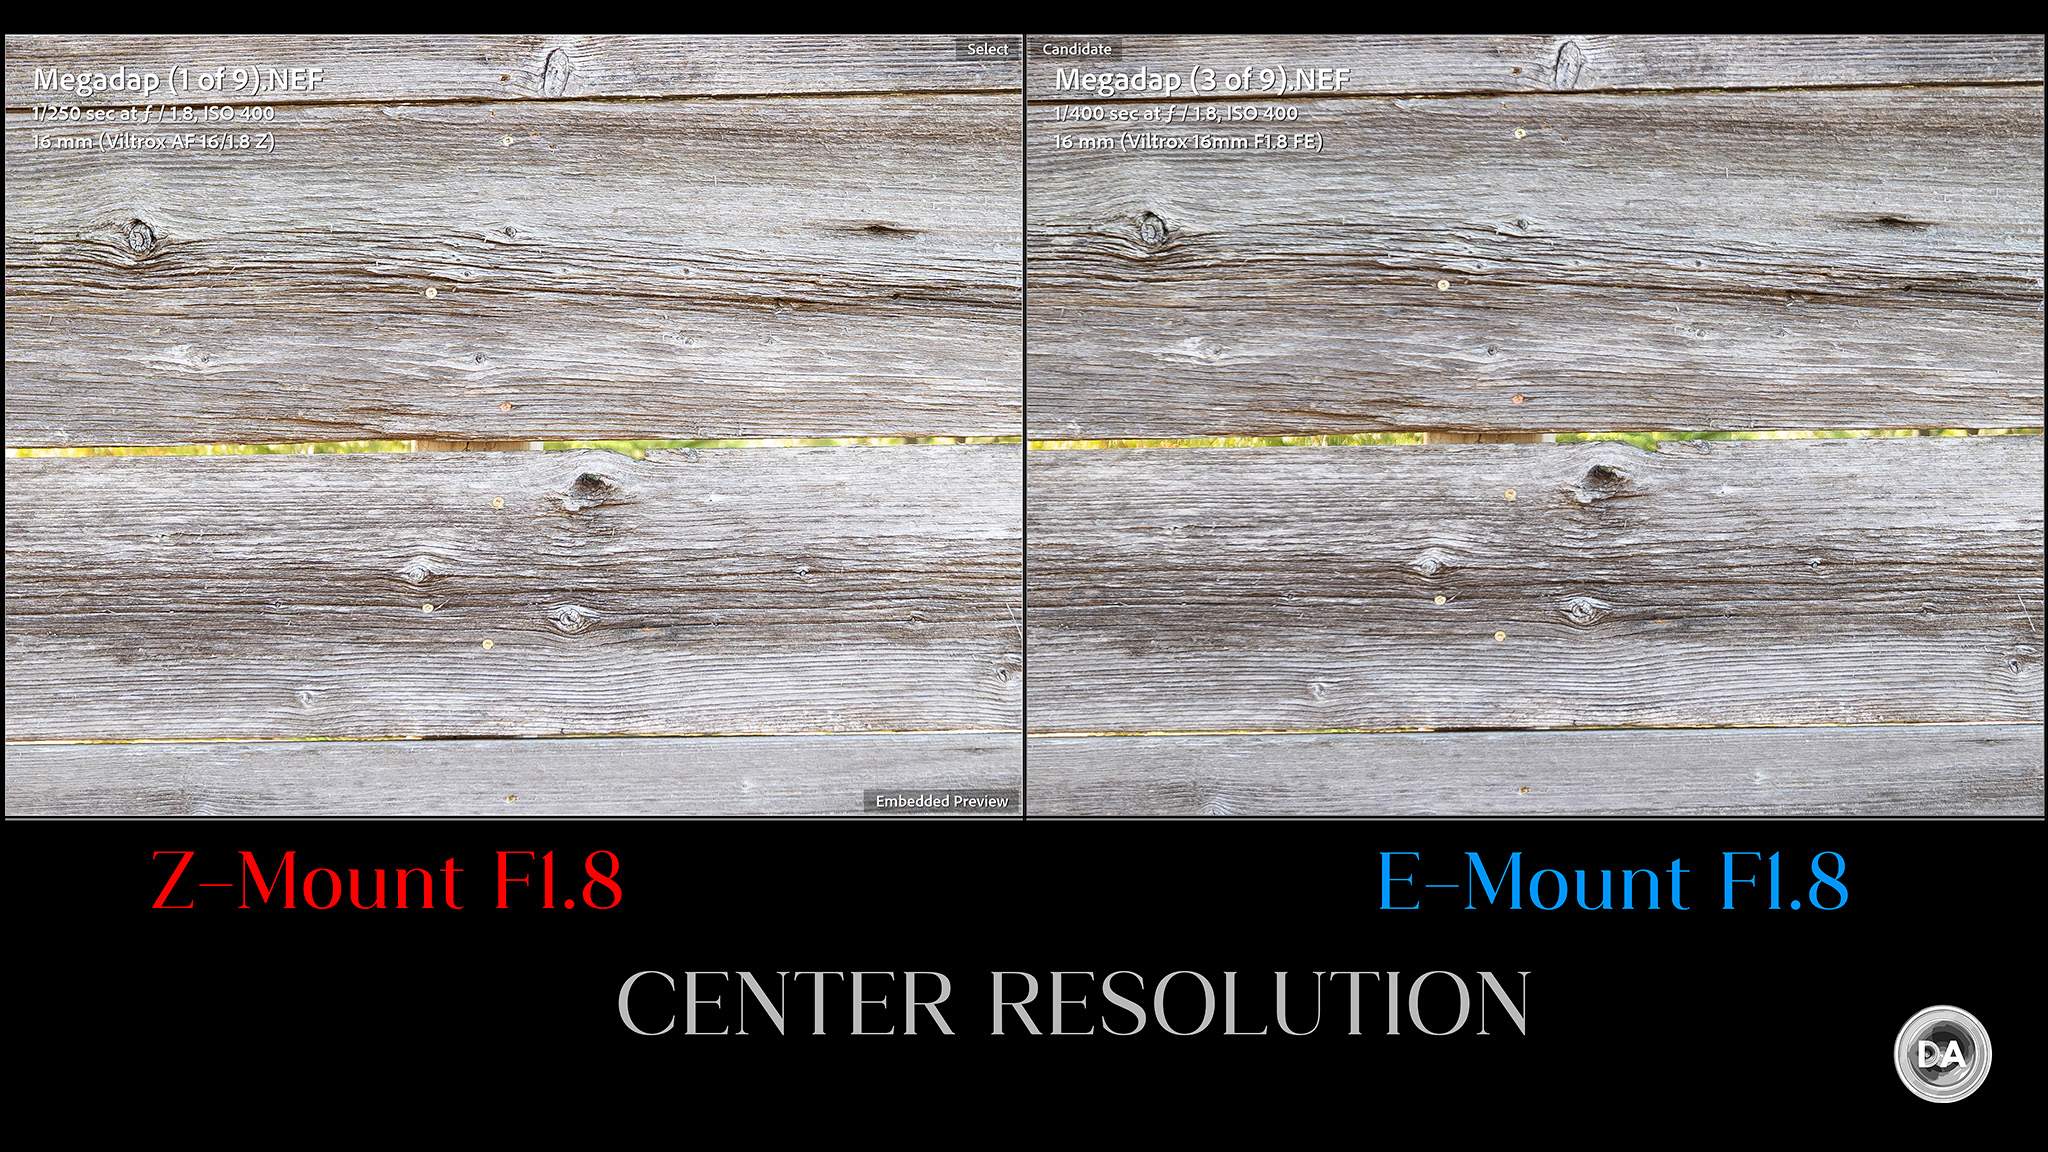
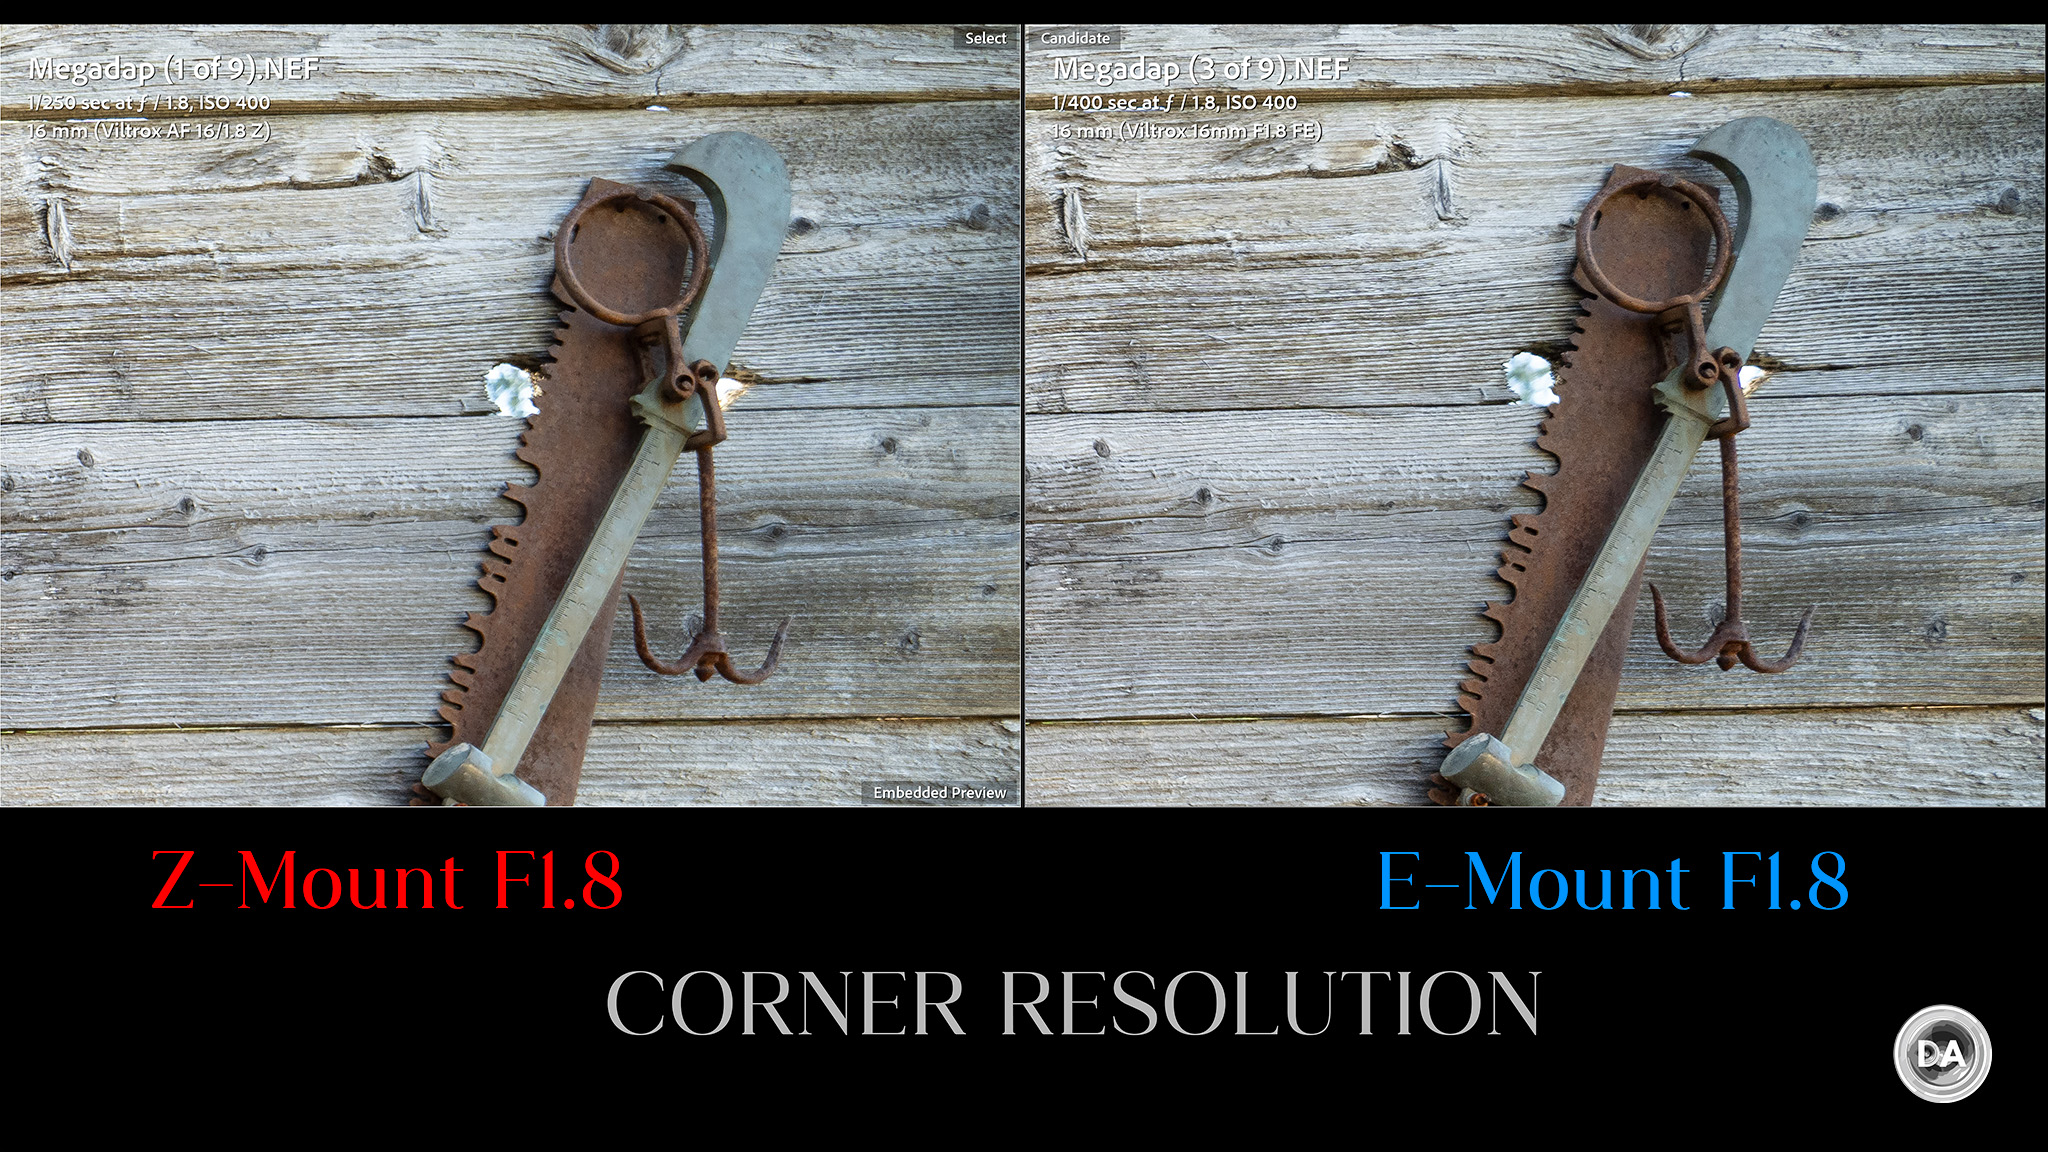
But what about the same lens? I had a unique opportunity to compare the Z-mount version of the Viltrox AF 16mm F1.8 with an adapter E-mount version of the same lens since I happened to have both of them on hand. In a pure focus test, I definitely found that the Z-mount version focused faster, with the adapted E-mount version being a little slower. Both would be fast enough for real world use, however.
I was also interested in seeing if the adapter affected the optical performance. In theory, it shouldn’t really affect sharpness, as there is no optical elements in the adapter themselves. No elements should mean no effect upon sharpness. As far as what I actually found, I don’t think there is any optical degradation. When I did a side by side comparison between the E-mount and Nikon Z-mount version of the Viltrox 16mm I found that there was just some give and take. I found the Z-mount version was a little sharper in the center…
…but the corner favored the E-mount version:
In other words, no consistent difference. I shot at different apertures and got similar results.
What I did find on a practical level was that when I was using the adapter I tended to get a bit of underexposure. I saw this when I compared the Viltrox 16mm lenses (the adapted lens metered at 1/400th, while the native mount lens metered at 1/250th), but I also saw it when just shooting during my hike. I ended up using exposure compensation for the second half of my hike and found that using 2/3rds of a stop of exposure compensation actually produced what I considered accurate exposure.
I didn’t see any kind of additional issues with flare or aberrations.
I was able to successfully use the Sony FE 35mm F1.4 GM (fast focus due to being a fast focusing lens), and got good results with the Tamron 35-150mm F2-2.8 VXD (fast, but not GM level fast), with good but slightly slower results coming with the Sigma 85mm F1.4 DN due to having a single STM focus motor.
Bottom line: the autofocus speed for stills you’ll get will depend a lot on the initial autofocus speed of the lens you’re adapting. Everything is slightly slower, but the better focusing lenses are fast enough that they are still fast even if you slow them down a bit.
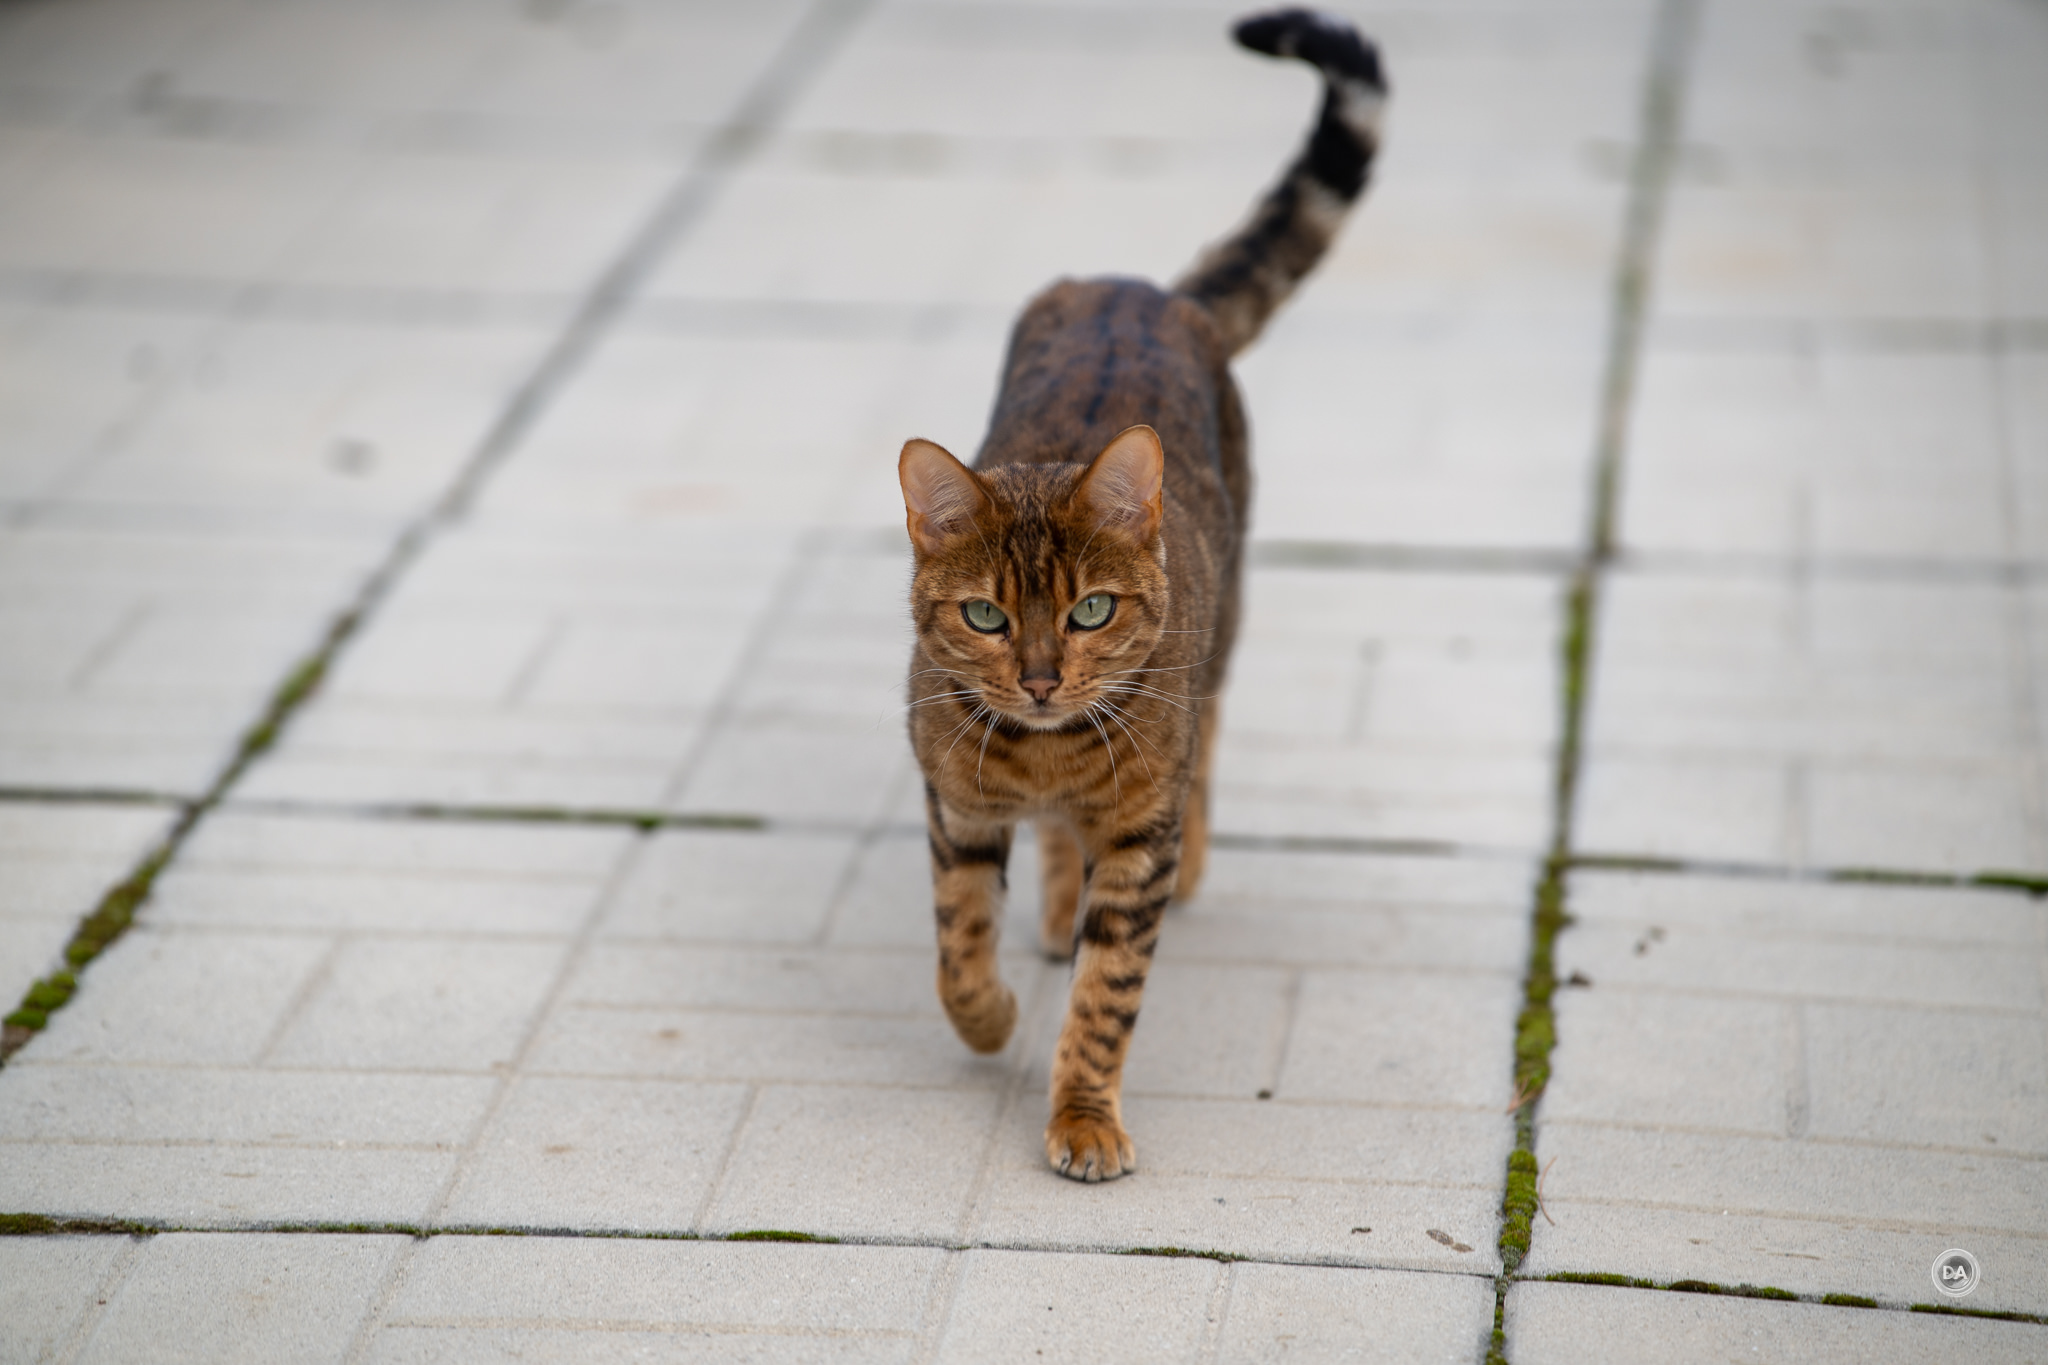
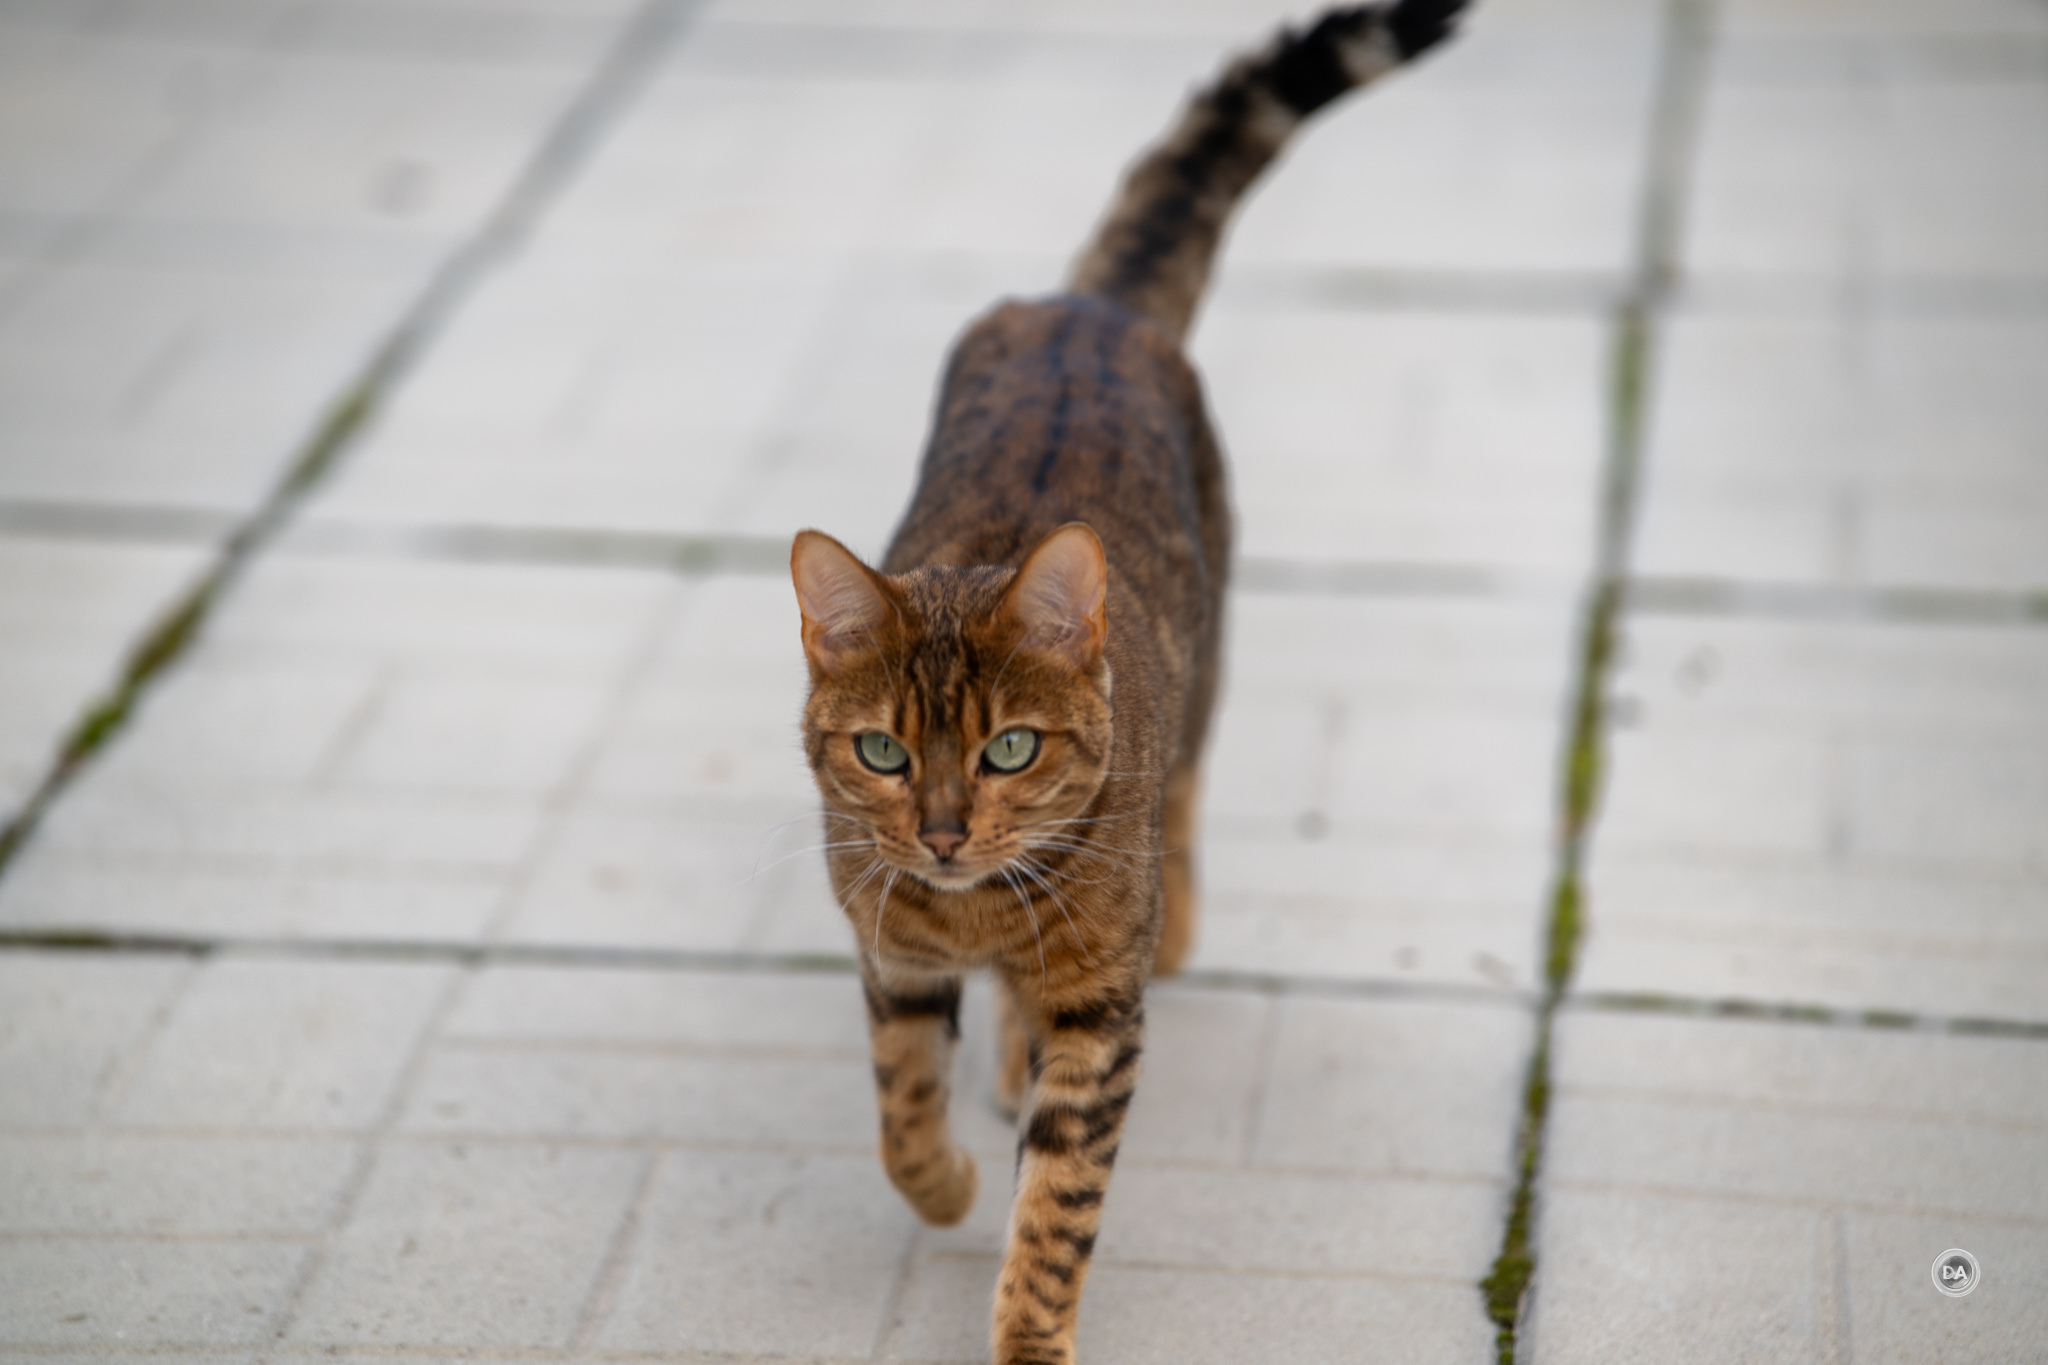
At the same time, I wouldn’t want to rely on this combination for tracking fast action. Even with Nala trotting towards me at a moderately fast pace, I found that photos were fairly close but almost always backfocused a bit.
I think it is important to stay realistic about what adapted lenses can and cannot do. For most tasks, autofocus is plenty good enough. For fast action, with long telephotos, or for things like birding, I would say that using a native mount lenses is a smarter choice.
Video Autofocus
*These results will be easier to see in the video review for obvious reasons.
The good news is that you can still get autofocus during video capture, though there is a bit less confidence overall. I found that I encountered more pulsing during focus pulls, which is generally a byproduct of focus not being confident enough to lock. It would do a quick micropulse in the wrong direction sometimes.
I did a few tests walking towards the camera, and found that the results varied a bit. I did spot one principle difference with the Neewer NW-ETZ adapter, as I saw A) more reliable subject tracking with the Megadap adapter and B) seemed to get profile corrections in video with the Megadap but not the Neewer.
Using the Sigma 85mm F1.4 DN and its slightly slower autofocus motor I found that I got fairly decent tracking even at F1.4 as I walked towards the camera. Autofocus moved mostly smoothly with me and footage looked great. When I stepped out of frame, however, and focus moved to the background, autofocus did not pick me back up when I stepped back into frame.
I switched to the faster 50mm GM lens, and it was much more successful at picking me up when I stepped back in the frame.
So, as before, you’ll get your best results for video AF when using more confident lenses. This is definitely a far cry from the video AF experience I got back in the day adapting Canon EF lenses, though just know that if you put these adapted lenses in demanding situations you may be a bit disappointed, but for most work you’ll be just fine.
Conclusion
Switching to a new camera brand can be a daunting experience, as the sheer cost of selling what you have (typically at a significant loss) and then rebuying everything for the new brand is expensive. The Megadap ETZ21 Pro is a great way to bridge that gap, however, if you happen to be coming from Sony E-mount to Nikon Z. You can keep using the lenses you love without adding any bulk and only minimal weight, and that weight is right up close to the camera where you won’t notice it anyway.
Or perhaps you just have certain lenses that you love on E-mount but there isn’t an equivalent lens on Z-mount. The Megadap is a great way to use a favorite lens on two systems, or just keep an old friend to enjoy on a new platform.
Either way, this little adapter seems worth the money. It works effectively for stills other than not wanting to focus on a close subject periodically, and it even works surprisingly well for video, too, though perhaps not quite as seamlessly. My expectations were largely set by experience with former adapters, and I would say that the the Megadap ETZ21 Pro easily exceeded those. It’s a better adapting experience than any that I’ve personally experienced, matching even what I saw when adapting Canon EF to Canon RF mount using a Canon adapter. The fact that a third party adapter has pulled that off is pretty impressive, and I’ll personally enjoy using some of my favorite E-mount lenses on my Nikon camera(s) moving ahead.
Pros:
Love how compact the adapter is
Seems to enjoy a certain amount of first party support (firmware updates, lens profiles).
Improved lens release button makes adding or removing a lens easier
Autofocus for stills is generally very good
Was able to track some action during video capture
DISCLAIMER: This article and description contains affiliate links, which means that if you click on one of the product links, I’ll receive a small commission. As an Amazon Associate I earn from qualifying purchases.
2024 has been the year that TTArtisan has embraced producing autofocus lenses, and I had many good things to say about their 35mm F1.8 (my review here) and 56mm F1.8 lenses (my review here). But those were APS-C lenses, which are slightly easier to engineer than lenses for larger sensors. But TTArtisan is back with their first full frame autofocus lens – the TTArtisan AF 75mm F2. Have they been able to successfully level up as a lens maker once again? Find out by watching my video review, reading the text review, or just enjoying the photos below.
Thanks to TTArtisan for sending me a review copy of this lens. As always, this is a completely independent review. All opinions and conclusions are my own. *The tests and most of the photos that I share as a part of my review cycle have been done with the Sony a7RV along with the Sony Alpha 1 that serve as my benchmark cameras for Sony E-mount lenses.
There really aren’t a lot of full frame 75mm options. We’ve seen some recent 75mm APS-C lenses (like the Viltrox Pro and Sirui Sniper 75mm F1.2), but the primary alternative to this new TTArtisan 75mm remains the Samyang AF 75mm F1.8 that I reviewed in 2020. And while I ended up gifting my copy to a nephew, I do have the Samyang V-AF 75mm T1.9 lens that has the same optical formula on hand. One area where TTArtisan is going to fair very well in this comparison is on price, as the Samyang AF lens retails for $350 while the V-AF version is a much more expensive $650 USD. The TTArtisan lens will debut at just $178, so nearly half the price of the Samyang version. While I think there are a few areas where the Samyang has some advantage, the same is true for TTArtisan’s new 75mm F2, which is very capable of producing beautiful images on your full frame camera.
It can of course be used on APS-C cameras as well, where it will give a 112.5mm full frame equivalent framing – very nice for slightly tighter framed portraits. I found that handy in an event setting to get a little more reach.
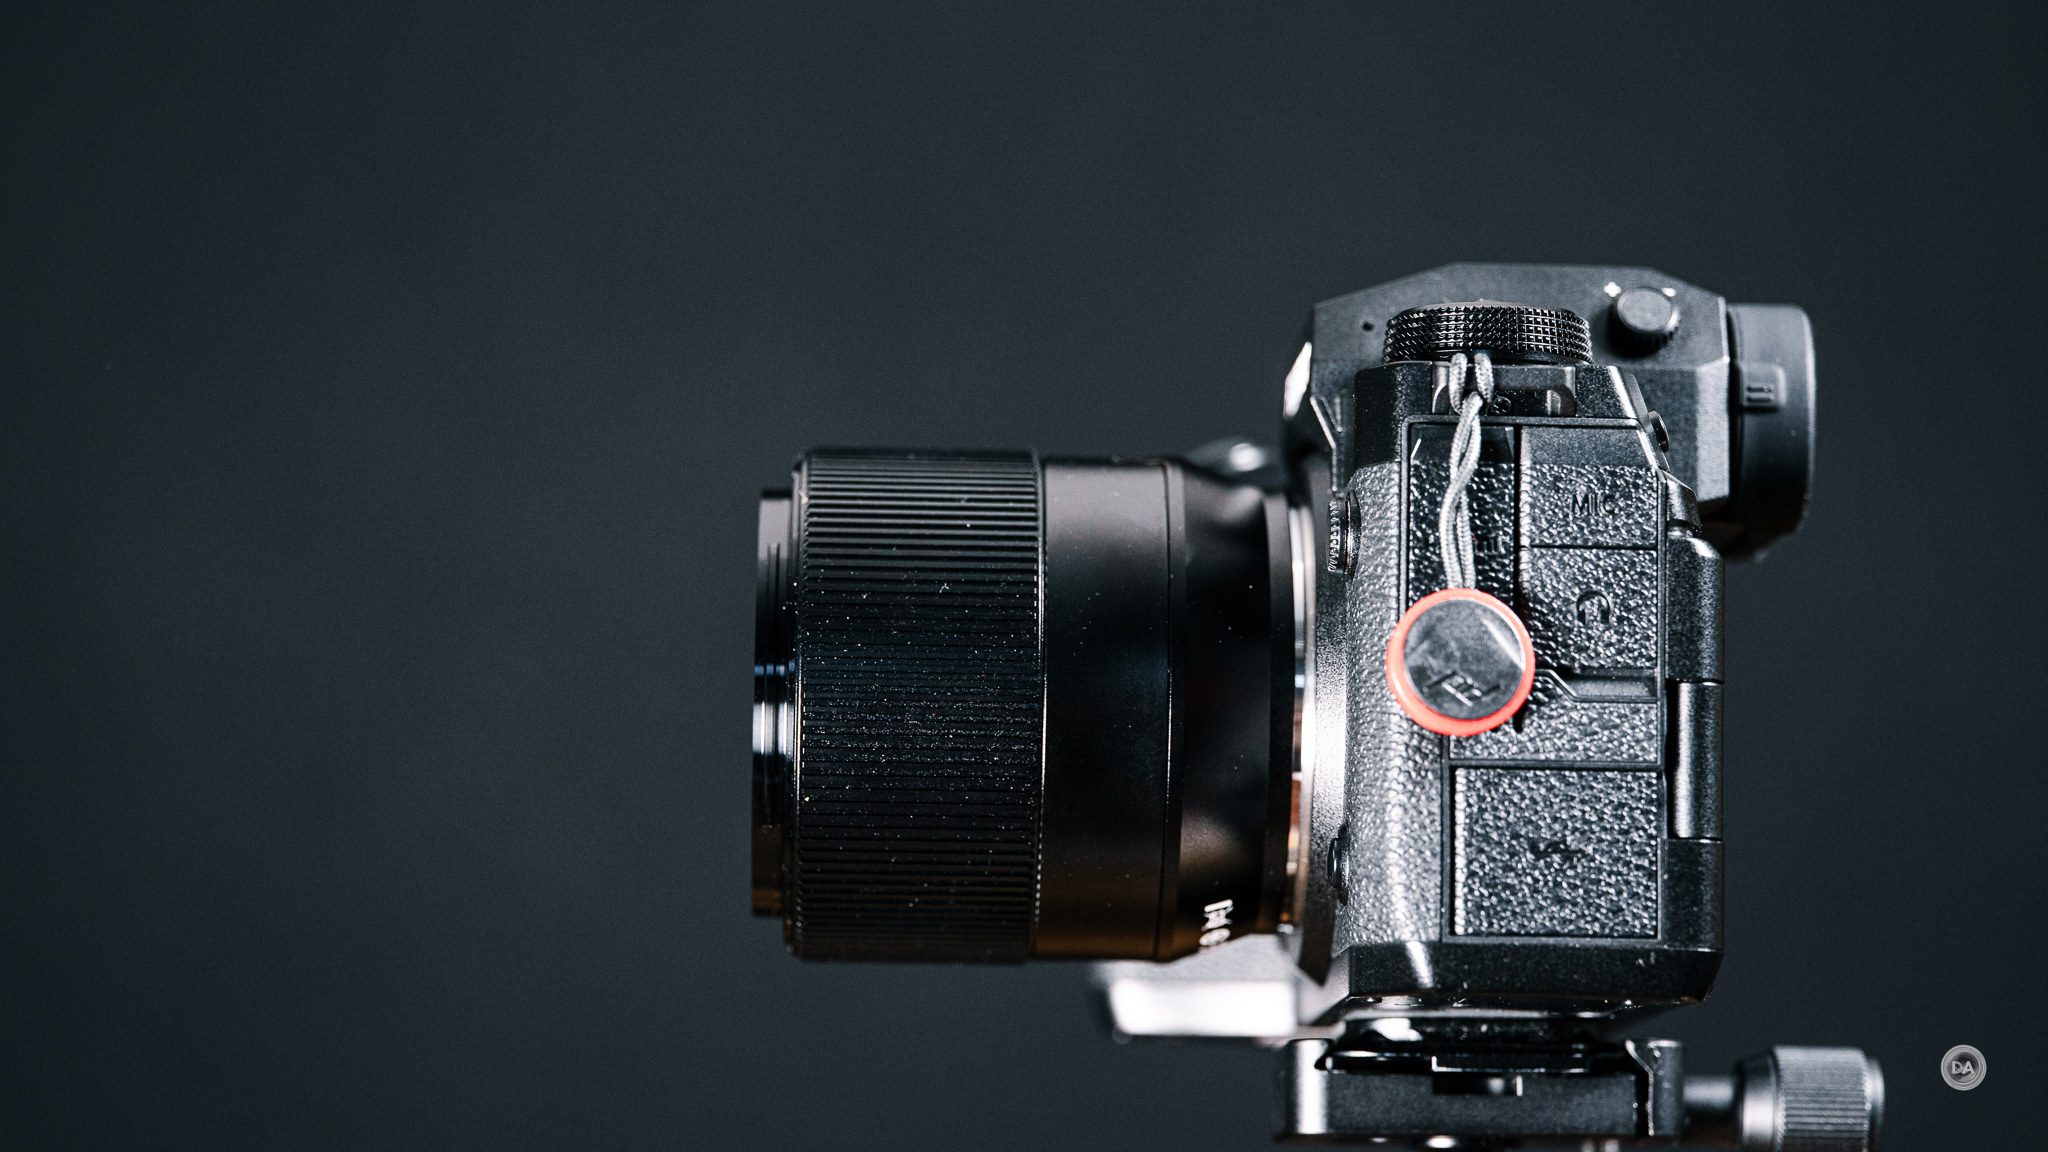
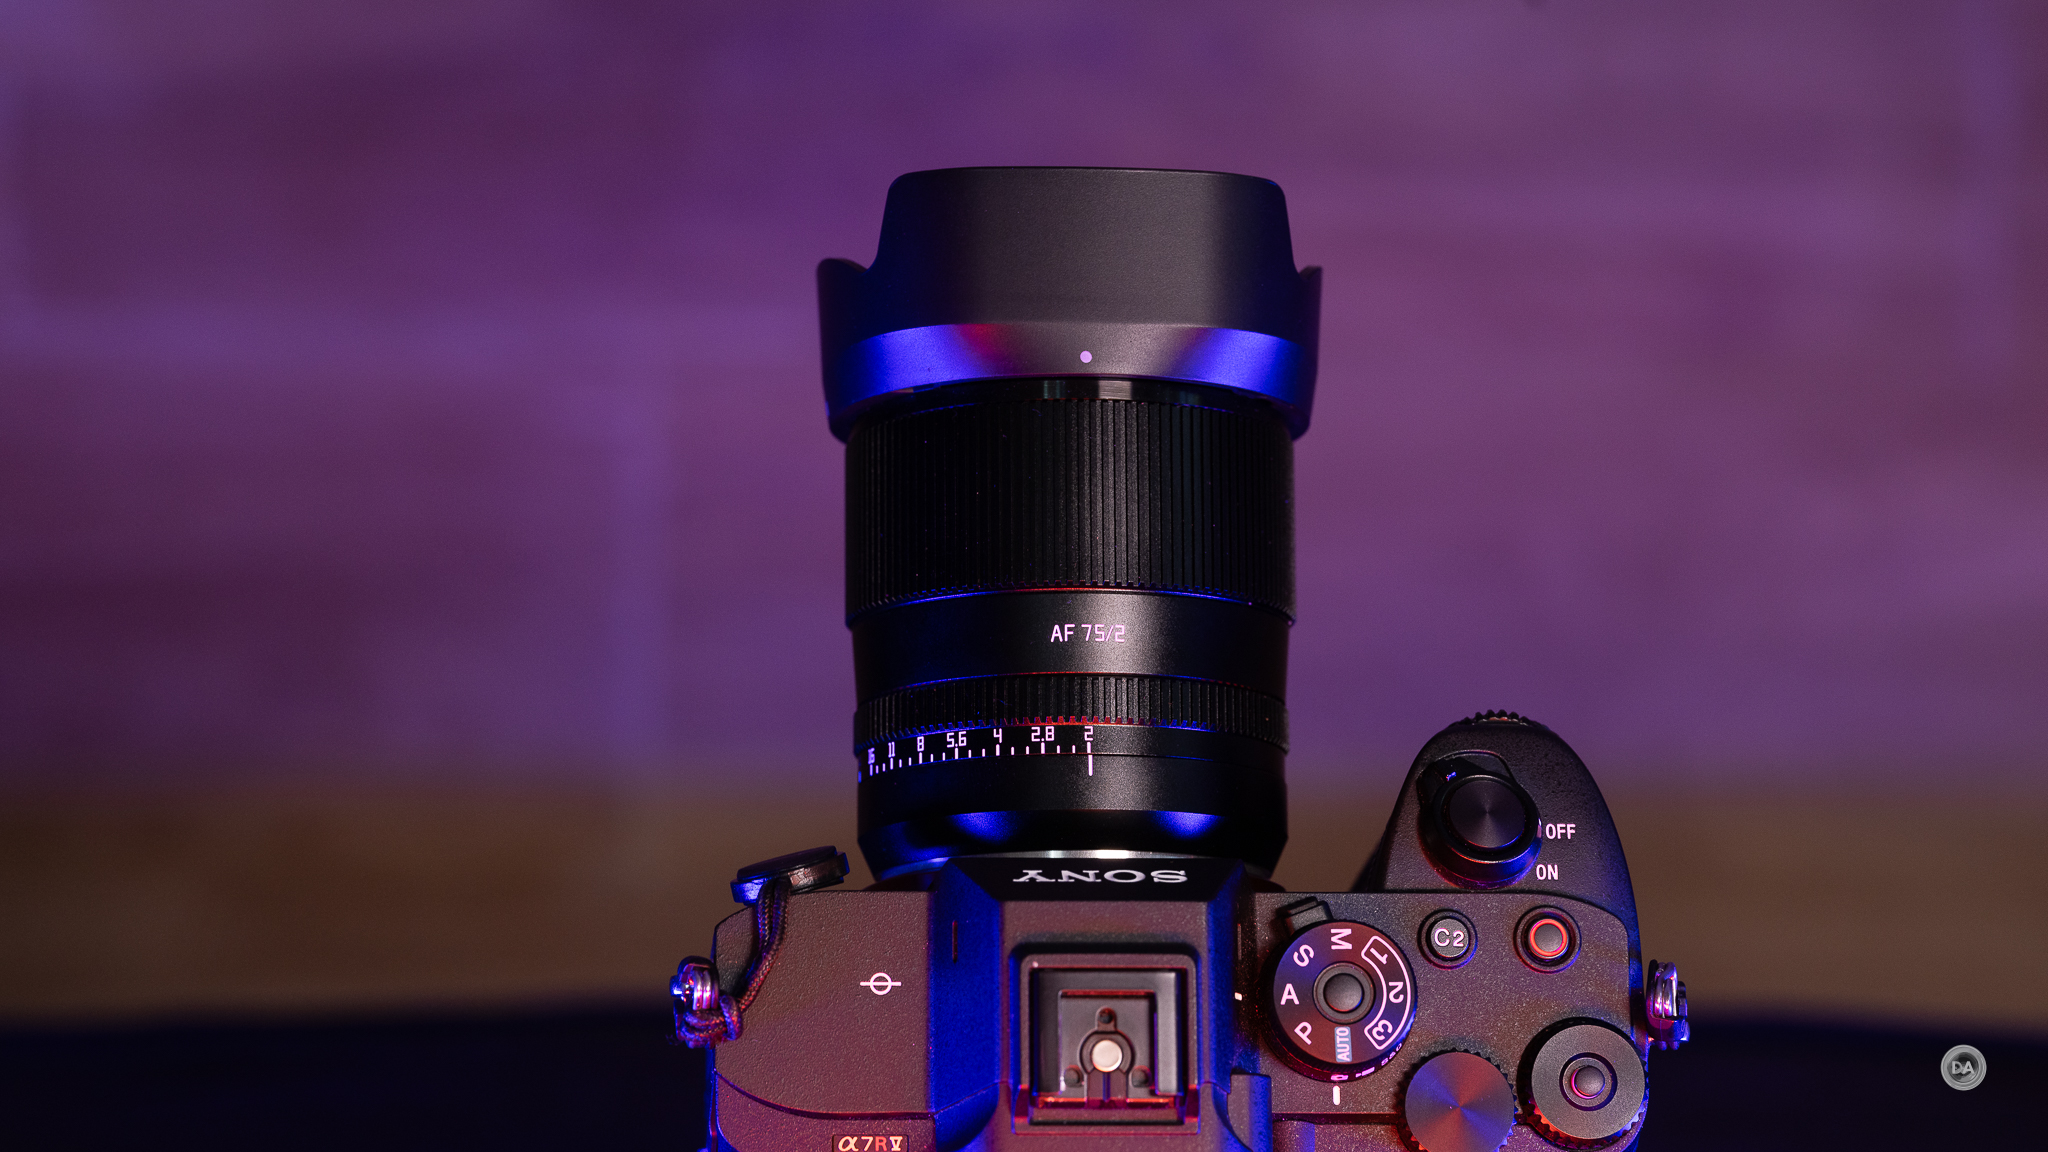
This is also the first of TTArtisan’s autofocusing lenses to receive an aperture ring, so it is great to see them moving forward in their development towards more feature-rich lenses while also keeping an eye on pricing.
Investing in a full frame mirrorless camera (this lens will be available not only on Sony but also Nikon Z-mount) can be very expensive, so the idea of getting a solid prime lens for under $200 is very intriguing. Let’s break things down in detail…
Keywords: TTArtisan, AF, Autofocus, 75mm, F2, TTArtisan AF 75mm F2, Sony, a7RV, a7IV, a7C, Alpha 1, Review, Telephoto, Action, Tracking, Hands On, Dustin Abbott, Real World, Comparison, Sharpness, Bokeh, Flare Resistance, Autofocus, Image Quality, Sample Images, Video, Photography, Full Frame, let the light in, #letthelightin, DA
DISCLAIMER: This article and description contains affiliate links, which means that if you click on one of the product links, I’ll receive a small commission. As an Amazon Associate I earn from qualifying purchases.
2024 has been the year that TTArtisan has embraced producing autofocus lenses, and I had many good things to say about their 35mm F1.8 (my review here) and 56mm F1.8 lenses (my review here). But those were APS-C lenses, which are slightly easier to engineer than lenses for larger sensors. But TTArtisan is back with their first full frame autofocus lens – the TTArtisan AF 75mm F2. Have they been able to successfully level up as a lens maker once again? Find out by watching my video review or by reading on in the text review.
Thanks to TTArtisan for sending me a review copy of this lens. As always, this is a completely independent review. All opinions and conclusions are my own. *The tests and most of the photos that I share as a part of my review cycle have been done with the Sony a7RV along with the Sony Alpha 1 that serve as my benchmark cameras for Sony E-mount lenses.
There really aren’t a lot of full frame 75mm options. We’ve seen some recent 75mm APS-C lenses (like the Viltrox Pro and Sirui Sniper 75mm F1.2), but the primary alternative to this new TTArtisan 75mm remains the Samyang AF 75mm F1.8 that I reviewed in 2020. And while I ended up gifting my copy to a nephew, I do have the Samyang V-AF 75mm T1.9 lens that has the same optical formula on hand. One area where TTArtisan is going to fair very well in this comparison is on price, as the Samyang AF lens retails for $350 while the V-AF version is a much more expensive $650 USD. The TTArtisan lens will debut at just $178, so nearly half the price of the Samyang version. While I think there are a few areas where the Samyang has some advantage, the same is true for TTArtisan’s new 75mm F2, which is very capable of producing beautiful images on your full frame camera.
It can of course be used on APS-C cameras as well, where it will give a 112.5mm full frame equivalent framing – very nice for slightly tighter framed portraits. I found that handy in an event setting to get a little more reach.
This is also the first of TTArtisan’s autofocusing lenses to receive an aperture ring, so it is great to see them moving forward in their development towards more feature-rich lenses while also keeping an eye on pricing.
Investing in a full frame mirrorless camera (this lens will be available not only on Sony but also Nikon Z-mount) can be very expensive, so the idea of getting a solid prime lens for under $200 is very intriguing. Let’s break things down in detail…
Build and Handling
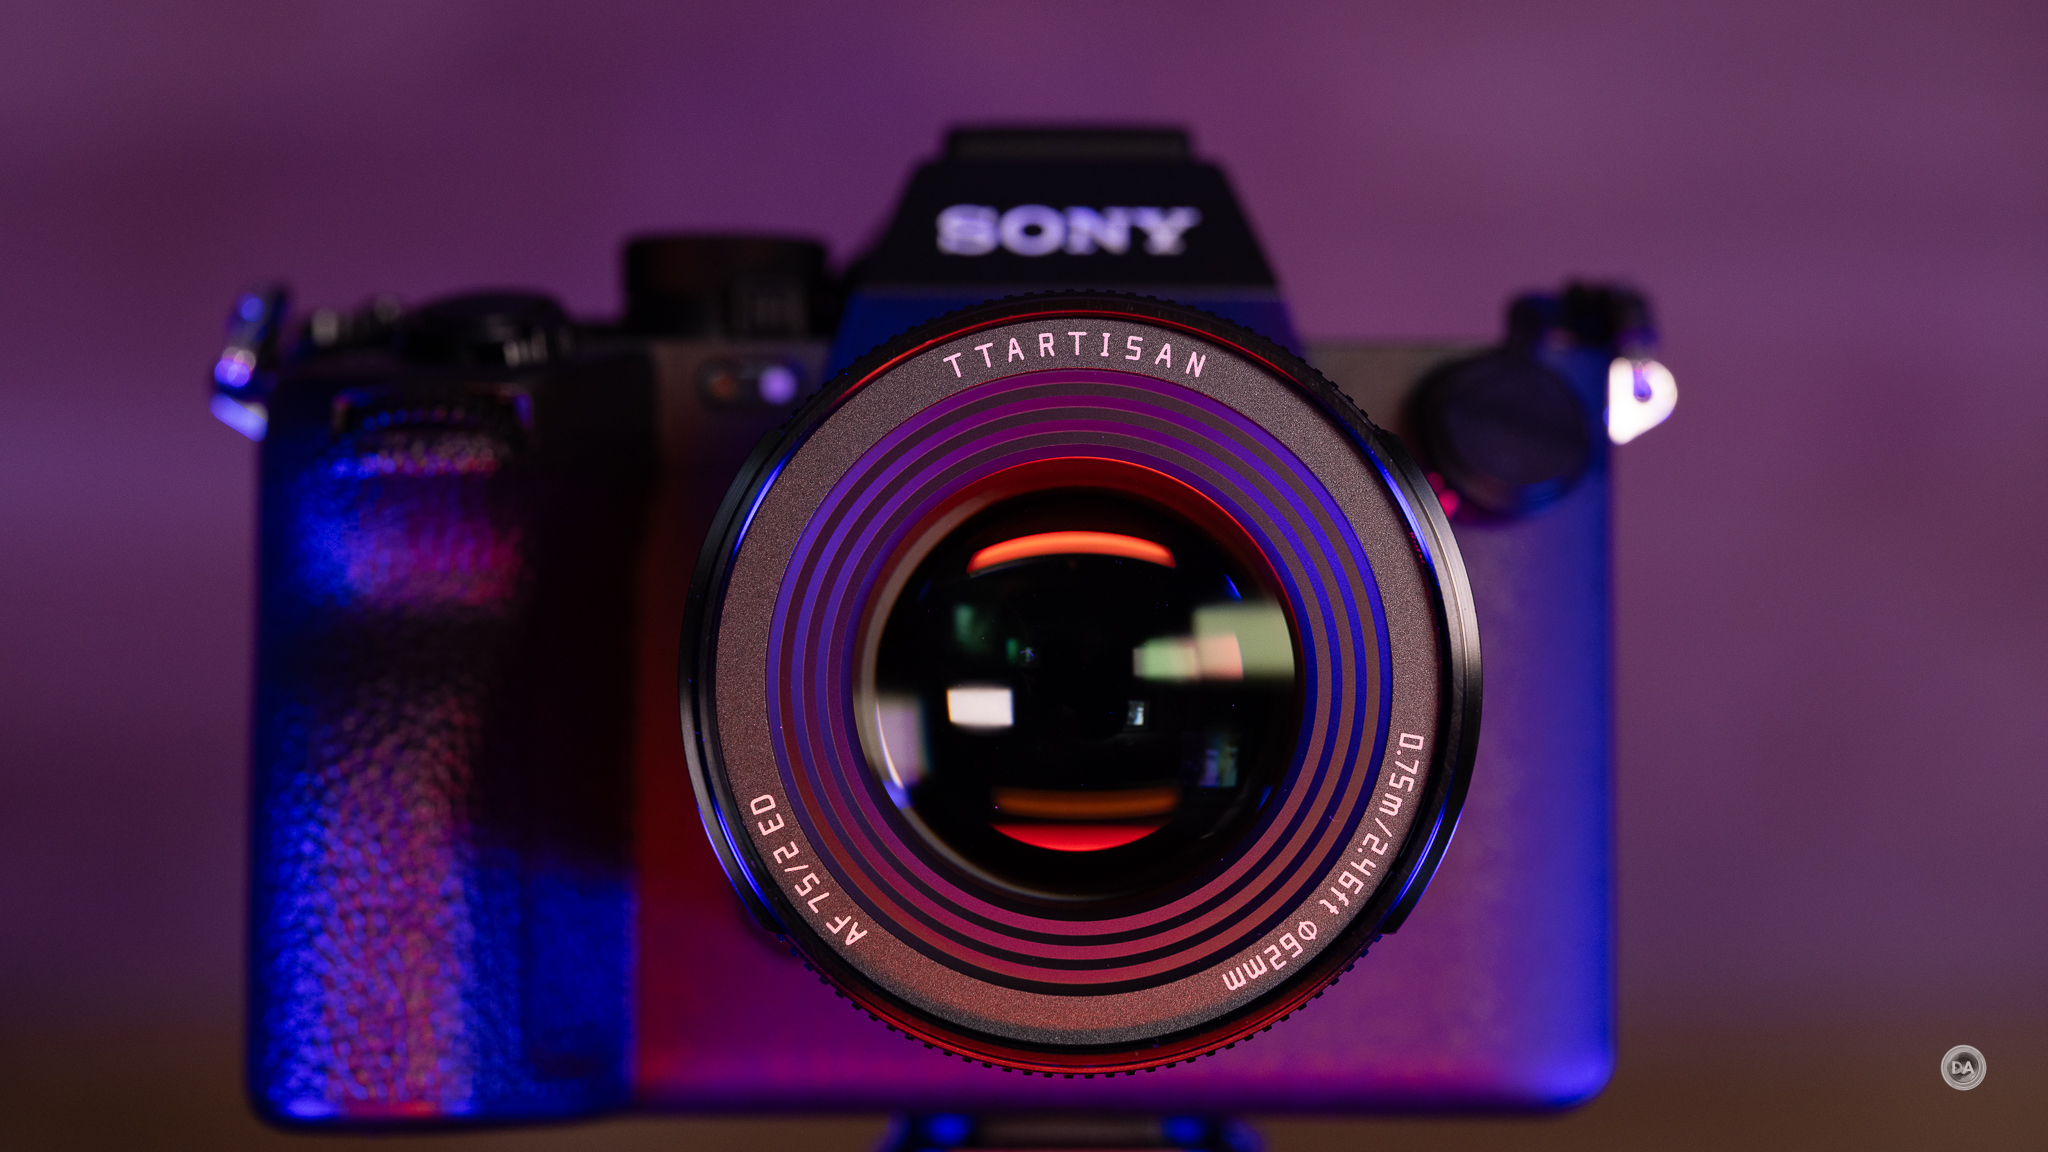
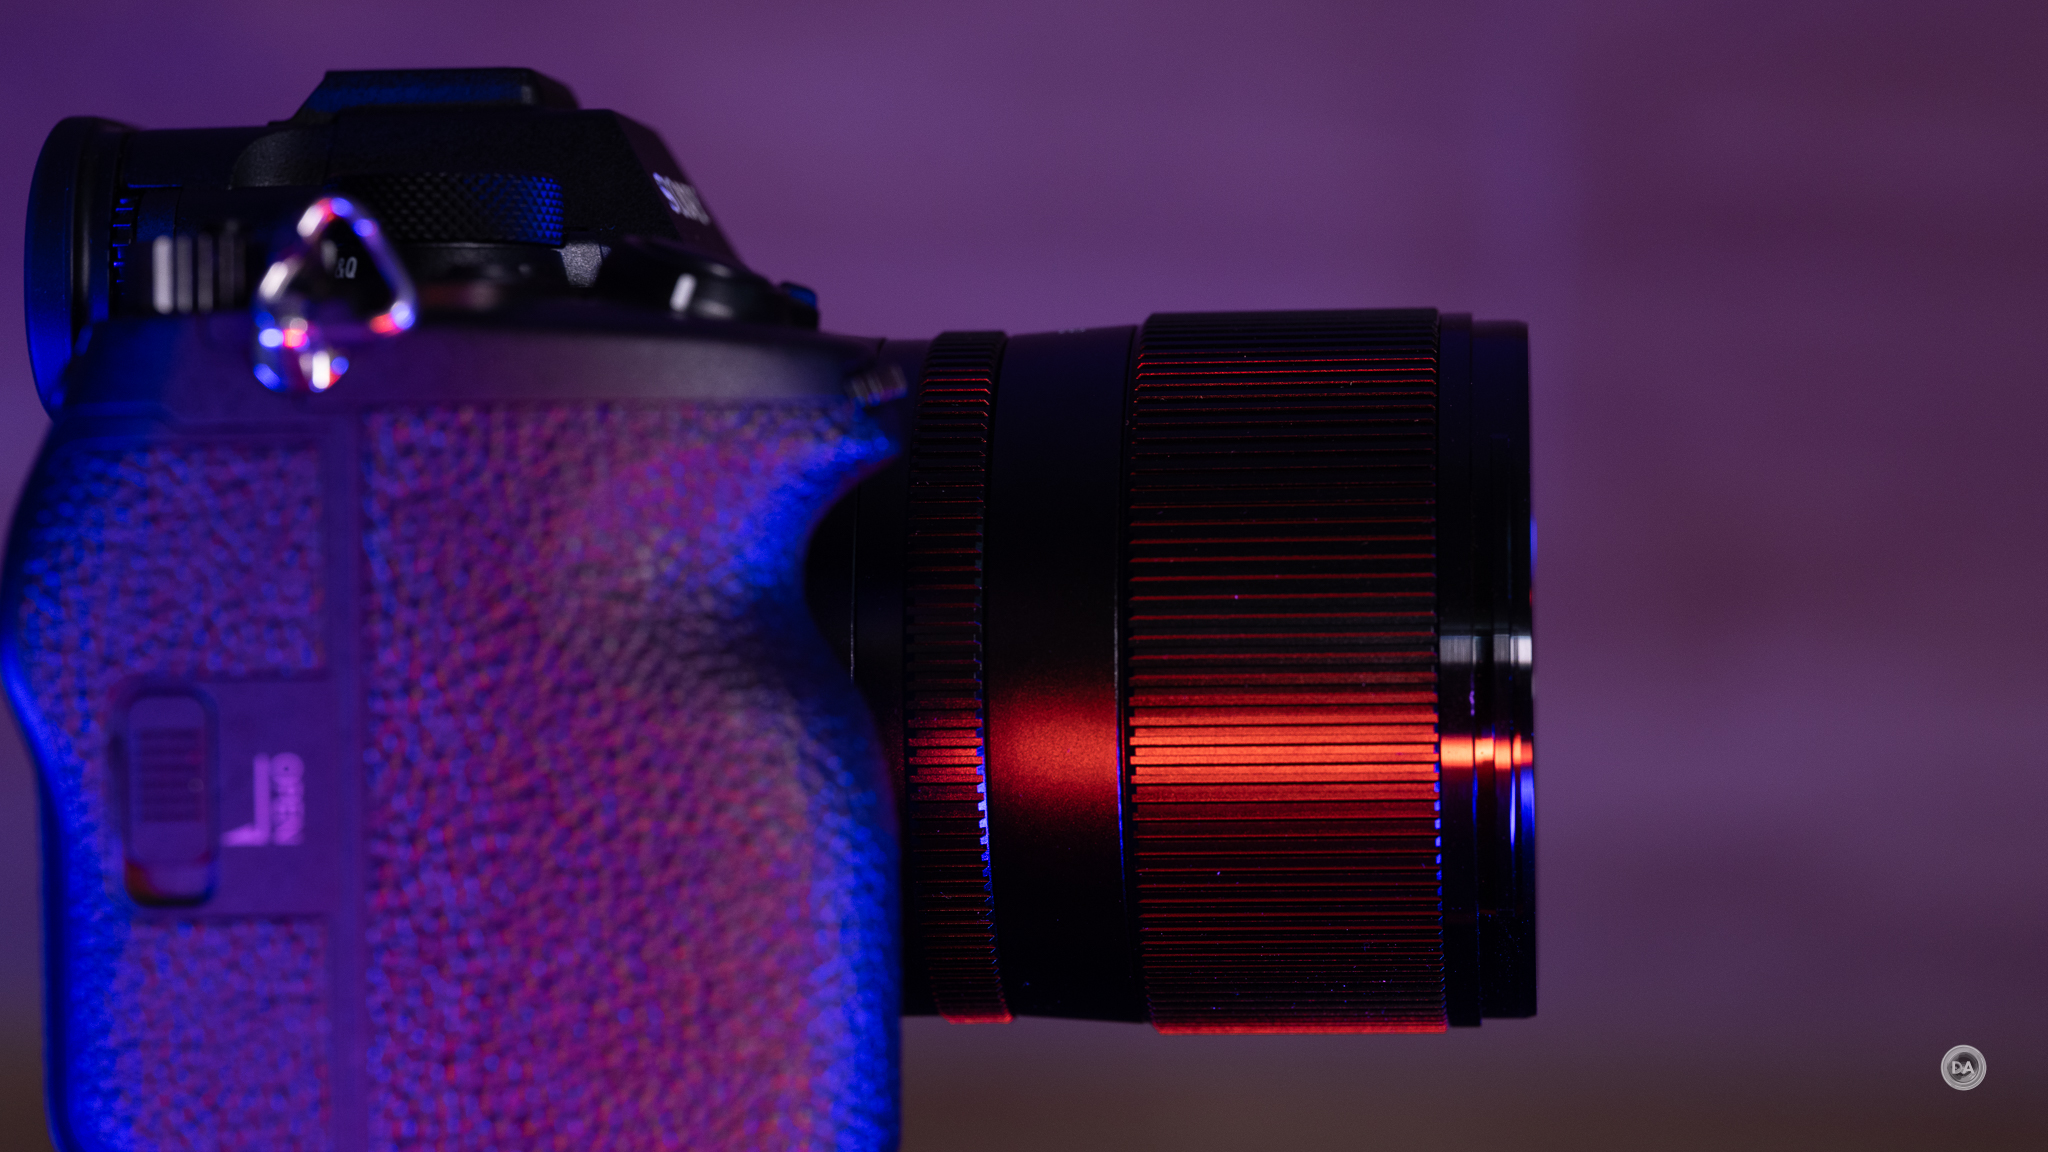
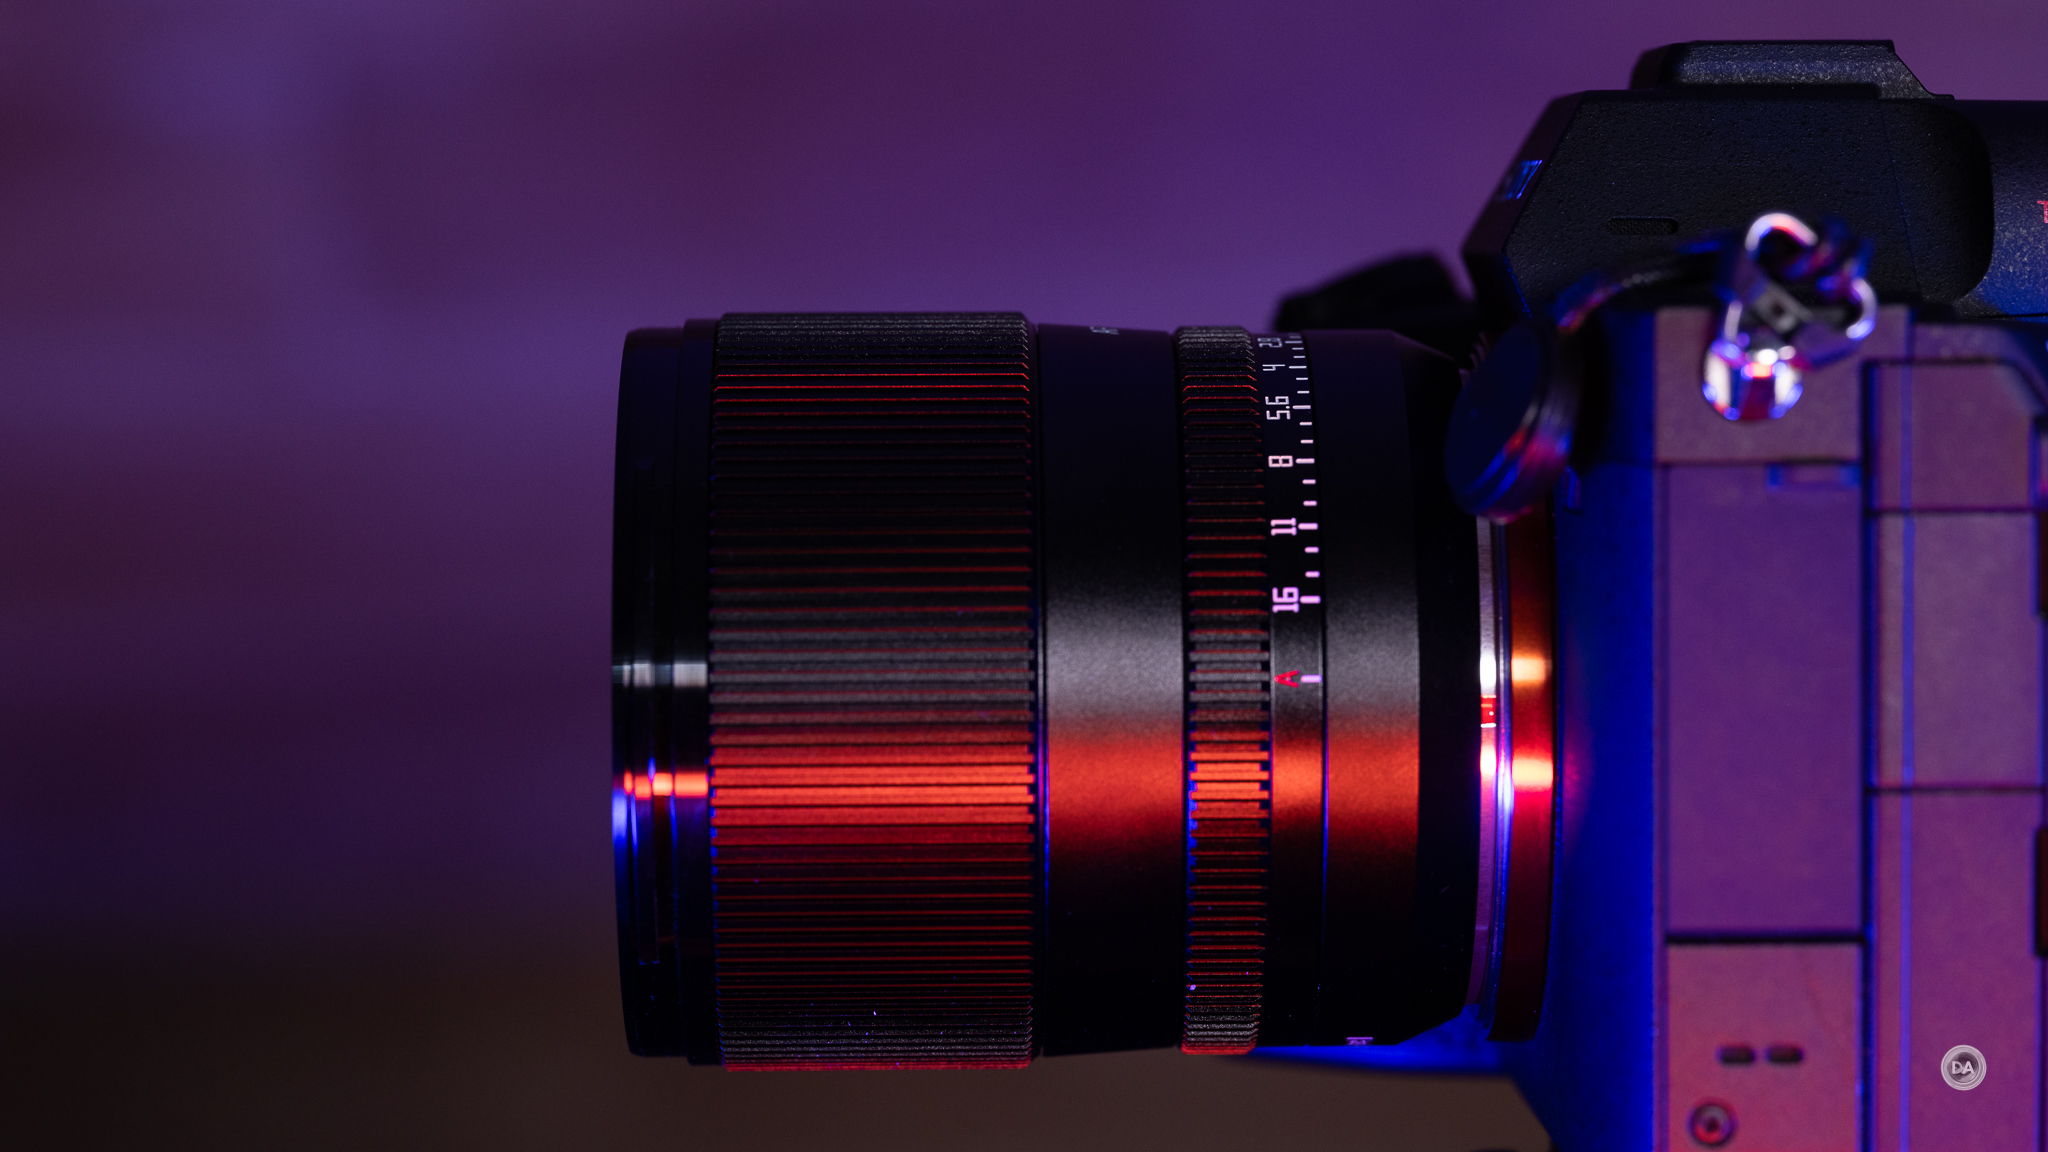
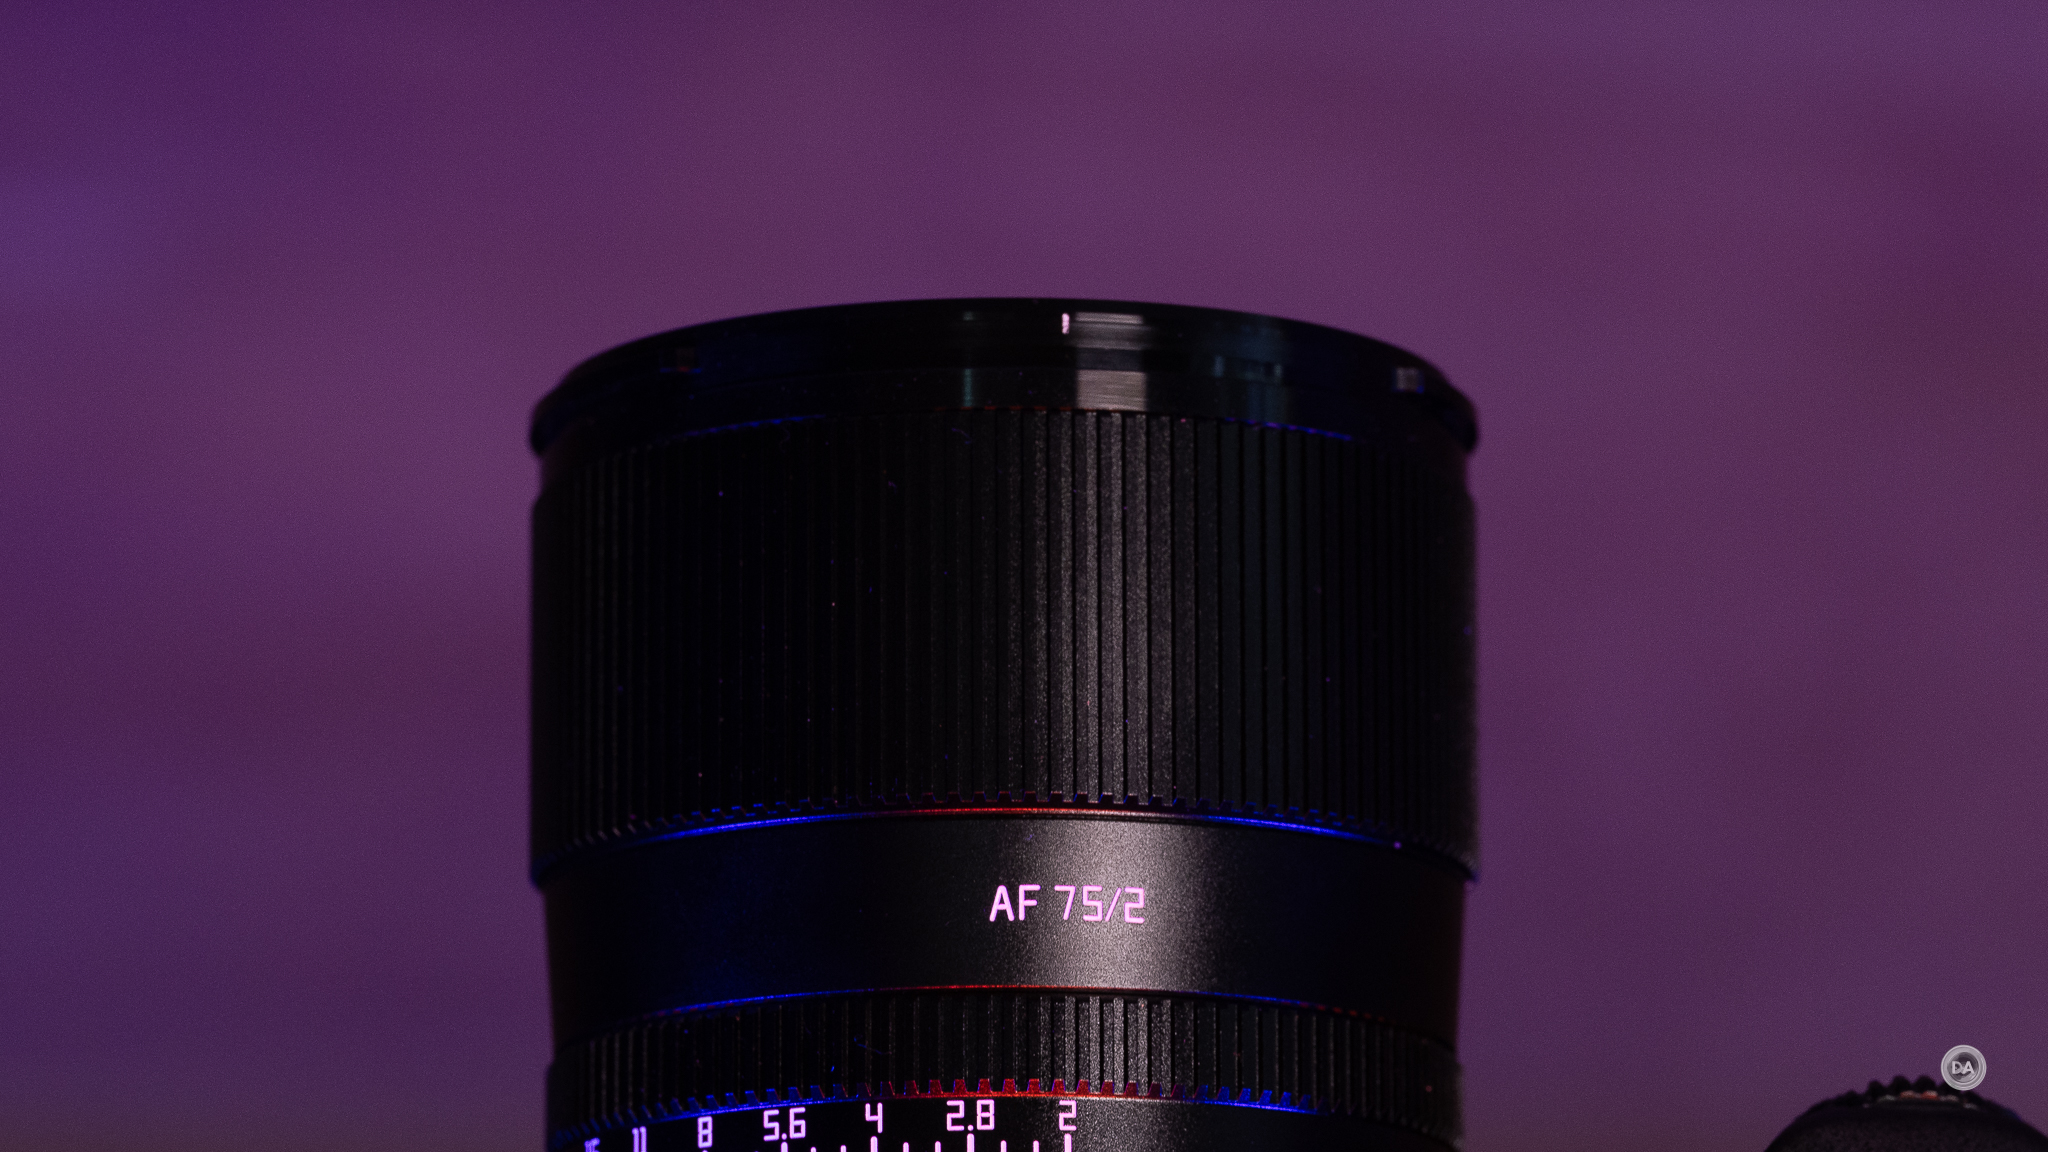
The TTArtisan AF 75mm F2 follows the trend that I’ve seen with their autofocusing lenses of feeling higher quality than what you might expect. The lenses have a very nice metal body with an anodized metal finish. Put simply, the lens looks and feels far more premium than the price would suggest.
That metal housing does come at the cost of weight, however, and the TTArtisan 75mm is definitely heavier than the more plasticky Samyang lens. The Samyang weighs in at a lightweight 230g, but the E-mount version of the TTArtisan lens is heavier at 328g (11.57oz). Still not heavy in an absolute sense, but obviously considerably heavier.
For some reason TTArtisan has not included external measurements in their release materials, so I’ve done my own measurements that may not perfectly align with the official measurements when released. I measure the lens at 65mm in diameter and 73mm in length (2.55 x 2.87″). That’s the same diameter as the Samyang lens but an additional 4mm in length. It is still a very compact lens that fits in the palm of my hand. Front filter threads are 62mm; not one of the most common sizes, but reasonably common.
In my opinion, this is actually quite a handsome little lens. It has an anodized black finish that is very clean and timeless. Previous APS-C lenses have had a sculpted area between the lens mount and the focus ring, like this:
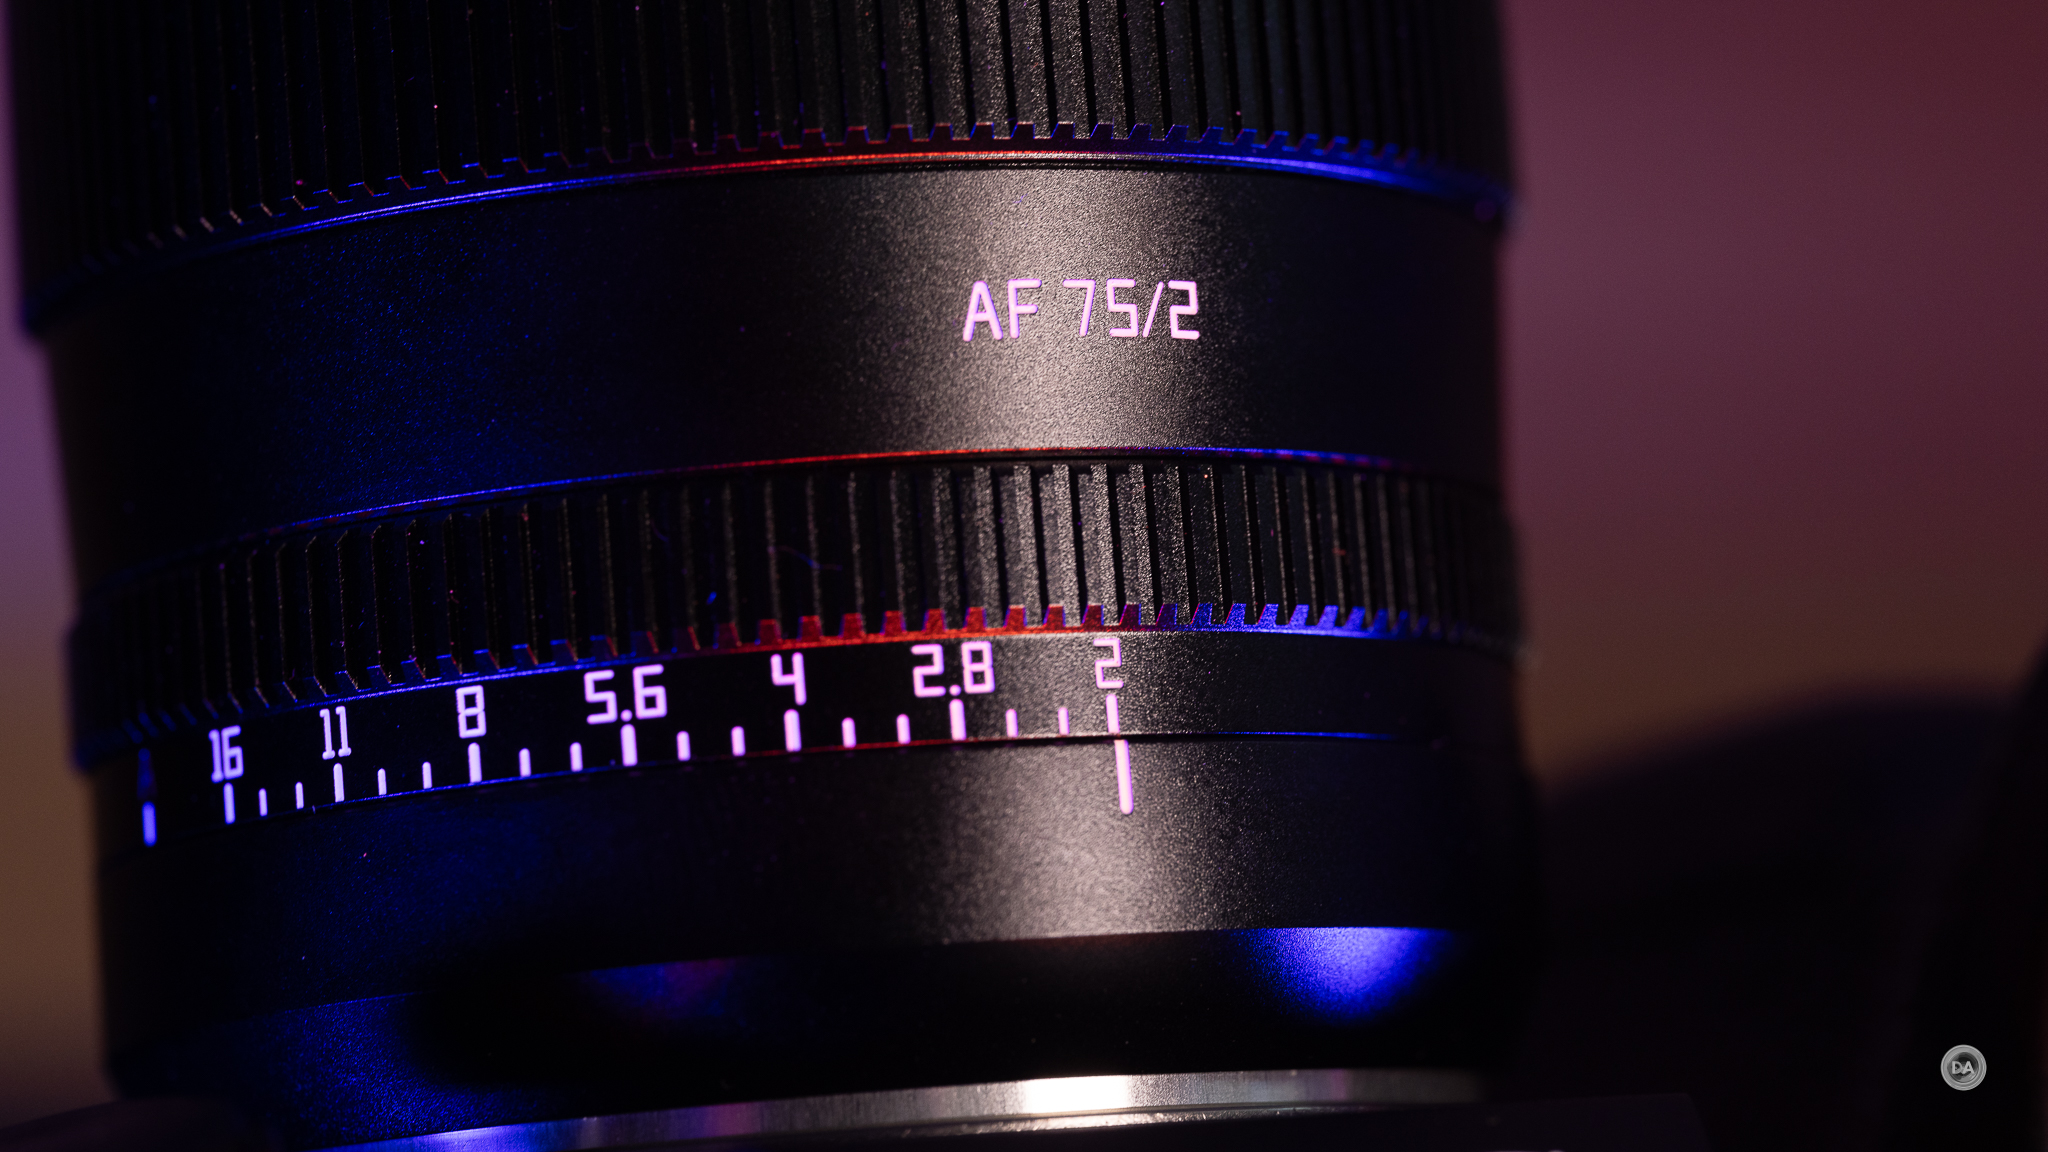
But now TTArtisan has filled that space with an aperture ring. It is the standard style aperture ring that has “clicks” or detents at one third stop intervals along with markings for all full aperture stops.
There is a space between F16 and A (Auto) while will allow you to control aperture from within the camera, though I would like a little more resistance between the F16 and A, as there’s not much more resistance than the standard aperture stops.
There are no switches on the lens barrel. This makes for a very clean looking design, but I would obviously prefer having an AF/MF switch.
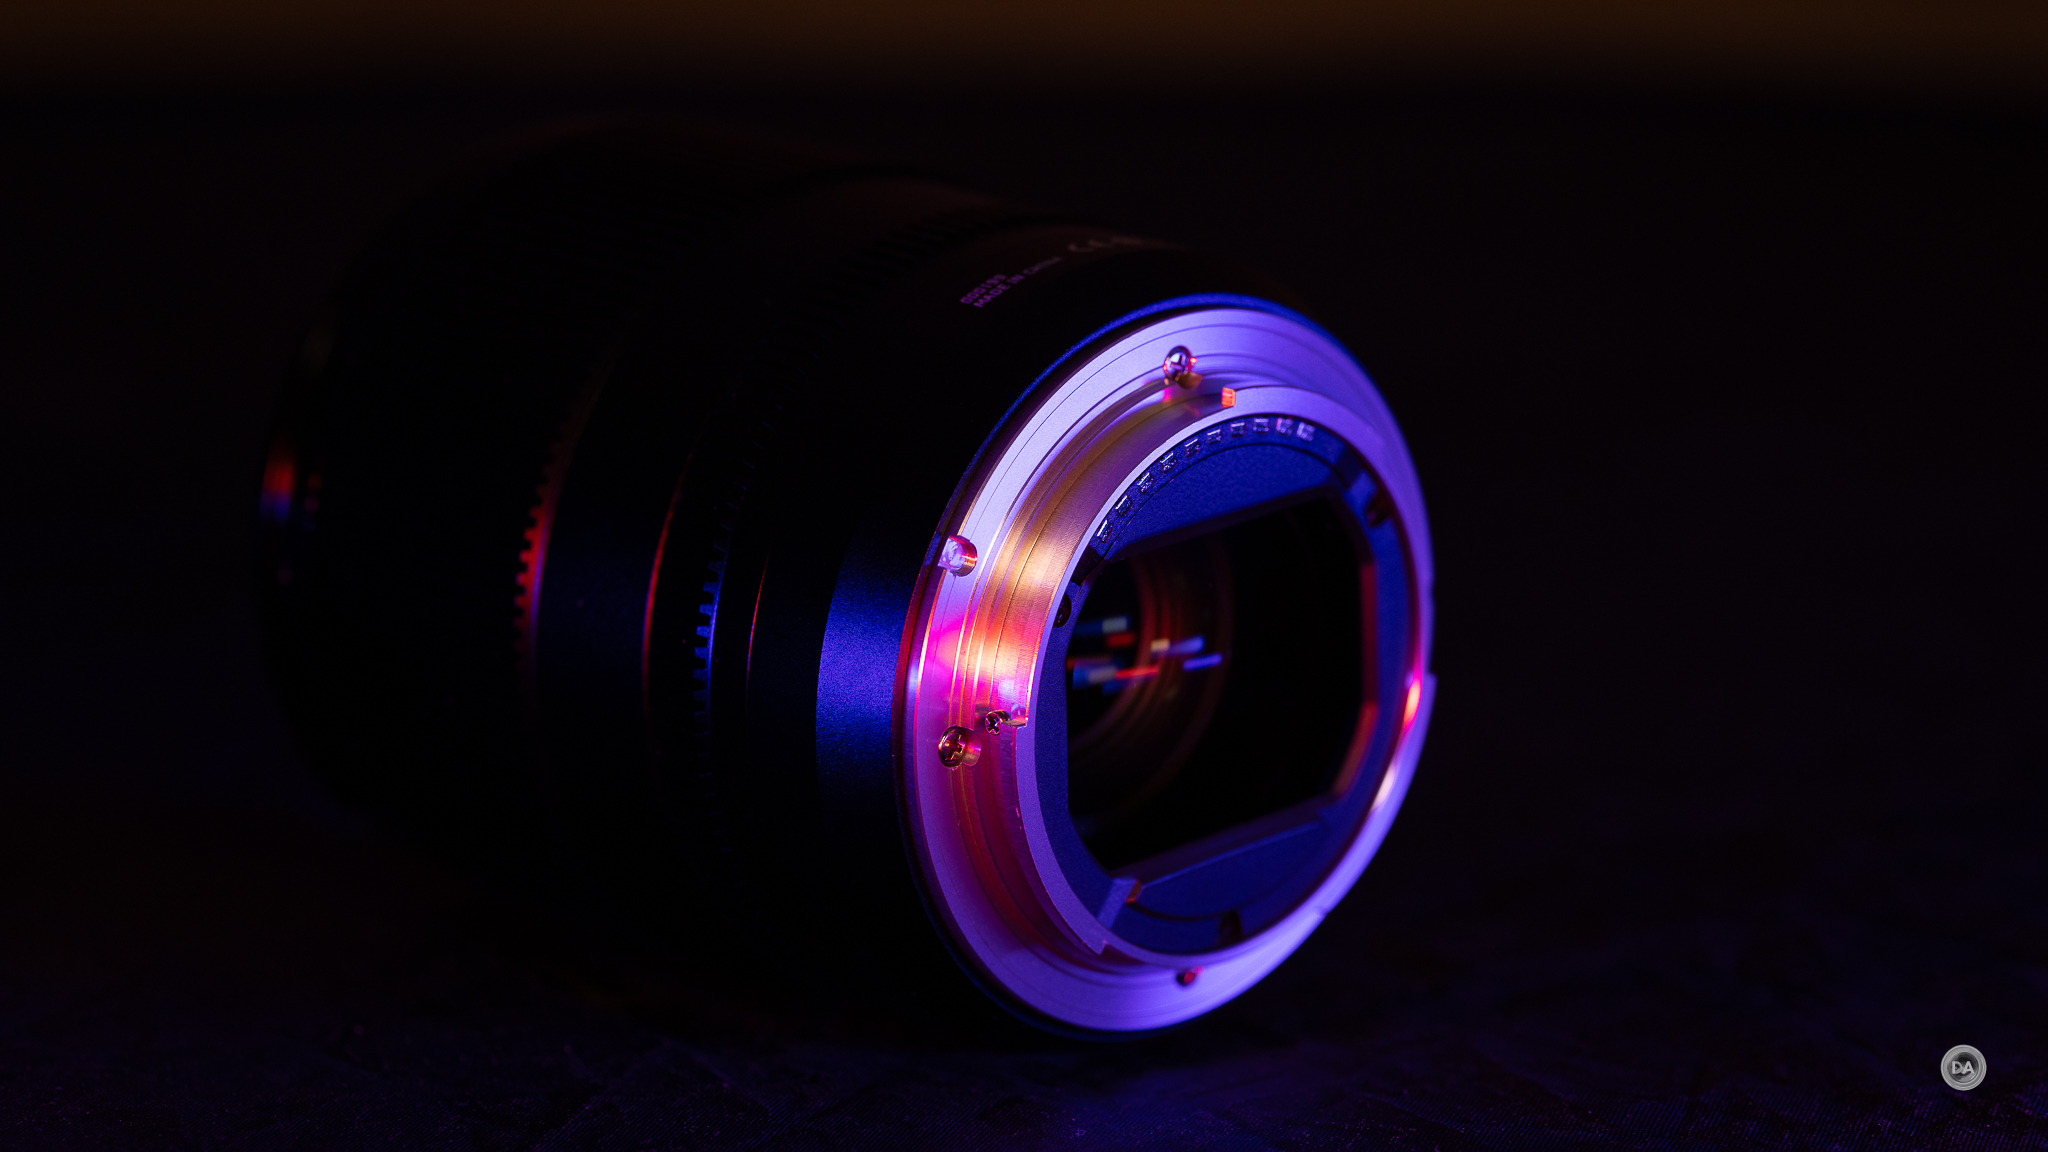
At the rear of the lens we have a metal lens mount complete with the appropriate electronic contacts, though I don’t see a weather sealing gasket.
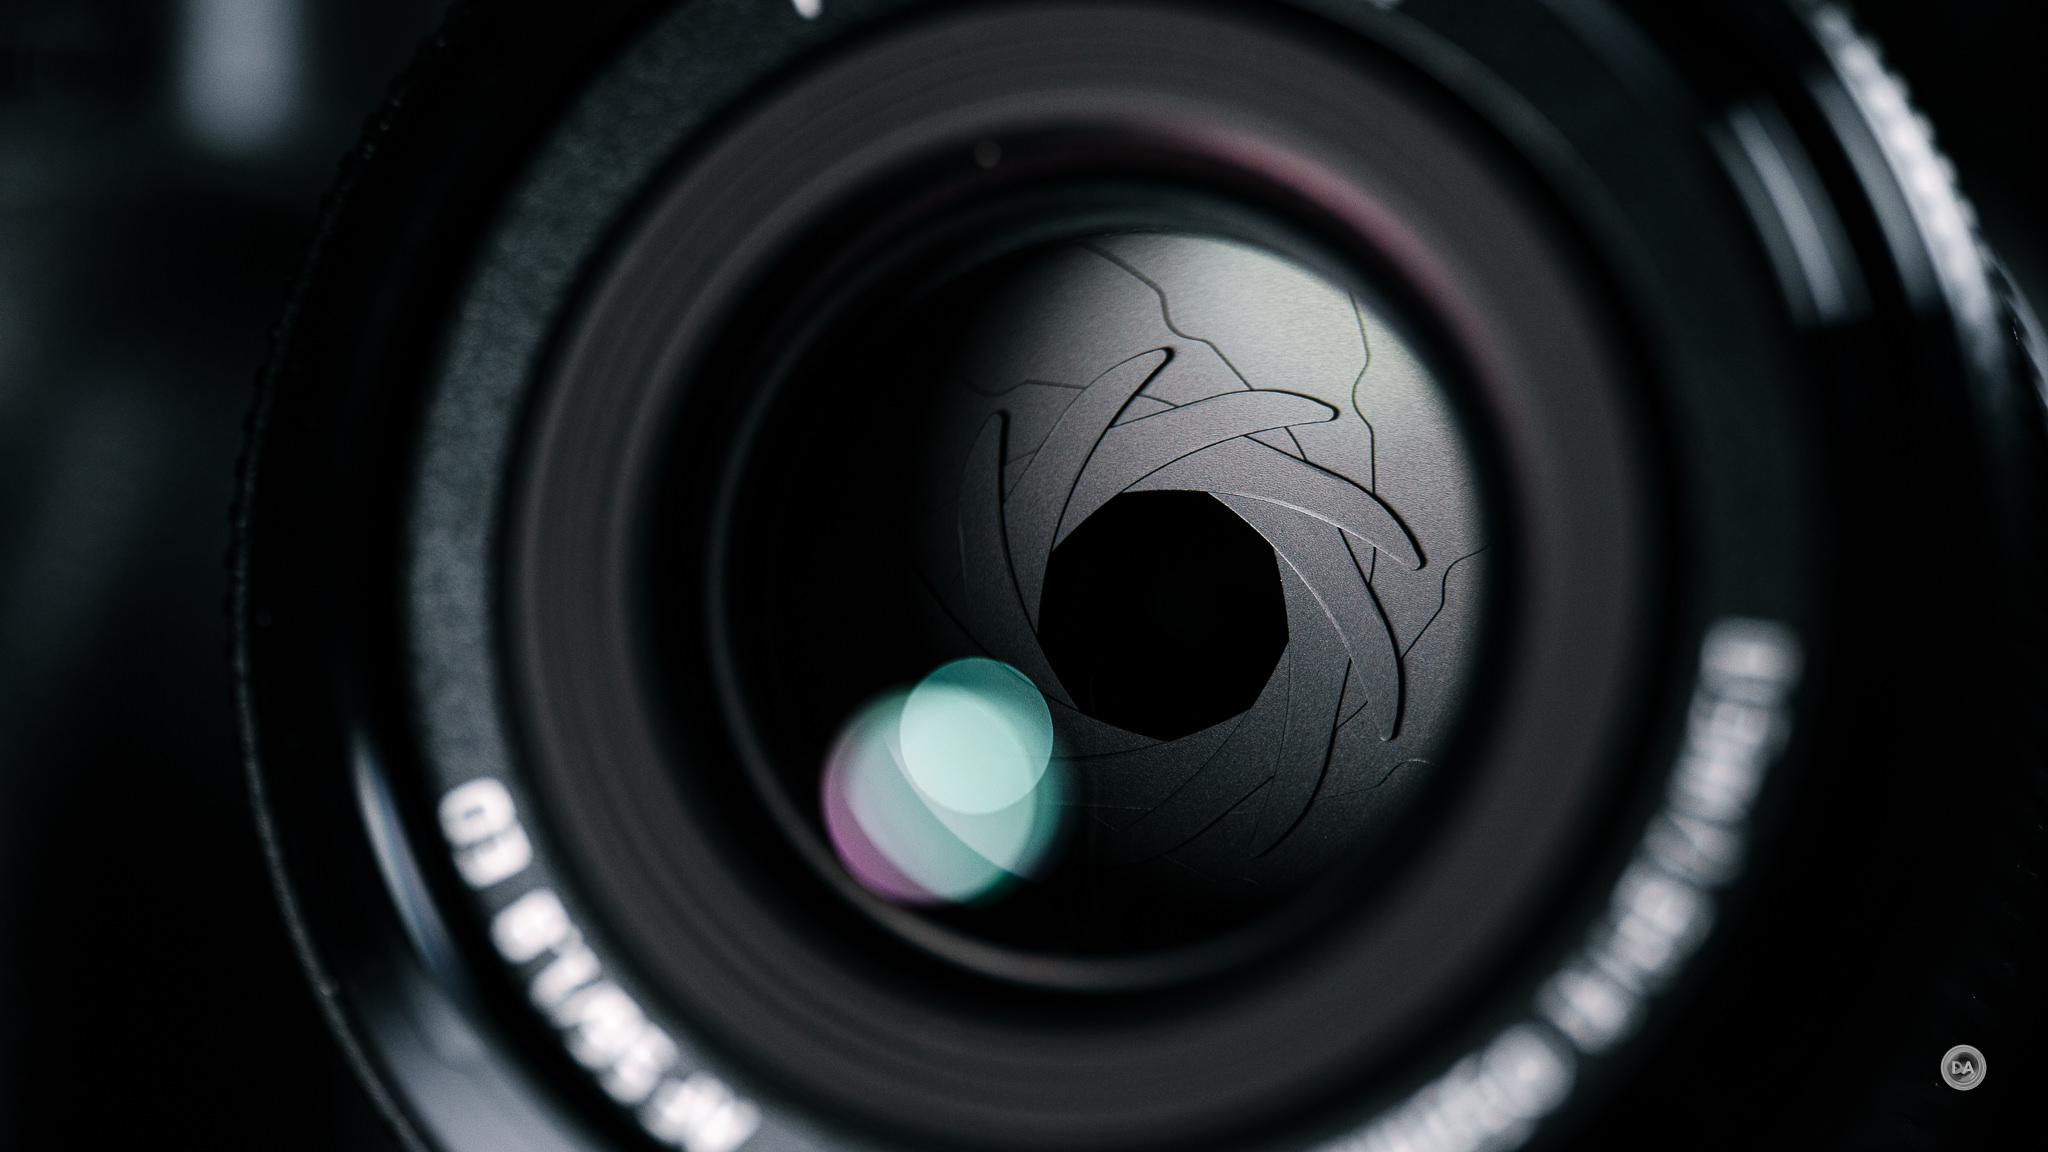
There are nine aperture blades that do a reasonable job of maintaining a circular aperture. Here’s look stopped down over 3 stops at F5.6:
The included lens cap has a new font for the TTARTISAN logo imprinted on it, and I think it looks smart and modern.
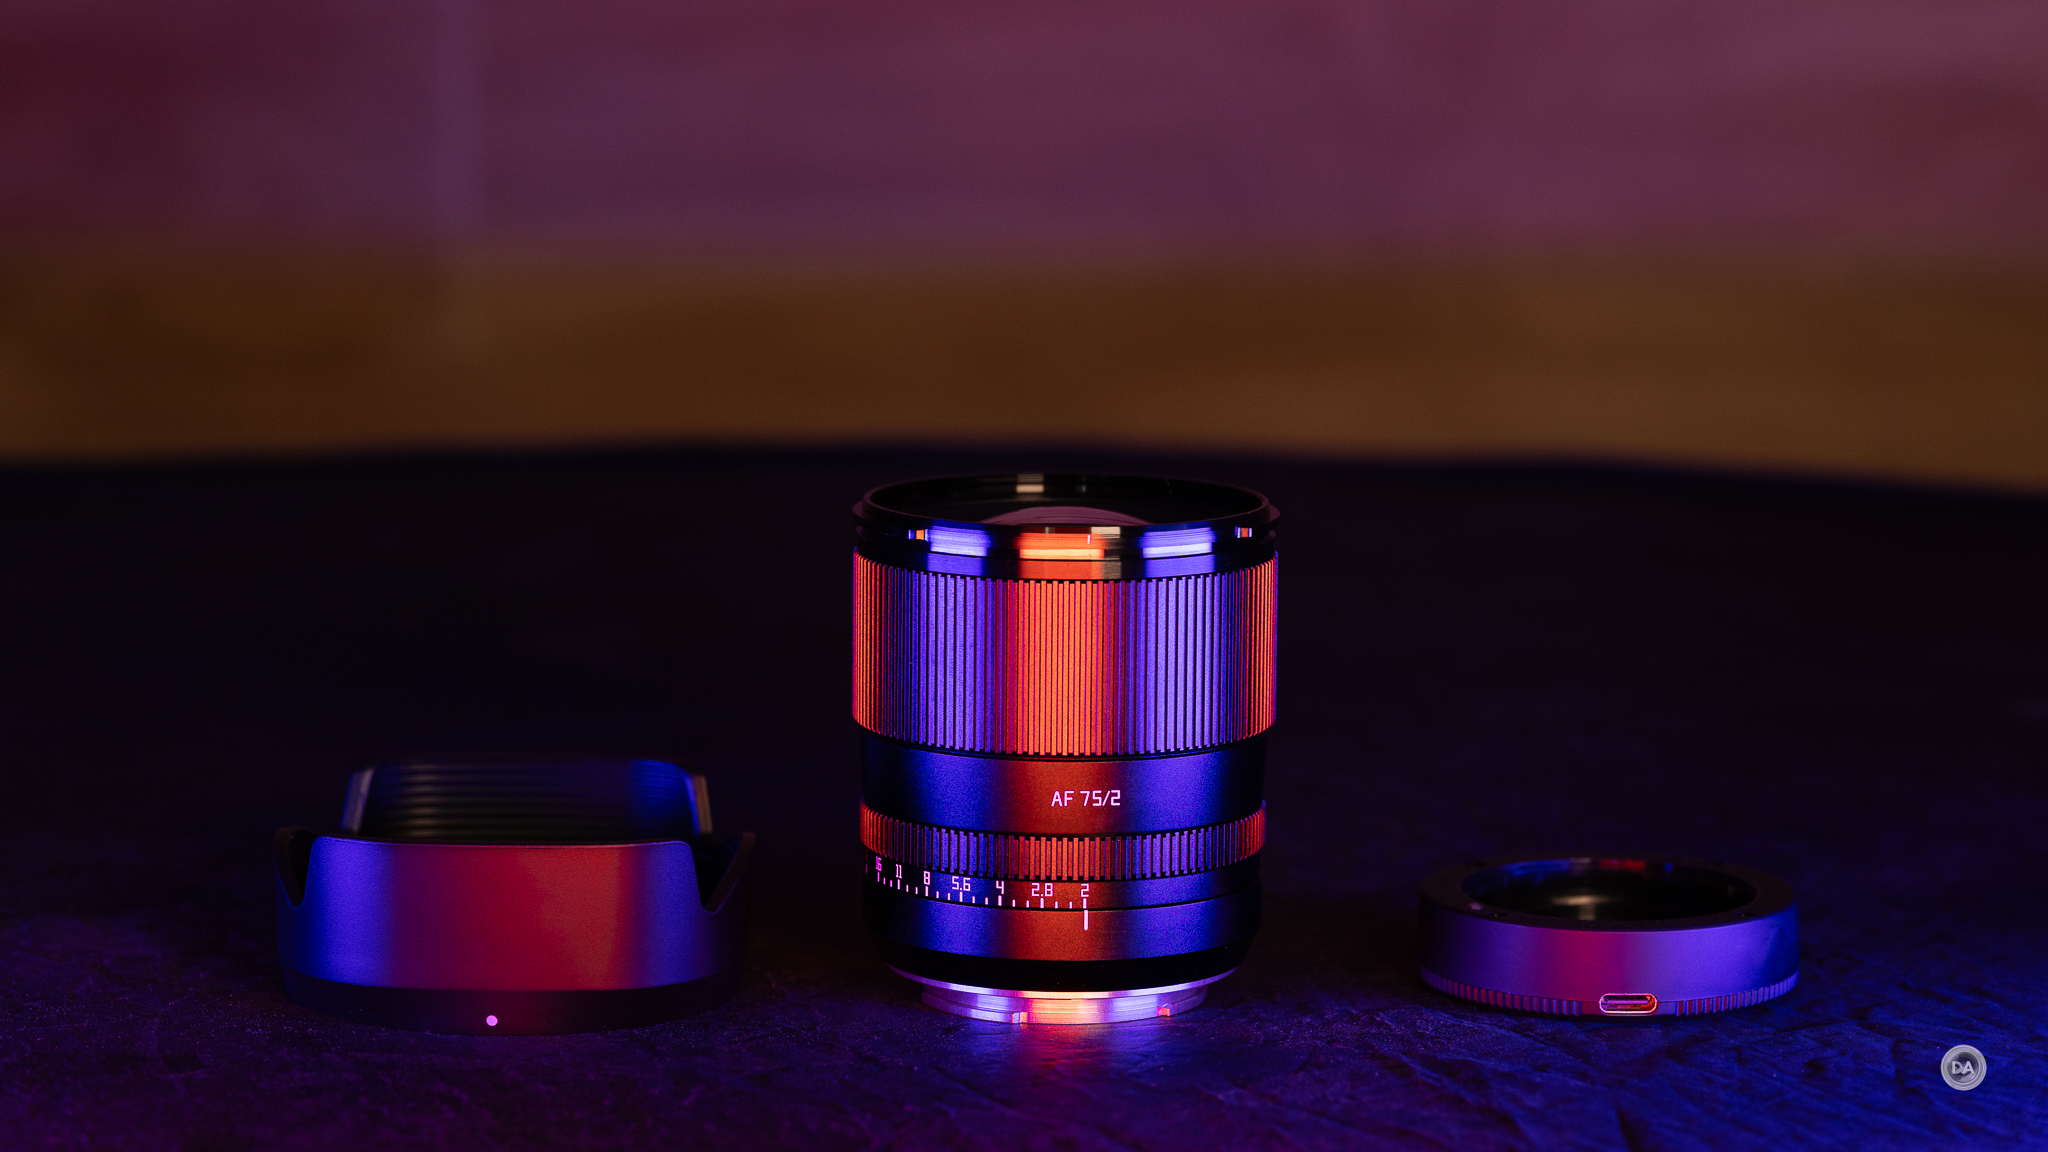
TTArtisan has finally heeded my feedback for an improvement to the lens hood design, which is a bit more traditional. The shape is slightly unique, but it is a more standard bayonet style without the “letterbox” opening at the front and can actually be reversed for storage.
The lens hood is plastic and nothing special, but it bayonets on with reasonably good precision and locks into place fine.
The manual focus ring is ribbed in metal and moves with a nice amount of damping, though I can feel a little “drag” from the focus motor when making faster adjustments. The active focus area will automatically magnify when you start to focus, and this helps visually confirm accurate focus. Focus throw feels like it is somewhere near 170° of rotation.
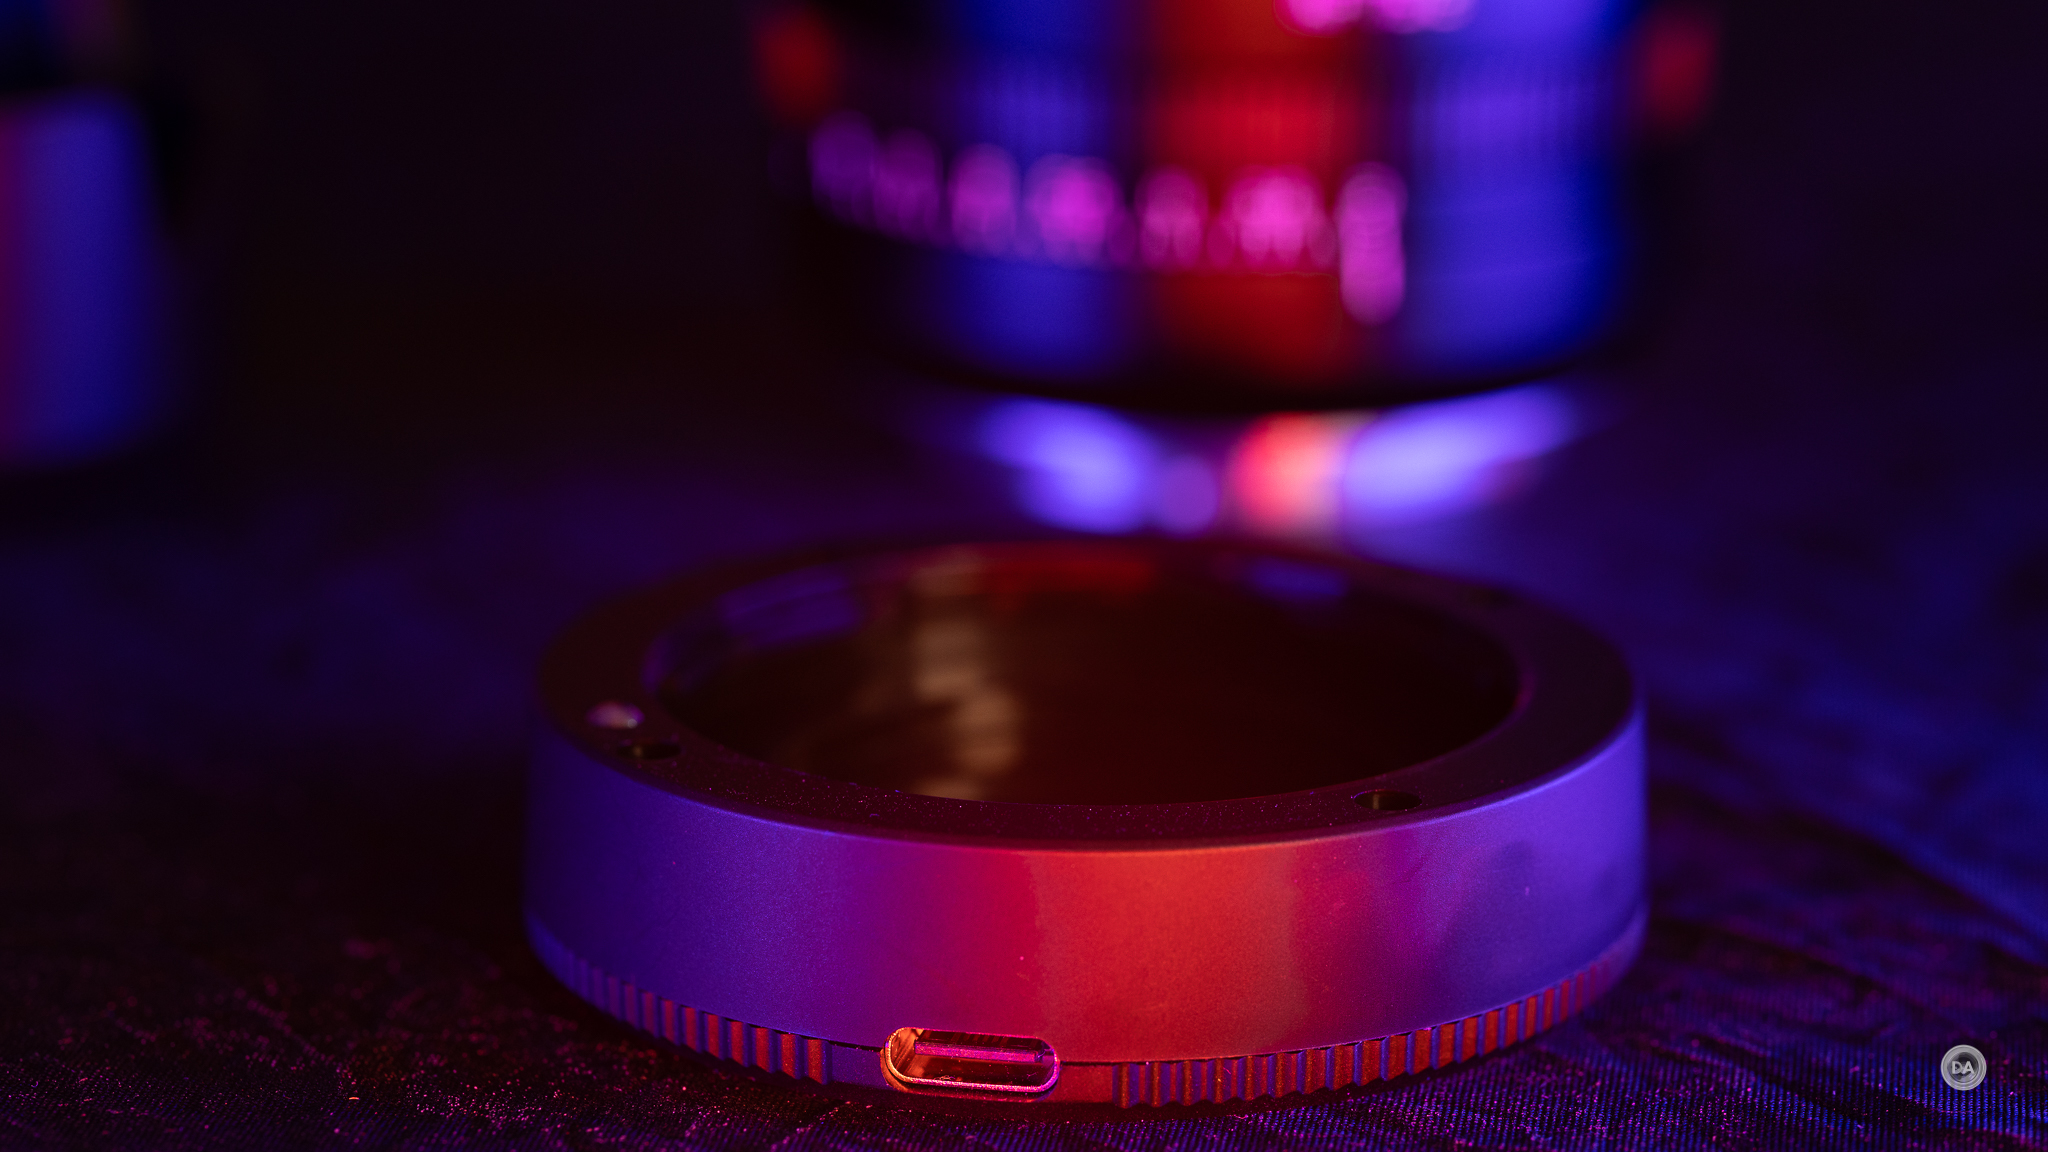
One final interesting design element is that the rear lens cap has a USB-C port along with electronic contacts inside and will actually allow you to do firmware updates to the lens through a computer. It’s an interesting alternative to having a USB-C port built right into the lens, though I do slightly prefer the built-in option in case you lose the rear lens cap at some point.
The minimum focus distance of the TTArtisan 75mm matches the focal length (75cm) and has a fairly low level of magnification. The Samyang can focus closer (69mm) and sports a 0.13x magnification, so while TTArtisan does not specify the magnification level, it looks to be not much higher than 0.10x.
I definitely noticed not being able to get as close to subjects as what I would like. Here’s an example of a real world minimum focus distance shot.
All told, however, there’s much more to like here than there is to dislike. The addition of the aperture ring is a nice step in the right direction, and the improved lens hood is also welcome. The lens definitely feels much more premium than the Samyang 75mm F1.8, which is a big win for a lens that costs half as much.
Autofocus and Video
TTArtisan has equipped the AF 75mm F2 with an STM (stepping motor). Autofocus noise is relatively low. There is a faint whirring sound during autofocus changes, but I could mostly only hear it in a very quiet environment or with my ear pressed close.
Autofocus accuracy was fairly good, and this shot of Ferrari (at F2) shows that the very shallow depth of field is where it is supposed to be – right on his iris.
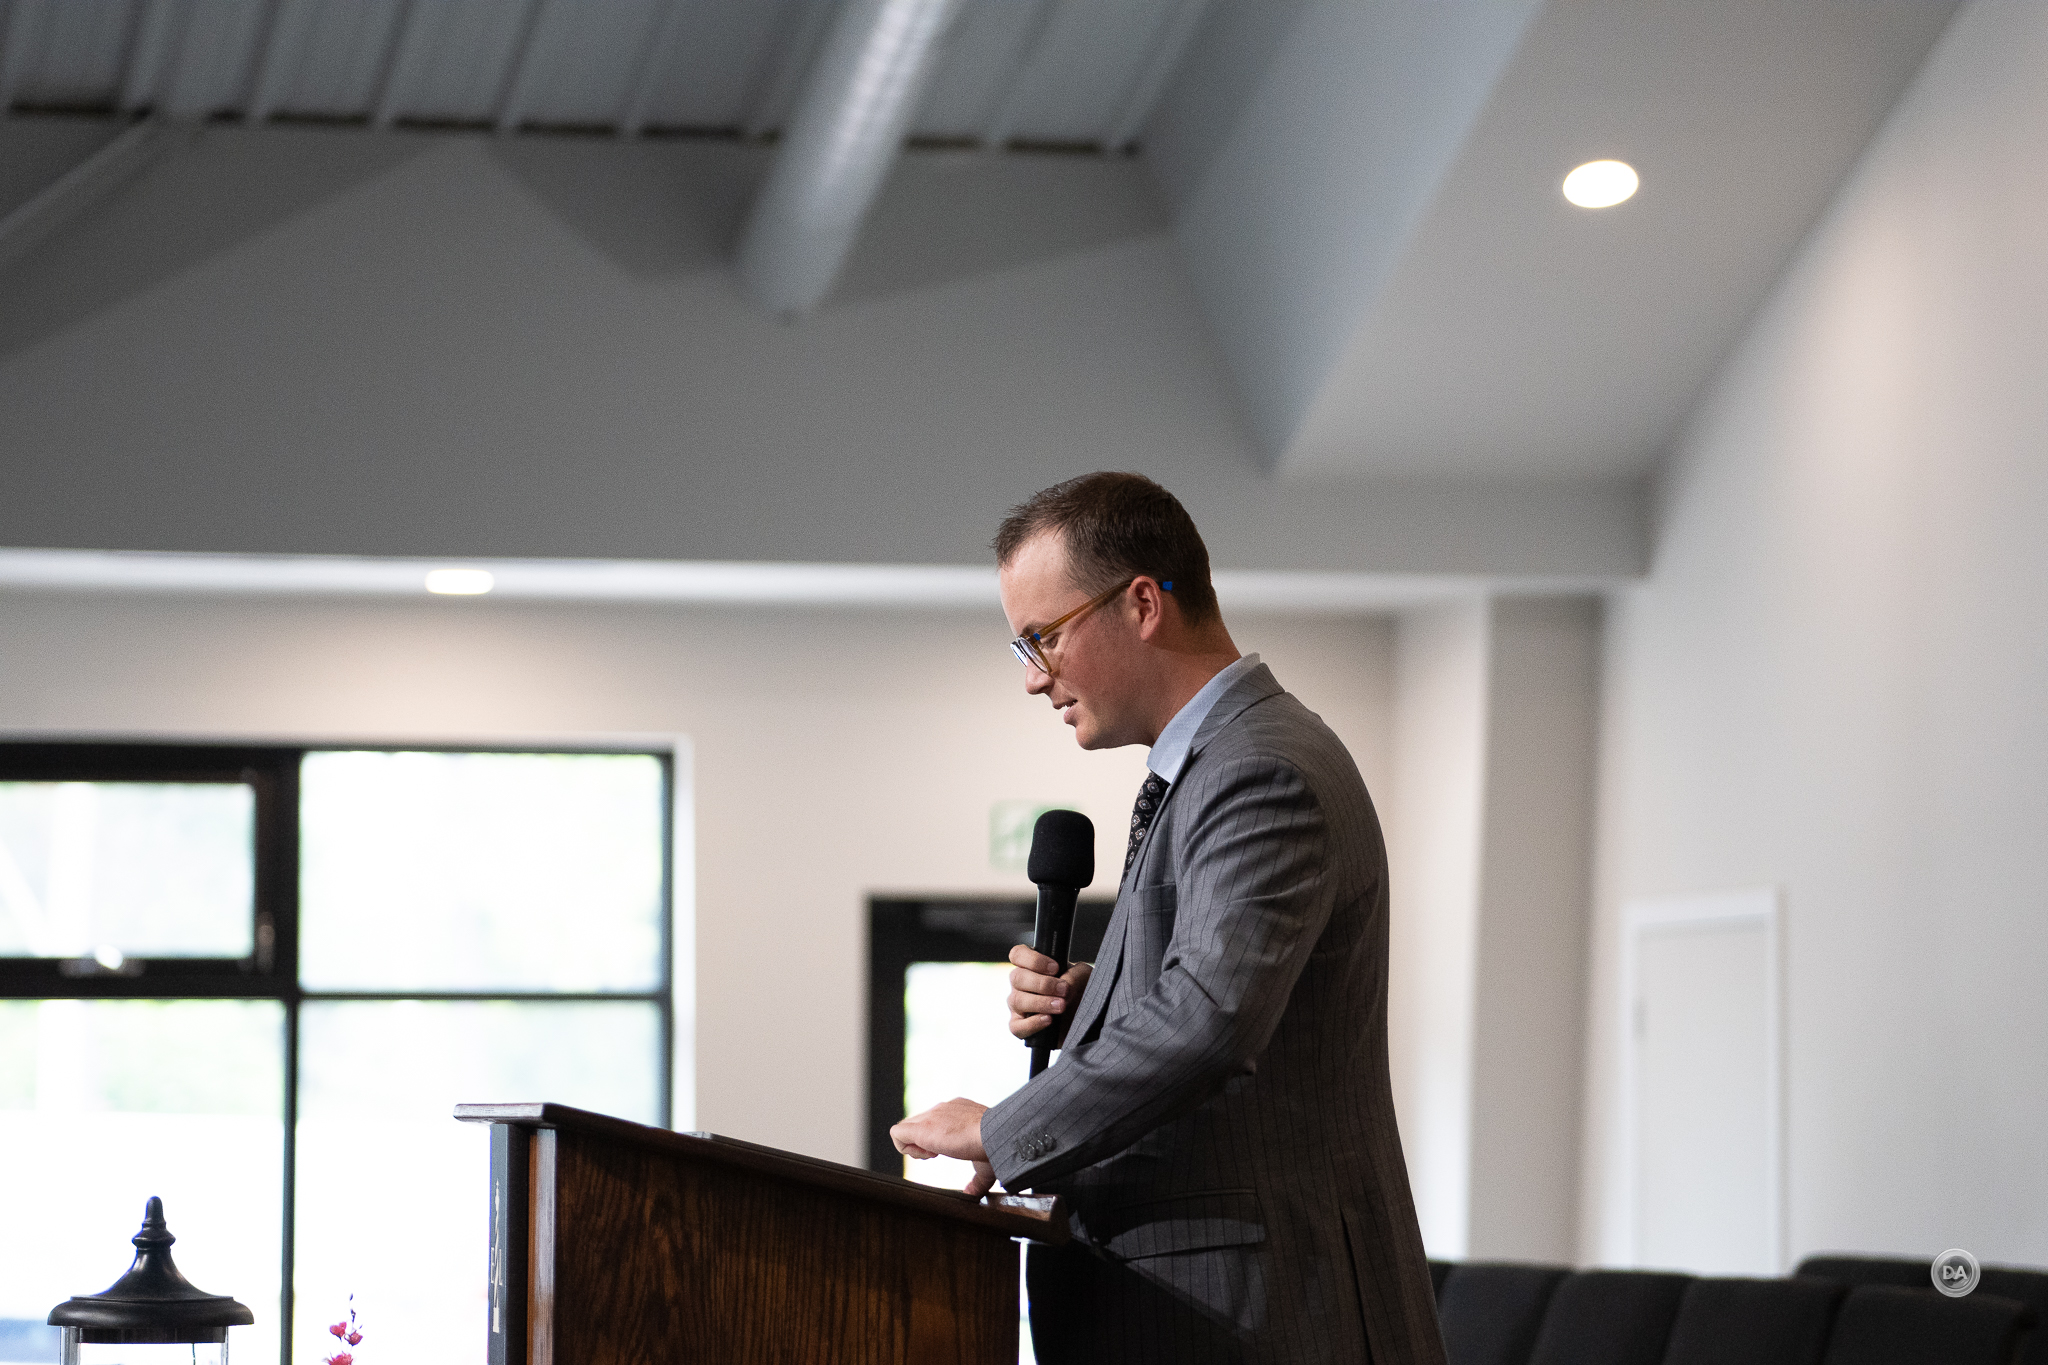
I got good eye focus on human subjects as well when I took the lens to a church setting to take photos of the speaker.
Here’s another example of good focus on a non-trackable subject.
I tested focus speed both indoors and outdoors, and my impressions are that focus speed is averagely fast. It’s not instantaneous like the lenses equipped with the best linear motors, but neither is it slow. There is a split second pause while inertia builds and focus takes place, but the focus transition is then pretty snappy. There is no visible stepping apparent. Focus speed was a little faster outdoors in excellent light than what it was in my indoors test.
I wouldn’t use this lens for tracking fast action, but for most ordinary photography work autofocus was just fine. Modern autofocus on mirrorless – even with inexpensive lenses – is just so much better than what we got even from expensive lenses in the DSLR era.
Video AF for focus pulls was reasonably good. Focus pulls were largely smooth and fast, though I do see a visible step or two during focus pulls, and an occasionally rack in the wrong direction.
My hand test (where I alternately block and then unblock the camera’s view of my face with my hand) was fairly good. There’s good confidence going from the hand to the eye in terms of reactiveness, though there was an occasion pulse in there that was a bit distracting. There’s also enough visible focus breathing to make focus pulls feel a little more abrupt.
All in all, pretty much what I expected. The bottom line on autofocus is that it really is pretty good for A) such an inexpensive lens and B) being from a company that is just learning how to build autofocus motors. My experience with many of these companies is that they are fast learners; between firmware updates and new designs in the future, expect TTArtisan to continue to get a lot better at autofocus very quickly.
Image Quality Breakdown
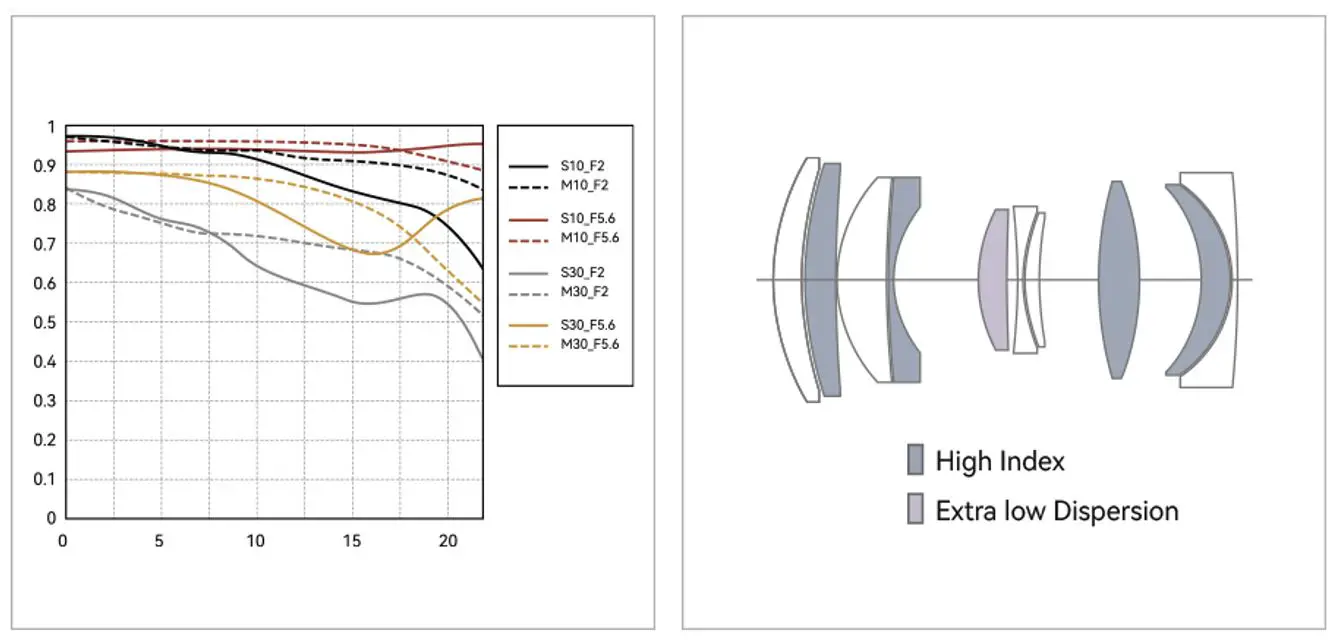
TTArtisan has given us an optical design of ten elements in seven groups, which includes 4 HRI (High Refractive Index) elements and 1 ED (Extra Low Dispersion) element. The MTF chart looks better than the recent 56mm F1.8 lens, a lens that I felt actually performed fairly well in the real world.
The MTF shows a sharp, high contrast center with a moderate dip in the midframe and then a sharper decline right at the edge of the frame.
While this isn’t delivering results anywhere near as sharp as the recent 85mm F1.4 GM II lens that I reviewed from Sony, I would say that results are, in general, pretty satisfyingly sharp. Here’s a shot and crop at F2 taken on a 61MP Sony a7RV.
It’s pretty crazy to think that a few years ago there was a lot of angst over whether or not expensive lenses were going to be able to resolve Sony’s ultra high resolution 61MP sensor, and here were are with $175 lenses able to do it just fine.
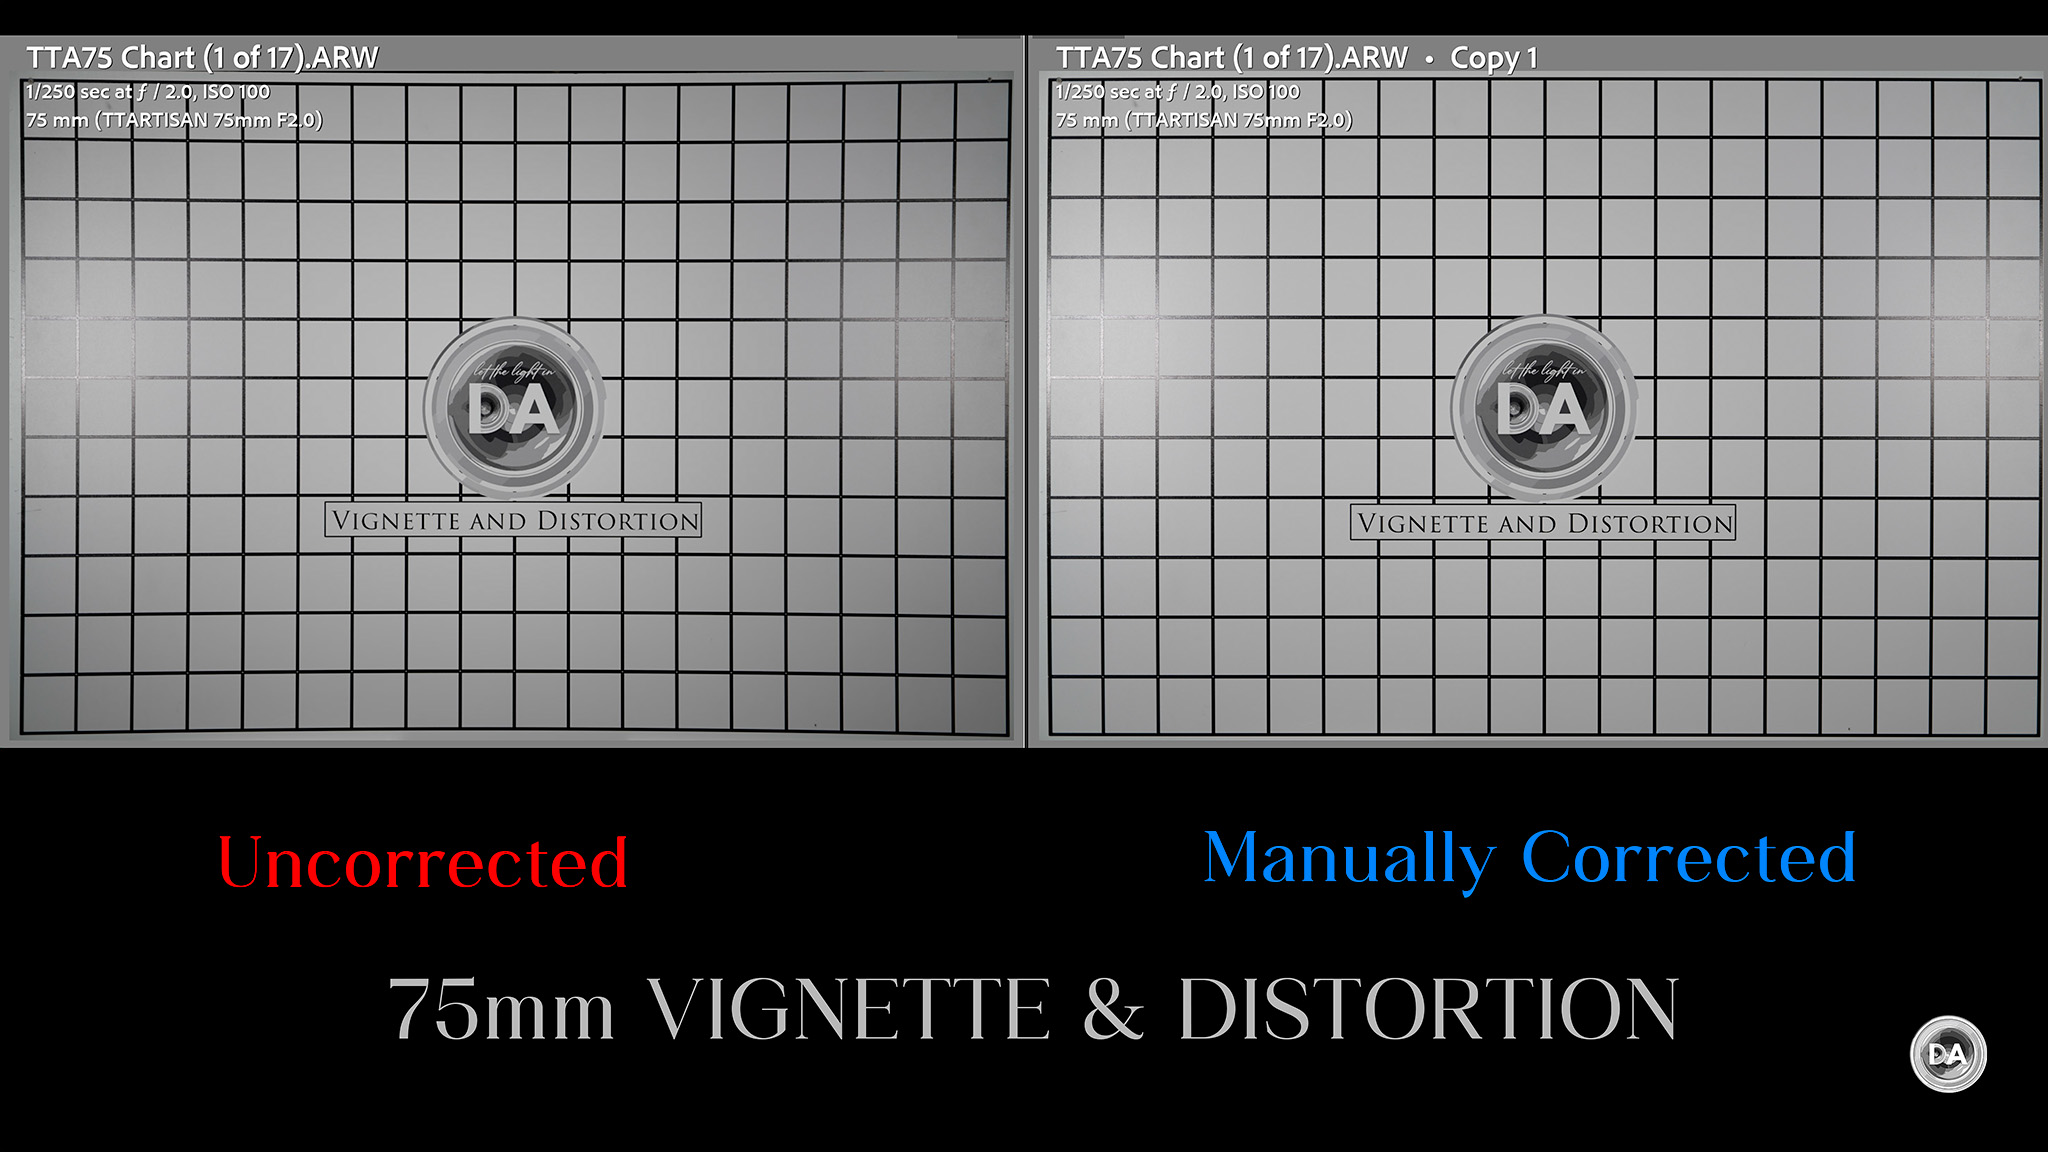
We’ll dig into the details by taking a look at vignette and distortion. No significant issues here. There’s a small amount of pincushion distortion (just enough to flattering) and a minimal amount of vignette. For portraits you would probably be better off leaving this uncorrected.
A manual correction of the distortion required a -5 on the Lightroom slider and a +32 on the vignette correction slider. This is a really nice performance for a budget lens.
Longitudinal chromatic aberrations were an issue with TTArtisan’s first AF lens (the 35mm F1.8), but TTArtisan told me personally that this was an area that they had focused on improvements, and with some definite success. You can see a nice control of fringing before and after the plan of focus here.
This shot of late summer wildflowers has plenty of potential for fringing, but while we see a bit of blooming on some of the edges, there is very little color fringing.
Lateral chromatic aberrations show up near the edge of the frame in transitions from dark to light areas. You can see from the edge of my test chart that there is essentially no fringing.
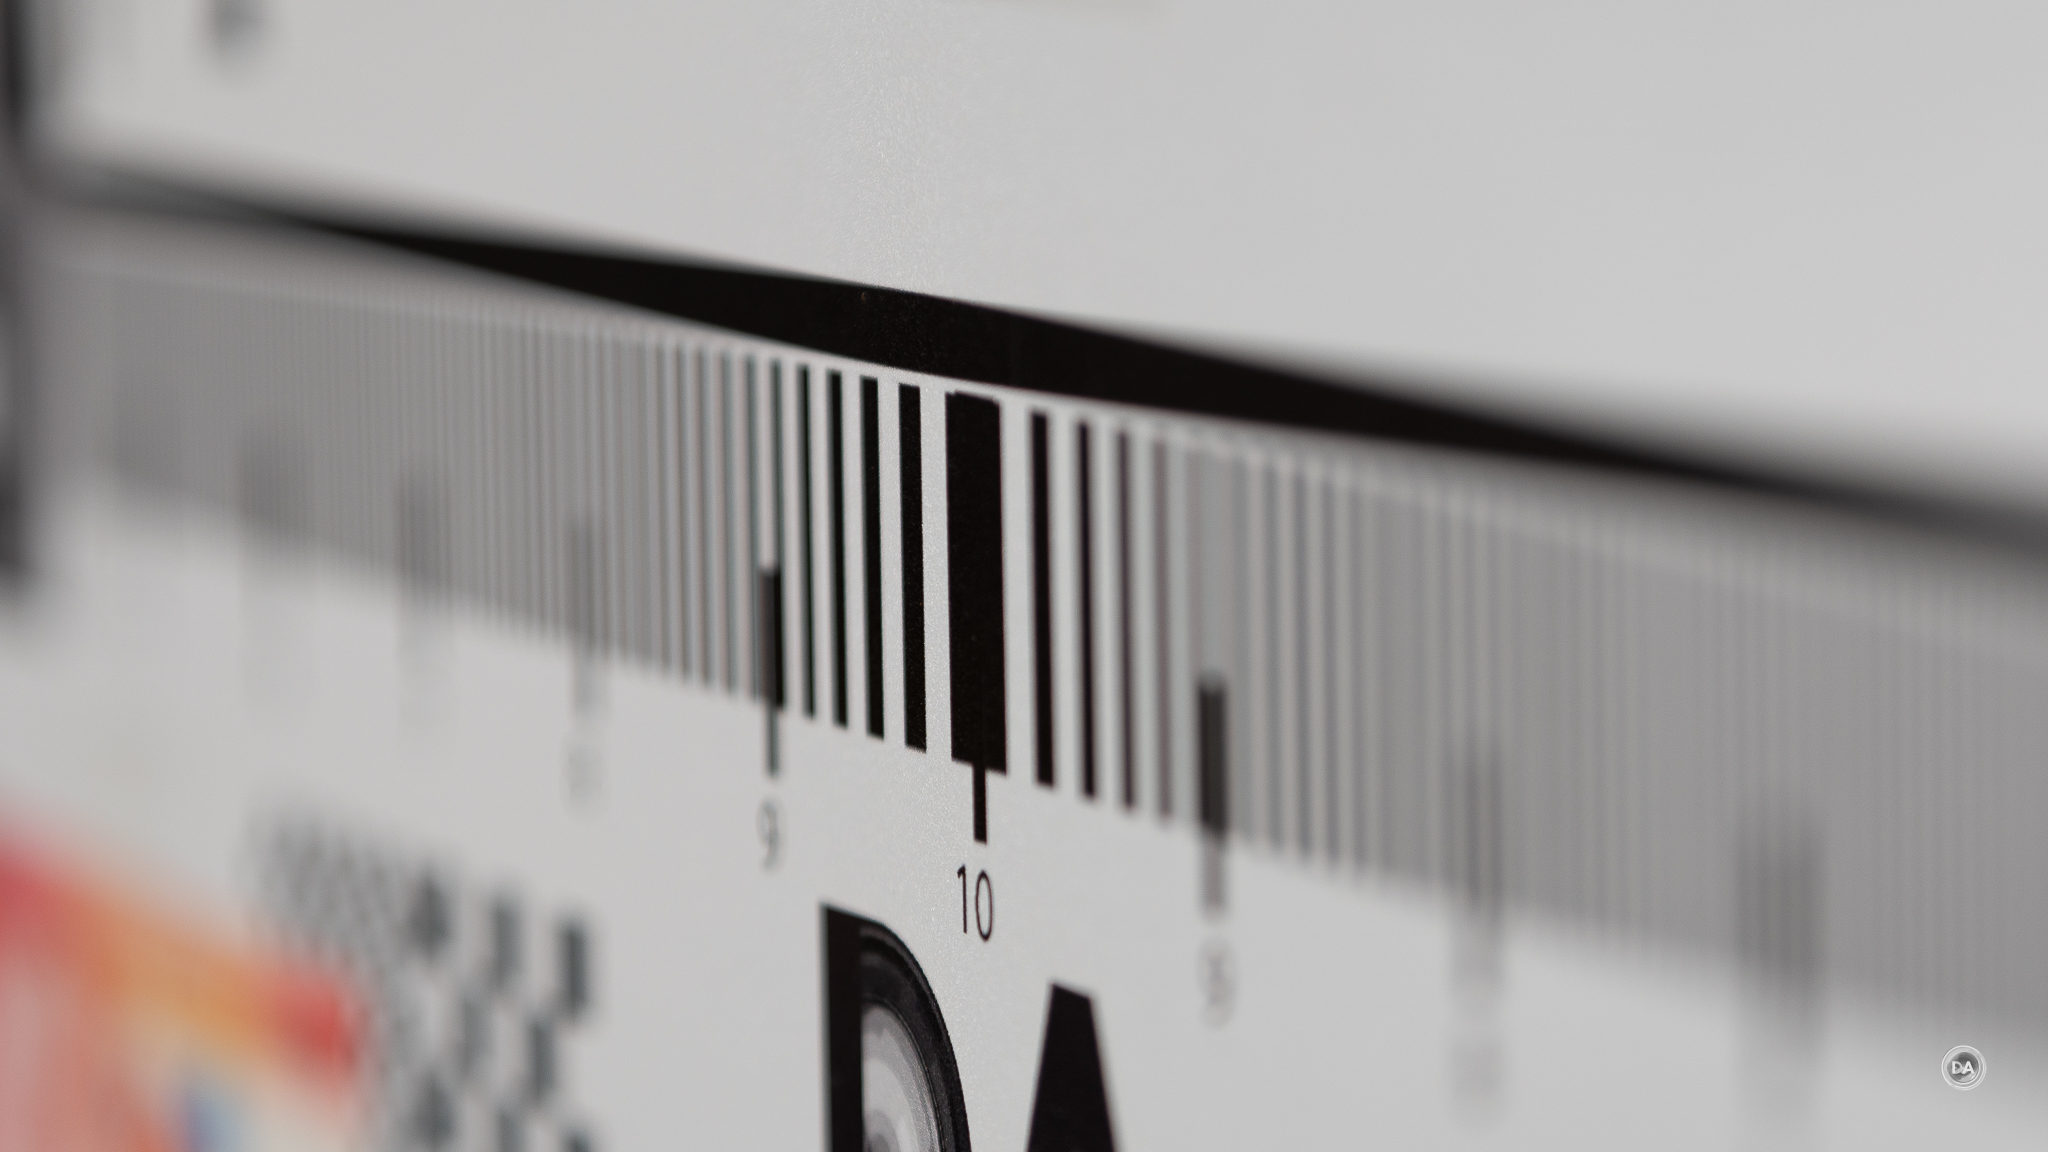
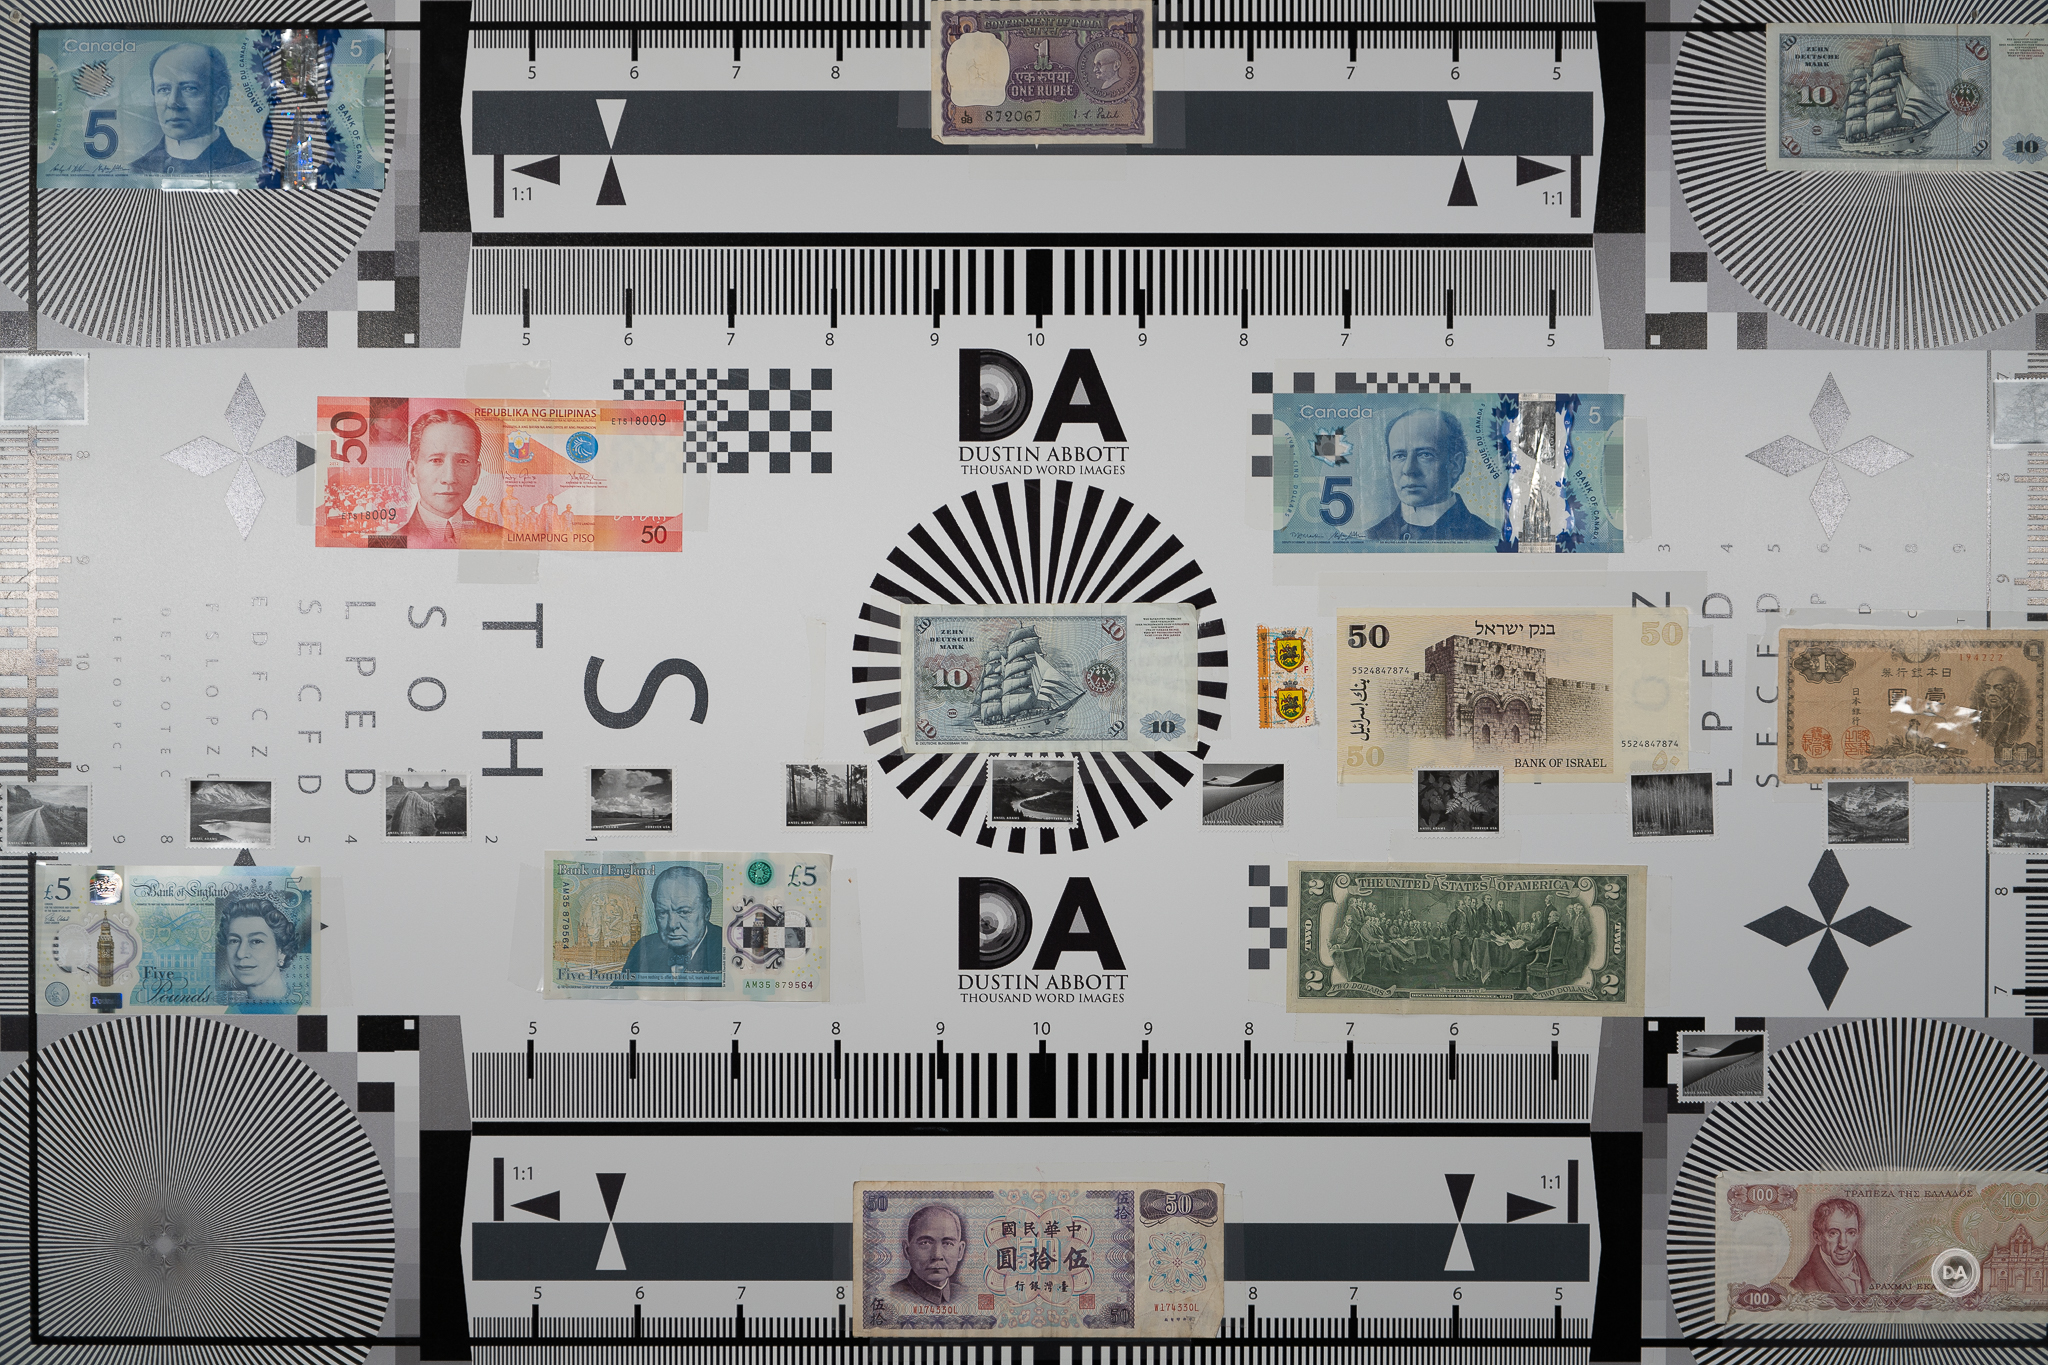
So how about resolution? The 61MP sensor on my Sony a7RV represents the highest resolution currently available on any full frame camera, so this is a strong challenge for the TTArtisan 75mm. My review standard is to examine results at a 200% magnification. That is a lot to ask of any lens, much less one this inexpensive. Here’s a look at the test chart that crops throughout the review come from:
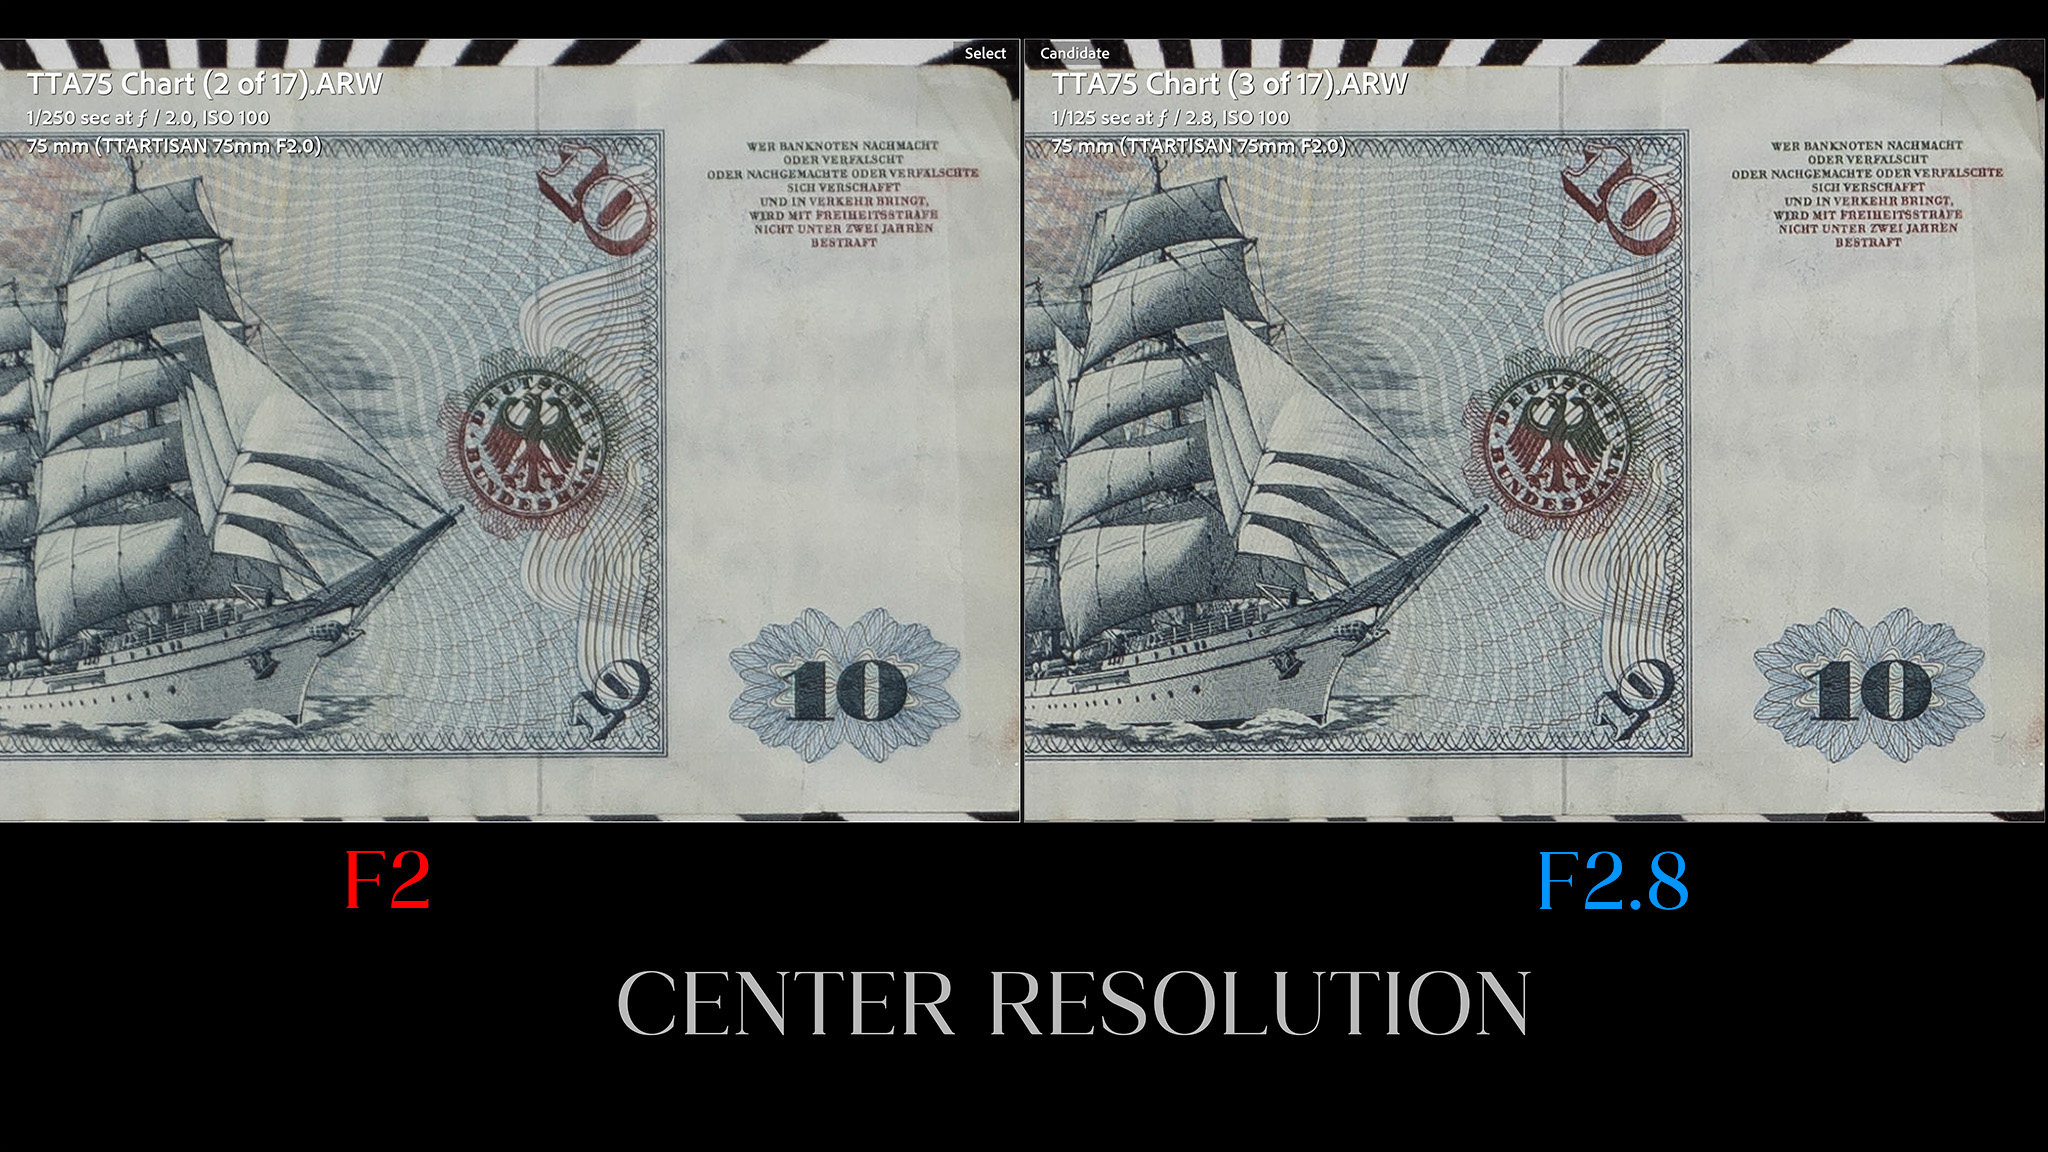
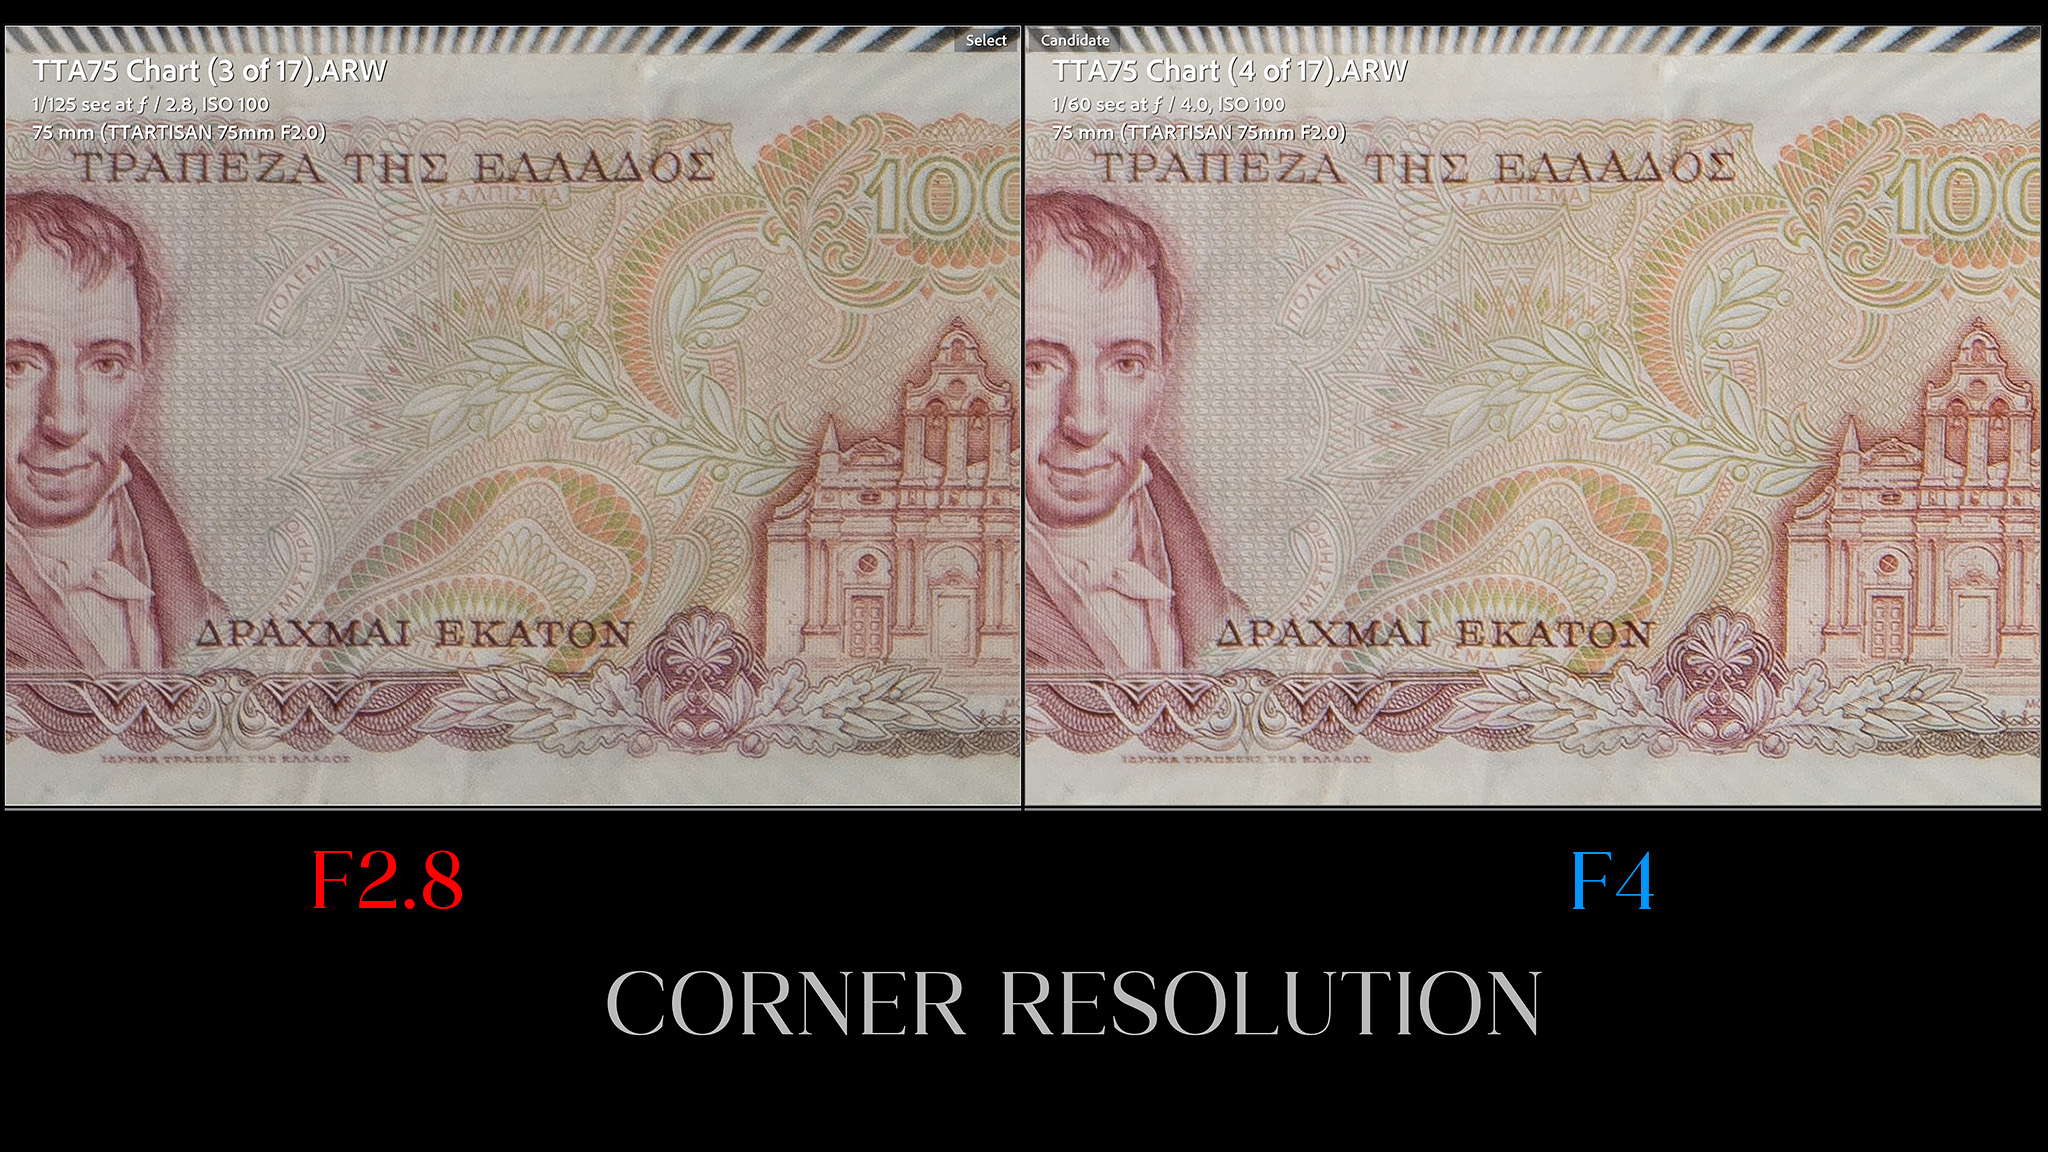
And here is a look at F2 crops from the center, then mid-frame, and then extreme lower right corner:
I would say that the center looks a little worse than what I would expect from the MTF while the corners look better than expected. Detail and resolution across the frame is actually pretty good, though there’s a slight lack of contrast that fits what I saw in real world shots.
While contrast isn’t quite as high as what I would like, I will say that TTArtisan has actually struck a nice balance here between having sufficient contrast and sharpness while retaining a very nice out of focus rendering. We’ll talk more about bokeh in a moment, but note in this shot that sharpness is perfectly adequate even at 61MP while the background is surprisingly smooth and soft for such an inexpensive lens.
There’s a significant improvement in overall sharpness and contrast by F2.8. I’ll show the center here, but the improvement is clear all across the frame.
By F4 the corners are starting to look quite excellent as well:
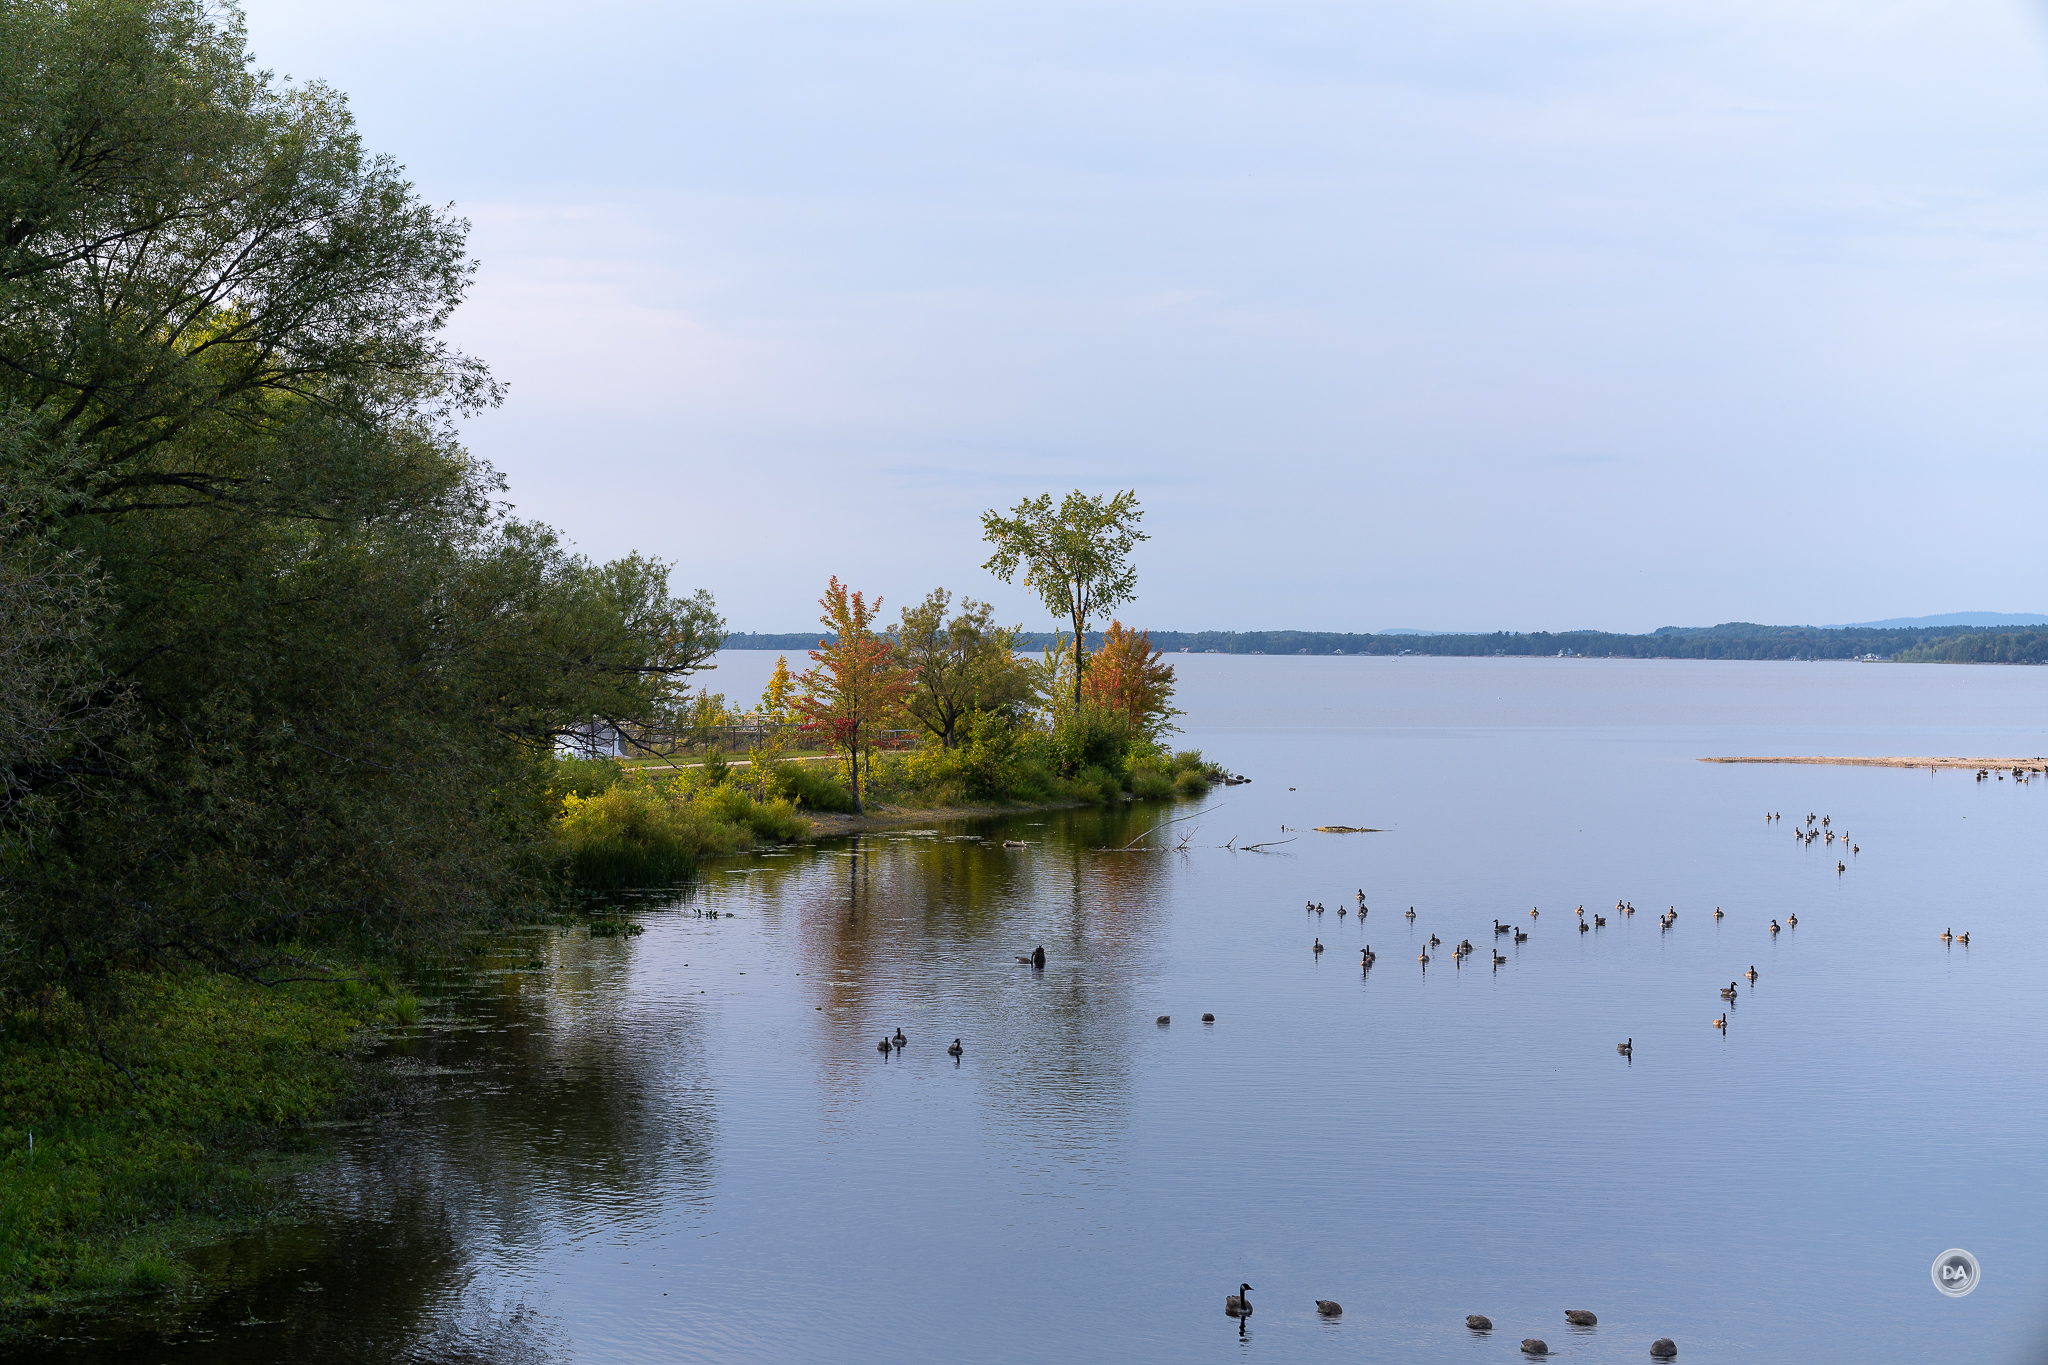
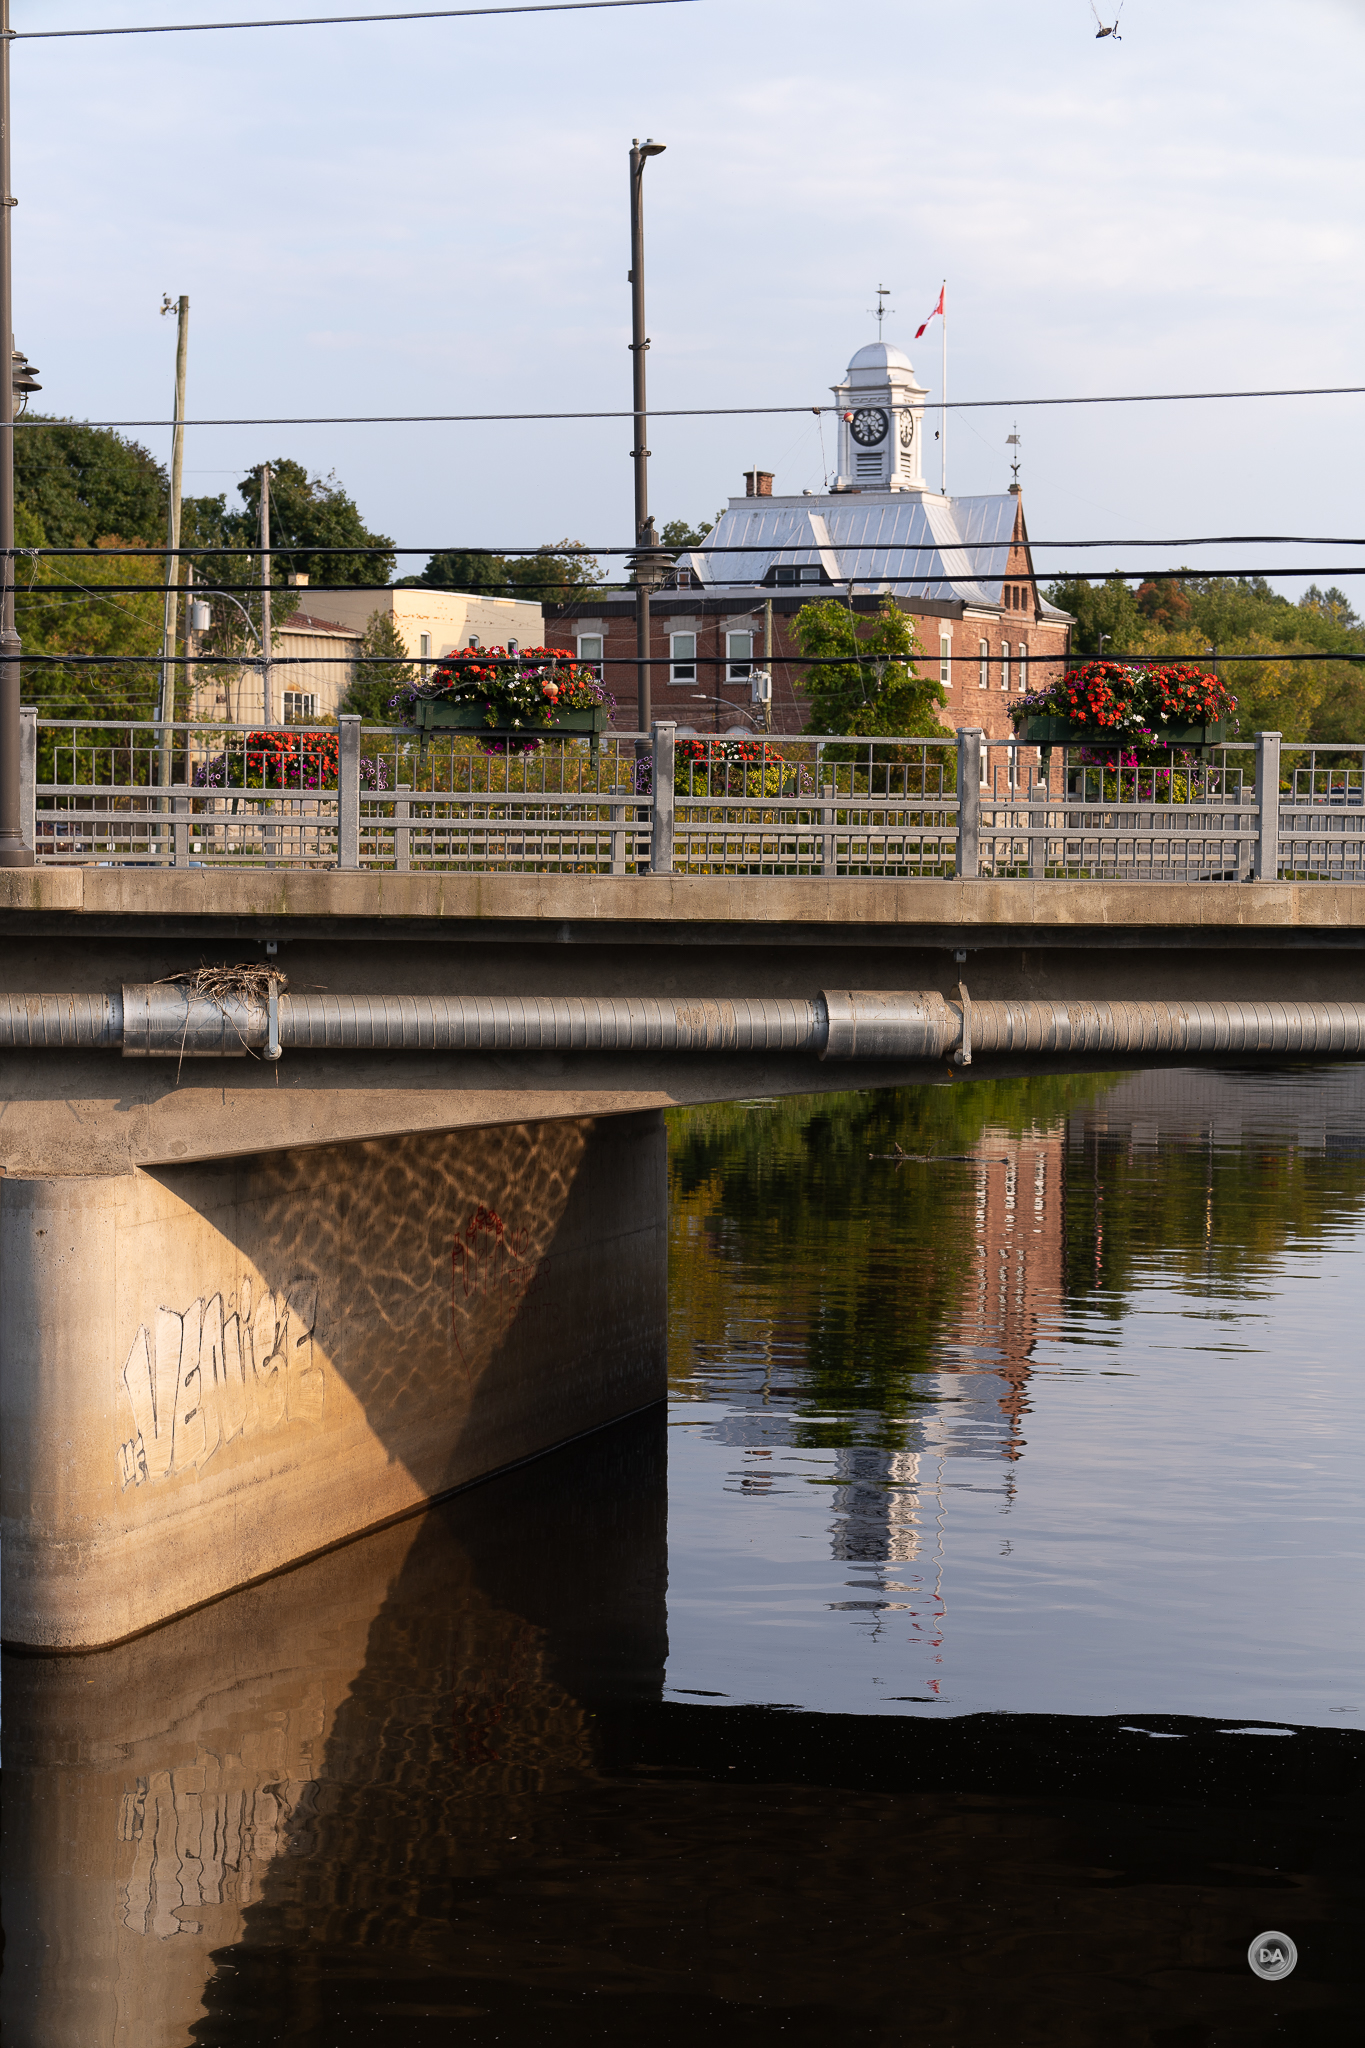
Further sharpness gains are minimal, but at landscape apertures the lens delivers great looking results. Crisp detail, nice color and contrast, and an effective focal length for a lot of medium to distant subjects.
If I zoom deep into the image and just take the crop of the small island to the left, you can see that the detail holds up very nicely; you could easily make this a separate shot.
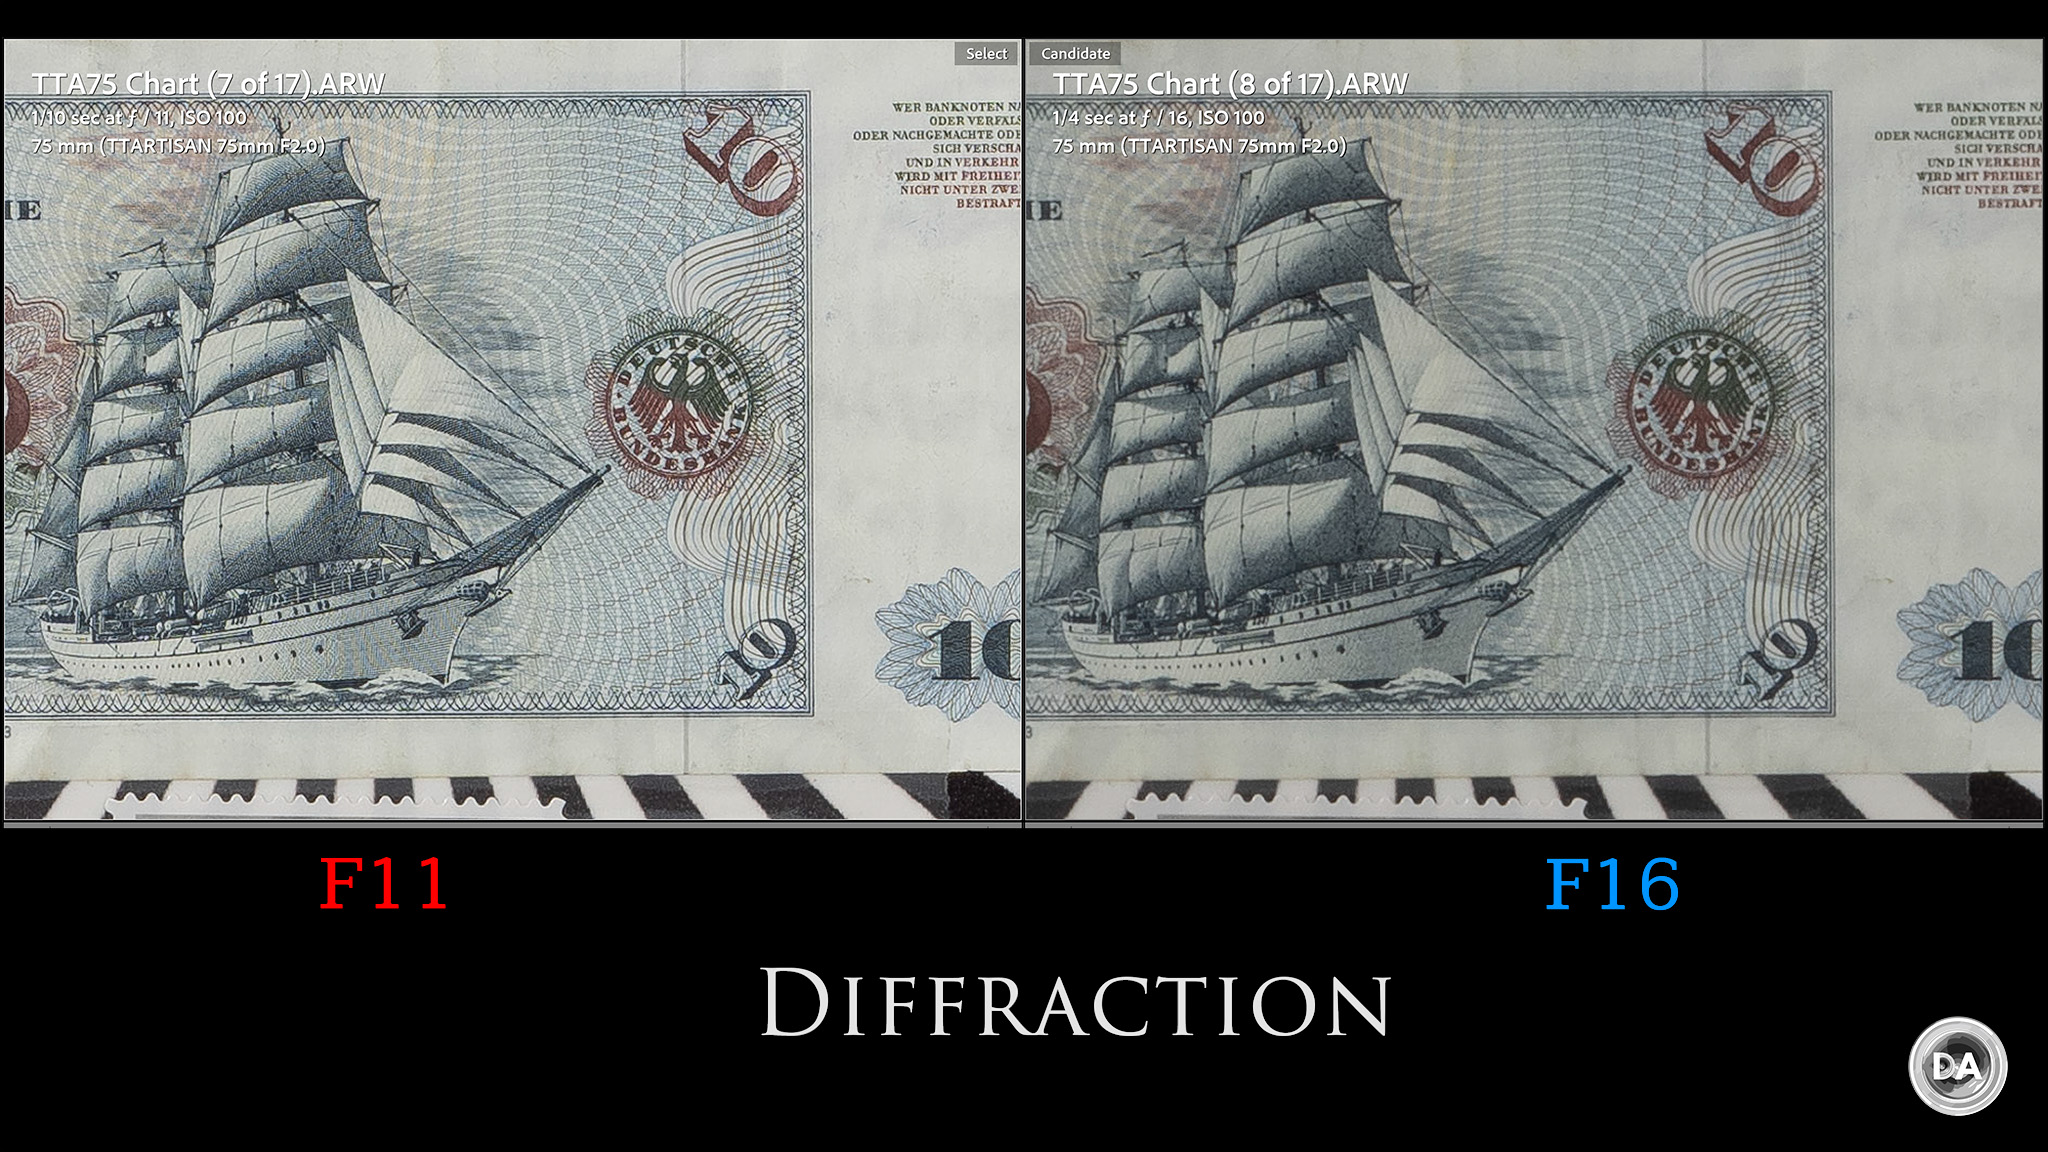
Diffraction will always be an issue with higher resolution cameras, and you can see here that while resolution and contrast still look very good at F11, the image is definitely softer by F16:
As noted previously, I feel like the TTArtisan 75mm strikes a nice balance between sharpness and bokeh rendering. This is, frankly, some of the nicest bokeh you’re likely to get for this kind of money. The bokeh is soft in both the foreground and background. You can see that even the hard edges in the background are rendered softly.
The backgrounds can look very nice and creamy in many images:
Even moving out to a further distance to get more in the frame, I felt like this portrait shot shows a reasonably soft background.
I looked through all the various images I took as a part of the review, and I just really didn’t see any bokeh rendering that I considered ugly.
The TTArtisan 75mm could be a great addition to your kit if you’re looking for a cheap prime lens to give nice out of focus backgrounds for portraits of general purpose work. It’s one of the better value lenses I’ve seen for bokeh.
I also felt like colors looked quite good as well. Not Zeiss-like or anything, but images had a nice look and feel to them.
Here’s another image with nice, rich colors.
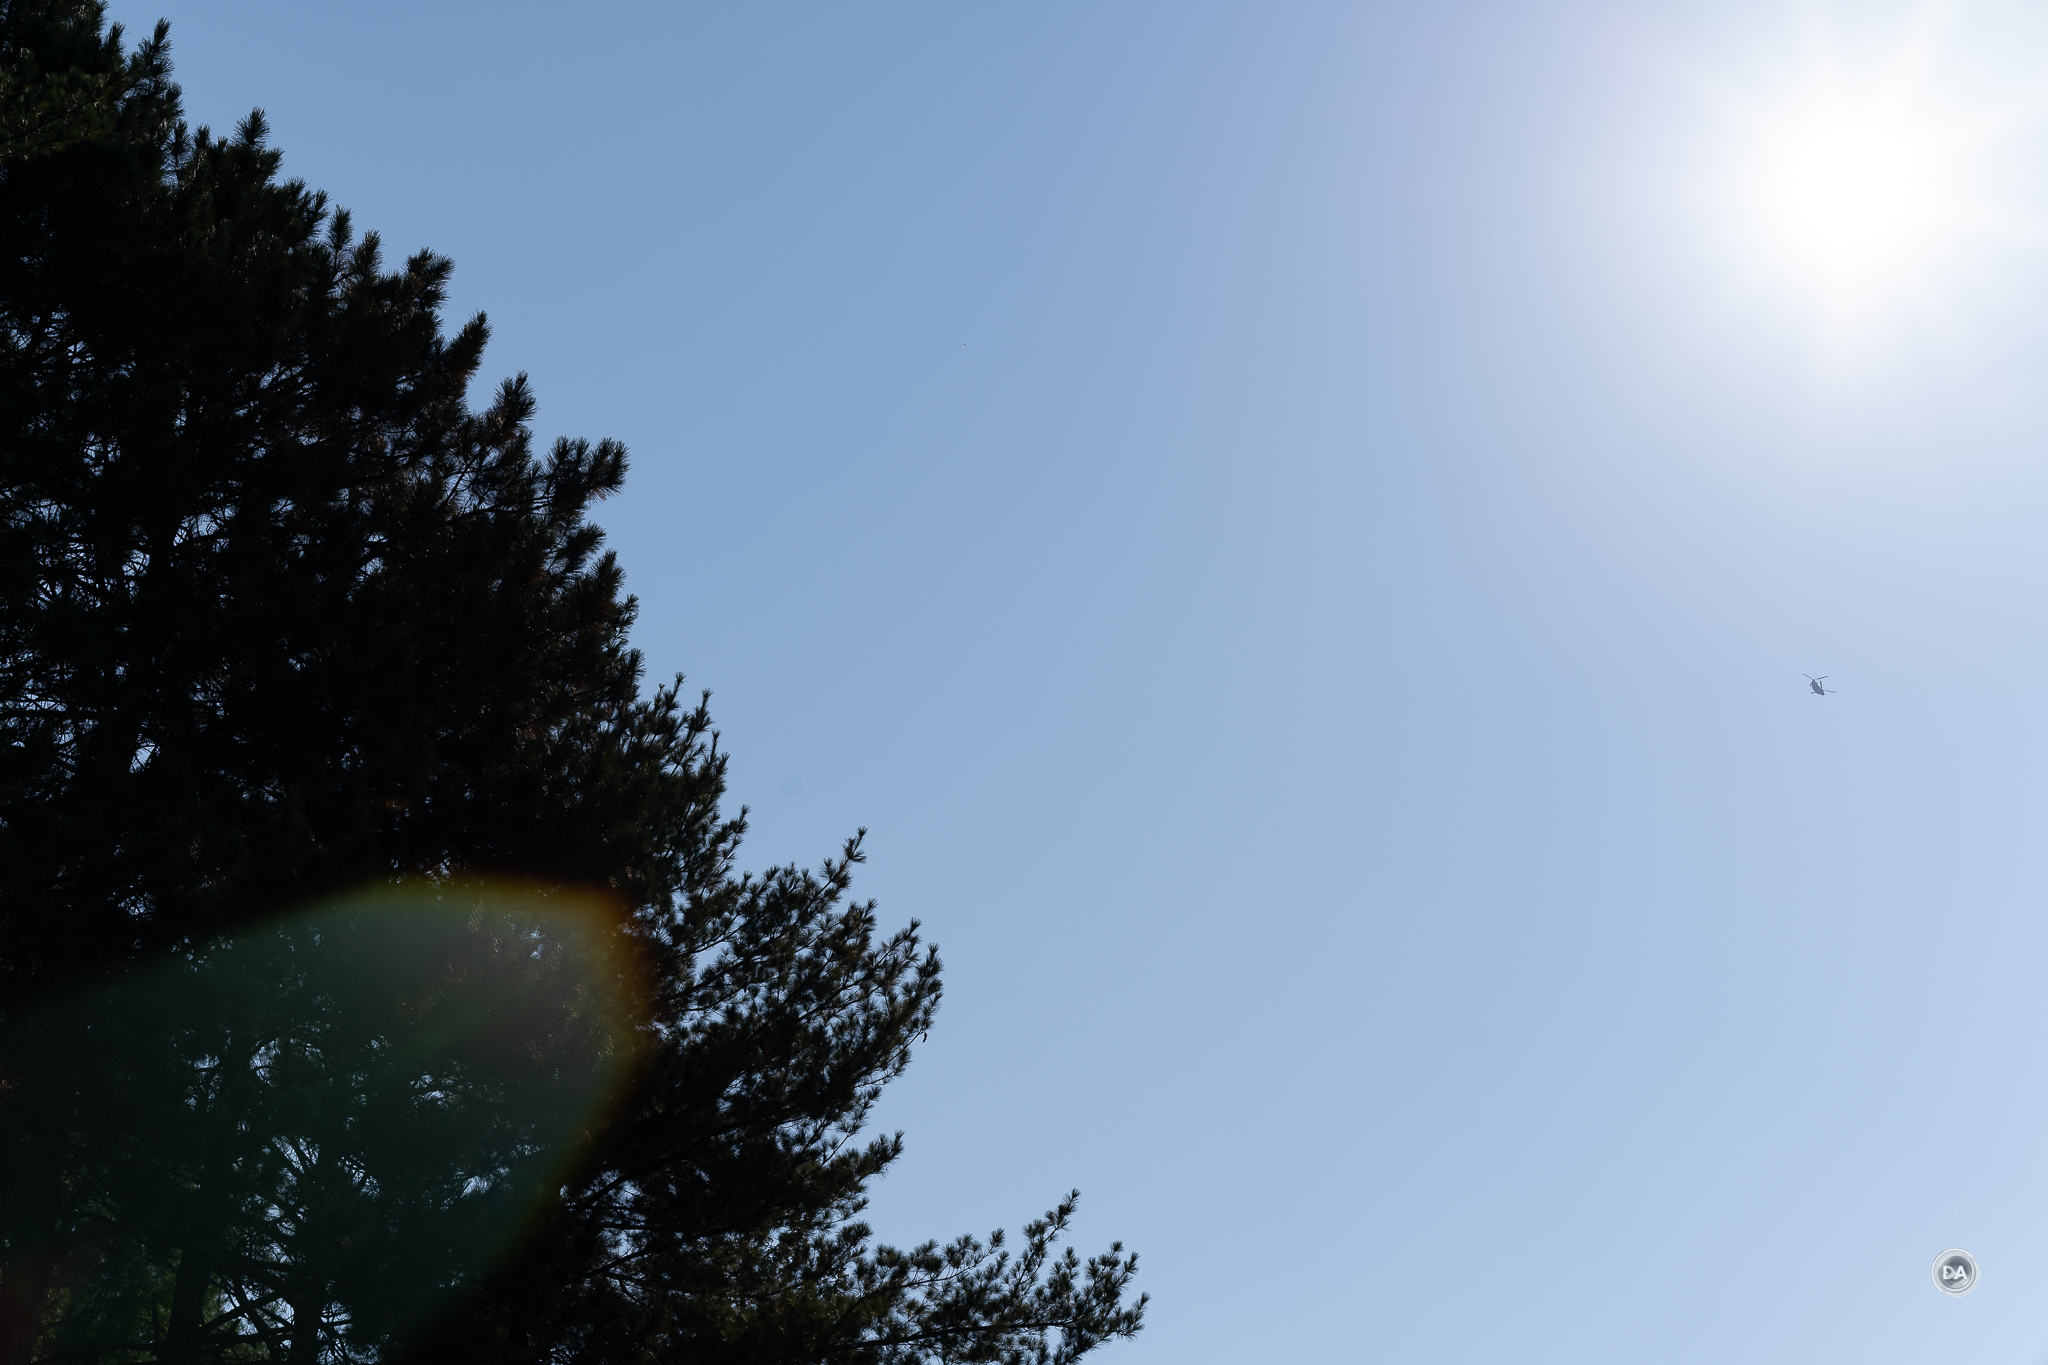
Flare resistance is not an area of particular strength. There are certain angles where the coatings just can’t handle the bright light, and you’ll get some blobs of light and color, like this:
You can, however, play around with composition and at least get something looks more artistic, even if it still is an optical flaw.
Things are not too bad when facing the sun or bright lights straight on, but you can more issues when the light source is near the corner of the frame. Here you have F2, then F11, then F11 again but with the sun located in the corner.
All in all, there’s not really much to really complain about on the image quality side of things. No, we don’t have GM levels of contrast and detail at F2, but I also appreciate that the lens doesn’t have that overcorrected, clinical feel. Images generally have a great “feel” to them.
I’ve noted previously that TTArtisan is learning quickly. The transition to full frame is further evidence of that. While the company continues to shoot for the budget end of the market, their lenses are increasingly more competent. This is a LOT of lens for under $180, and I really like the idea of this becoming an inexpensive prime option for those perhaps wanting to supplement a kit lens or add a slightly longer prime focal length.
I would say that autofocus is probably the area that needs the most growth, but the truth of the matter is that autofocus is generally quite on the lens. It’s not yet ready for fast action, but it is going to work pretty flawlessly for those wanting to do ordinary types of photography.
I quite like the image quality from this budget lenses. There are higher resolution, higher contrast lenses at F2, but the TTArtisan AF 75mm F2 provides a pretty stellar blend of sharpness and soft out of focus rendering. And, if you want more contrast, all it takes is stopping down to F2.8. The fact that we are getting such a high performing, full frame lens for under $200 is really pretty impressive. Want a nice little telephoto prime and have a limited budget? Look no further than the TTArtisan AF
Keywords: TTArtisan, AF, Autofocus, 75mm, F2, TTArtisan AF 75mm F2, Sony, a7RV, a7IV, a7C, Alpha 1, Review, Telephoto, Action, Tracking, Hands On, Dustin Abbott, Real World, Comparison, Sharpness, Bokeh, Flare Resistance, Autofocus, Image Quality, Sample Images, Video, Photography, Full Frame, let the light in, #letthelightin, DA
DISCLAIMER: This article and description contains affiliate links, which means that if you click on one of the product links, I’ll receive a small commission. As an Amazon Associate I earn from qualifying purchases.


 LK Samyang AF 85mm F1.8 P Review
  LK Samyang AF 16mm F2.8 Prima Review
  Tamron 16-30mm F2.8 Di III VXD G2 Review
  GOOVIS ART Head Mounted Display Review


 Viltrox AIR 15mm F1.7 X Review