Facebook Twitter Google+ YouTube Flickr 500px
See My Reviews

Danica and Alessandro

Dustin Abbott

September 1st, 2018

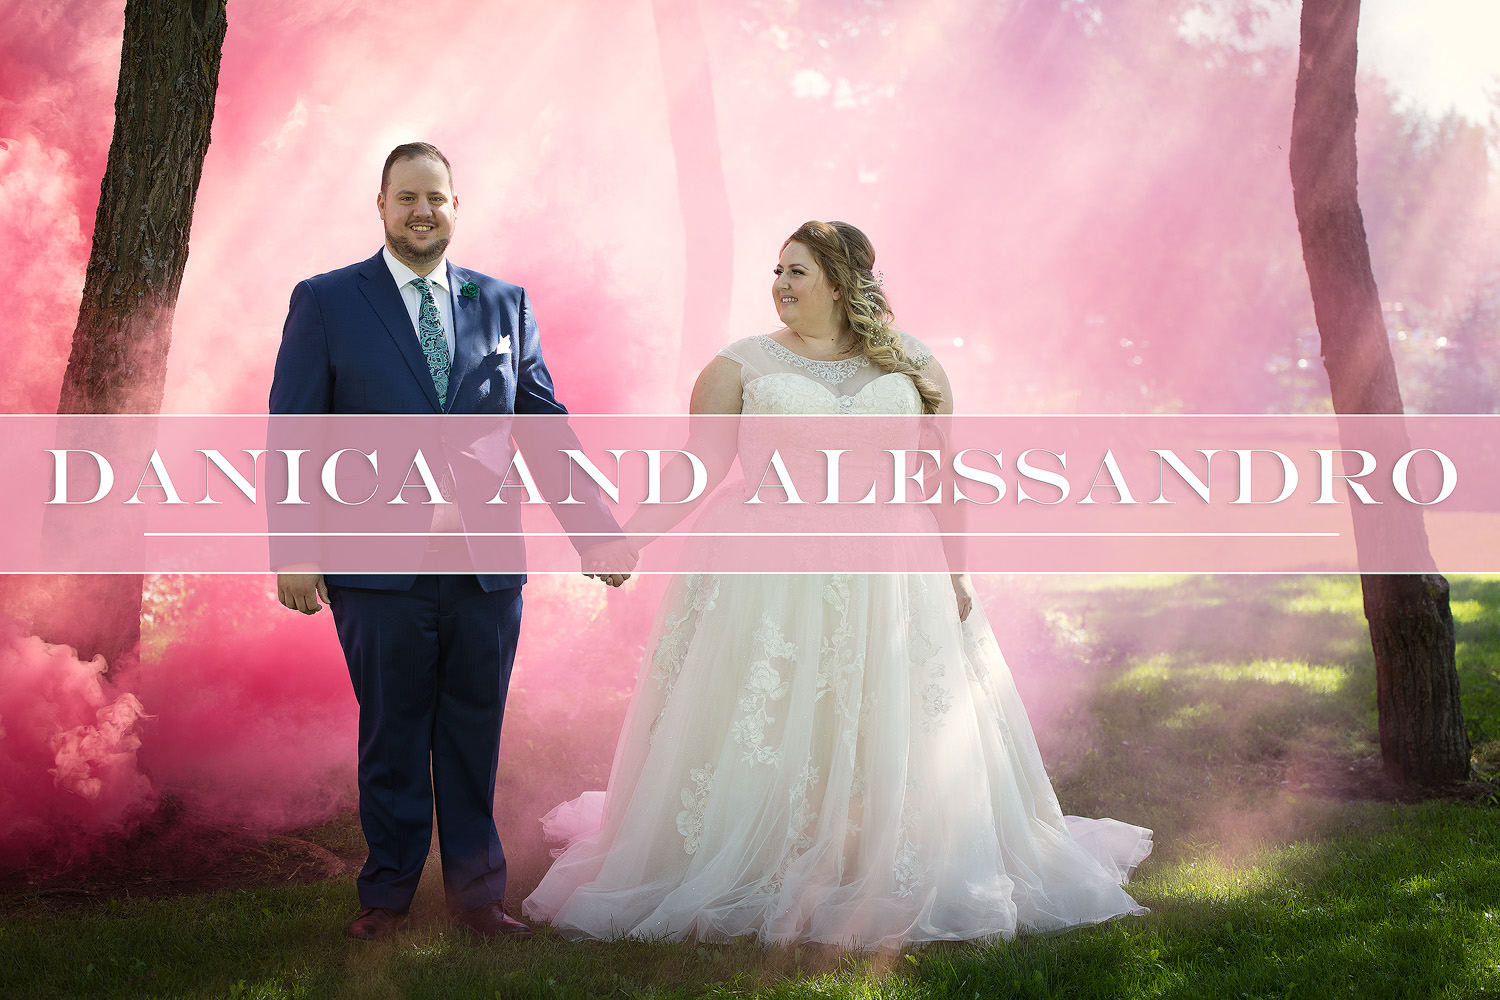
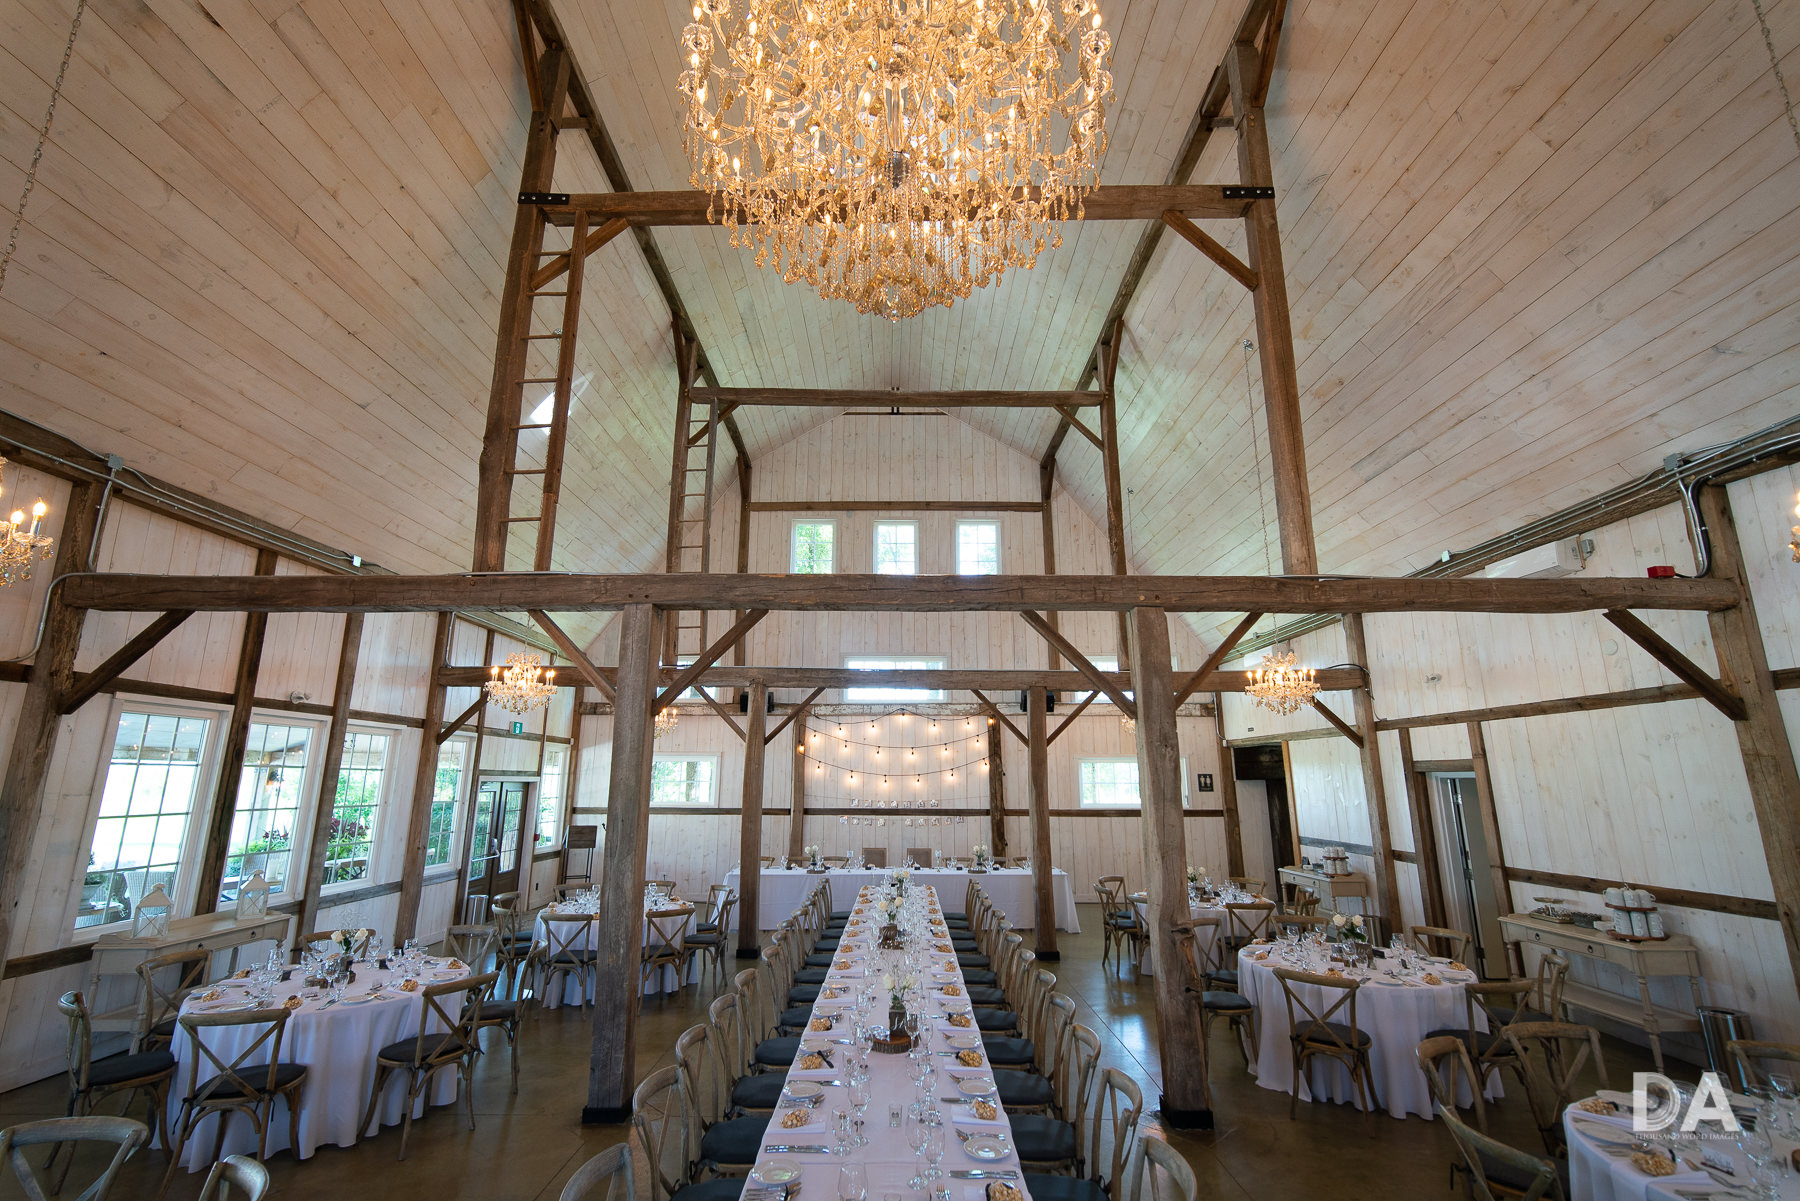
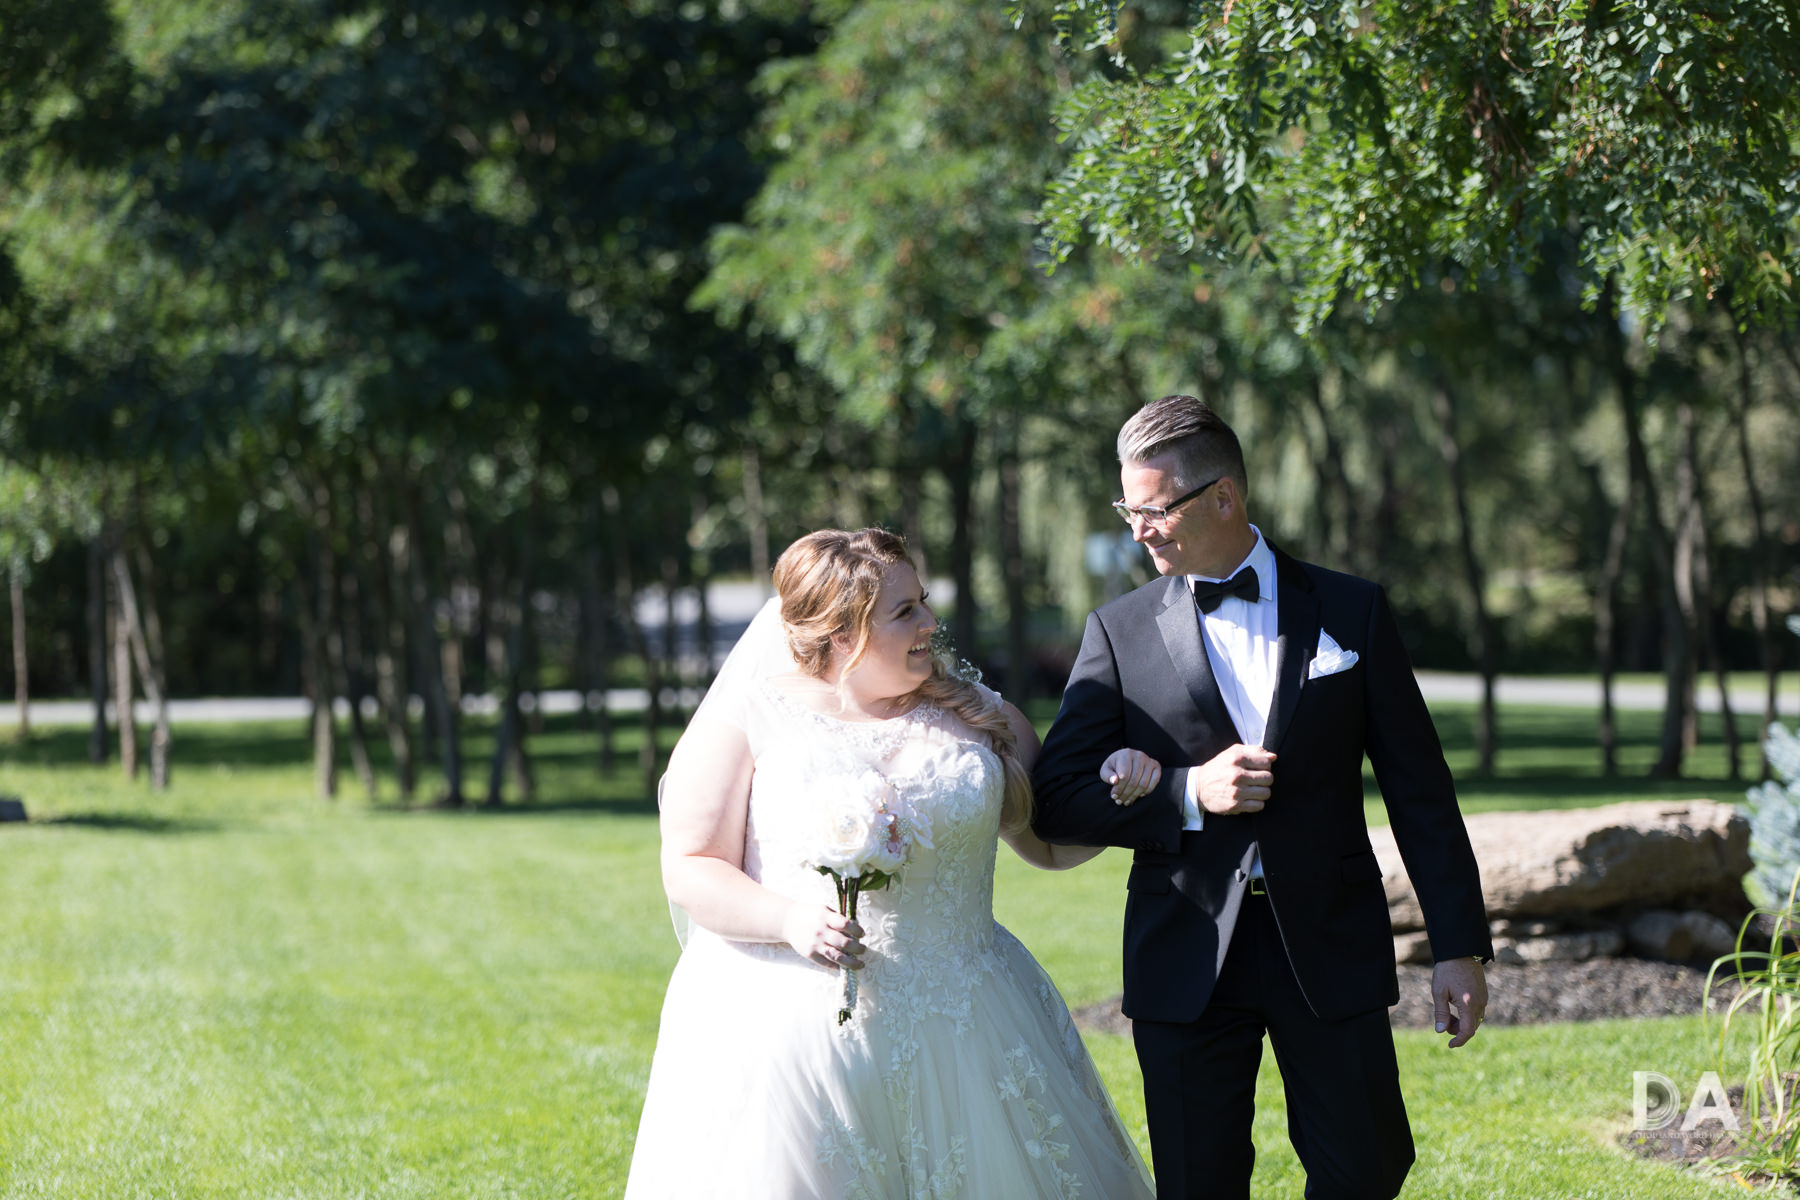
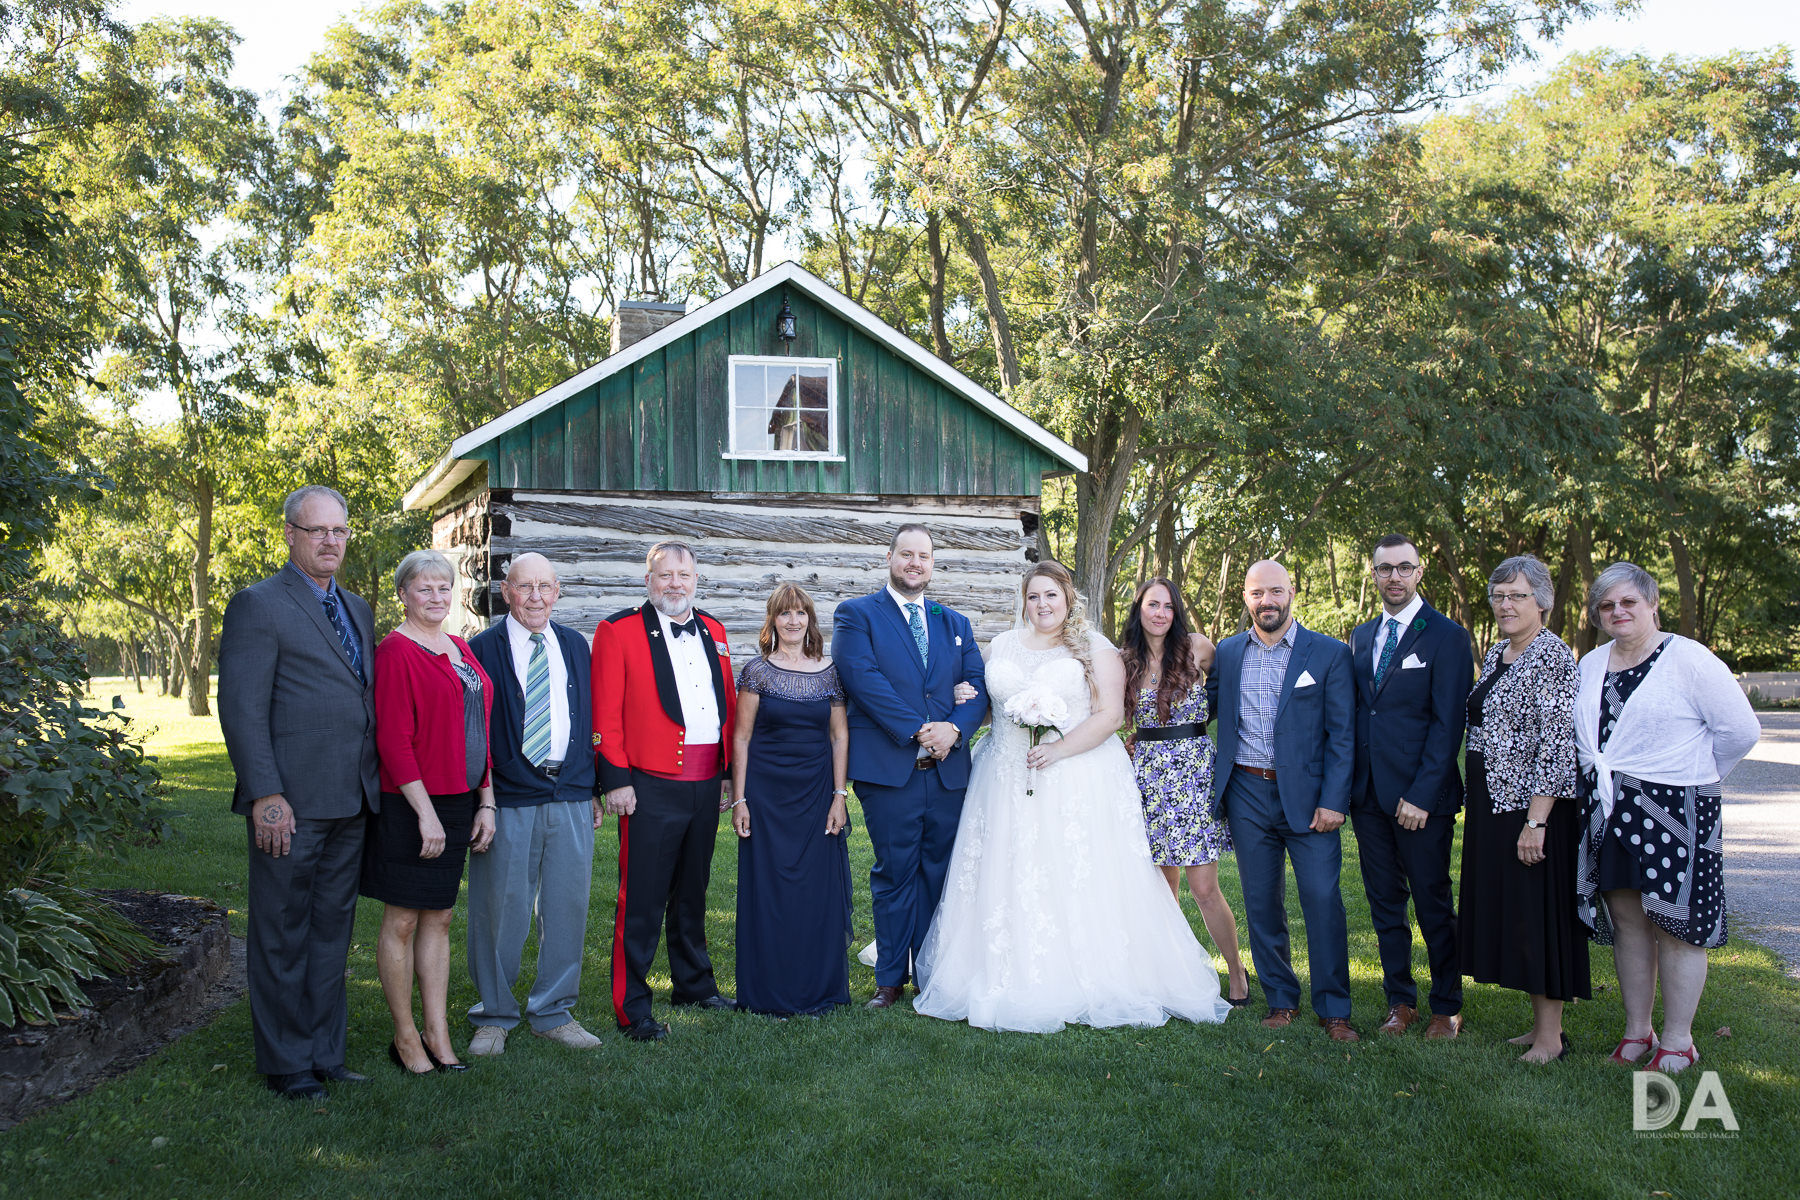
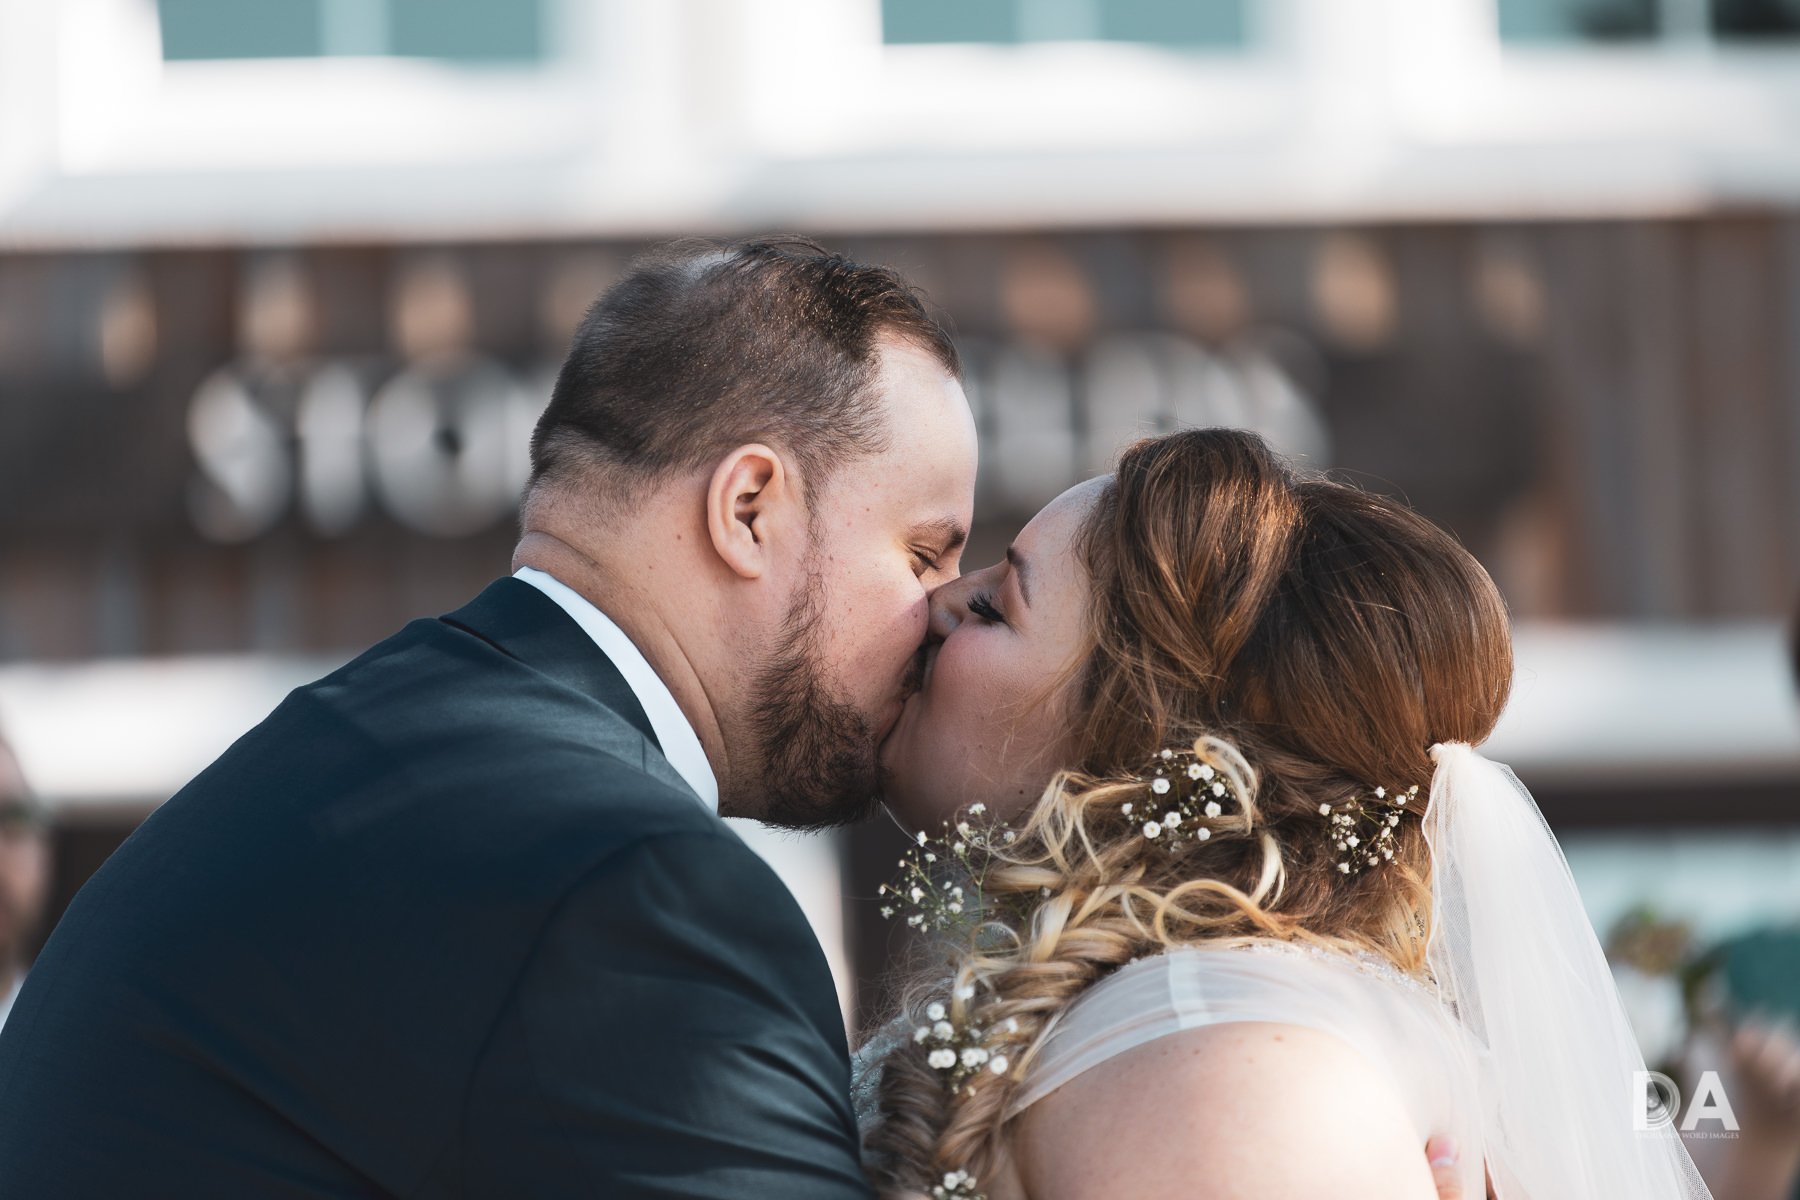
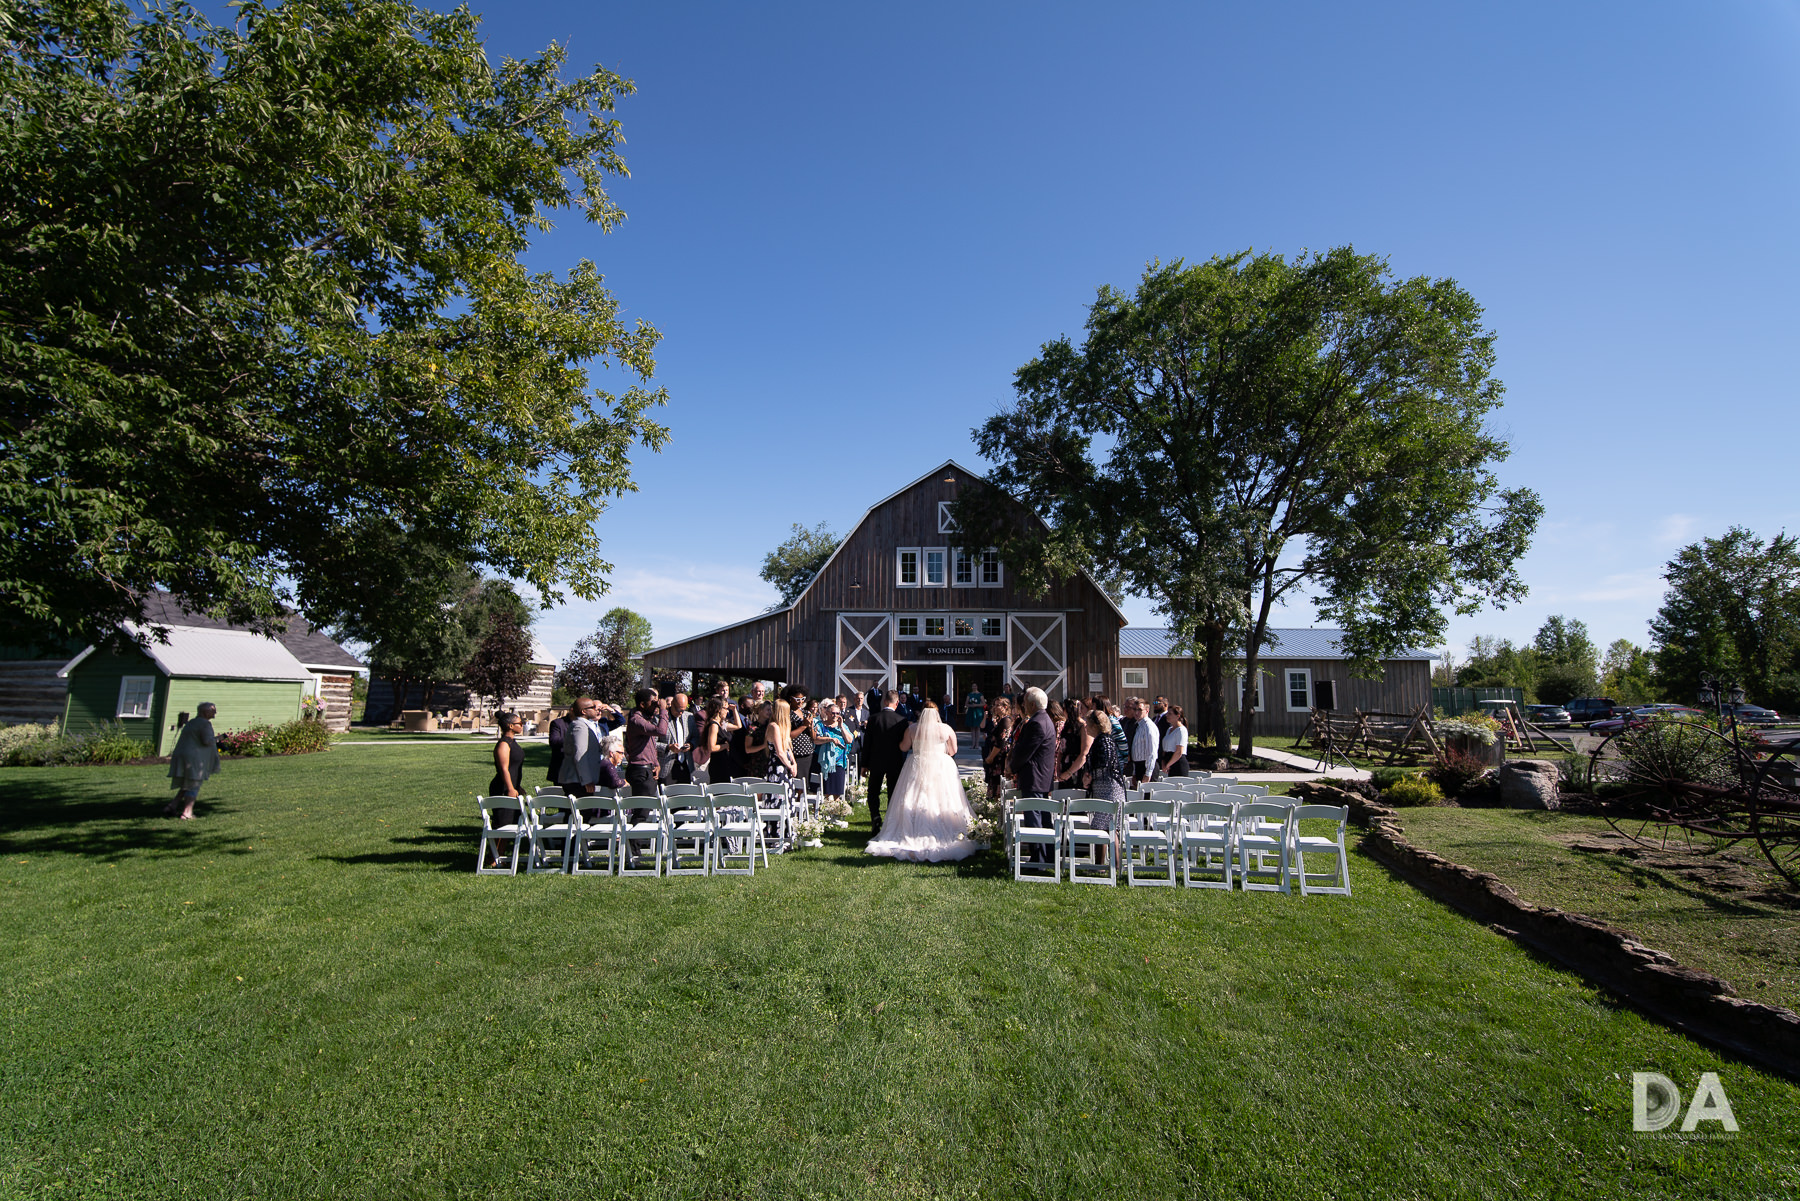
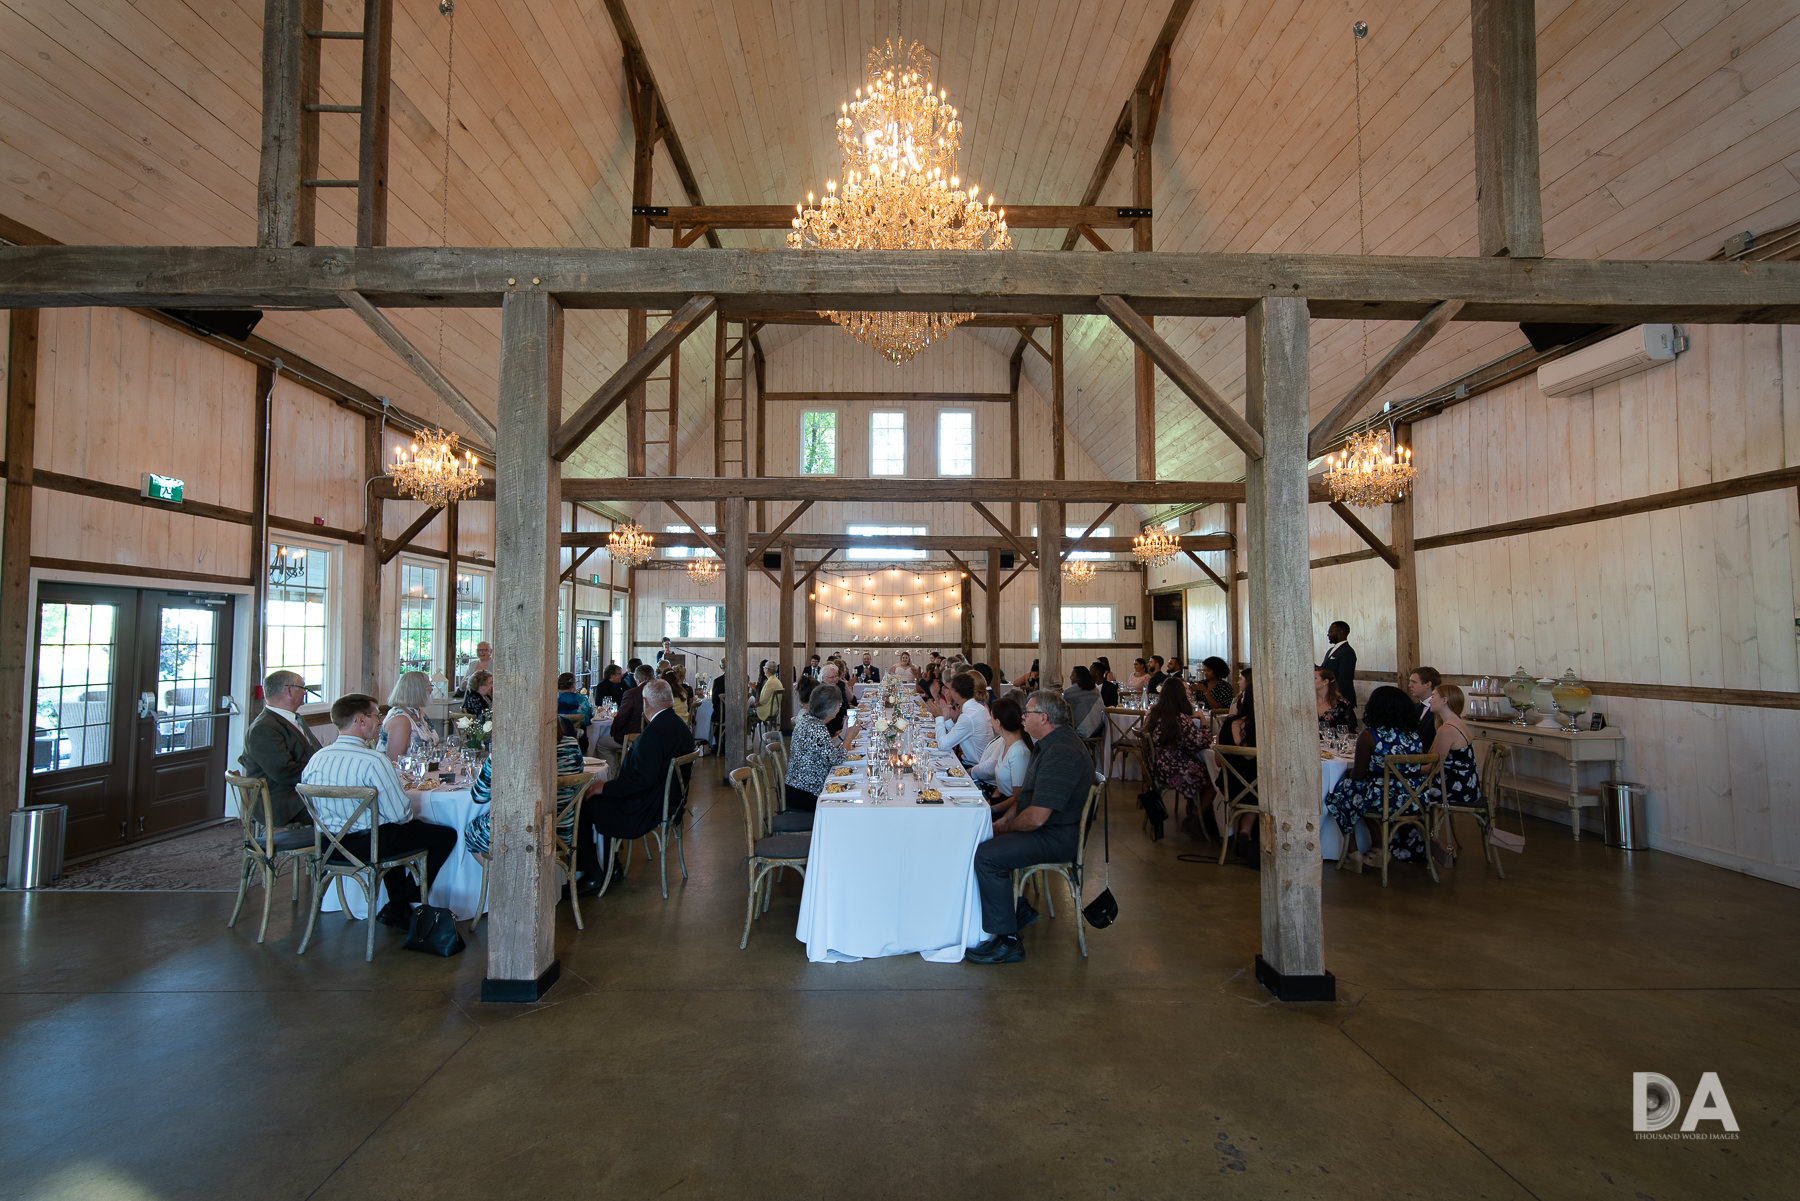
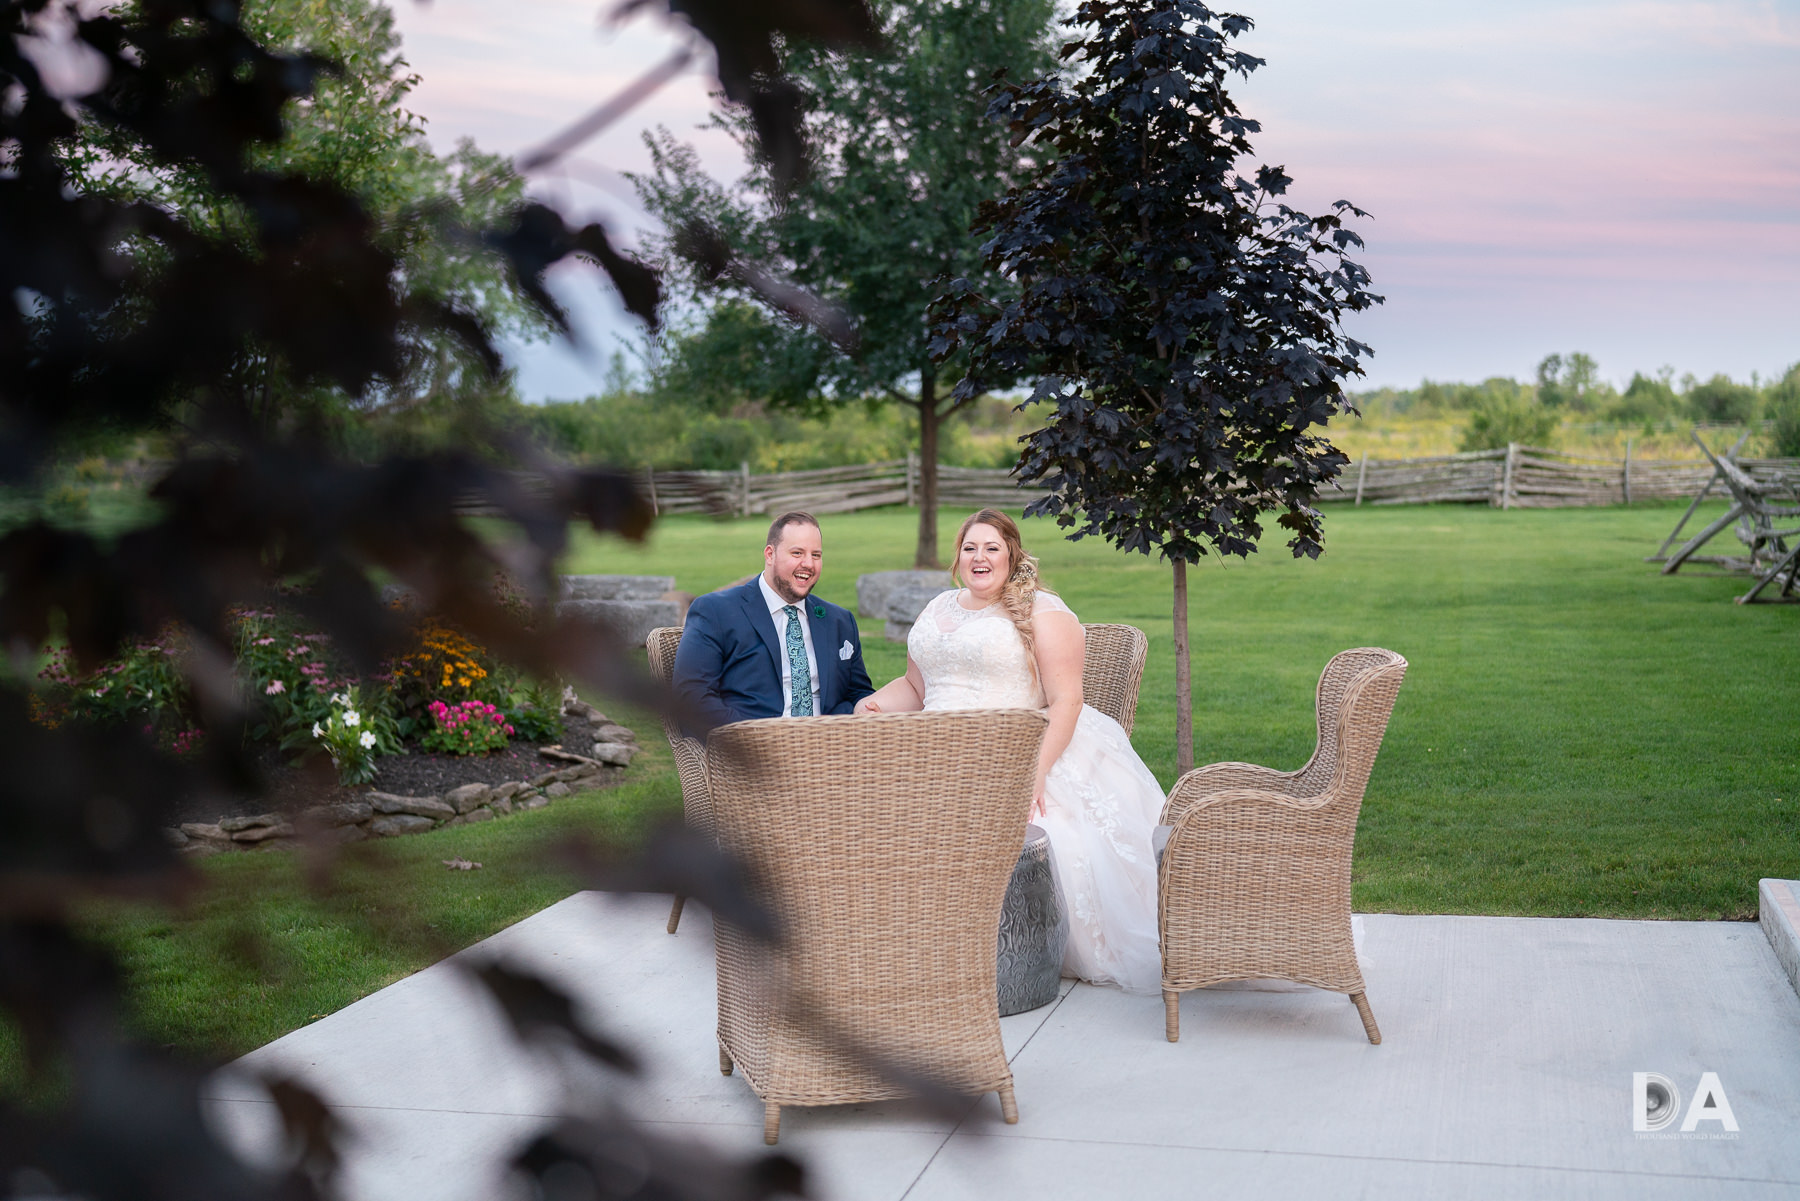
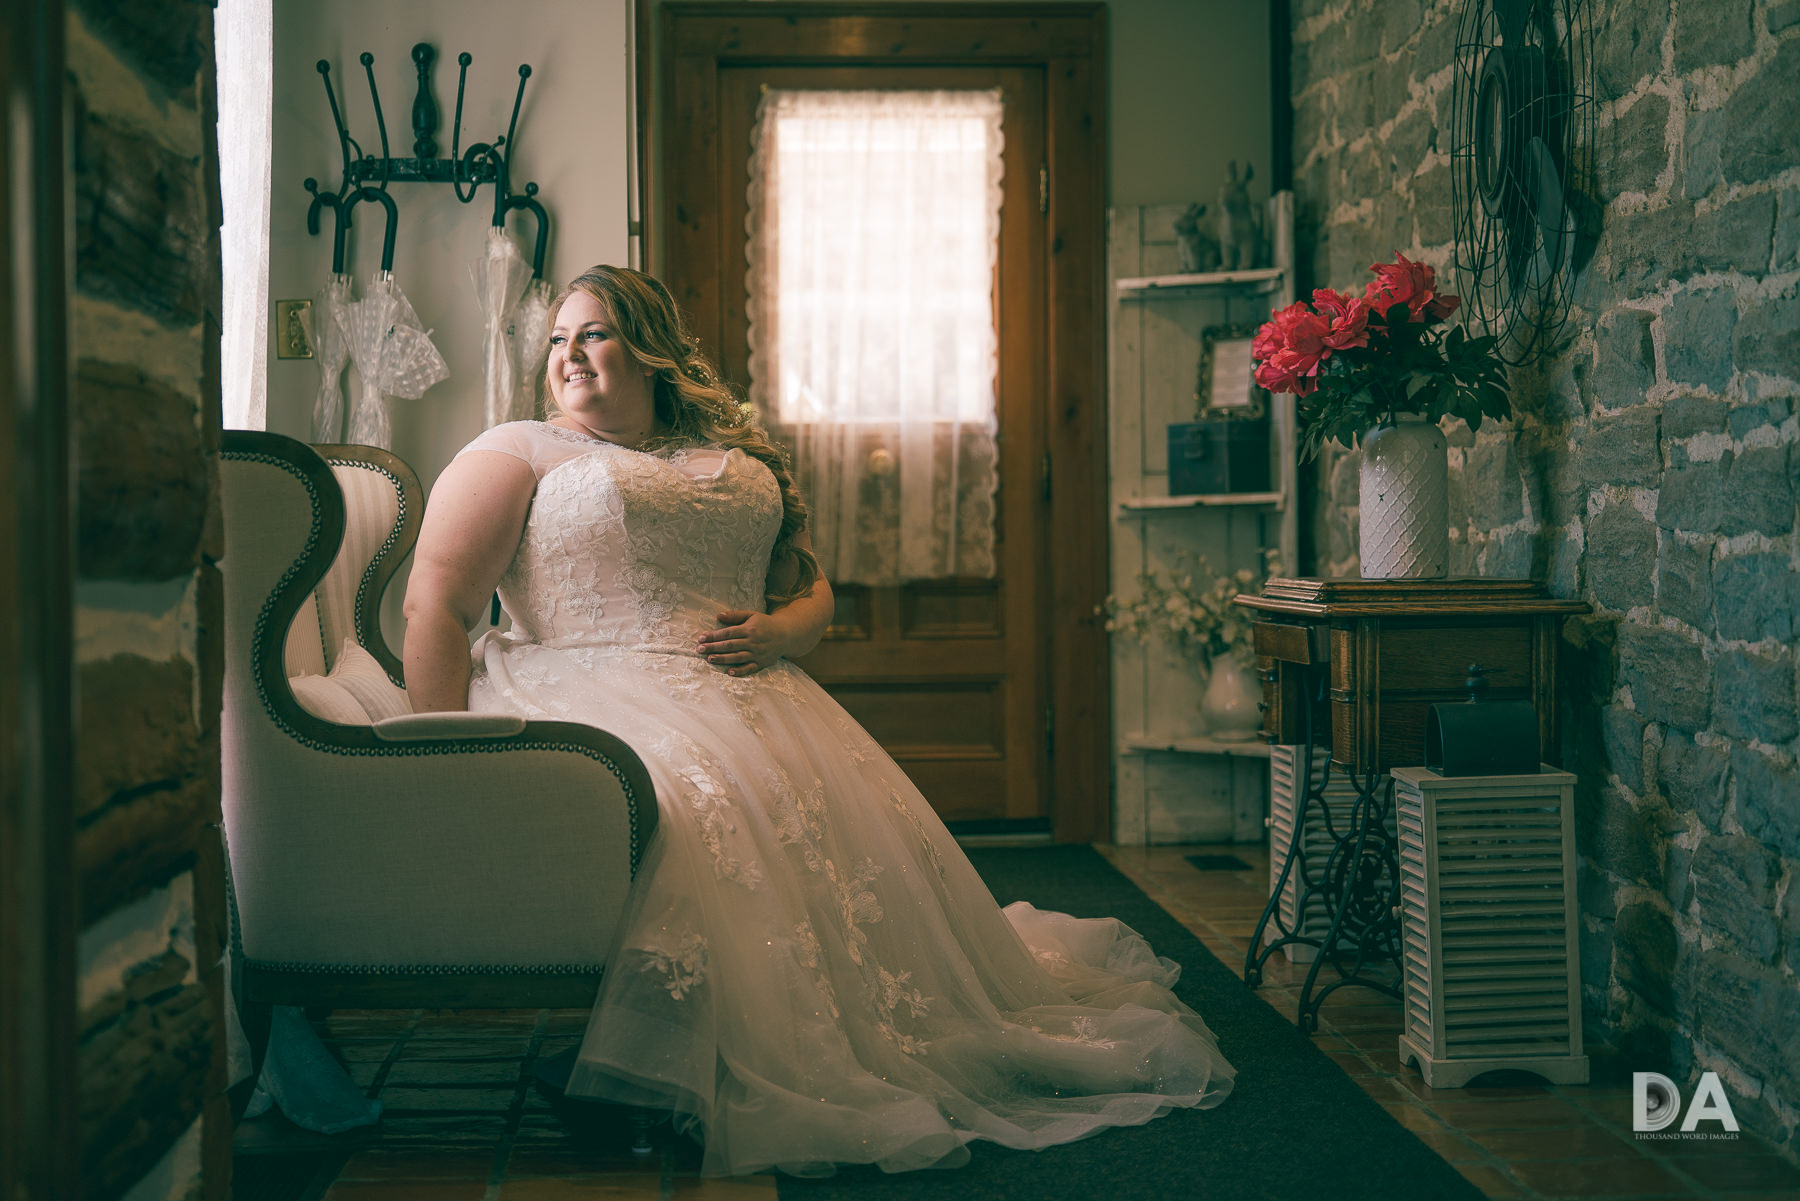
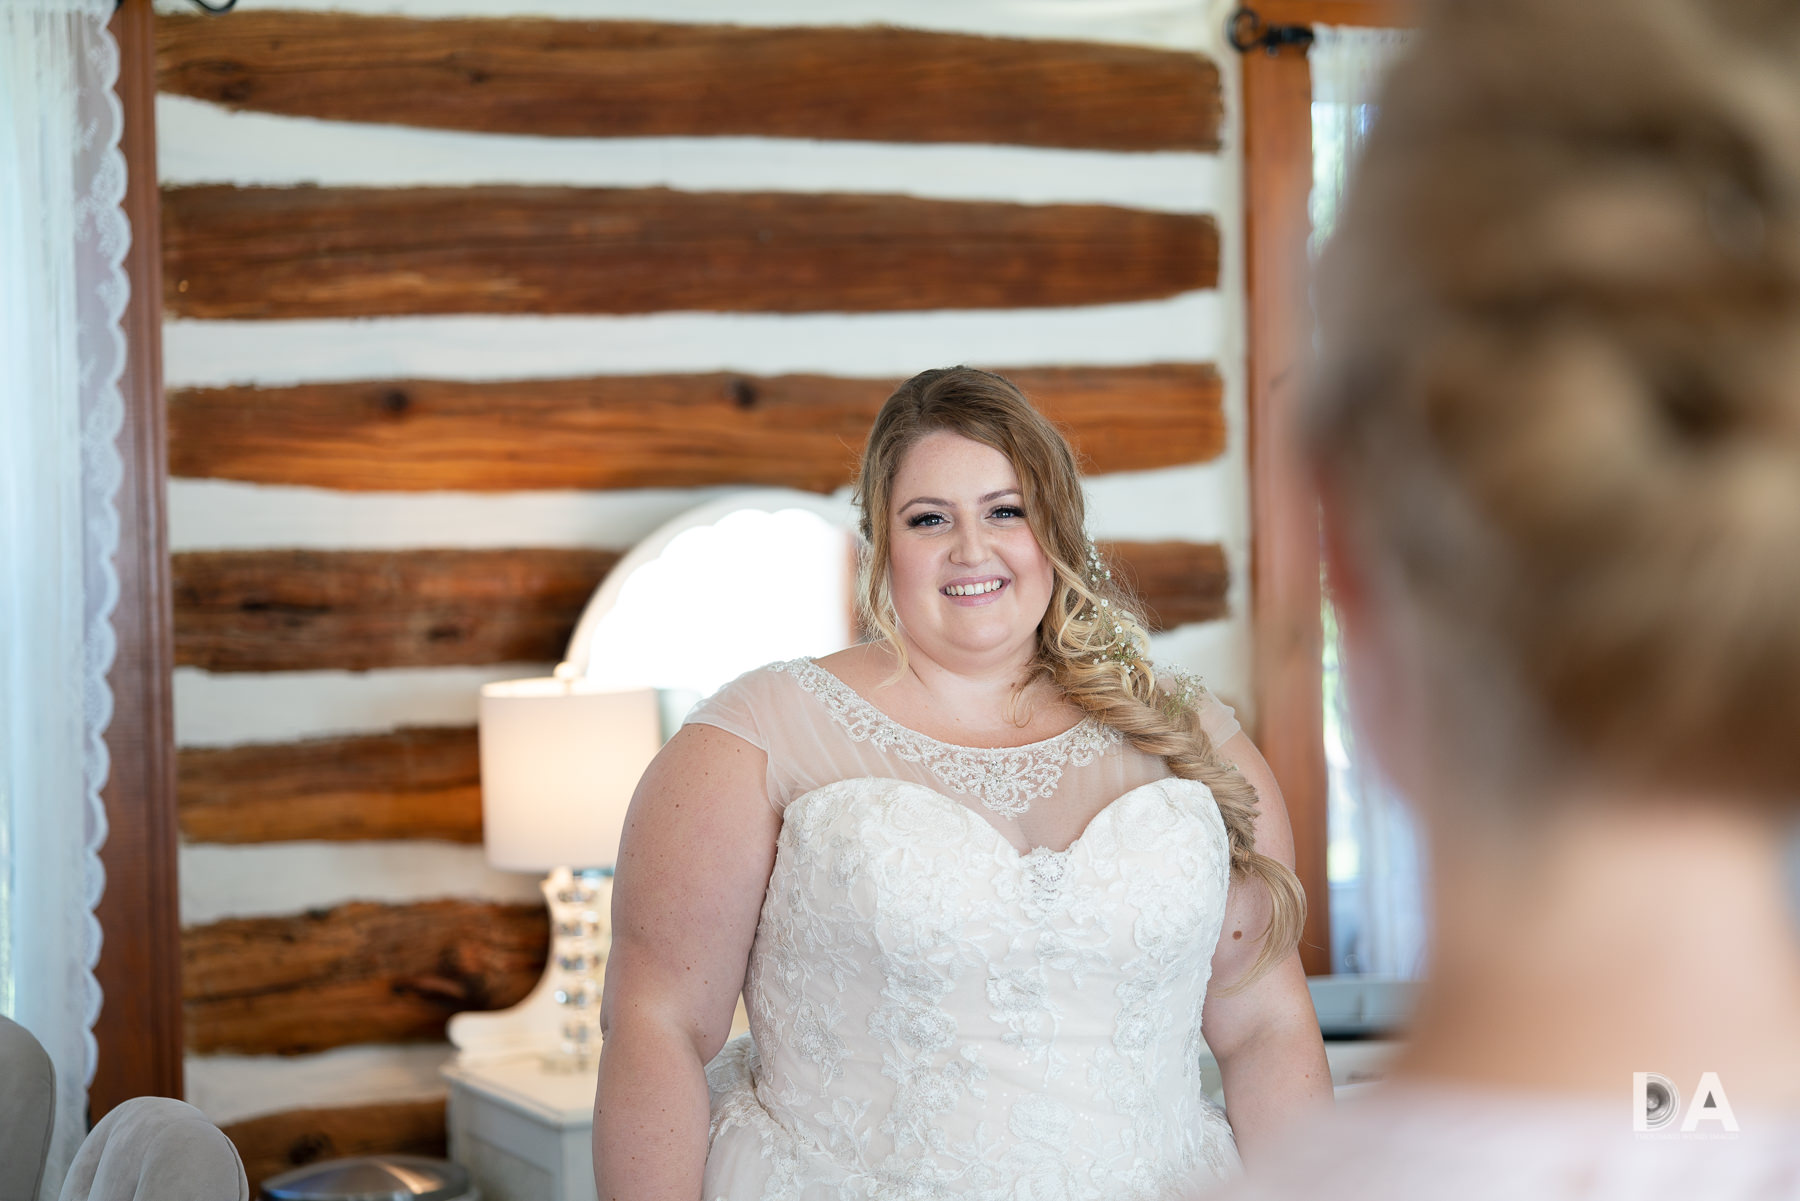
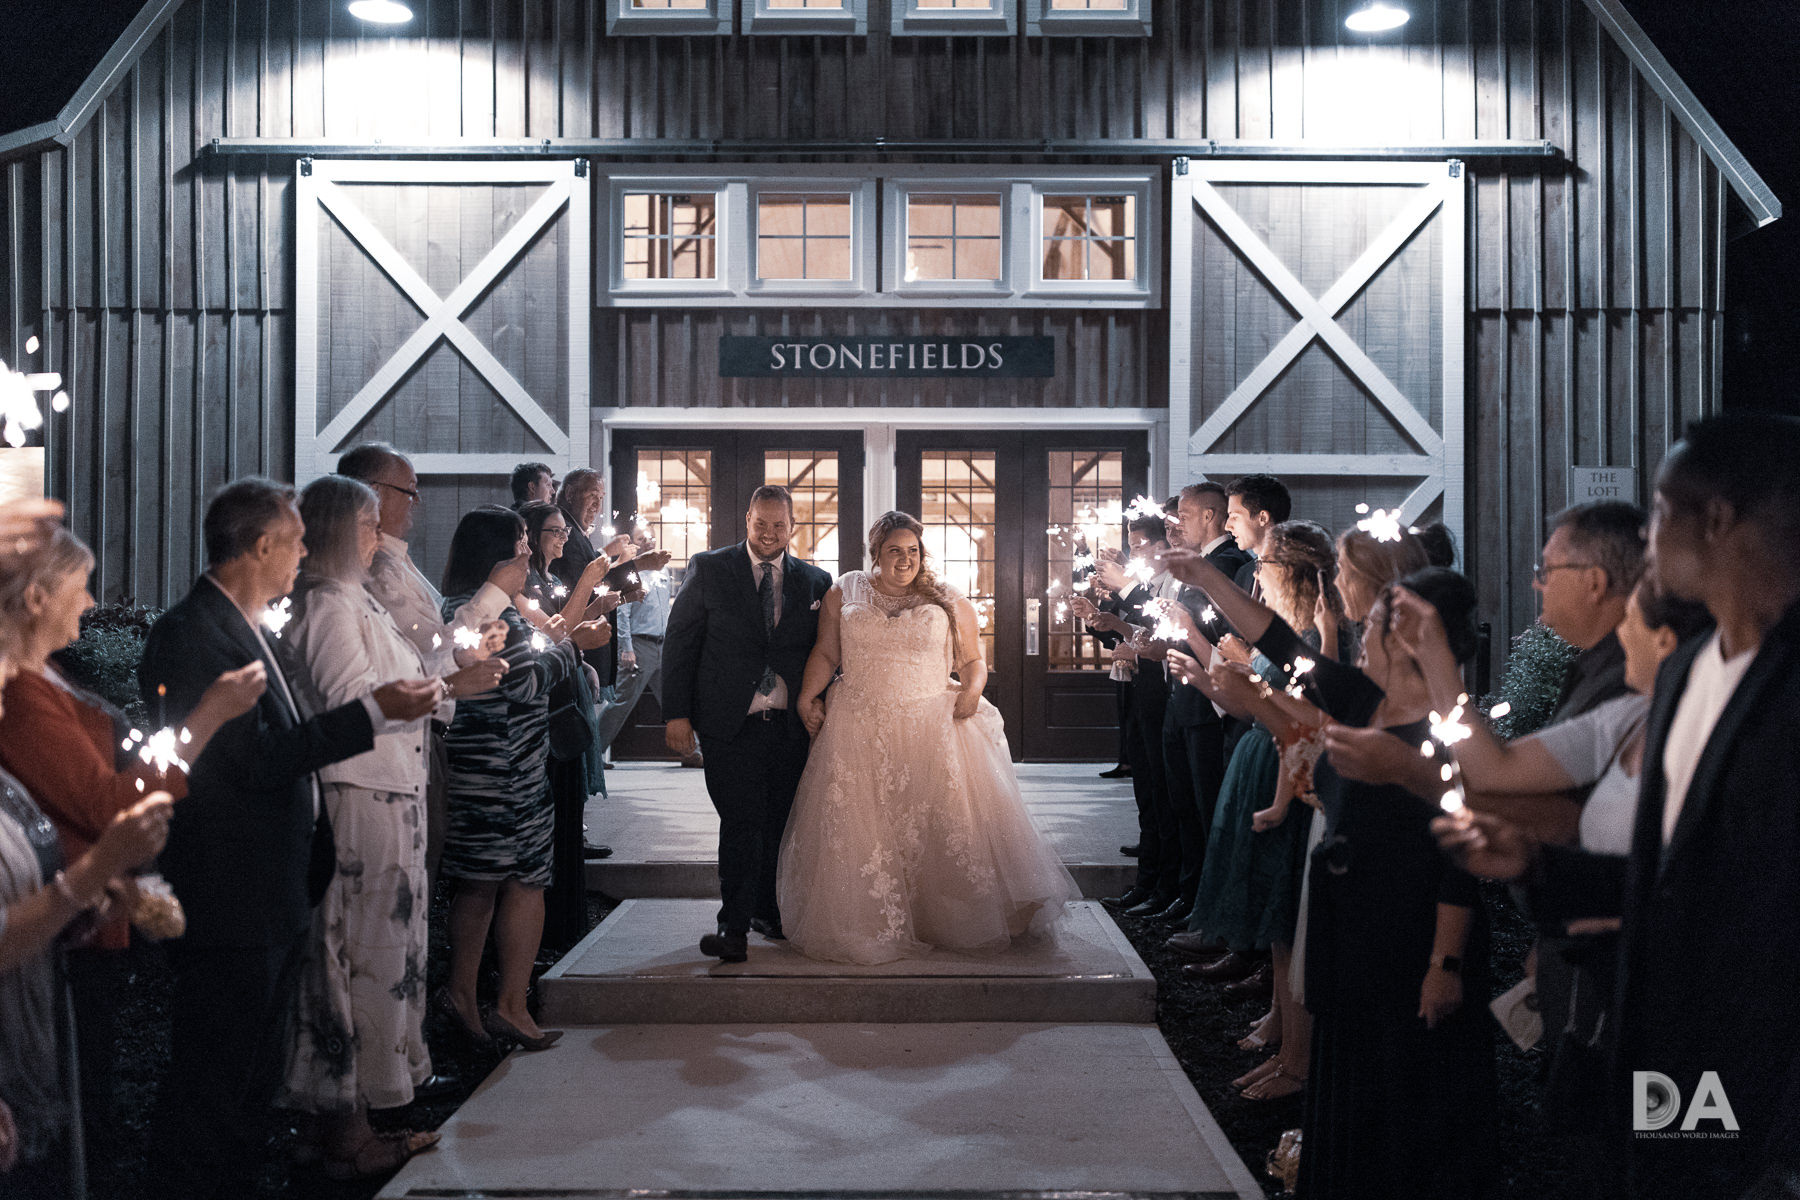
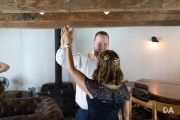
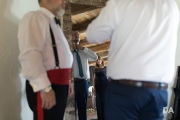
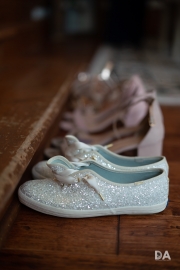
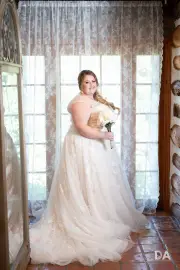
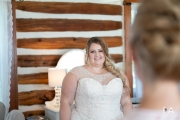
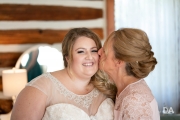
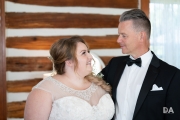
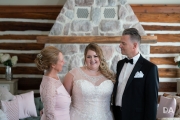
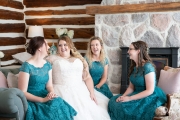
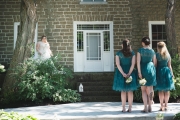
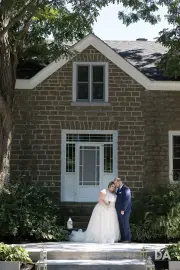
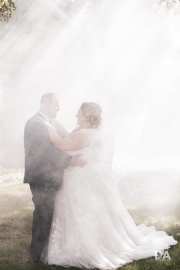
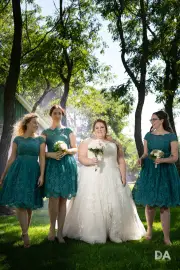
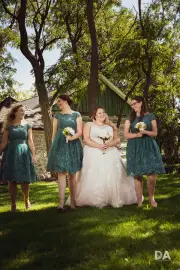
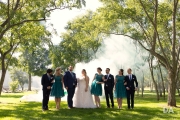
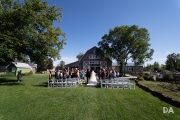
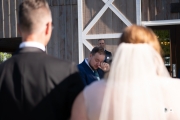
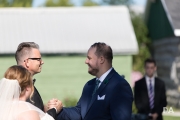
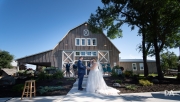
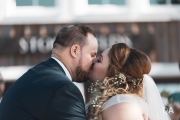
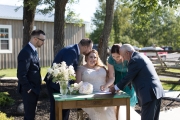
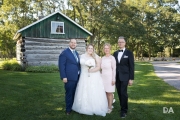
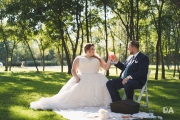
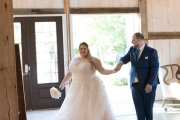
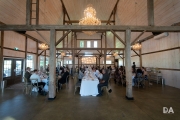
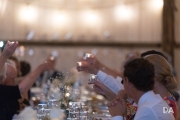
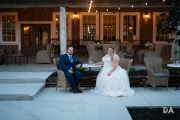
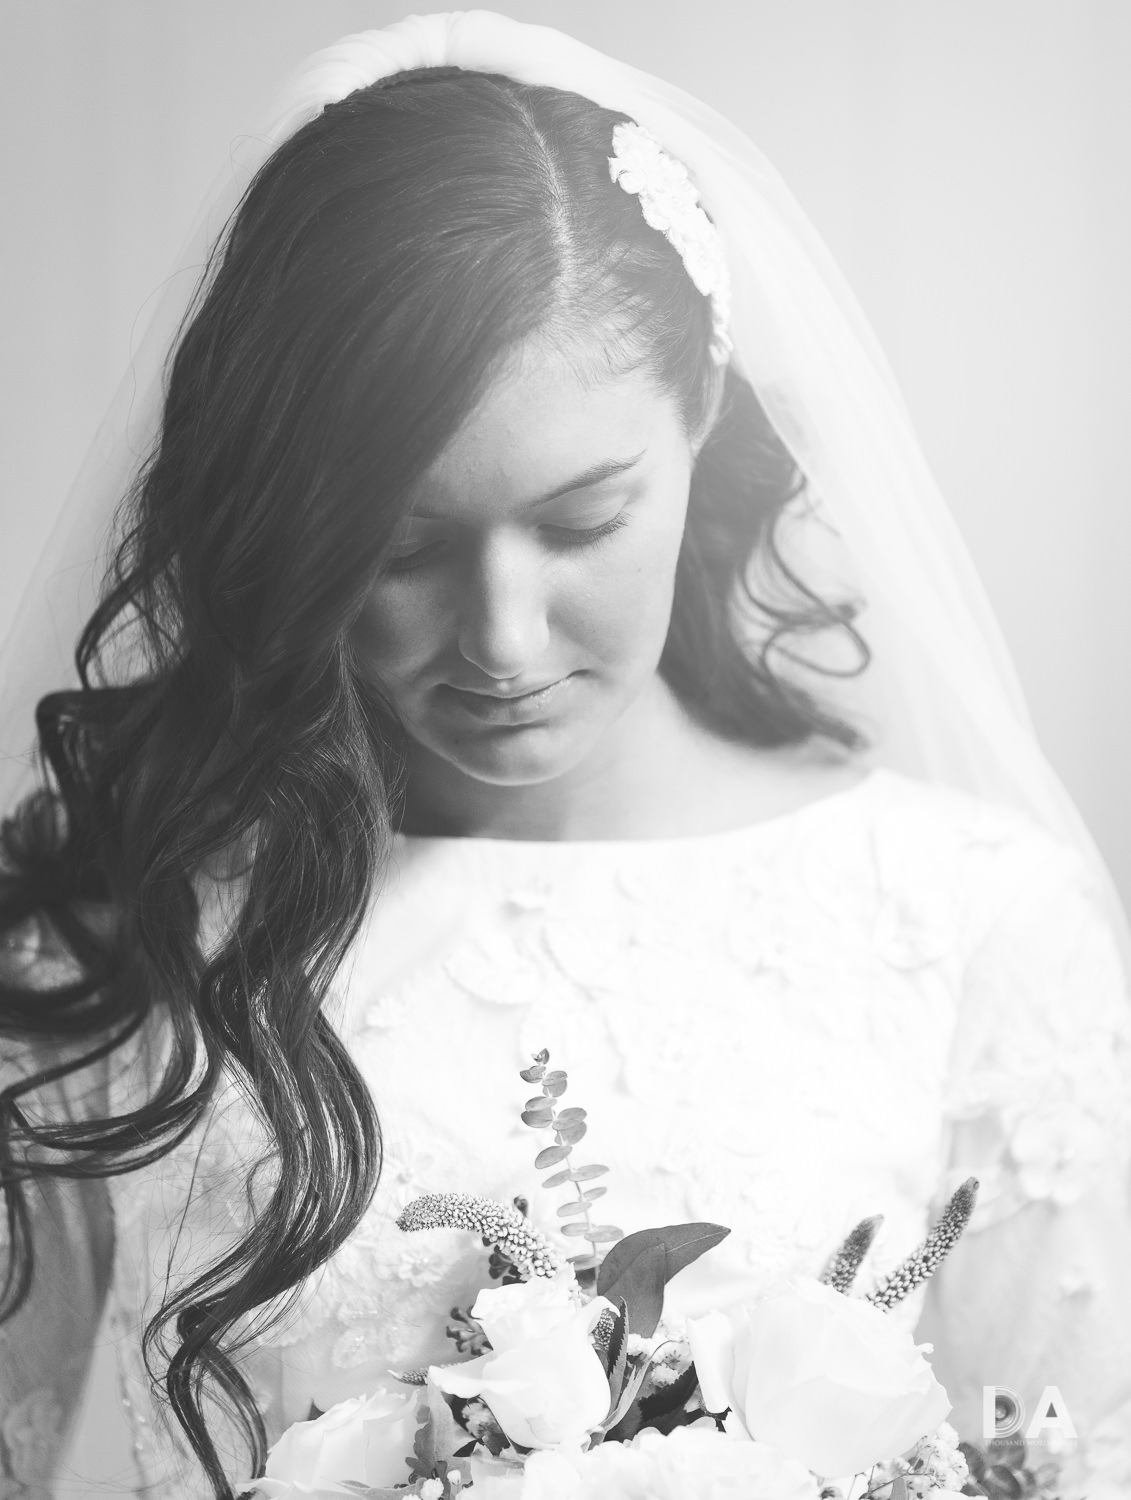
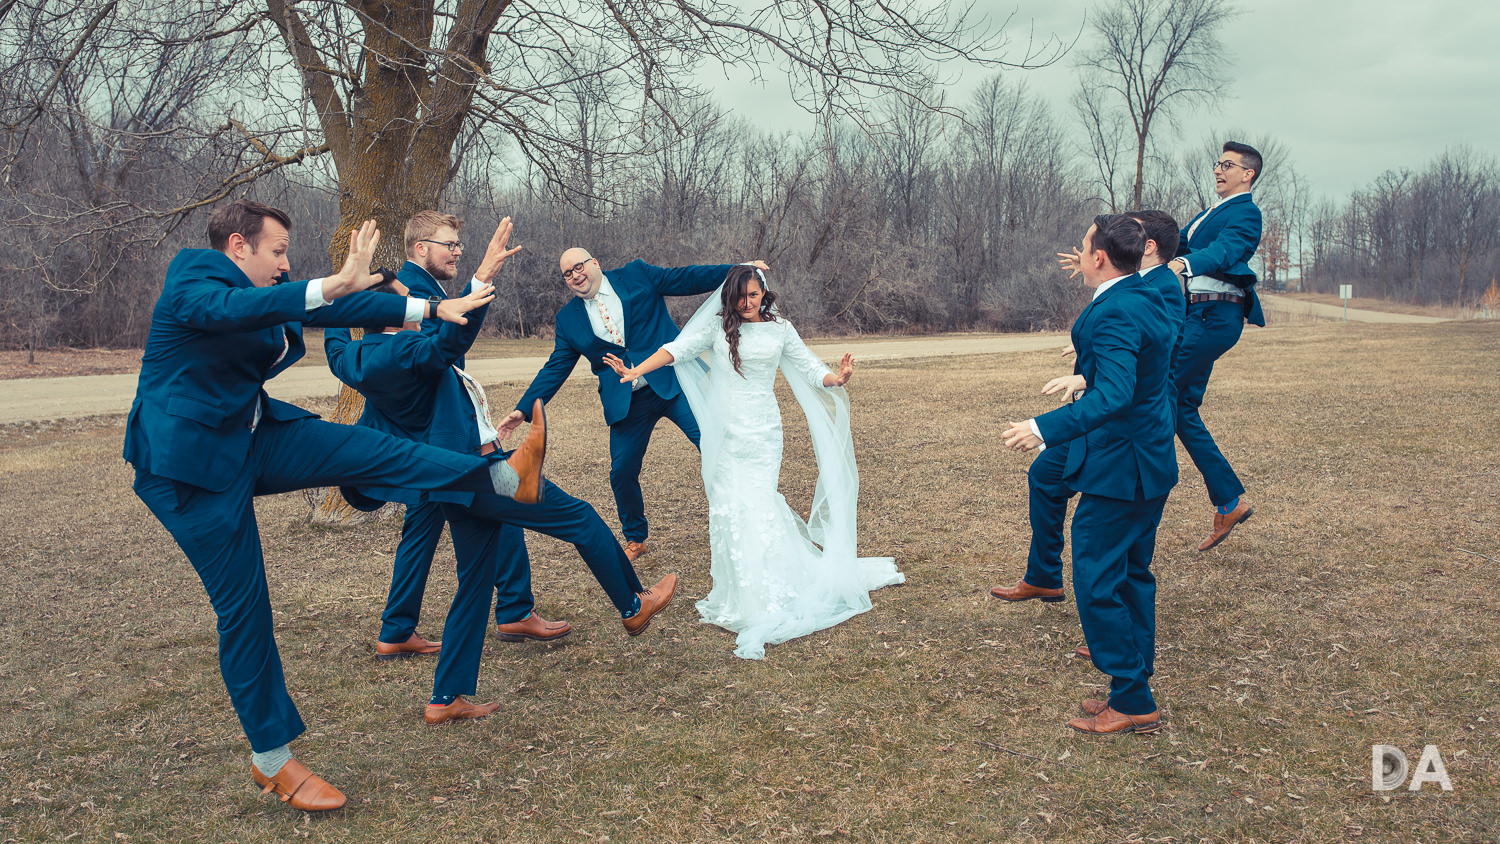
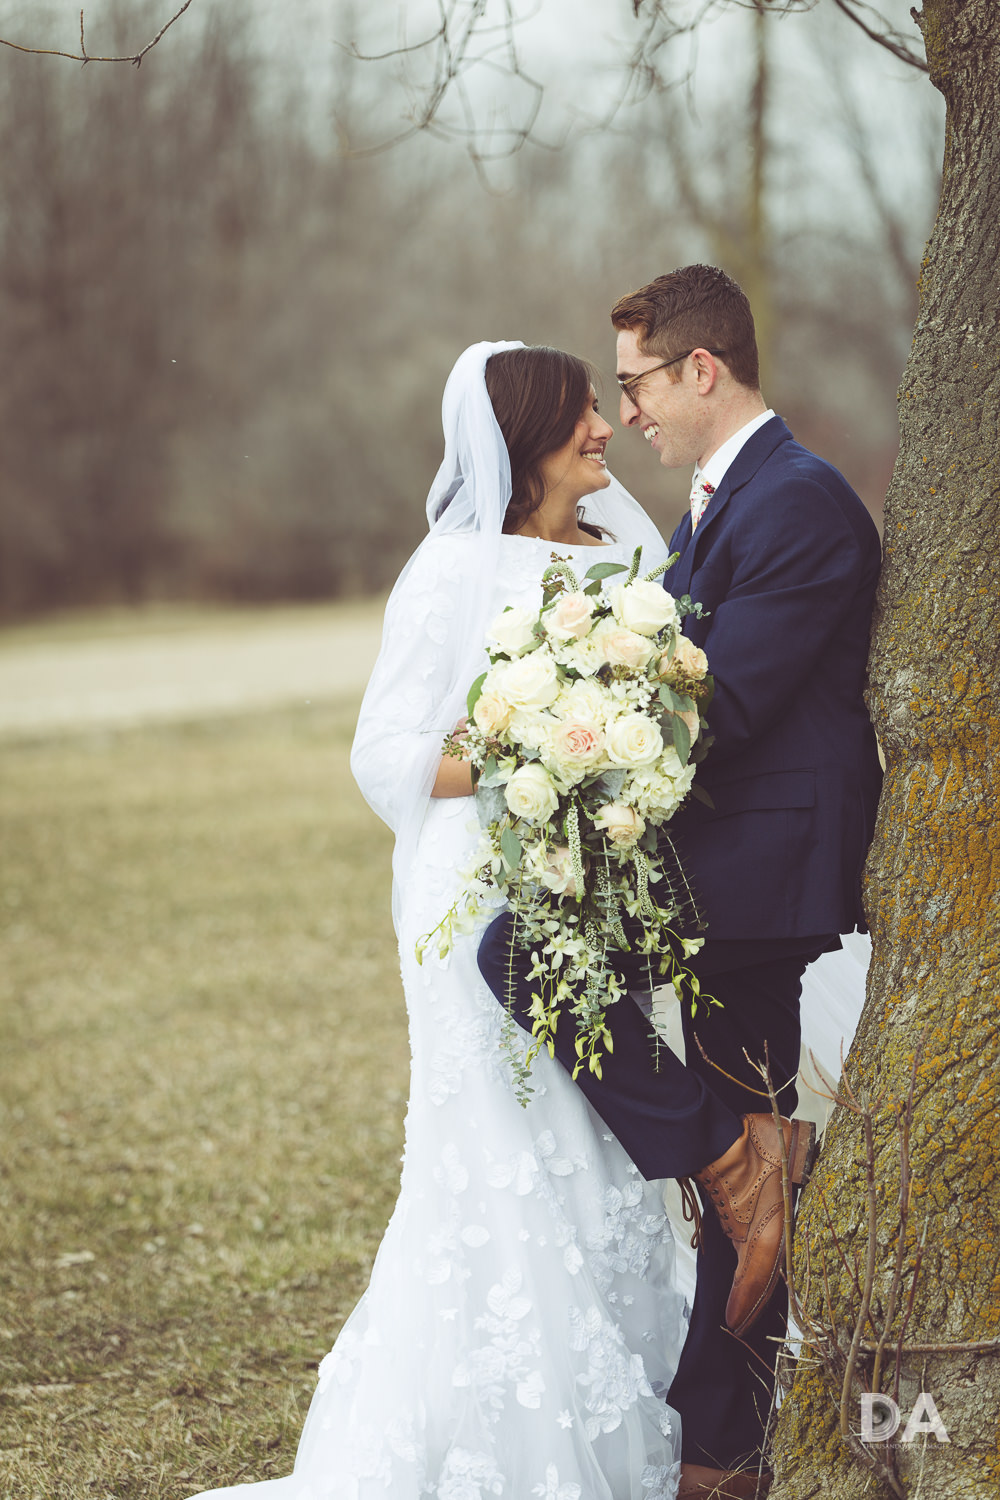
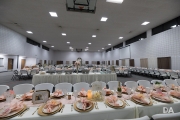
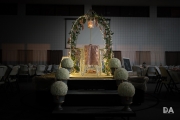
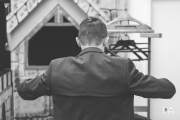
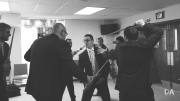
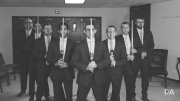
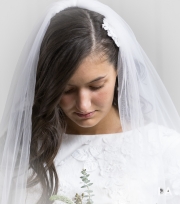
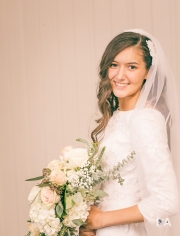
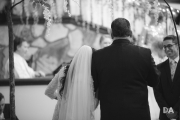
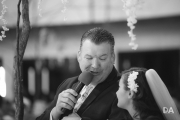
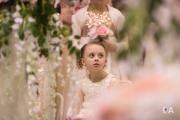
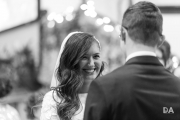
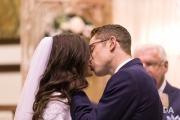
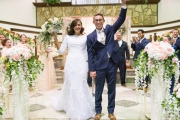
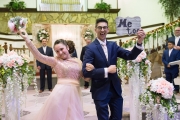
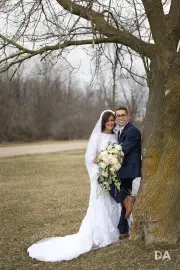
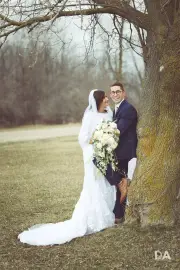
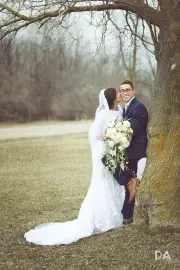
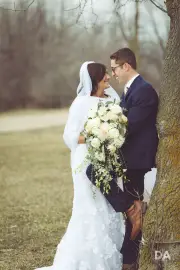
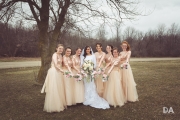
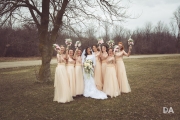
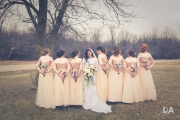
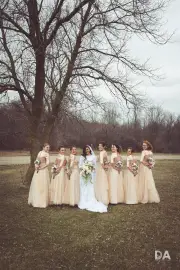
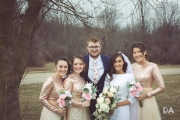
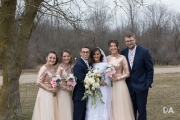
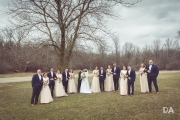
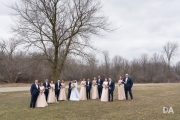
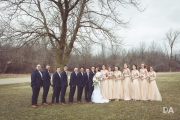
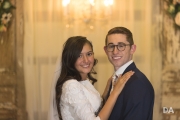
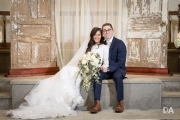
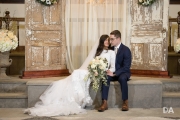
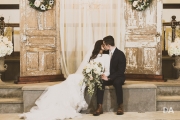
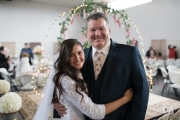
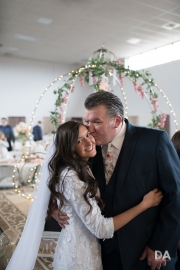
Danica and Alessandro chose the incredible Stonefields Estate outside of Ottawa, Ontario, Canada as the venue for their wedding.  This was pretty much a photographer’s dream for a number of reasons.  First of all, everything was self-contained on the estate.  I shot everything from the “getting ready” photos (in separate themed buildings) to the posed photos to the ceremony and reception all on the grounds.  It saves so much time (the worst thing for a photographer on a wedding day is to spend all of the photo time on travel and then have to rush through the photo sessions).  


Check me out on:  Google+: | Facebook: | Twitter: | Flickr: | 500px: | Sign Up for My Newsletter :


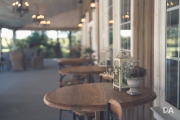
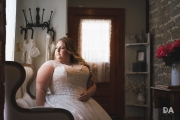
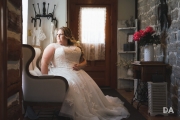
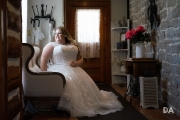
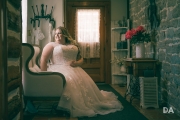
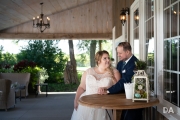
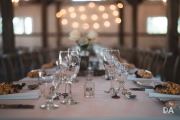
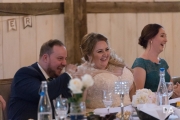
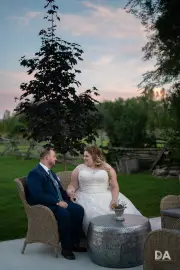
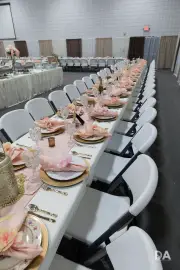
The second great thing about Stonefields is that everything is picturesque.  There’s a great mix of rustic and elegant that gives you options as a photographer.  Nothing feels stuffy or contrived, and the smart sense of decorating has obviously been done with photography in mind.  Little splashes of color here and there, like the red of the flowers on the table in the shot below, provide some color contrasts without it screaming at you.

The final ingredient that made this day easy was that the weather really cooperated.  The sun was shining and yet the temperature remained very temperate throughout the day.  The weather is very fickle here in Ontario, and there were very few days quite like this one.  Obviously this is incredibly important when doing an outdoor wedding.

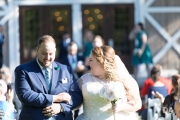
It was a welcome change to not have to worry about cranking the ISO to retain a fast enough shutter speed to freeze the action of people walking down the aisle.  This has gotten easier due to the great high ISO performance of modern cameras, but I still prefer the greater latitude of low ISO shots for editing.

On a gear front, I used a mix of Canon and Sony.  My primary camera for the day was the Canon 5D Mark IV, which is one of the best wedding cameras out there.  It’s tough, reliable, and takes great photos.  My one complaint is that it eats batteries faster than what any recent Canon pro-grade DSLR that I’ve used.  My review of it is here.  I shot two lenses on it throughout the day.  The first is the Canon EF 35mm f/1.4L II, a gorgeous lens that balances a great focal length with amazing optical performance.  I find 35mm to be incredible versatile for event settings, and the fact that I can easily shoot it at f/1.4 gives me the ability to play with the depth of field creatively.  I often use it for group and family shots, too.  My review of the lens is here.

The second lens is my bread-and-butter event lens – the Tamron SP 70-200mm f/2.8 VC G2.  It’s reliable, has great AF, and produces nice results.  A lens like this is pretty much a requirement for shooting the ceremony, where it gives you the chance to quickly change framing on the fly.  I had an elderly gentleman approach me after the ceremony and tell me that I was the best photographer he had ever seen at a wedding.  He wasn’t saying that based on the images (he hadn’t seen any of them); he was referring to the fact that I was discrete during the ceremony and didn’t dominate the proceedings.  He recounted how a wedding he had attended the previous week had been ruined by the photographer always being in the way.  I suspect the photographer was trying to work with something like a “normal” lens (50mm), and had to “zoom with their feet” (something I’ve seen too often at weddings).  70-200mm f/2.8 lenses are big, heavy, and expensive, but are worth every bit of the weight, expense, and hassle if you are going to be a working professional.  Lenses like the Tamron I’m using help by giving you as good of results as first party lenses from Canon and Nikon at a much lower price point.  My review can be found here.

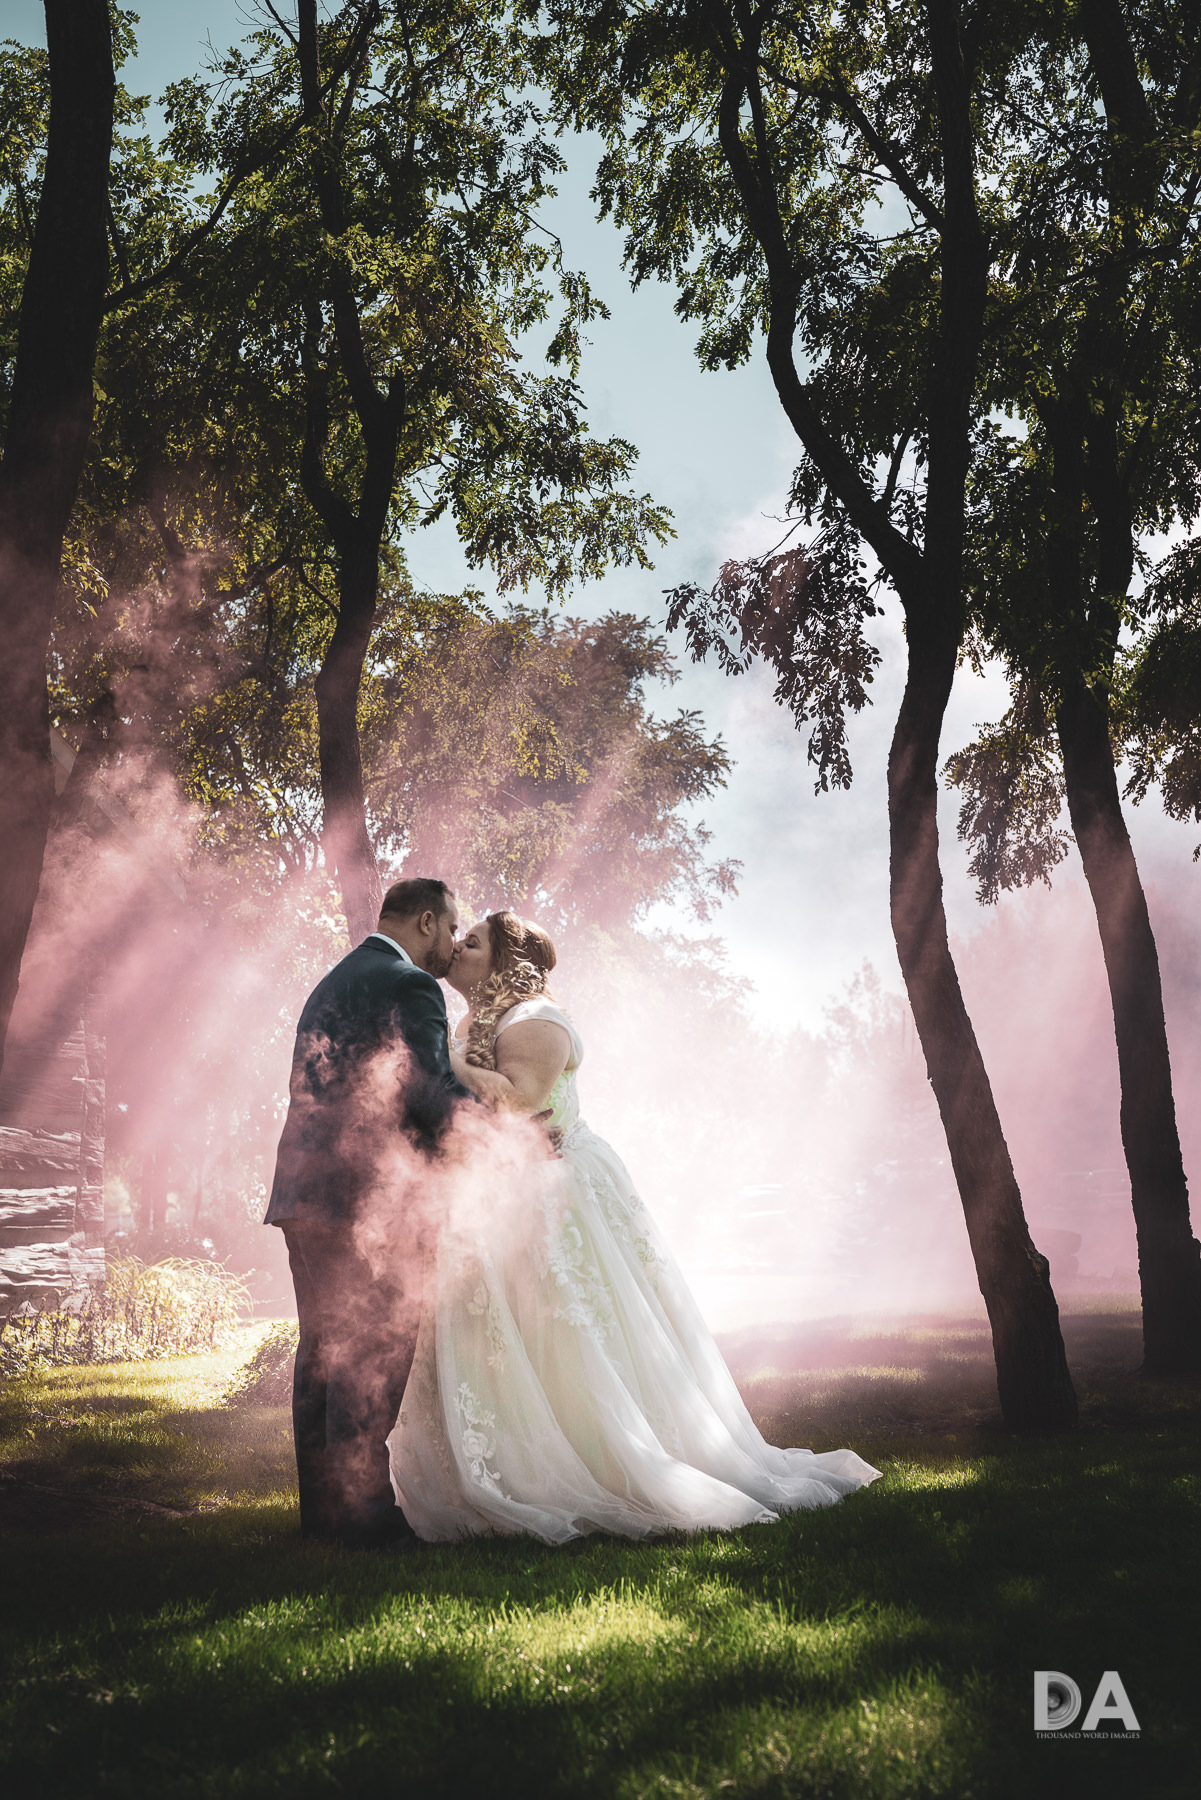
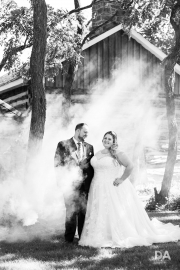
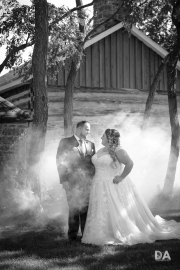
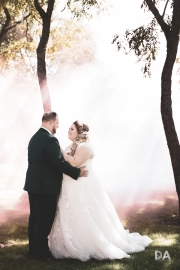
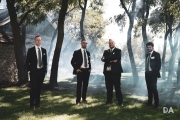
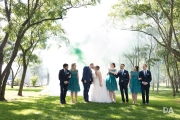
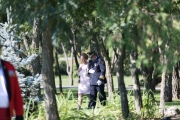
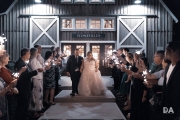
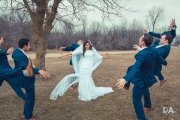
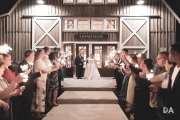
My primary second body carried on my Cotton Carrier harness system was my Sony a7R3.  (my review of the a7R3 is here)  One of the best things about the a7R3 is the combination of great resolution and dynamic range, which helped me in some of the challenging lighting conditions when shooting the smoke bomb sequences in the trees. 

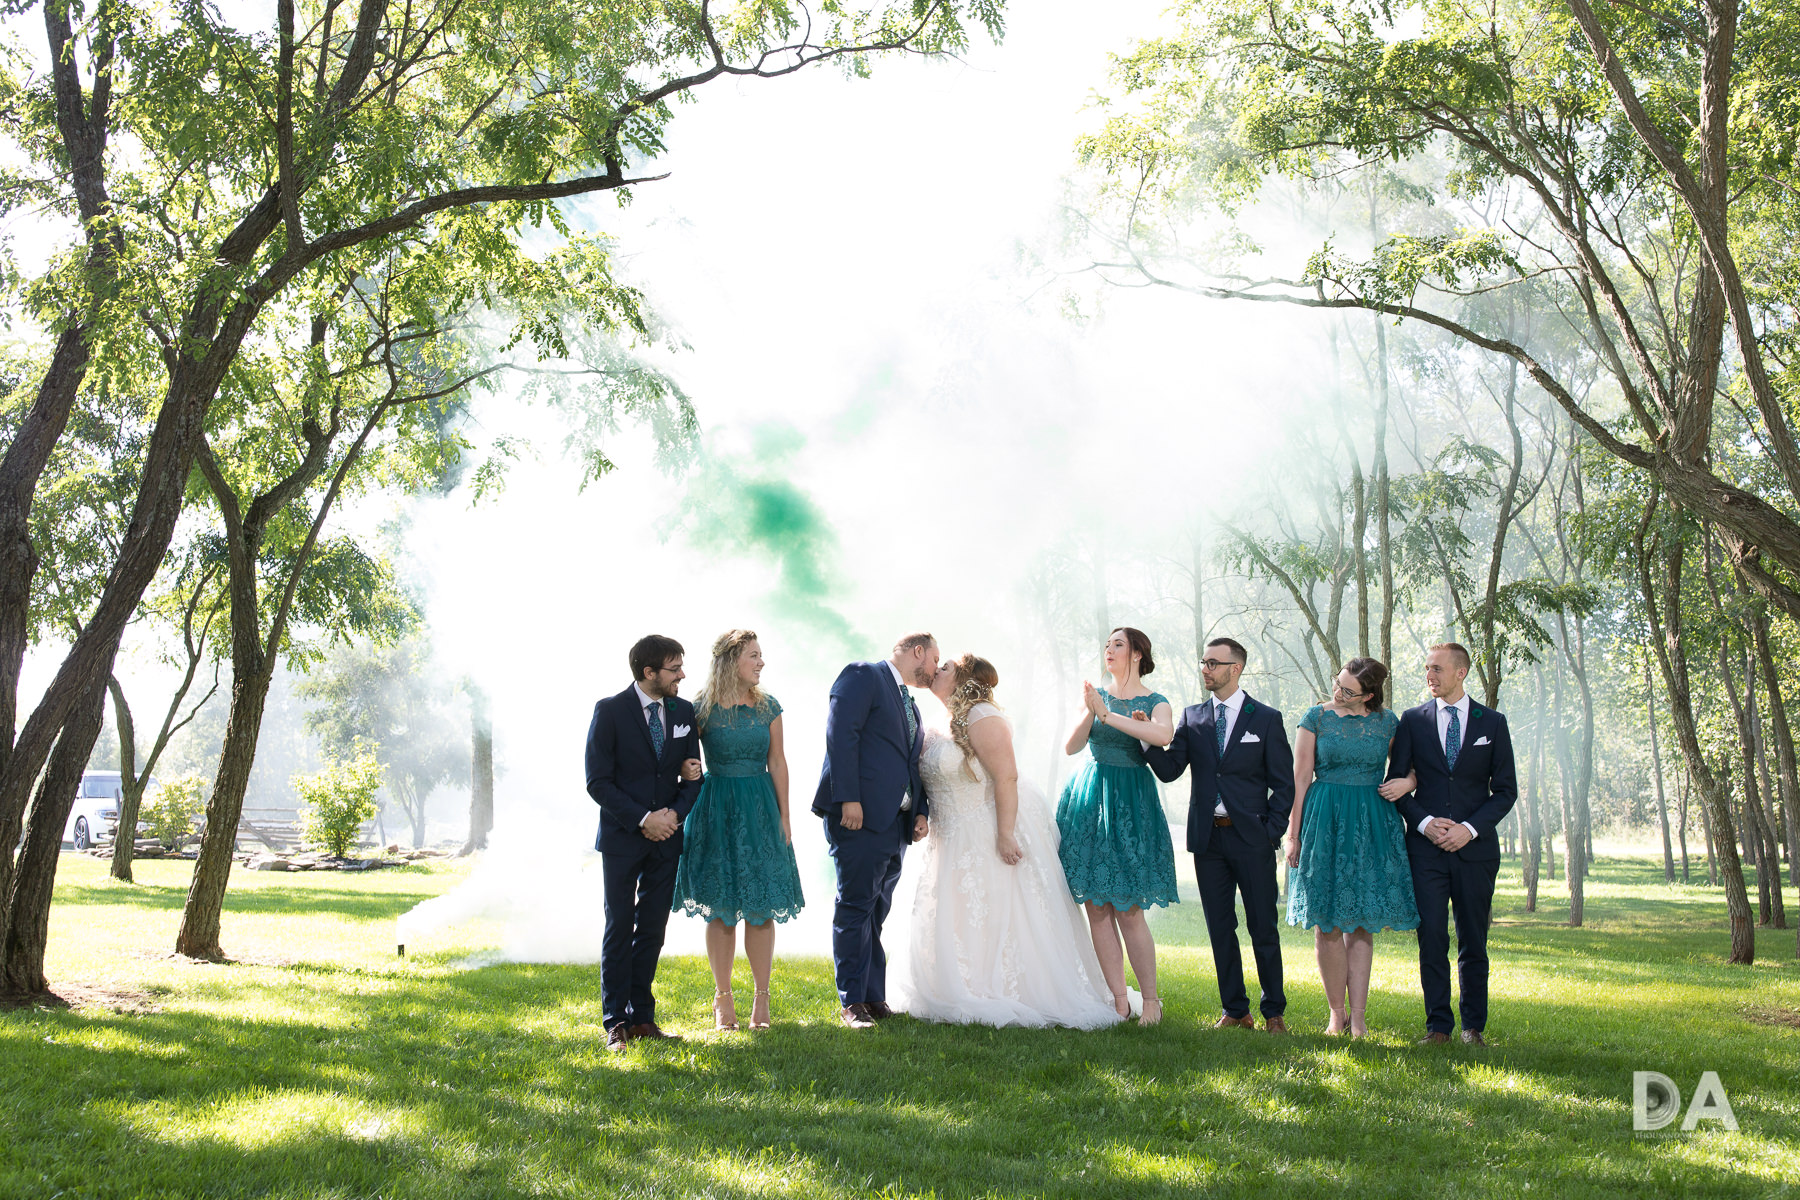
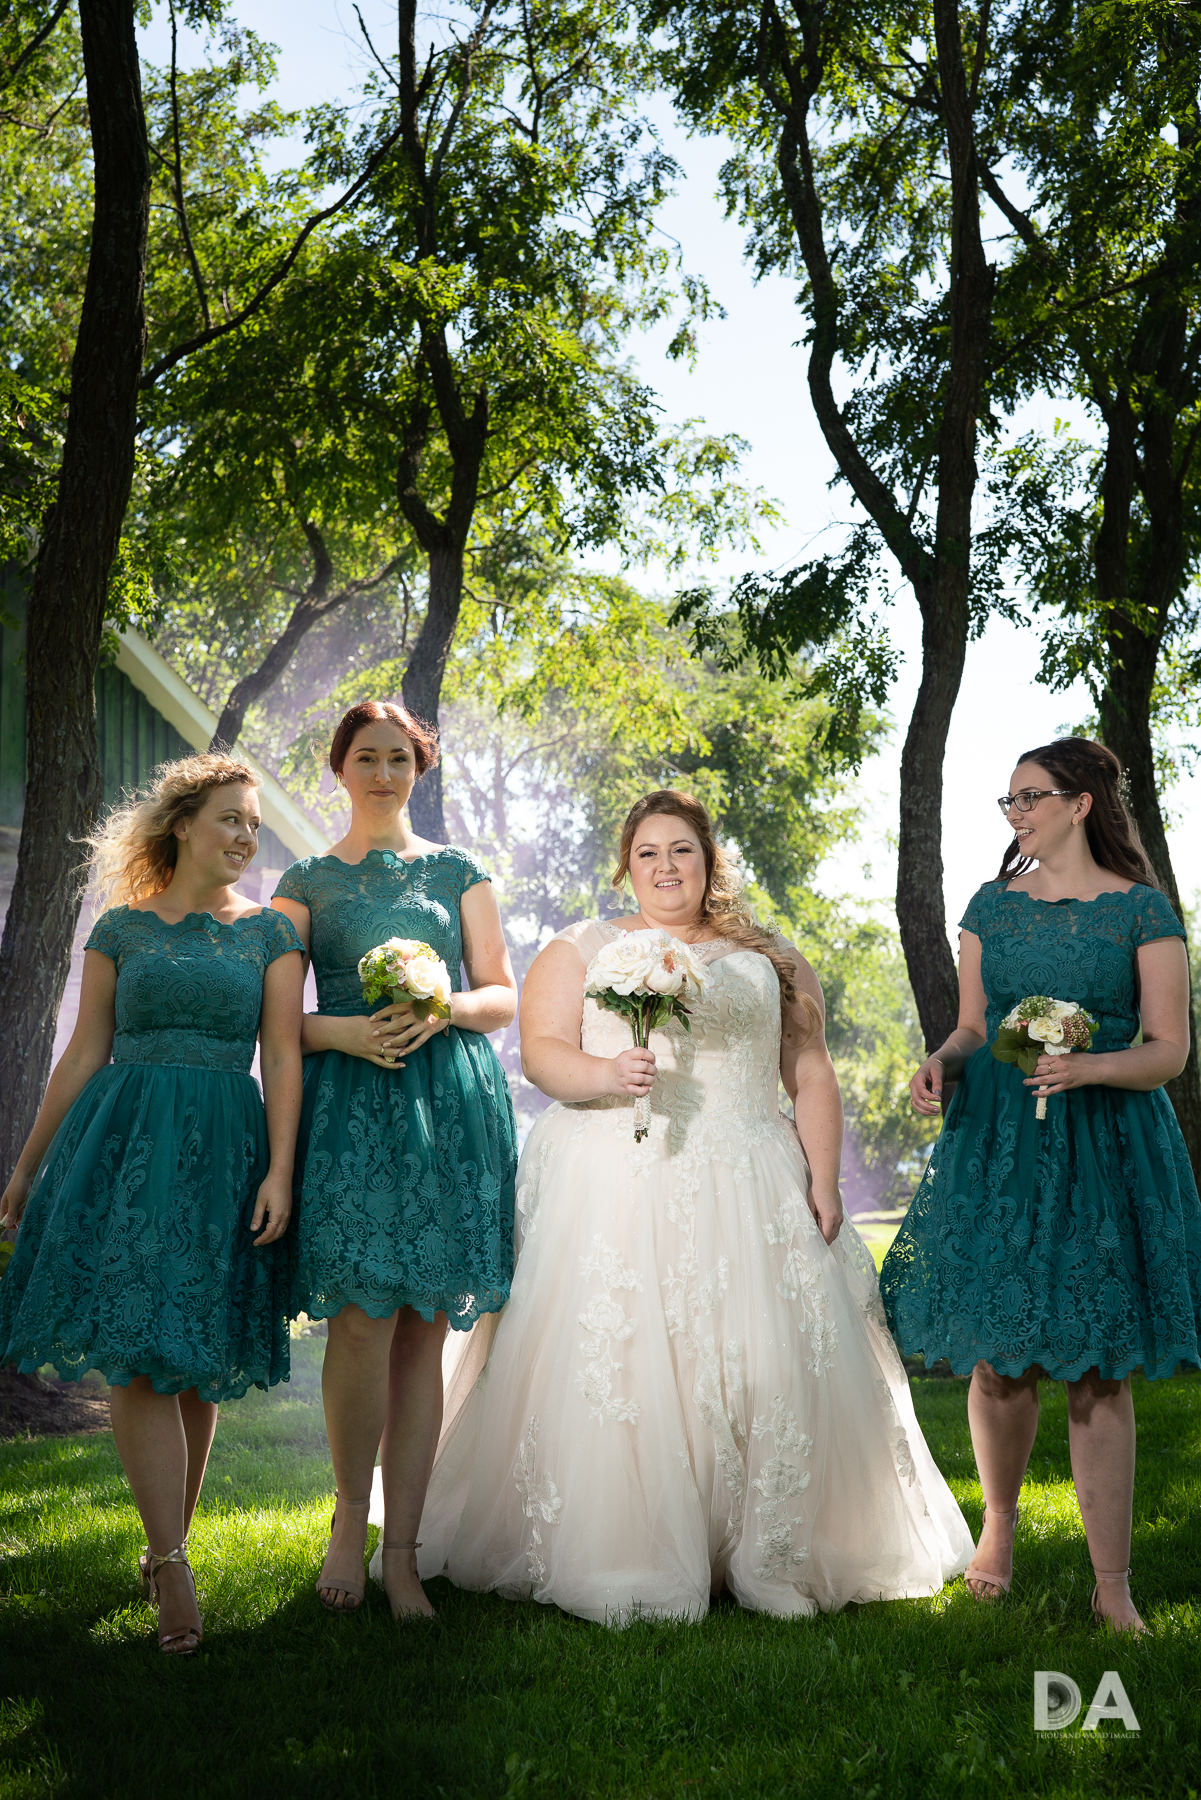
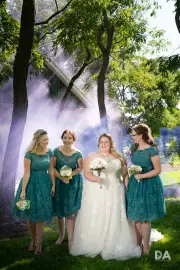
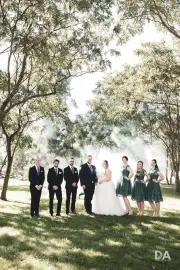
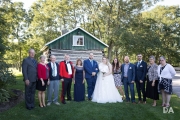
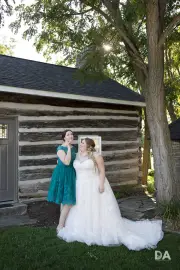
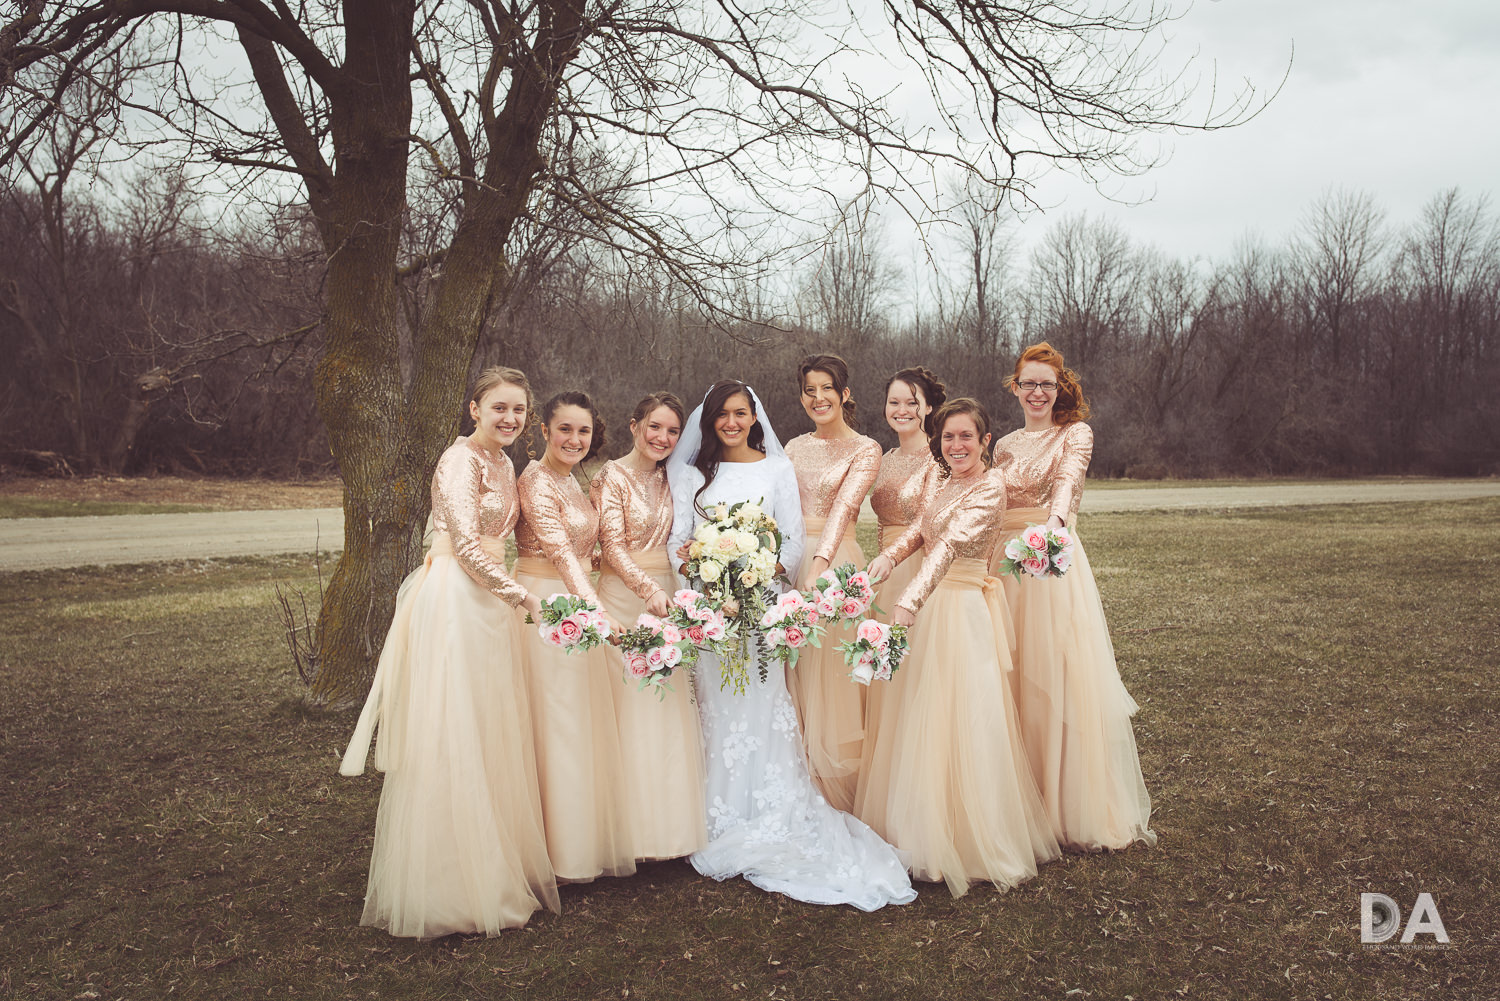
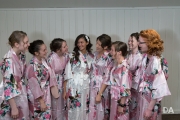
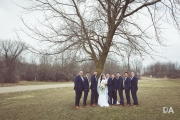
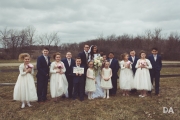
This photo was actually quite dark to begin with due to the fact that I had been shooting with the Canon body and quickly switched over to the Sony for different framing.  Obviously you have a fairly narrow window of shooting opportunity before the smoke bomb dies off, so I wasn’t taking time to review the back of the screen (by the way, if you are interested in experimenting with smoke bomb photography, here’s a great article that will teach you the basics.)  I have solved the issue with my Metz 64 AF-1 flash units being designed for Canon E-TTL by just having a Yongnuo YN-622C-TX wireless command unit on the hotshoe of each camera, and then I put my flash units on separate channels with Yongnuo YN-622C wireless triggers mounted to the flashes.  I just put the flash command unit in Manual HSS (High Speed Sync) mode and control the power output from the TX command units.  This system seems to work well, and allows me to make quick adjustments on the fly and not worry about shutter speed due to being in HSS mode.  Because the flash units are wirelessly controlled, I just use a few assistants (or even a few helpful volunteers from the wedding party) to hold my lights at the height/angles that I want.  I help shape and soften the lights by using the Lite Genius Super-Scoops on them (you can see my video review of these light modifiers here:).  I had last used the Sony in a different setting, however, and I didn’t realize I needed to turn up power to the flashes for these shots…until I reviewed them after the smoke bomb had died off.  The great news was the dynamic range of the Sony a7R3 made it easy to recover the image and turn it into a beautifully dynamic shot that was one of my personal favorites from the day.  I had a similar recover on the shot below, as my assistant holding the flash on the left side of the group had gotten distracted and wasn’t pointing their flash unit in the right direction, leaving the bridesmaid on the left side of the image severely underexposed.  No problem.  A little selective exposure addition and shadow recovery in post, and the end result is very cool.

I used a total of three different lenses on the a7R3:  the Laowa 15mm f/2 Zero D for the wide angle/interior shots.  It shines in this setting due to being very sharp, having extremely low distortion, and is also wonderfully compact, making it an easy lens to bring along.  You can see my review here.

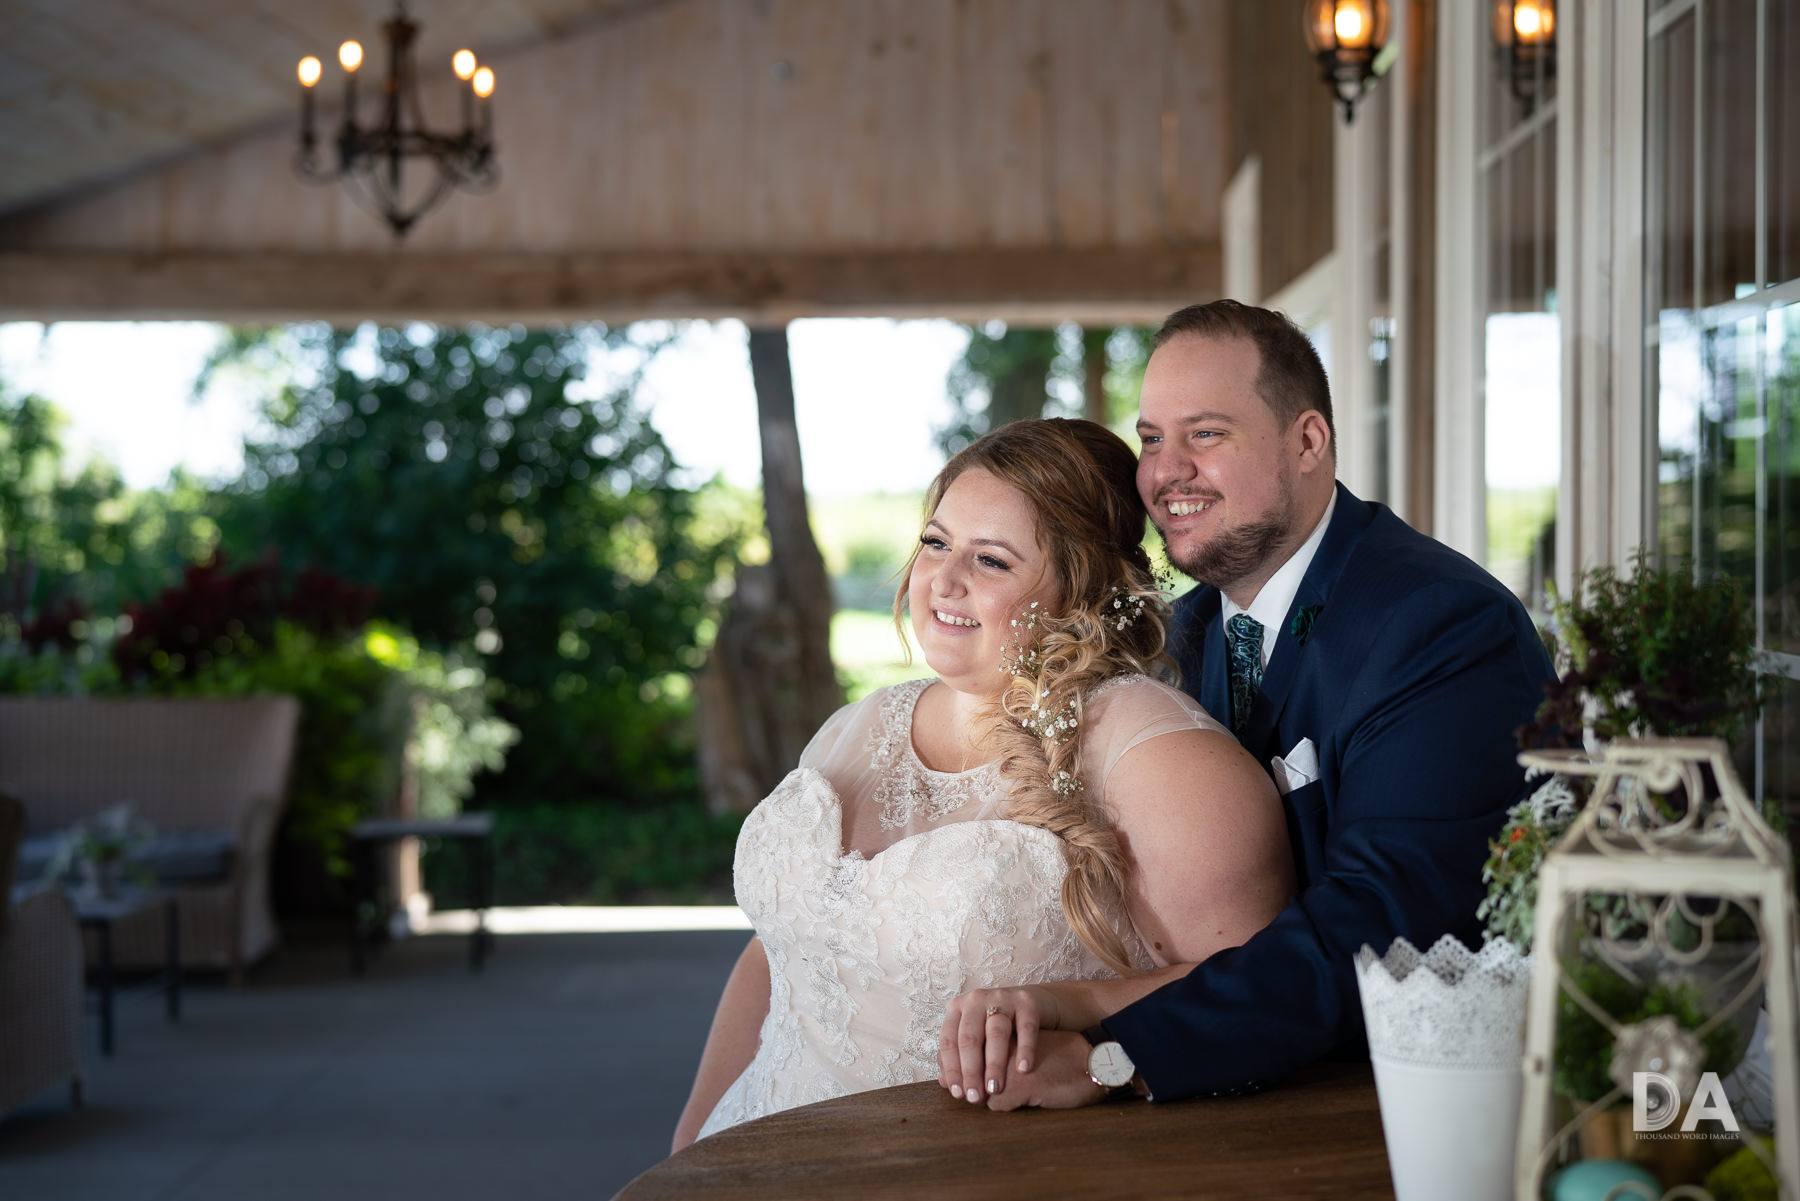
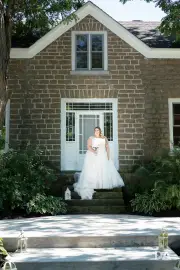
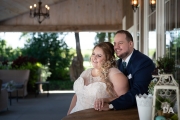
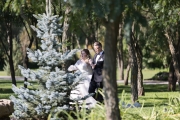
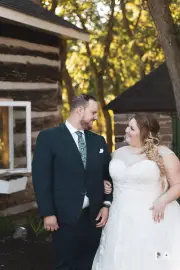
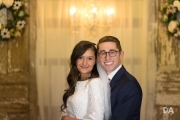
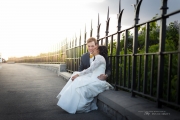
I used the fabulous Sony Zeiss Planar 50mm f/1.4 as my standard lens for the day.  It is fantastic for delivering incredible color and contrast along with fantastic resolution even at wide apertures.  I thought some of these veranda shots of the couple using the lens looked fantastic.  You can find my review here.

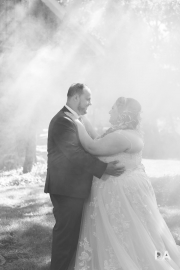
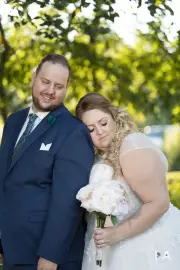
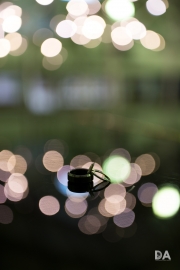
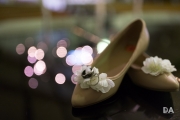
My favorite lens of the day to use, however, was the amazing Voigtländer APO-Lanthar 65mm f/2 Macro lens (my review here).  It’s a manual-focus-only lens, so I had to be more deliberate in my use of it (and selective of when I used it), but the combination of color, resolution, and contrast is just fabulous.  It sucks in light and produces stunning images that I viewed as being some of the most special of the day. 

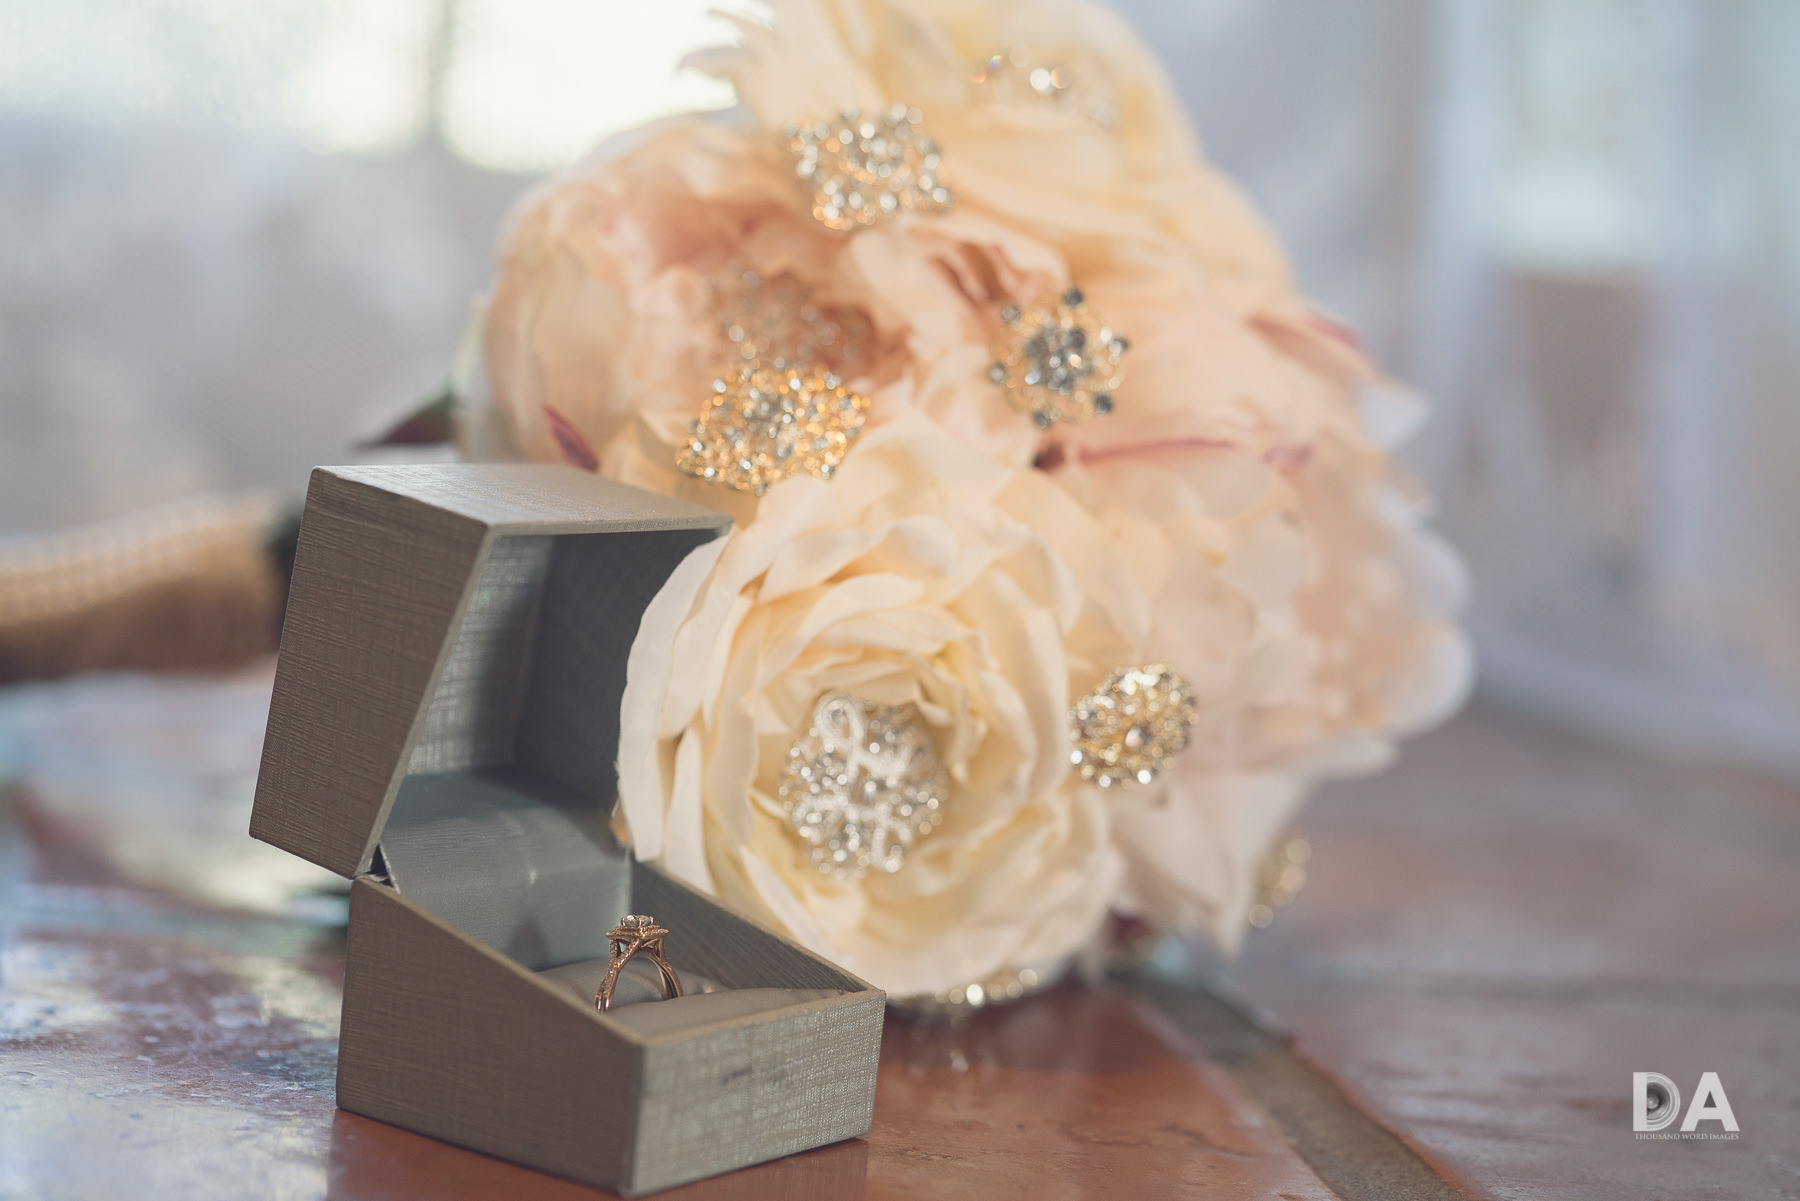
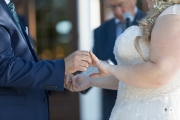
It was also a great option for shooting the up close images of rings and bouquets.  

All in all, between a great venue, great gear, and a cheerful bride and groom, I had little to complain about and came away with a lot of images that I’m proud of and the bride and groom adore.  Congrats to Danica and Al!

Here are more images for you to enjoy!

Keywords:  Wedding, Stonefields, Stonefields Estate, Dustin Abbott, Photography, Thousand Word Images, Bride, Groom, Canon 5D Mark IV, Canon 5Div, Canon 5D4, Sony a7R3, Sony a7riii, Tamron 70-200 G2, Canon 35LII, Canon 35mm f1.4L, Sony Planar 50mm, Zeiss, Voigtlander, Laowa, Smoke Bombs, How To, Tips, Wedding Photography Tips


Purchasing your gear through B&H and these links helps fund this website and keeps the articles coming. You can also make a donation here if you would like.  Visit my Amazon page for some of my gear of choice! Thank you for your support.

B&H Logo

Great News! I can now offer a 5% discount on all purchases at Amplis Foto, Canada’s Leading Photographic Supplier. Please enter discount code: AMPLIS52018DA in your cart. It is good for everything in your cart, and is stackable with other coupons, too! It will take 5% off your entire order! Proceeds go towards keeping this site going and providing you with new reviews!

Check me out on:

My Patreon:  | Google+: | Facebook: | Twitter: | Flickr: | 500px: | Sign Up for My Newsletter :


DISCLAIMER: This article and description contains affiliate links, which means that if you click on one of the product links, I’ll receive a small commission. As an Amazon Associate I earn from qualifying purchases.

Macy and Zachary

Dustin Abbott

April 9th, 2018

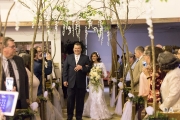
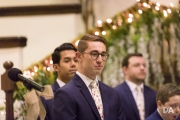
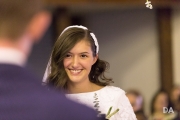
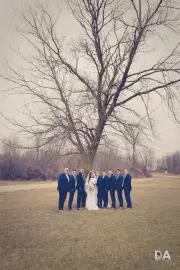
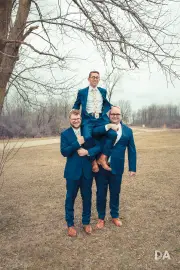
Macy and Zachary got married on an unseasonably cold day in April, but despite the blustery weather, it was a warm and happy event.  The couple had a beautifully decorated church and hall along with a few Star Wars themed moments.  Particularly poignant moments were when Macy’s father sang to her before giving her away, and when Macy sang to her husband to be before the exchange of vows.  It was a large wedding (over 400 guests) and reception (ditto), and a large wedding party – with nearly 25 moving parts in the bridal party.  The wedding took place in Flint, Michigan (near Detroit).

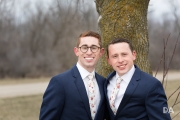
The bride was lovely, and the groom had a quick and easy smile, and both were easy to work with.  I wish them the very best for their future together.

Gear and shooting notes for photographers:

The major challenges for this particular wedding included very challenging lighting in the church due to both a strong green cast to the lighting and the fact that the lights cycled color temperature, meaning that the color temperature was not consistent and that using anti-Flicker technology was important.  Sony’s tech in this area is not as good as Canon’s, meaning that I had to do more post work on the Sony images (the great sensor on the a7R3 helps give a lot of latitude for recovery in post with little destruction to images). I got some odd looks when I was using my windbreaker (a perfect medium grey) during the rehearsal by draping it over key areas on the platform and taking pictures of it.  What people didn’t know is that I was creating custom white balances that would help me the next day.  Between that and some correction in post (I always shoot RAW for weddings), I was able to (mostly) overcome the extremely difficult lighting.

I used the newest Metabones adapter (Metabones fifth generation) and the amazing Canon EF 35mm f/1.4L II, but while the photos are fantastic, I would only use this combination if absolutely necessary again in the future, as there were moments where focus pulsed rather than quickly locking on, meaning that I was scrambling to get some shots.  It was my first wedding shooting with Sony (playing a meaningful role, as I’ve shot some “B roll” shots with a Sony body in the past with two Canon full frame bodies doing the heavy lifting.  I came feeling that using native Sony glass on the a7R3 would produce better results for a wedding situation.  This leaves me in a quandary, as I love the 35L II for weddings, but may have to consider replacing it with a Sony lens if I continue in this scenario.

Upside is that while I felt that focus wasn’t as fast and intuitive as what I would like, the focus accuracy was awesome.  I got better results than what I’ve gotten with 5D Mark IV and the 35L II, ironically.  The high megapixel count of the a7R3 also makes cropping easy due to have a lot of pixels to work with.

I used the Tamron SP 70-200mm f/2.8 VC G2 lens on my 5D Mark IV, as, after some time with the Tap In Console, it produces very consistent focus results for me.  The improved autofocus speed on the G2 version is a boon for wedding situations, particularly when tracking couples moving down the aisle in low lighting conditions (I prefer to shoot with available light in the ceremony to minimize disruption).  During those sequences I was often at ISO 10,000, but modern cameras allow for very clean results even at these ISO levels.

Another practical challenge was how cold it was outside (about 34 F with occasional gusts of wind).  It meant that the outdoor photo period had to be both abbreviated and carefully managed.  I cycled bridesmaids and groomsmen to allow them time to warm up in the shuttle in between takes, and gave my jacket to the bride to keep her warm in between shots.  Other than some mild complaining, however, every played along, and the overcast conditions allowed for nicely diffused lighting.

I had been concerned about my remote flash triggers (Yongnuo YN-622C units) and command unit (Yongnuo YN-622C-TX) not working with the Sony body.  Fortunately, I tested in advance and found that while TTL didn’t work, manually setting output levels through the command unit (which is what I often do anyway) did work, so I could trigger from either the Sony or Canon body without issue.  I used Metz 64 AF-1 units due to their high power output and excellent coverage.

I can certainly saw that the quality of my gear helped in some of these challenging situations, as did an understanding of lighting and technical challenges.  I would encourage you to learn as much about light, strobing, and color as possible, as often wedding venues can play some nasty tricks!

The Photos

And now, without further ado, here are a few highlights from the day.  A huge congratulations to Macy and Zachary, and the very best wishes for their future together!

DISCLAIMER: This article and description contains affiliate links, which means that if you click on one of the product links, I’ll receive a small commission. As an Amazon Associate I earn from qualifying purchases.

Portrait Sessions – Jess and Airell

Dustin Abbott

December 2nd, 2015

Portrait Sessions – Jess and Airell

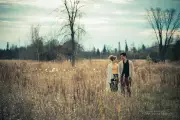
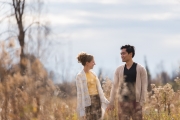
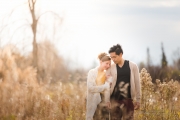
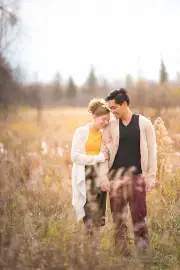
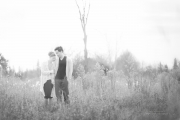
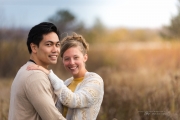
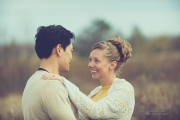
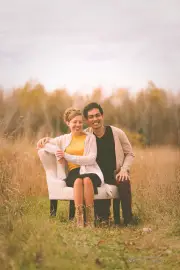
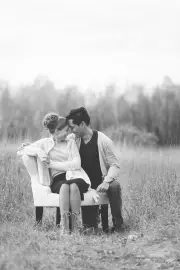
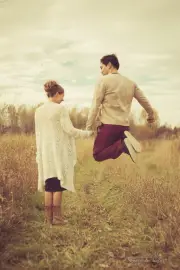
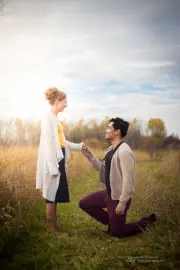
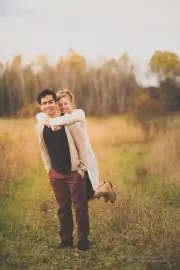
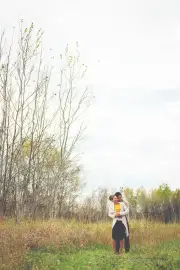
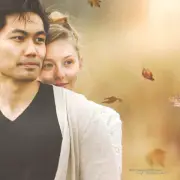
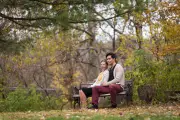
Today’s share is from a recent engagement session I did for Jessica and Airell.  They recently got engaged, and so they made the trip up to my community for me to do their engagement photos.  We got a mixed bag with the weather, and the biggest challenge was gusts of cold wind (it was late October).  One tip I want to share is the importance of you as the photographer dressing appropriately for the conditions.  Your subjects may need to look good, and, while you need to look professional, that doesn’t mean formal wear for you.  Stay warm so that you can focus on maximizing their time.  As I mentioned in the previous article, I brought a blanket for them to huddle (and cuddle) in while I switched things around in between takes.

Engagement shoots are easier than family shots because 1) there are fewer people and 2) they interact very easily and lovingly (you don’t have to pose them as much).  I have two goals when shooting sessions with couples – I try to make them laugh (become comfortable with me so I cease to be a threat/distraction) and get them to focus on each other (forget about the camera and become more natural).  One of the highest compliments I get from portrait sessions is when they tell me how much fun it was!  Portraits may not seem fun, but a good photographer can make the process fun instead of awkward or frustrating.

One other note to photographers – develop an instinct for the personalities and unique relationship qualities of your subjects.  It’s great to have some “go-to” poses that create the backbone of your shot, but often the best shots will come from watching the dynamics of your subjects and then giving them mild directions that build upon those existing dynamics.  The resulting shots are more natural, more “real”, and will often be favorites of the clients.

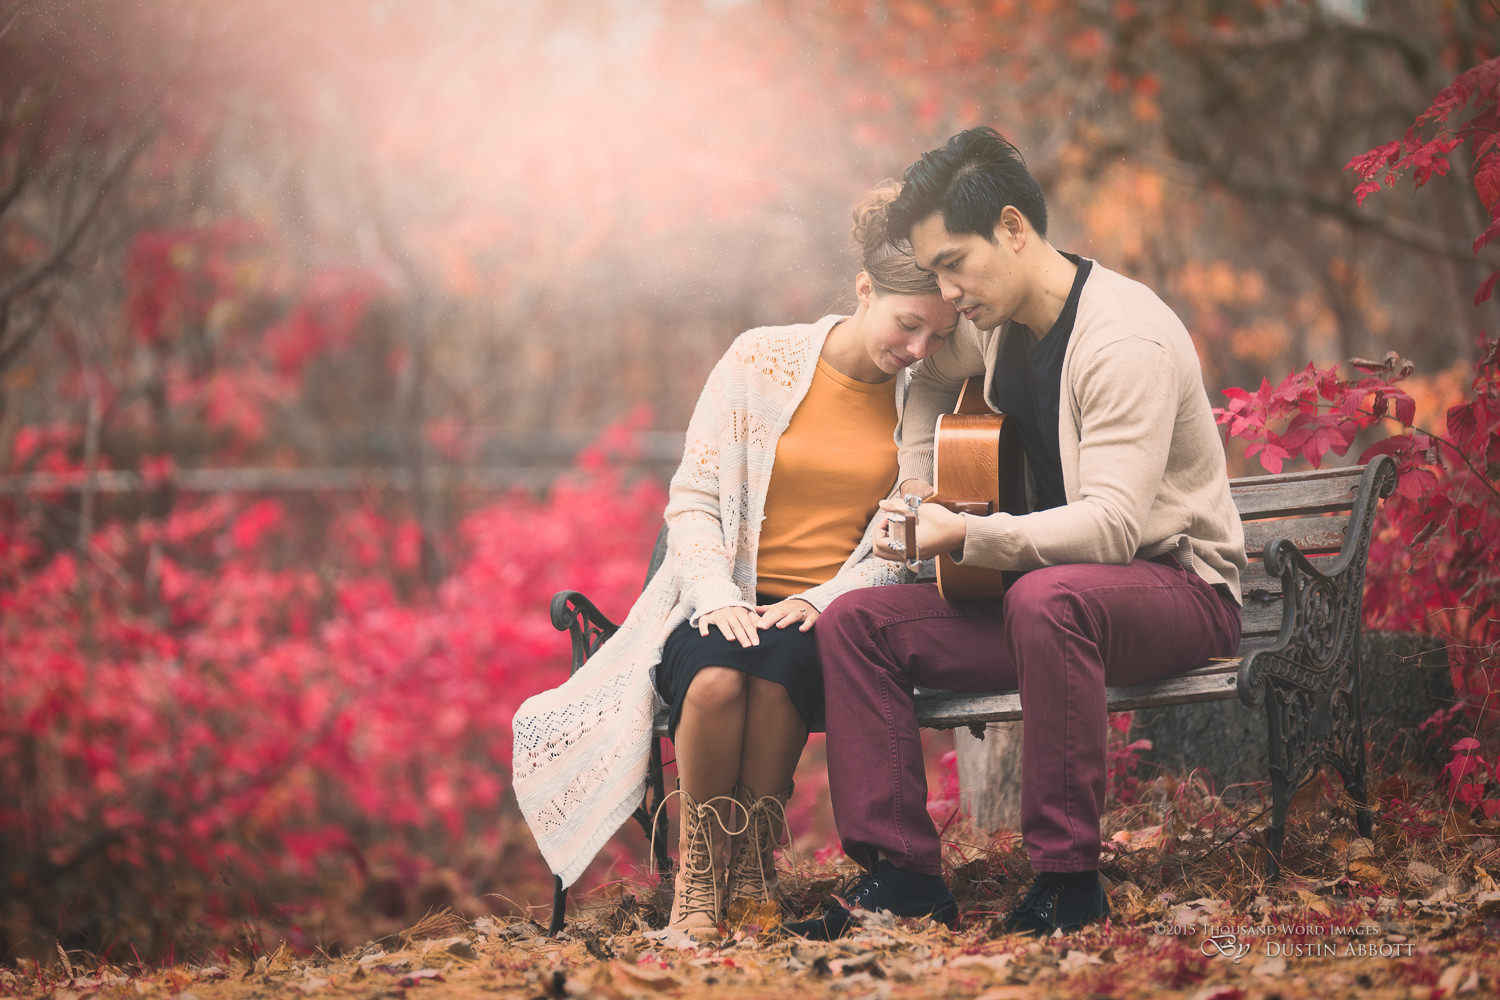
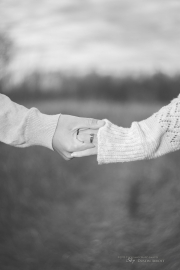
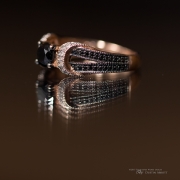
We shot in a few different environments, and I also did a bit of “prop shooting”, including shots of the ring, a personal note, their hands, and, knowing that he played the guitar, I had asked that he bring his guitar to work into some of the shots.  One of my favorite shots of the day is of him playing the guitar while she leans over on his shoulder, listening.

Gear notes:  My go-to kit for couples and individual portraits is the Tamron SP 70-200mm f/2.8 VC lens mounted on a full frame camera body.  Many people use the Canon or Nikon equivalent lens.  I went for the Tamron over the Canon 70-200mm f/2.8 L IS II for a couple of reasons.  The first was that the image quality was a bit better – the Tamron has better bokeh and is slightly sharper save at the very end of the focal length.  The Canon has better autofocus and build, but the Tamron is highly accurate and has a nice build…just not as nice as the Canon.  The Tamron was also more than $500 cheaper, and that sealed the deal for me.  I used it for about 90% of this shoot, and I use it extensively at events and weddings.  It has been a very reliable tool for me.  I have the Canon 135mm f/2L, an amazing portrait lens, but the versatility and the image stabilizer on the Tamron often tips me in that direction.

Large aperture zoom lenses are big and heavy, but the trade-off is the ability to produce shallow depth of field images that help to separate the subject from the background.  Here’s a little tip – the smaller the aperture you are shooting at (f/4, f/5.6, f/8 etc…) the more space you need between your subject and the background to get separation.  Often the amount of depth in your scene will be more important than its beauty.  People want to stand next to things in photos, but it’s better to have space.  Move them forward and get a little separation!

Finally, just to illustrate that you don’t have to use expensive gear, I used an old, beat up Helios 44-2 lens that I paid less than $30 for beside my $1500+ zoom lens.  Several shots from the Helios are in the gallery, but you will be hard pressed to spot them.  I use an inexpensive adapter from Fotodiox Pro that enables me to use old M42 lenses on my modern DSLRs.  You can find my full gear list with links below the photos.

Jess and Airell were great to work with, and I was pleased by the results we got. Enjoy the photos!


Gear Used:

Canon EOS 6D DSLR Camera (Body Only)
Tamron SP 70-200mm f/2.8 Di VC USD Zoom Lens for Canon
Metz 64 AF-1 Flash units
Lite Scoop Lite Genius II
Adobe Lightroom CC Software for Mac and Windows (Boxed Version)
Adobe Photoshop Creative Cloud 1-Year Subscription
Alien Skin Exposure X (Use Code “dustinabbott” to get 10% anything and everything)

Purchasing your gear through B&H and these links helps fund this website and keeps the articles coming. Thank you for your support.

B&H Logo

Great News! I can now offer a 5% discount on all purchases at Amplis Foto, Canada’s Leading Photographic Supplier. Please enter discount code: AMPLIS52014 in your cart. It is good for everything in your cart, and is stackable with other coupons, too! It will take 5% off your entire order! Proceeds go towards keeping this site going and providing you with new reviews!

DISCLAIMER: This article and description contains affiliate links, which means that if you click on one of the product links, I’ll receive a small commission. As an Amazon Associate I earn from qualifying purchases.

Long Range Landscapes

Dustin Abbott

September 3rd, 2015

Why You Should Bring Your Telephoto Lens when you Shoot Landscapes

This article was originally written for Alien Skin Software – check out the original on their blog here:

When most people think about shooting landscapes, they immediately think, “wide angle”. It seems natural that the “big picture” requires as wide a view as possible. But today’s article speaks to why you should bring your favorite telephoto along the next time you go to shoot landscapes.

I know, I know. This is a software blog. But having great software to tone and process your images is kind of pointless if you don’t have some great images to start with. Learning good photography technique is going to help you bring your best into Exposure (get 10% by using my name – “dustinabbott”) to ramp up through processing.

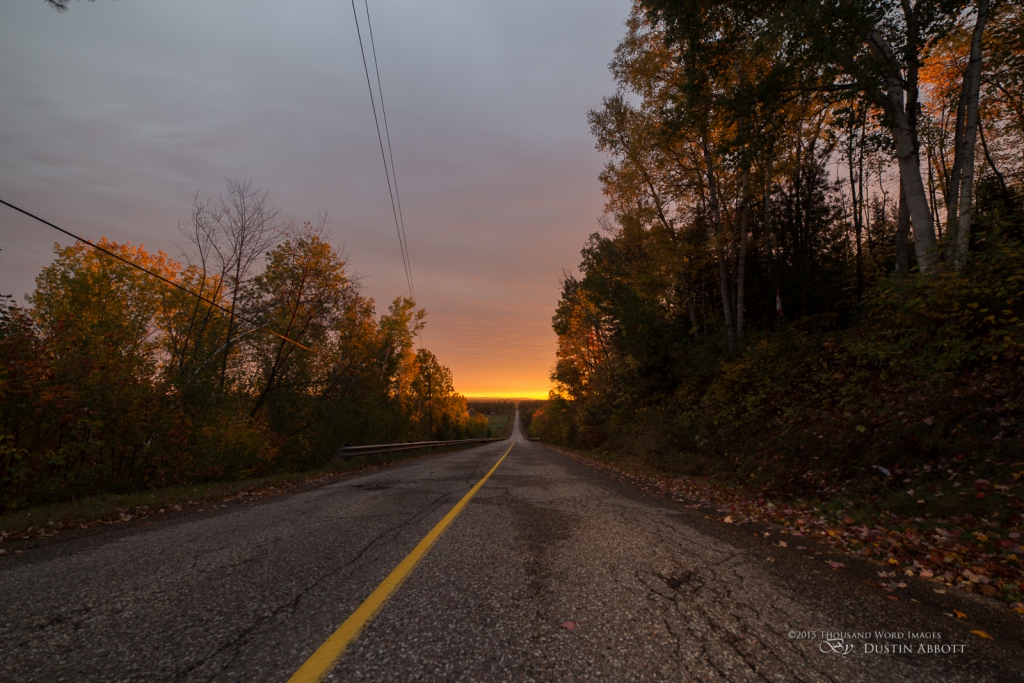
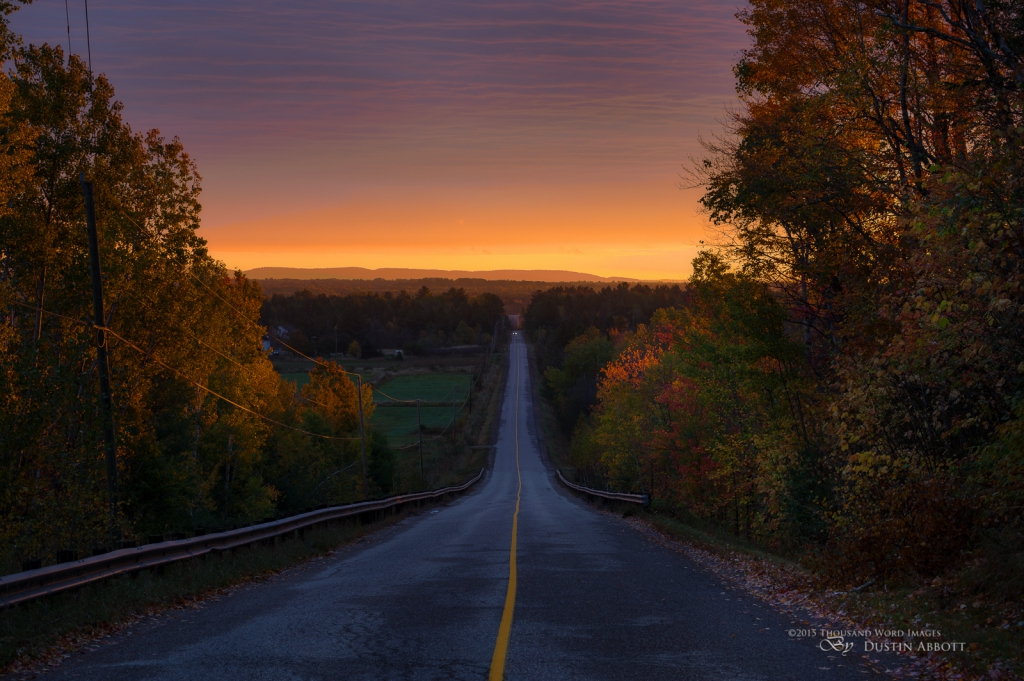
Some of the best shots of the day are missed because photographers aren’t using the right tools for the job. There are times when a wide angle lens is the right tool for the job, but often it isn’t, and here’s why. Take a look at these two photos: which one shows off the beauty of the scene more?

14mm

14mm

© 2014 Thousand Word Images by Dustin Abbott There was a brief window a few days ago at dawn when the light was stunningly good. The sun was risinig underneath a layer of cloud cover, and you can see the ripples of illumination in the sky. For a few minutes the light was very direction, skimming the tops of the trees and setting them ablaze. This road leads right down to the Ottawa River, and the ridge and treeline in the distance is the province of Quebec beyond. I have purposefully kept this one a hair underexposed as I feel it adds more punch to the color palette. Best view will be on black. Enjoy! Technical information Canon EOS 6D, Canon EF 70-300mm f/4-5.6L IS USM. Processed in Adobe Lightroom 5, Photoshop CC, and Alien Skin Exposure 6 Want to know more about me or make contact? Take a look at my website and find a lot of ways to connect and view my work.

70mm

Wide angle lens are valued by people who shoot architectural images because they create the illusion of space. A wide angle lens can make that tiny bathroom look a lot bigger! We’ve all checked into a hotel room or condo that looked a LOT bigger in the photos. Wide angle lens push things away and makes elements in the photo seem further apart. This effect becomes increasingly extreme as the lens focal length becomes wider.

A telephoto lens does the opposite. It compresses a scene and can make distant elements seem closer. Resort advertisers often use this technique to make their properties seem closer to the beach than what they really are. Perhaps you’ve also had the misfortune to arrive at your “waterfront destination” (in pictures) that is, in reality, a mile away from the water. Once again this effect becomes increasingly extreme as the focal length becomes longer.

The human eye’s “focal length” roughly corresponds to about 50mm, which is why a 50mm lens is often referred to as a “normal” lens. Our perception of space and depth will roughly equal what a 50mm lens on a full frame (35mm) camera would report. As you move away from that “normal” range in either direction either more or less space will be “created” by the focal length of choice.

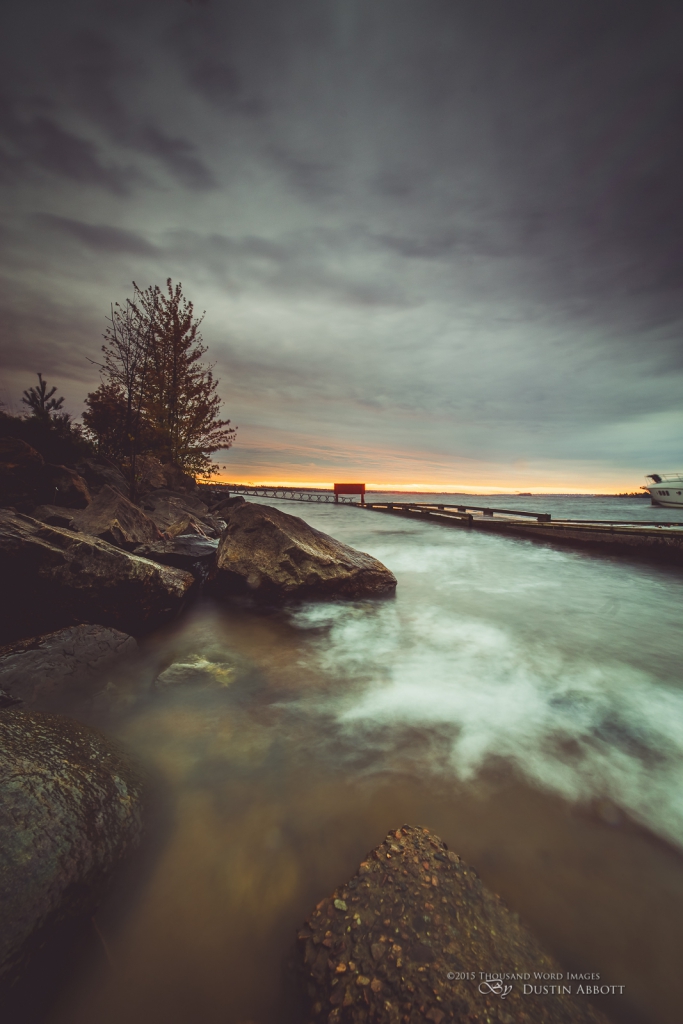
Wide angle lenses work well in more intimate venues. Really wide focal lengths work best when you want to emphasize something in the foreground that you are almost on top of. It “stretches” the scene, emphasizing the foreground, and pushes the background further away. When used properly it will create amazing images. Here’s one of my favorite images I took using this technique and a 14mm lens.

© 2015 Thousand Word Images by Dustin Abbott Here is another image that I've run through Lightroom 6/CC's new HDR mode. I've combined three exposures to get a big dynamic range here, and then did almost all of the processing in Lightroom. I love the final look here, that has a great, rich mood and color palette. I recorded a quick video tutorial that details the process as well as what I consider a killer feature of that software. You can view it here: http://bit.ly/1II0Xlg Technical Information: Canon EOS 6D, Rokinon 14mm f/2.8, Processed in Adobe Lightroom CC, Adobe Photoshop CC, Alien Skin Exposure 7 (use code "dustinabbott" to get a 10% discount) Want to know more about me or make contact? Take a look at my website and find a lot of ways to connect and view my work.

That red sign that catches your eye in the middle of the frame was only really about 25 feet from the camera…but it seems really distant because of the wide angle effect. In this venue the technique works great…I needed the space.

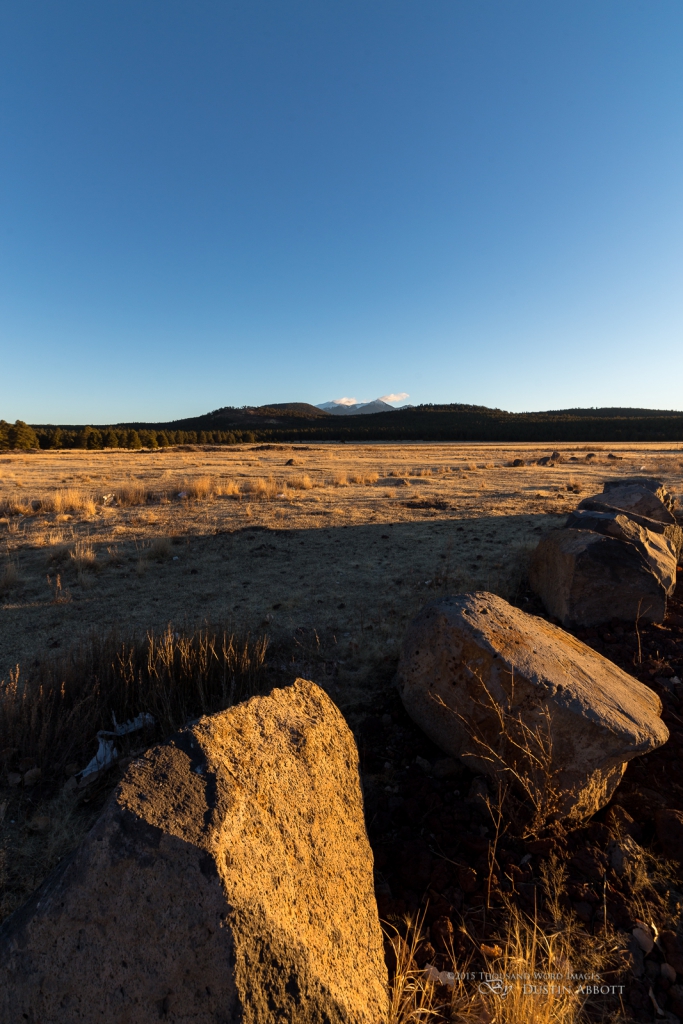
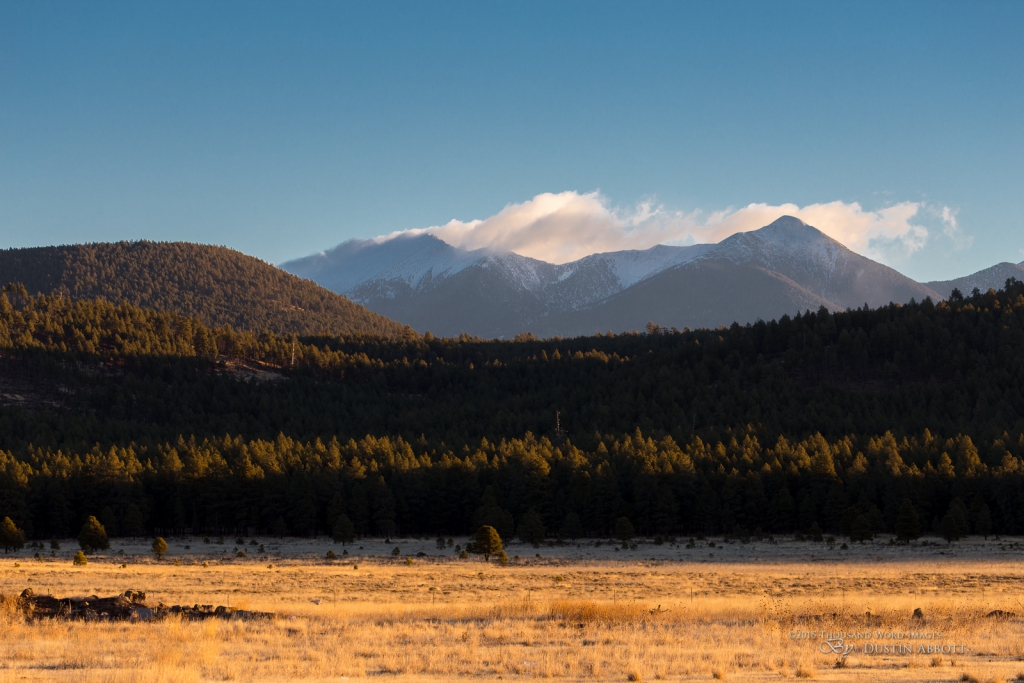
But this isn’t going to work nearly as well when you have a truly epic scene in front of you. Take, for example, this photo of the San Francisco Peaks in the high desert of Arizona. I got up early to some really great, warm light. In the distance wind was whipping across the snowcapped peaks of the mountain range; a great contrast to the warm light on the dried grasses of the foreground. I had one of the best wide angle lenses in the world with me, the Zeiss Distagon T* 2.8/15mm. This amazing prime lens is very expensive (about $3000) for a reason; it has amazing resolution, contrast, and color.

Dustin_Abbott_LongRangeLandscapes1

The wide focal length worked great for emphasizing rocks in the foreground in this shot, but the wide focal length also meant that the even cooler snowcapped mountain range seemed a long way away. Fortunately I also had my favorite telephoto lens for travel along with me, the Canon EF 70-300mm f/4-5.6L IS USM. I love this lens because it has a great build, amazing optics, and also is small enough to travel very easily when retracted. It was very easy to pull in those distant details by using a telephoto lens instead. This shot at 124mm shows off the very nice three distinct layers of the scene (foreground grasses, forest middle layer, and the distant mountains).

Dustin_Abbott_LongRangeLandscapes2

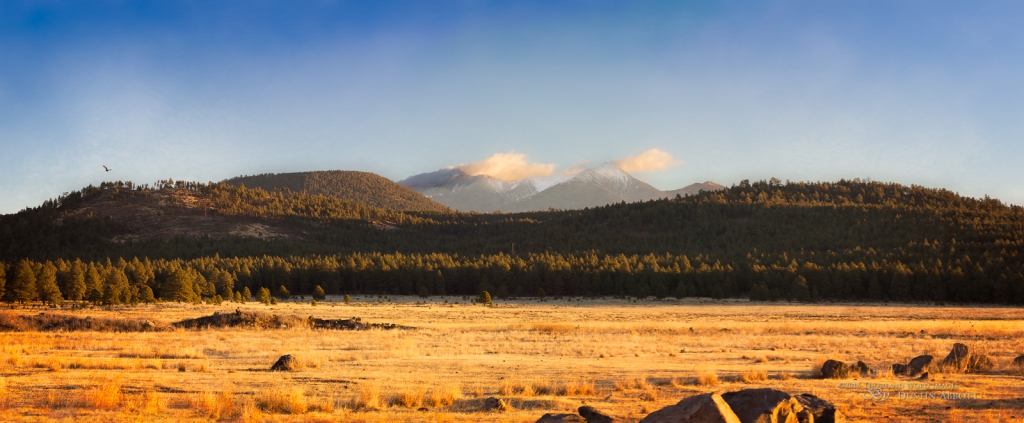
But what if I wanted to include more details, a wider scene? I simply shot three frames to combine into a panorama.

© 2015 Thousand Word Images by Dustin Abbott This beautiful image is more than a little deceiving. I awoke to the beautiful Arizona light in the high plains this particular morning, and headed outside to shoot. The distant San Francisco peaks of Flagstaff were perfectly framed, and I loved the look of the high plains that is so different than the country around where I live. The light was so warm, but trust me, that light was lying! The thin mountain air (this was some 7000 feet up or so) was bitterly cold as the wind blew across the open spaces. The irony of the light is that the way things look out a window aren't always the way they are in reality. Technical Information: Canon EOS 6D, Canon EF 70-300mm f/4-5.6L IS USM, Processed in Adobe Lightroom 5, Adobe Photoshop CC, Alien Skin Exposure 7 (use code "dustinabbott" to get a 10% discount) Want to know more about me or make contact? Take a look at my website and find a lot of ways to connect and view my work.

I got the same wide angle look, but the difference is that I was able to still have the “compressed” telephoto look that allowed the space between the elements (and the space from the viewer to the main subject) to be diminished.

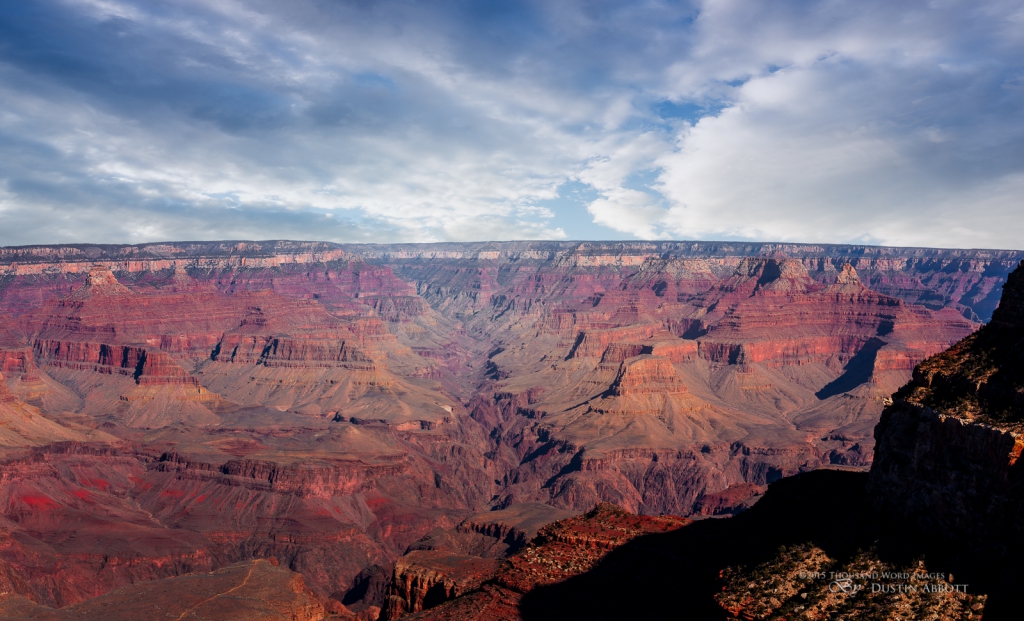
I used a similar technique later in the day at the Grand Canyon, except this I shot 4 portrait oriented shots that allowed me to create a panorama with roughly the normal dimensions of a single frame but with the epic space of the Grand Canyon compressed closer to allow the viewer to see more of its detail. (By the way, try some of the “Slide” presets in Exposure to really pull out the colors in dynamic landscape scenes.)

Dustin_Abbott_LongRangeLandscapes4

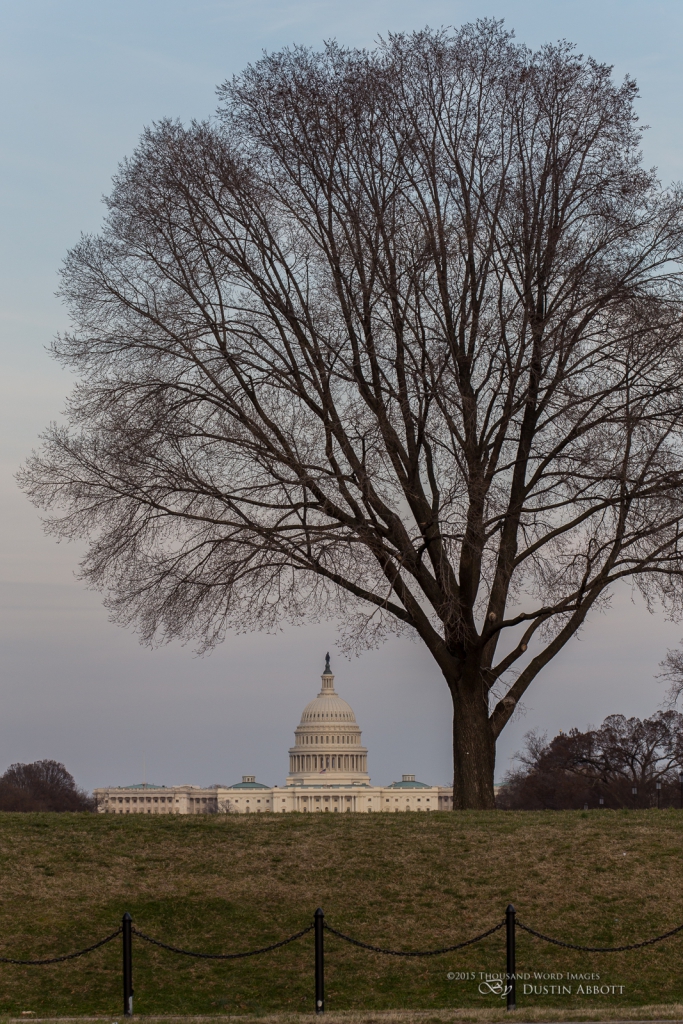
Deep shadows were hiding a lot of the foreground details during the time that I was at the Canyon, so a wide angle lens didn’t work as well. But even if the light was perfect, the telephoto lens would have worked better simply because of the immense scale of the Grand Canyon. You don’t need the illusion of MORE space shooting there; you need less. The same is often true in less “grand” locations. And sometimes, like those resort marketers, it is desirable to “pull” distant attractions closer. I did that with the distant U.S. Capital building when I framed it under this tree that was, in reality, a long distance from the building.

Dustin_Abbott_LongRangeLandscapes7

This was shot at about 150mm.

The next time you go out to shoot landscape images, be sure to bring your favorite telephoto along. You may just take your best landscape image of the day with it…and better images make for better processing when you throw that file into Exposure!

Gear Used:

Canon EOS 6D DSLR Camera (Body Only)
EF 70-300mm f/4-5.6L IS USM Lens
Zeiss Distagon T* 15mm f/2.8 ZE Lens for Canon EF Mount
Rokinon 14mm Ultra Wide-Angle f/2.8 IF ED UMC Lens For Canon
Adobe Lightroom CC Software for Mac and Windows (Boxed Version)
Adobe Photoshop Creative Cloud 1-Year Subscription
Alien Skin Exposure 7 (Use Code “dustinabbott” to get 10% anything and everything)
Rokinon 14mm Ultra Wide-Angle f/2.8 IF ED UMC Lens For Canon
Purchasing your gear through B&H and these links helps fund this website and keeps the articles coming. Thank you for your support.

B&H Logo

Great News! I can now offer a 5% discount on all purchases at Amplis Foto, Canada’s Leading Photographic Supplier. Please enter discount code: AMPLIS52014 in your cart. It is good for everything in your cart, and is stackable with other coupons, too! It will take 5% off your entire order! Proceeds go towards keeping this site going and providing you with new reviews!

DISCLAIMER: This article and description contains affiliate links, which means that if you click on one of the product links, I’ll receive a small commission. As an Amazon Associate I earn from qualifying purchases.

Capital Connections – (Ottawa, Canada)

Dustin Abbott

June 23rd, 2015

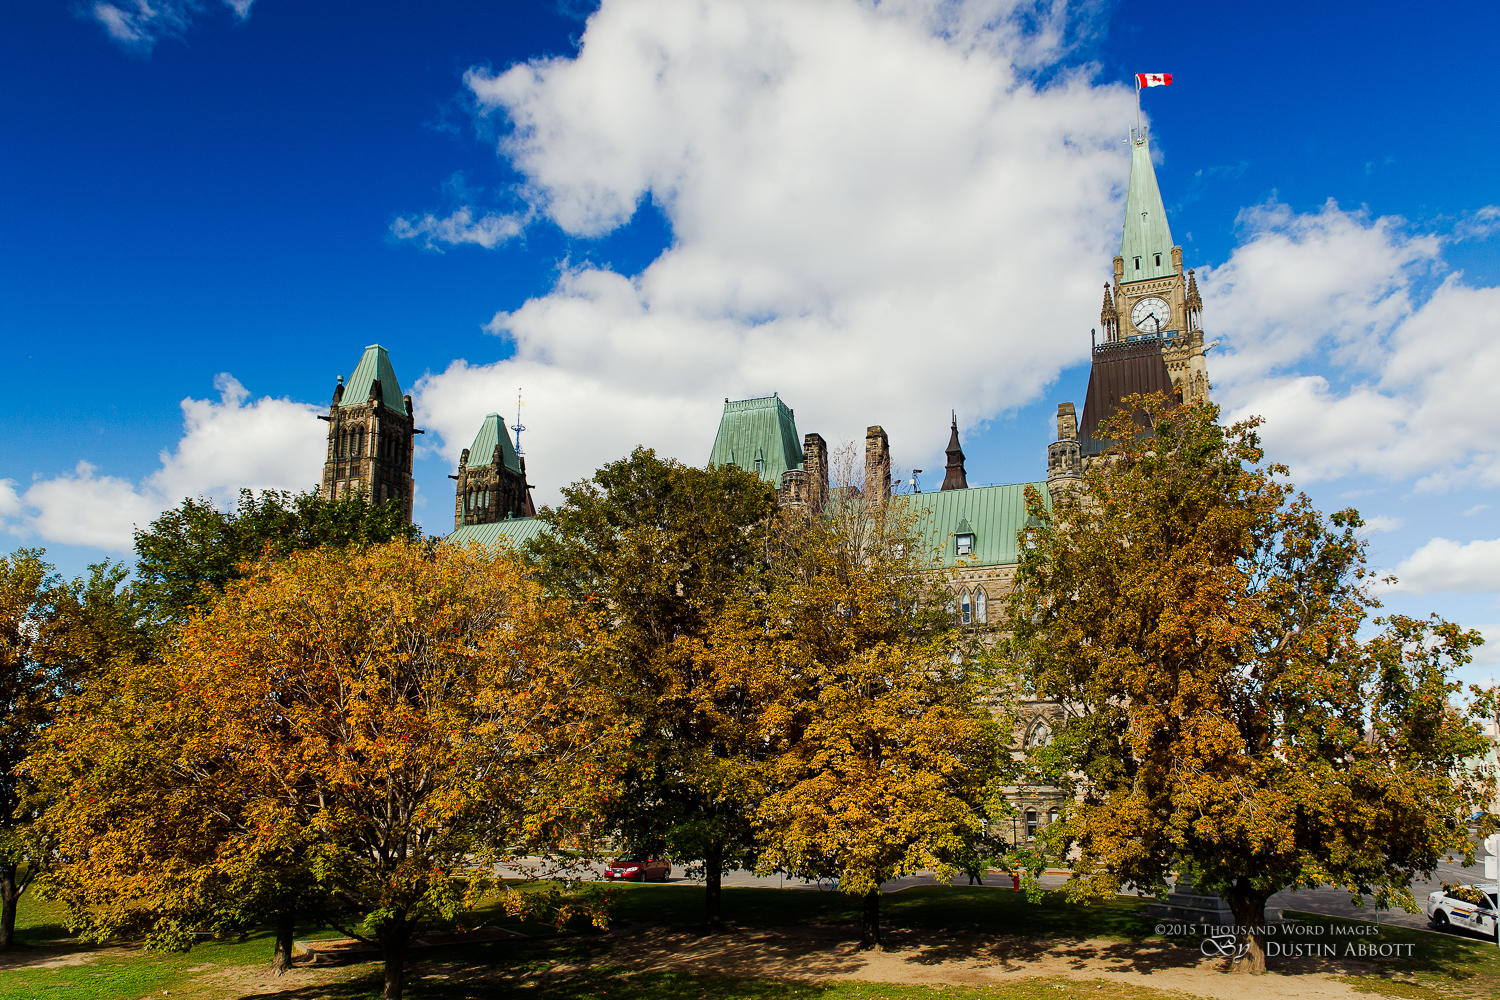
Canada’s capital city of Ottawa is relatively unknown around the world when compared to more prominent Canadian cities like Toronto, Montreal, and Vancouver. Its relatively modest infrastructure makes it unlikely to be a destination for the Olympics or any such major international event in the near future, but a number of compelling reasons make it an excellent choice for photographers nonetheless.

Architecture

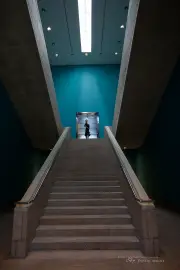
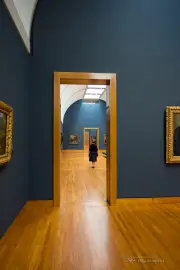
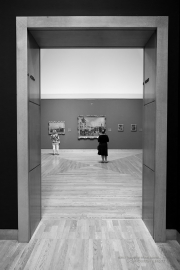
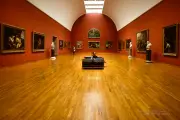
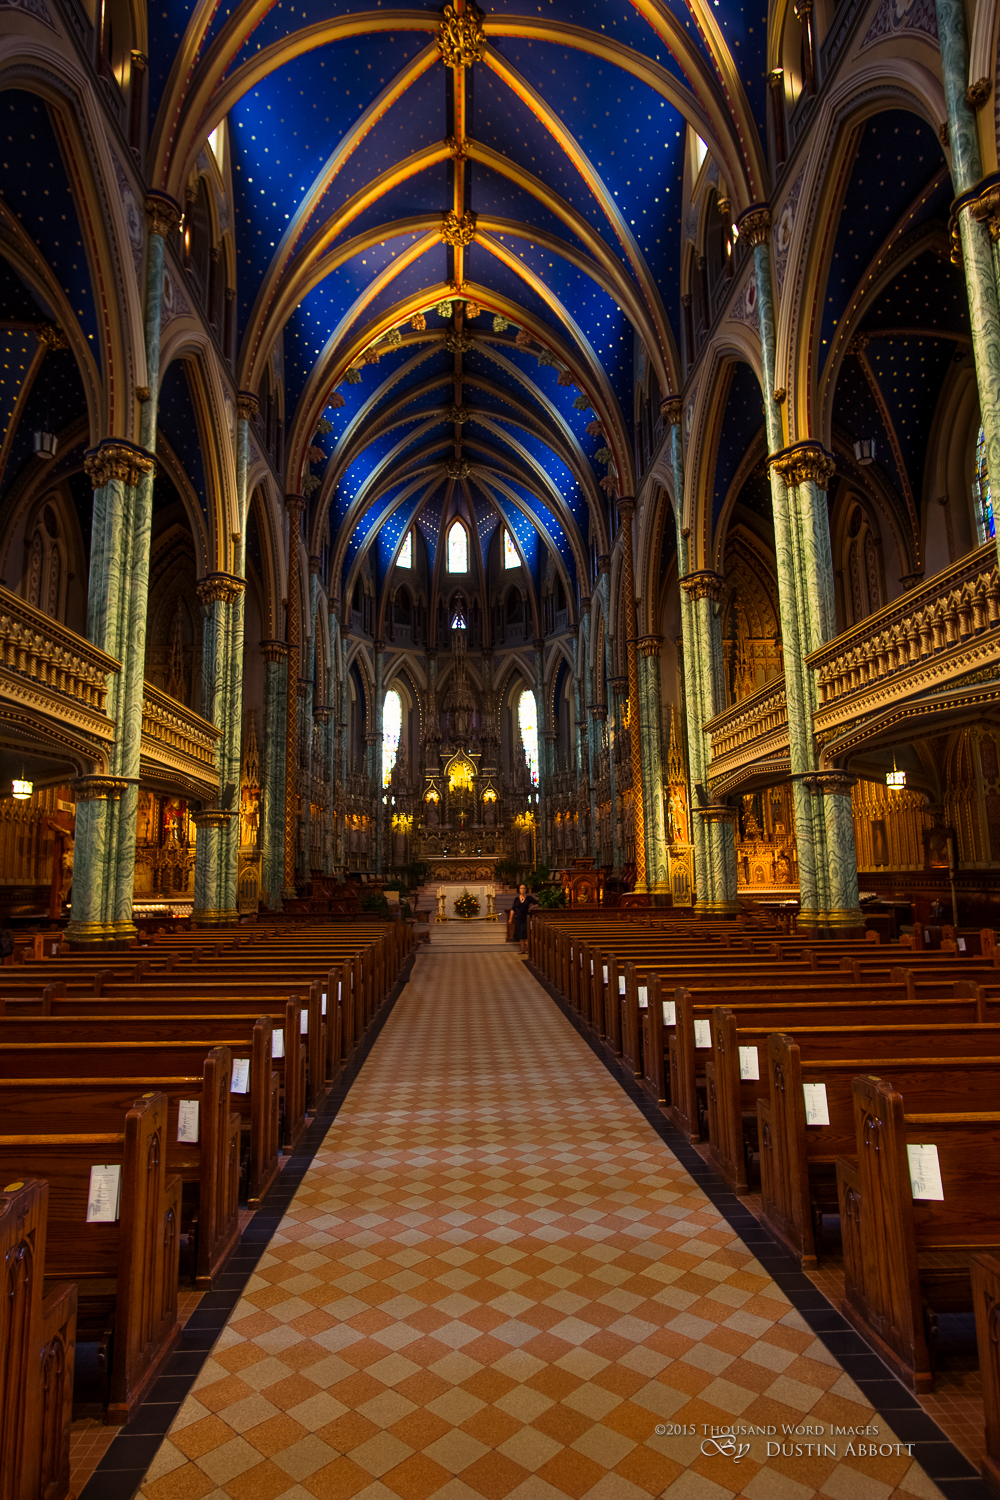
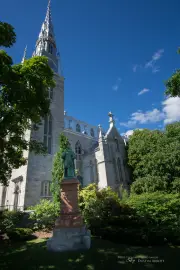
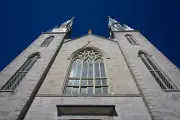
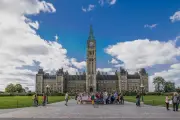
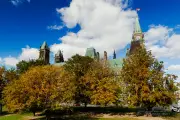
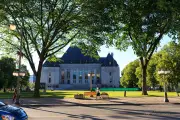
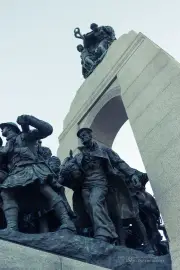
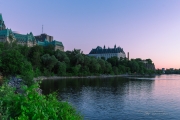
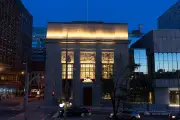
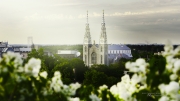
Ottawa benefits from being the seat of government in Canada and thus has a disproportionate amount of rich architecture for its modest population of slightly under a million. Notable standouts in the downtown core are the block of buildings that make up Parliament, the Chateau Laurier, the Supreme Court building, the unique National Art Gallery building, and the beautiful Notre Dame Cathedral Basilica highlights a number of notable churches.

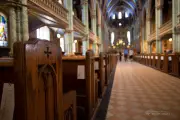
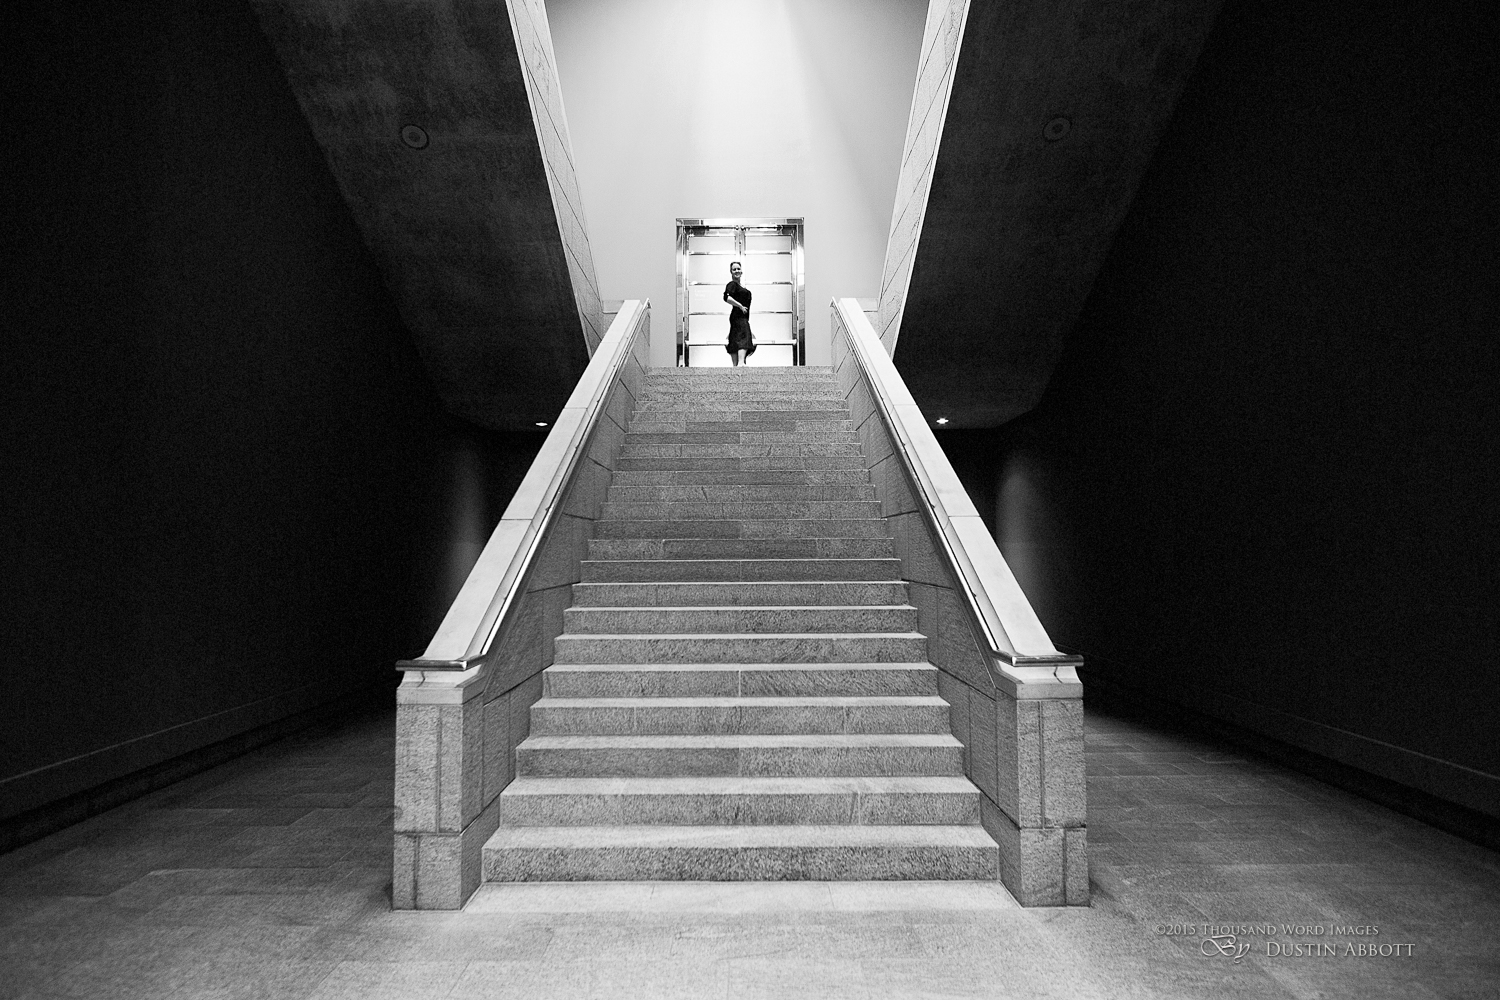
Both the National Art Gallery and the Notre Dame Cathedral Basilica across the street are very accommodating locations for photographers. At one point the Art Gallery only allowed you to pull out your camera in the public spaces, but they have relaxed that policy and you are now not allowed to shoot only in some very specific areas (generally in temporary collections where a lot of the work belongs to others).

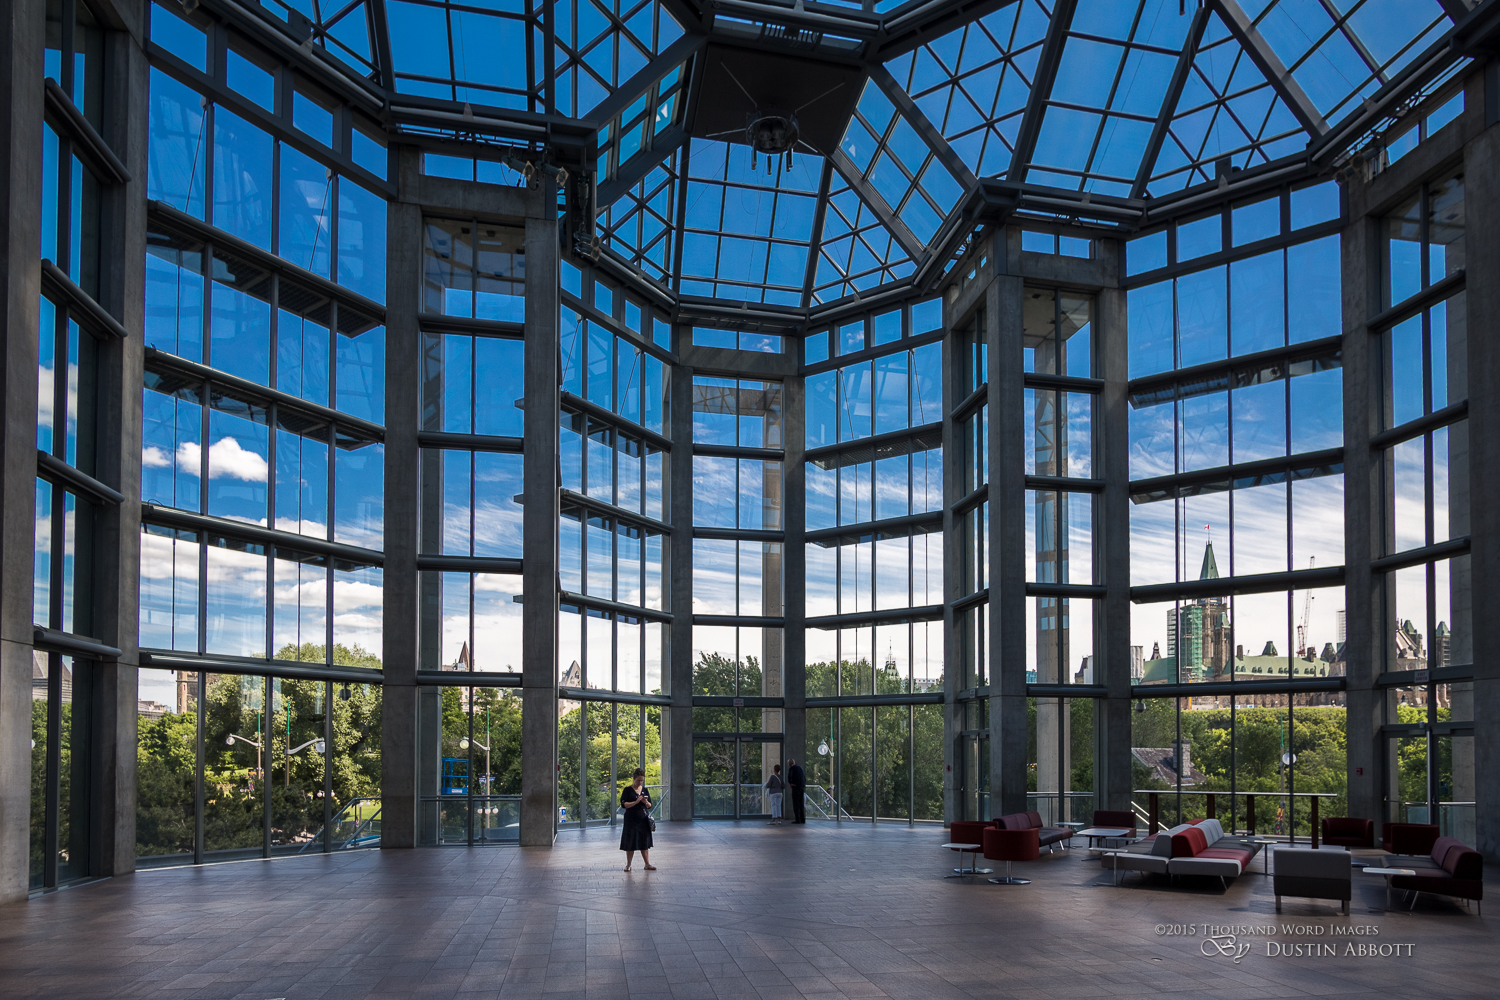
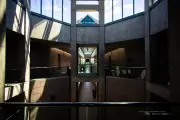
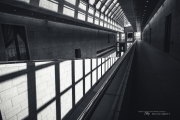
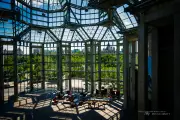
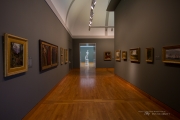
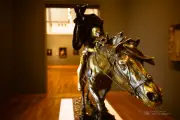
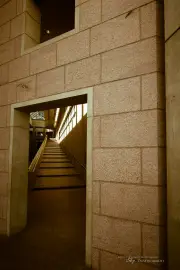
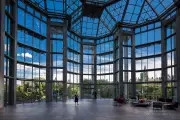
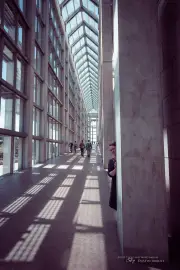
The Art Gallery building itself is a fascinating place to shoot, with towering glass ceilings in several areas, public spaces with great lines and depth, some arcades and courtyards with beautiful, peaceful gardens and statues, and of course large gallery spaces in rich colors. The main hub of the building is all steel and glass and offers some stunning views across the river to Parliament.

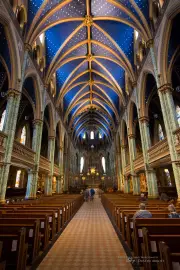
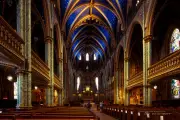
The Notre Dame Cathedral is another amazing architectural study. It is very European with a tremendous amount of detail and an unbelievably beautiful ceiling of rich, royal blue studded with what looks like stars. It is the perfect color accent to the golden hues of the walls and you will get images whose colors will seem to sear the LCD screen on your camera.

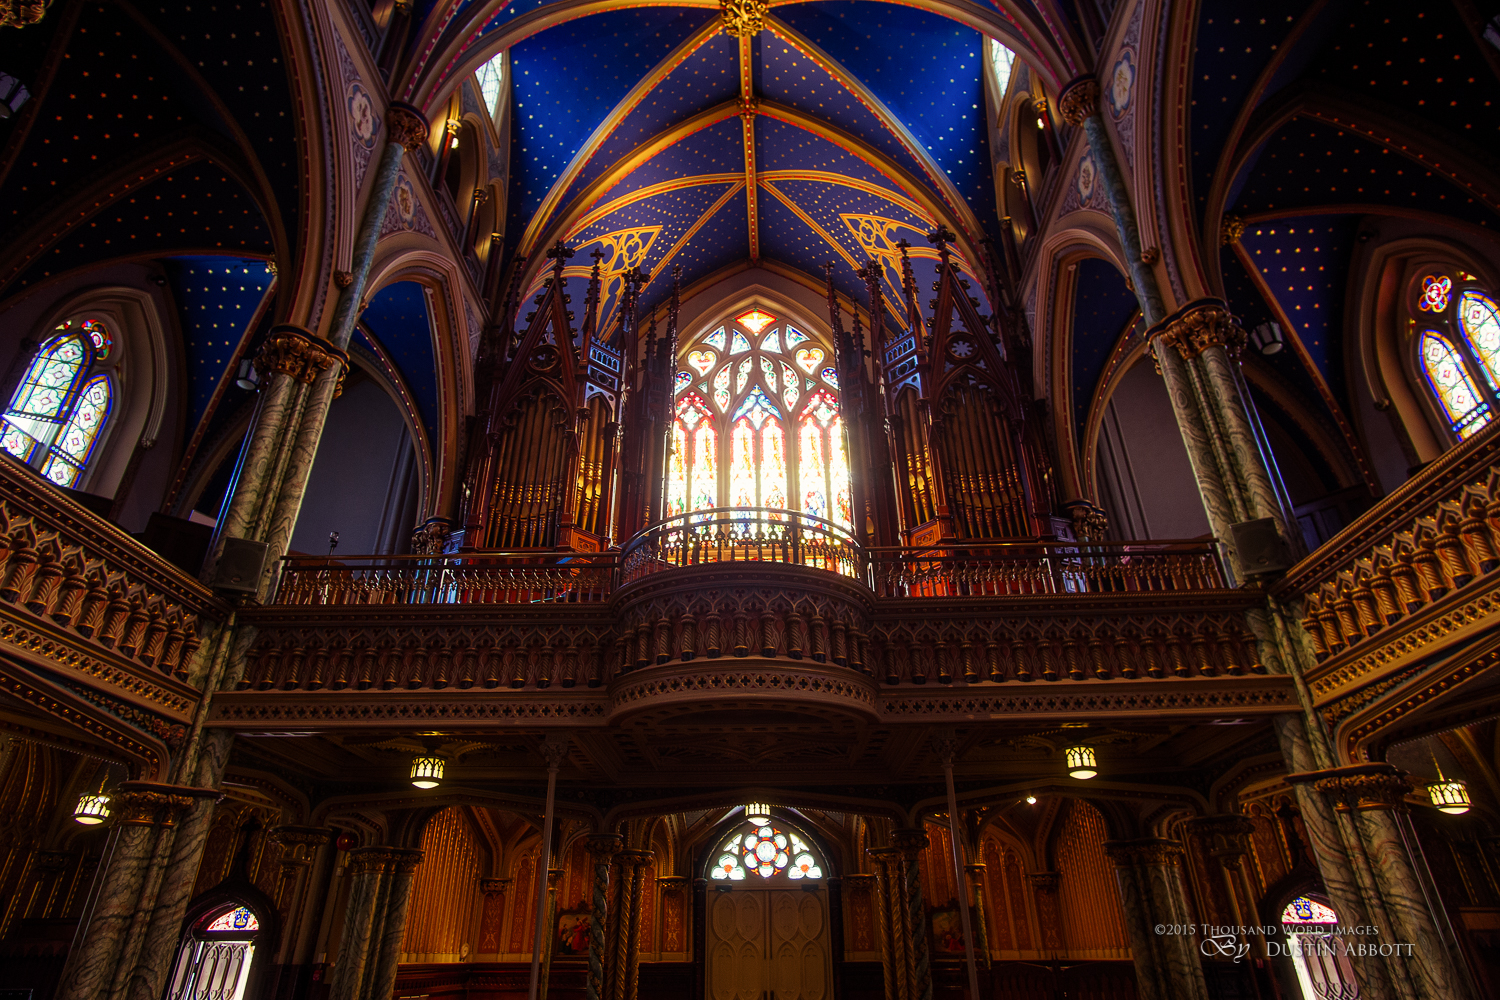
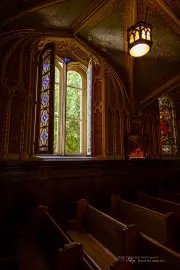
Don’t forget to face the rear of the church and capture the amazing pipes from the organs in the beautiful light that comes in from the massive stained glass window there. Tripods are allowed, and so you have a chance to take your time and perfect your shots.

Finally, take a moment to get a little closer and capture some of the rich details, too.  Include a little storytelling to help complete your portfolio.

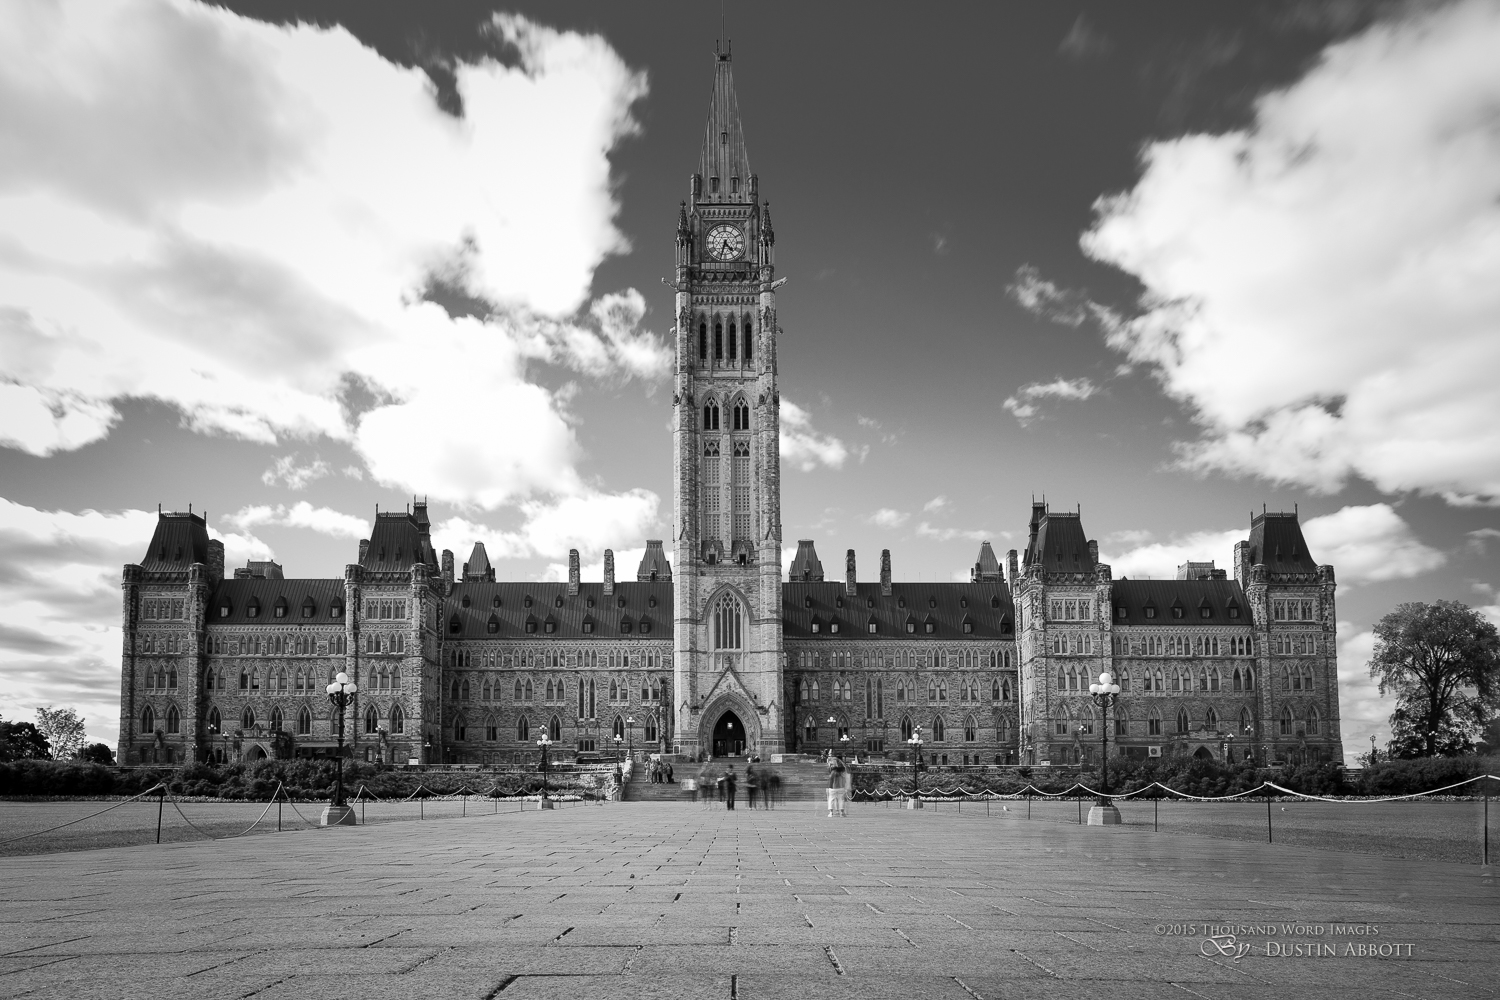
The various federal buildings and the neighboring Chateau Laurier are all delights to shoot from the exterior. The Parliament block in particular is great to shoot because of the opportunity to shoot it from a variety of very flattering angles.

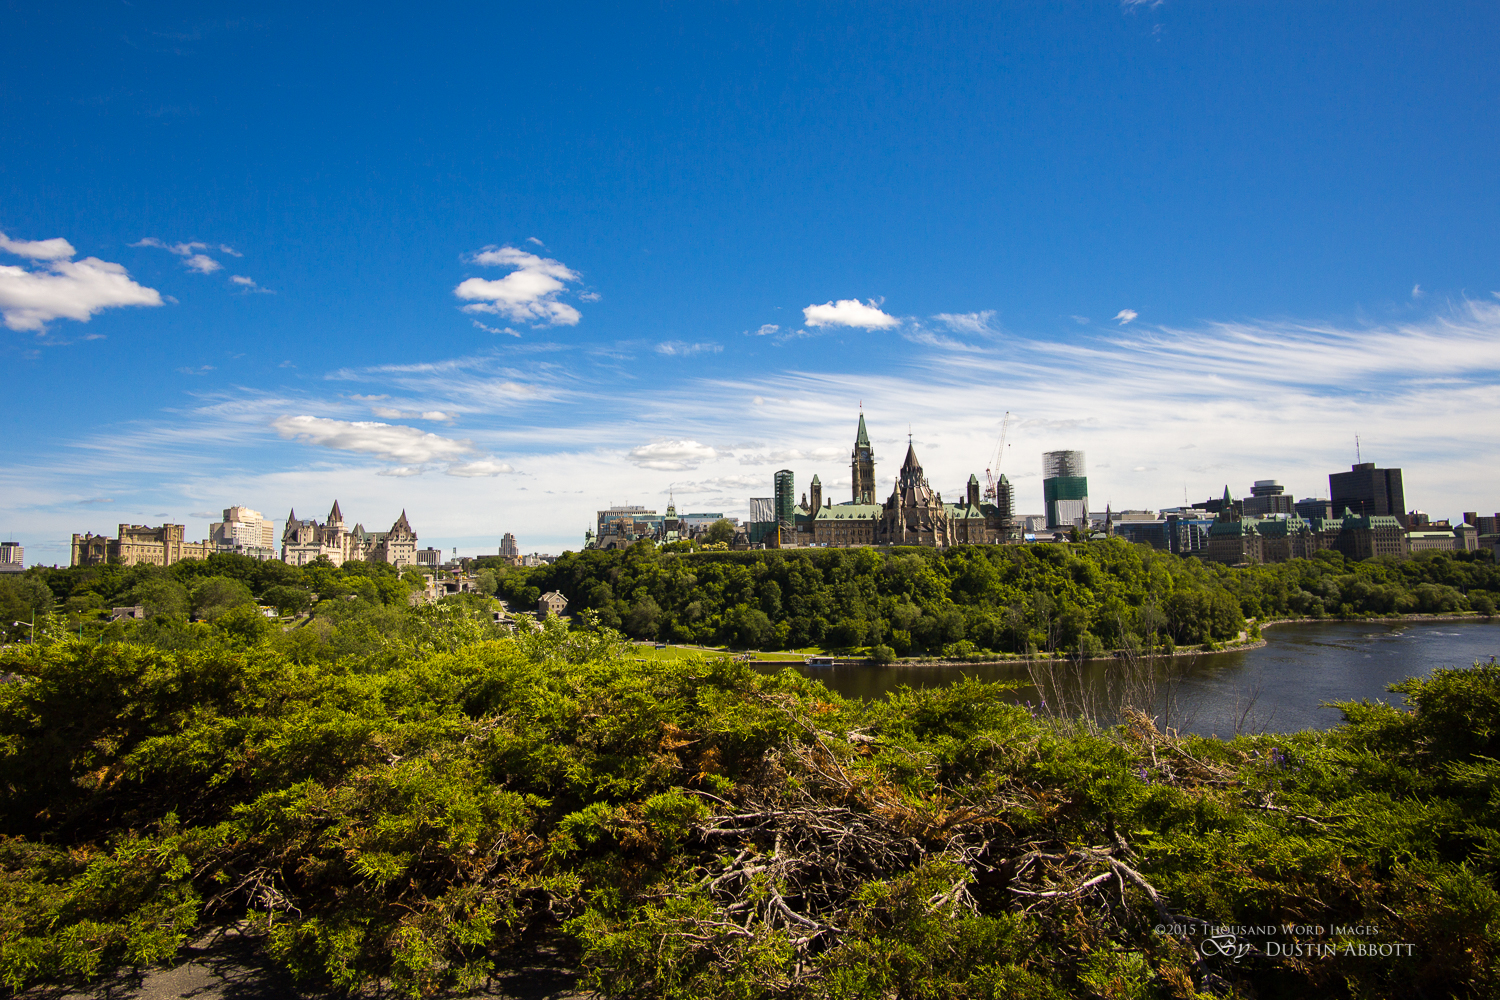
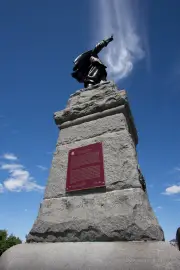
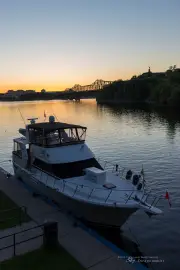
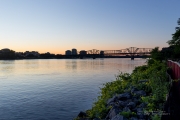
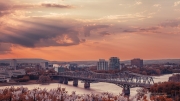
There are walking trails all around the exterior, and don’t miss the opportunity to include water when shooting from either the top of the rise at the Samuel de Champlain monument near the National Art Gallery or from the Quebec side at the Museum of Civilization.

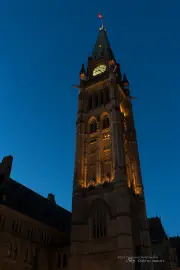
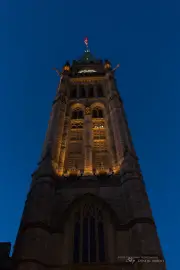
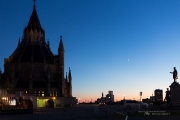
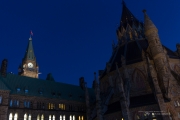
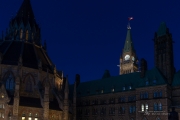
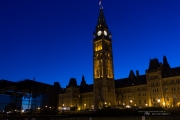
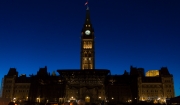
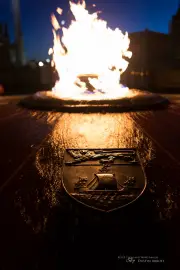
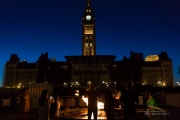
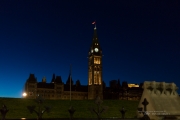
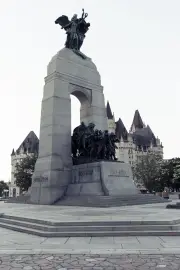
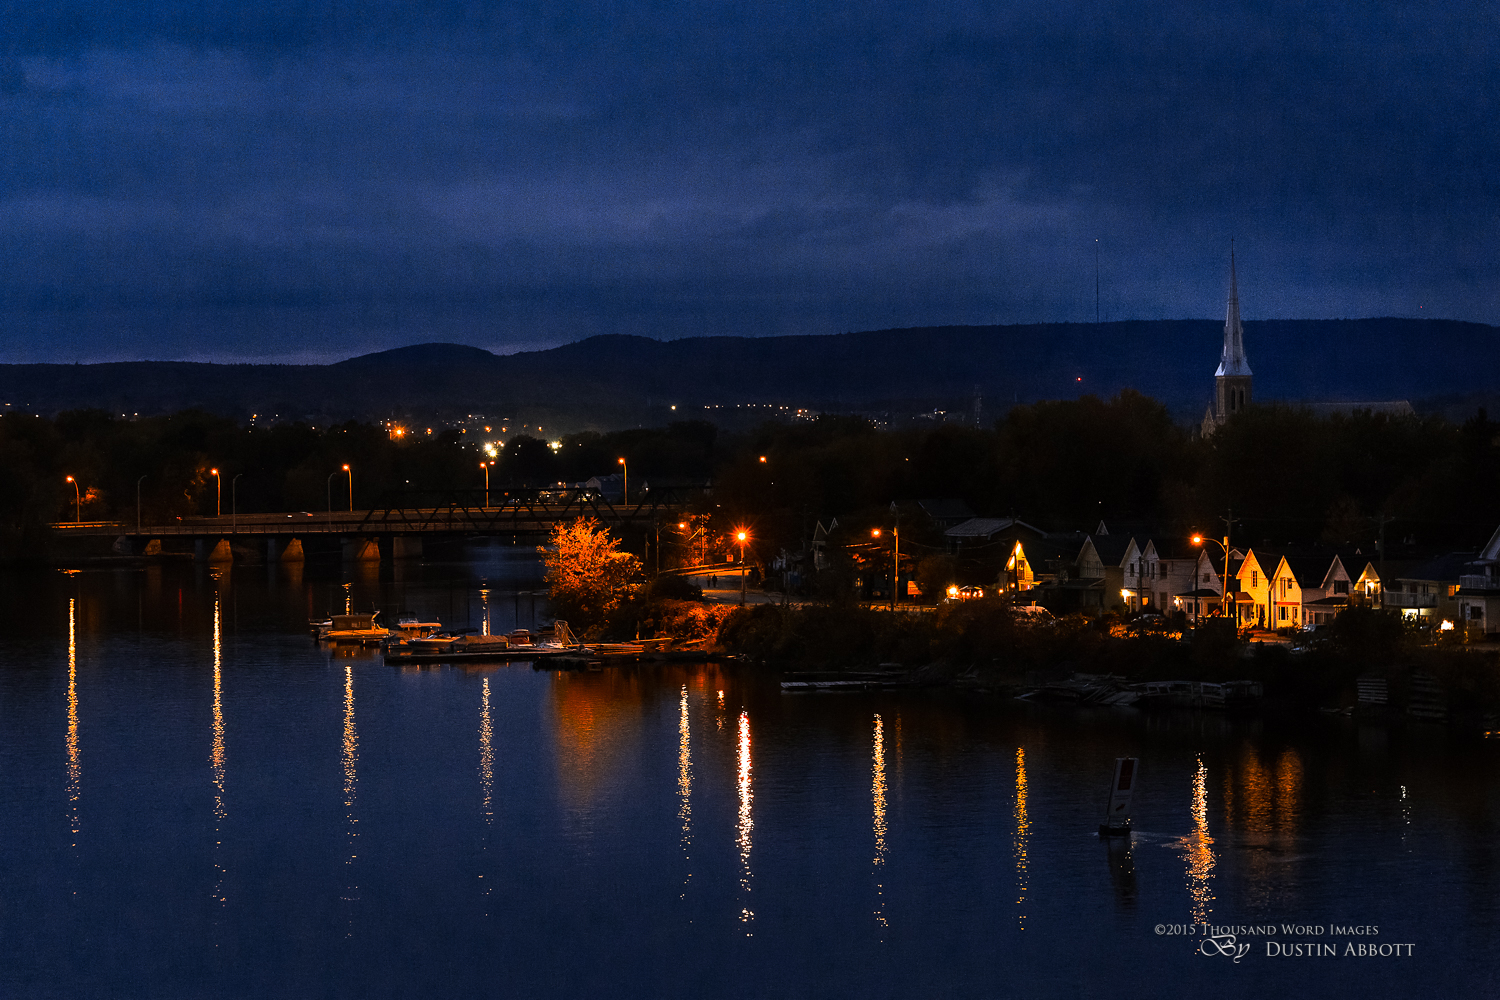
Parliament is beautiful in all seasons, and I really enjoyed catching it at blue hour on a recent trip. I also got some great images straight on when including the eternal flame monument. Be prepared to pretty much always have other people and some vehicles to contend with when you shoot there, however.

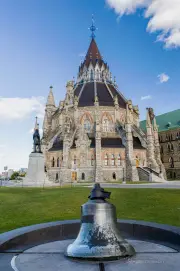
There are also a variety of monuments and other notable buildings that provide some great photography opportunities.

Natural Setting

Ottawa also benefits from a beautiful situation alongside the Ottawa River along with a number of other rivers that feed through the city (like the Rideau, for example). The downtown area, in particular, benefits from this great natural beauty, with many of the buildings in and around Parliament offering a great vantage point due to the elevated height along the escarpment they are built upon. The location of the Parliament buildings is particularly nice because there are a number of excellent vantage points from which to capture them across the water. That ongoing natural height extends up into the Rockcliffe Park neighborhood that is the wealthiest in the city and offers a number of great vantage points both back into Ottawa and across the river to Gatineau, Quebec.

I’ve shot weddings in the area and got a number of stunning images.

There is also an interesting (and easily accessible) waterfall at Hogs Back Park with some nice vantage points. I watched some hopeful fishermen there for a while, but never actually saw them catch anything. There are a number of other beautiful parks, walking trails, and green spaces in the city where you can get out and enjoy nature in all seasons.

Shooting Tips

You are going to want a wide angle lens in the National Art Gallery space. Because there are a lot of straight lines you are going to want one with a minimum of distortion. I wanted to travel light on my most recent visit, and I was really impressed with the great images I got from the Rokinon 12mm f/2 NCS mirrorless lens. It is my favorite mirrorless lens right now, and the fact that it goes to f/2 proves surprisingly useful.

Using a tripod and an ND filter (particularly a ND64 [6 stops] or heavier) is a great technique for eliminating the crowds at a place like Parliament. I eliminated hordes of tourists using that technique for this shot out in front. My Tamron 24-70mm f/2.8 VC corrects very nicely in post to allow perfectly straight lines; the new Tamron 15-30 f/2.8 VC is even better!

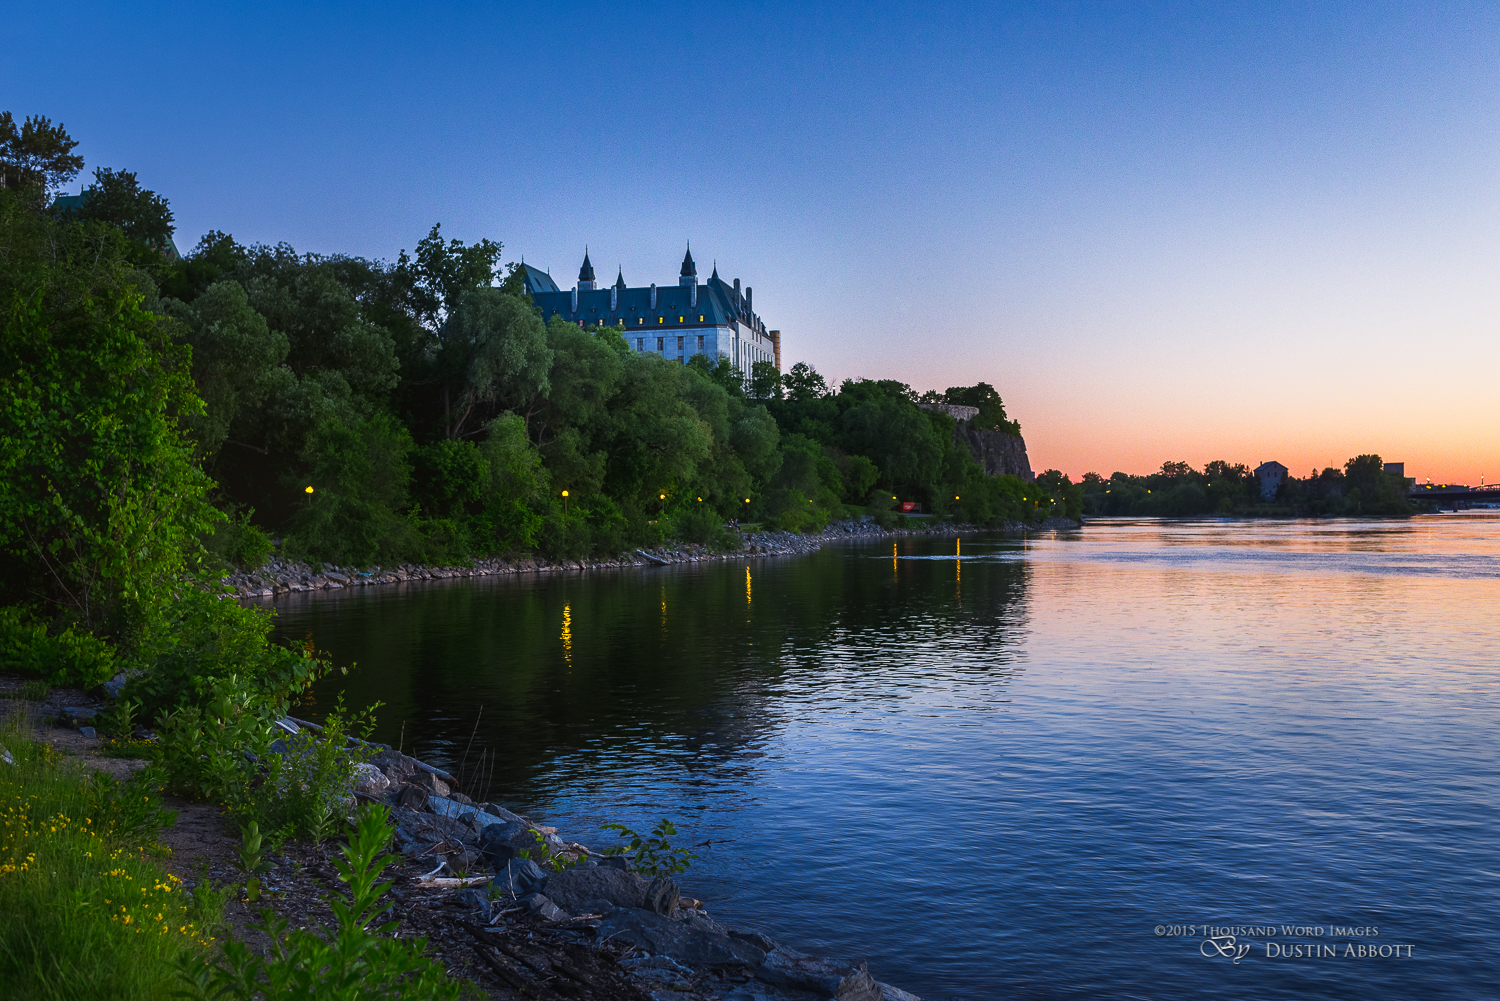
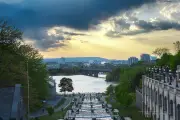
Take the trail down between Parliament and the Chateau Laurier along the locks (Rideau Canal) and you find a walking trail down at the water level that runs along the back of the Parliament buildings and offers some great shooting angles toward the Pont Alexandra and also a great vantage point for shooting the rear of the Supreme Court building.

Here is a little taste of what you can find when you stroll that lovely path:

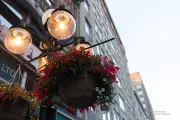
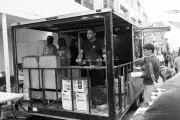
If you want some unique local flavor, try visiting the Byward Market or walking up Sparks Street. The cafes, outdoor markets, and ongoing festivals will usually give you some great subjects.

You can get some unique perspectives and framing options with a telephoto lens shooting from Parliament towards the Notre Dame Cathedral Basilica. There are also some gorgeous vistas along Rockcliffe Driveway and Sussex Drive.

Conclusion

Any new city can be a little intimidating if you don’t know the “tricks” of where and when to shoot. Part of the adventure is learning those things. Often successive trips to a city produce even more photography fruit as you begin to learn the ins and outs. Hopefully this article can be a springboard to help you get out and capture some of the beauty of the Canadian Capital of Ottawa.

Gear Used:

Canon EOS 6D DSLR Camera (Body Only)
Canon EOS-M Mirrorless Digital Camera
Rokinon 12mm f/2 NCS lens
Tamron SP 70-200mm f/2.8 Di VC USD Zoom Lens for Canon
Tamron SP 24-70mm f/2.8 Di VC USD
EF 35mm f/2 IS USM Lens
Adobe Lightroom CC Software for Mac and Windows (Boxed Version)
Adobe Photoshop Creative Cloud 1-Year Subscription
Alien Skin Exposure 7 (Use Code “dustinabbott” to get 10% anything and everything)

Purchasing your gear through B&H and these links helps fund this website and keeps the articles coming. Thank you for your support.

B&H Logo

Great News! I can now offer a 5% discount on all purchases at Amplis Foto, Canada’s Leading Photographic Supplier. Please enter discount code: AMPLIS52014 in your cart. It is good for everything in your cart, and is stackable with other coupons, too! It will take 5% off your entire order! Proceeds go towards keeping this site going and providing you with new reviews!

DISCLAIMER: This article and description contains affiliate links, which means that if you click on one of the product links, I’ll receive a small commission. As an Amazon Associate I earn from qualifying purchases.

How to Shoot and Process a Nightscape

Dustin Abbott

April 20th, 2015

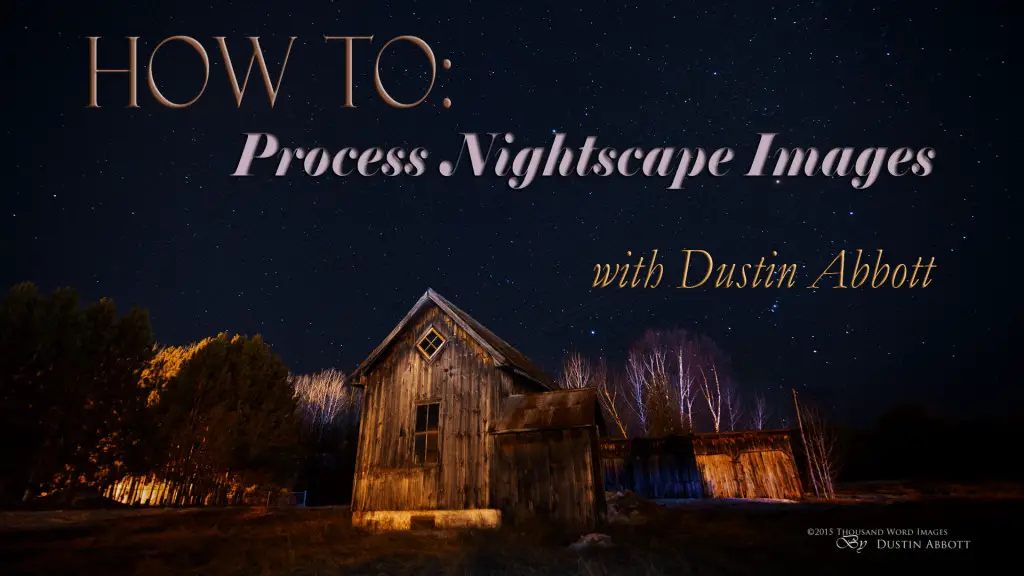
34 Starry Skies Thumbnail

There are few people that don’t enjoy the mesmerizing images of the night sky filled with stars over a beautiful foreground scene.  It was a friend of mine, Royce Bair, who popularized the term “nightscape” for these type of images.  Some of my own nightscape images have numbered amongst my most popular images that I’ve shared.  Almost everyone likes these images, but fewer know how to shoot them.  It’s actually not as complicated as you might think, and in this short article that I am sharing in conjunction with my friends over at Alien Skin software I hope to demystify the process.

What Will I Need?

Here are the essentials:

  • A camera with good ISO performance.  This usually means either a DSLR or quality mirrorless equivalent.  Typically a full frame sensor will give the best results because of its superior light gathering ability.  I prefer the Canon EOS 6D for this type of work.
  • A good lens with (preferably) a large aperture and low coma.  Coma describes the distortion of distant points of light, particularly along the edge of the image circle.  Coma will make points of light (like stars) looking like flying ducks or flying saucers.  Not good!  My new favorite lens for this kind of work is the Tamron 15-30 f/2.8 VC (read my review here), and I also recommend the Samyang/Rokinon 14mm f/2.8 as a budget option (you can read that review here).
  • A good, steady tripod, particularly one that will allow you to adjust the camera up (towards the sky) even in portrait mode.  I chose the The Vanguard ABEO Pro 283AT with the Vanguard GH-300T Pistol Grip Ball Head (you can read my review in PhotoNews).

What you don’t need is a cable or remote release, for the simple reason that the optimum exposure is about 15-20 seconds.  Longer exposures (those 30 second or longer) will begin to show movement in the stars (star trails are a different kind of shot).  I also recommend having a good headlamp or flashlight for some light painting (and to help you see in the dark!)  There are also helpful apps like SkyLive that help you plan which nights are going to be your best bets for getting good results.

Shooting Tips

I Shoot the Stars

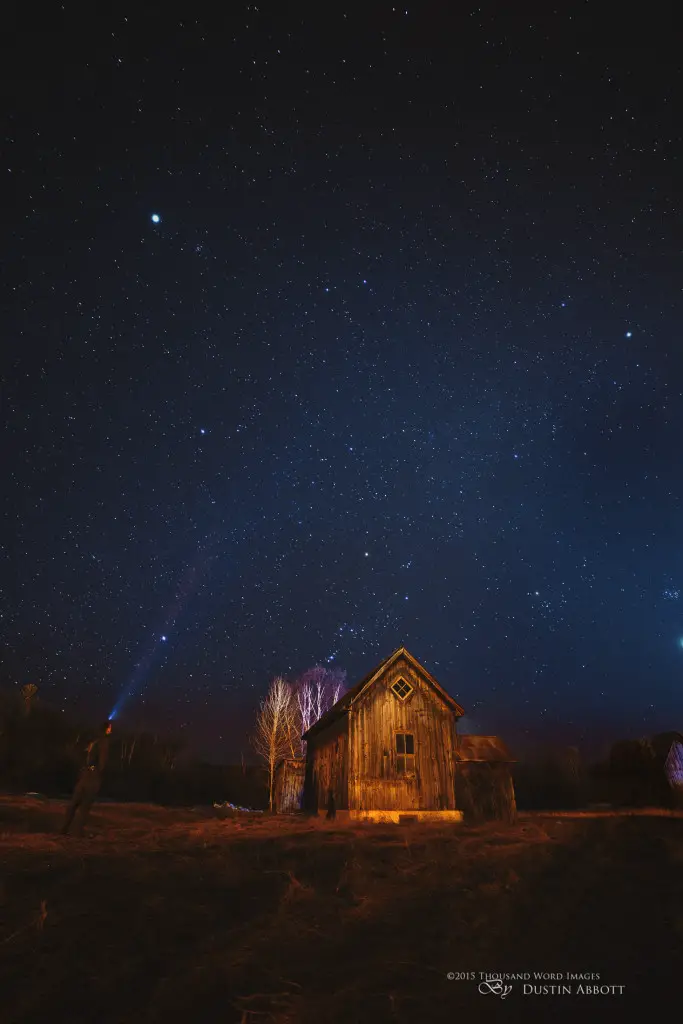
As cool as shooting the stars is, a good photographer knows that he/she will need a good foreground/background subject to anchor the night sky into reality.  Mountains are always good, along with rock formations, abandoned structures, a weathered tree, etc…  The area I live in is short on mountains, but has a number of old farmhouses that in the process of falling apart, and they work well for my purposes.  Here is a gallery of nightscapes that I have previously shared to give you an idea of what I am talking about.

I have found that a headlamp is more helpful than a flashlight during the setup stage simply because holding a flashlight leaves you with only one free hand.  The image above is a selfie I took with a single exposure – it shows a secondary nice purpose for using a headlamp.  I find that a typical camera setup will be:

  • ISO 1600-3200
  • Shutter Speed 15-20 seconds
  • 2 Second Timer mode
  • Aperture value f/2.8

It’s a good idea to find out where infinity focus is on your lens in advance, as you can’t always trust the hard stop (where you physically turn the focus ring to its maximum position).  During the daytime autofocus on the clouds and then look at the distance scale.  This should give you a pretty good idea of where true infinity focus is for your lens.  You can also choose a very bright star at night and use Live View 10x magnification and make sure that the point of light becomes small and hard rather than large and soft (out of focus).  I will typically then turn off autofocus on the lens to make sure that the camera doesn’t try to acquire focus after that and ruin your hard work.

If you have a foreground subject, it might be a good idea to shine your light on it and make sure that your composition is decent.  It can be hard to determine this in the dark as the camera probably won’t be able to truly simulate that extreme an exposure time.  Illuminating your foreground will give you some feedback on the LCD of your camera.  Take a test shot with those settings, and then review your result.  Sometimes ambient light provides all the light you need on your foreground, but if you need more, simply start a new exposure and then play your light over the foreground subject for a count of 3-4 seconds and then quickly get it off the subject.  Too much light will cause white outs, and you will be surprised by how little light is needed to make a big difference.  Larger foreground subjects may require a more elaborate lighting setup, but we will keep it simple here for our purposes.  Some trial and error will help you get a sense for your own unique setting.

Processing Nightscape Images

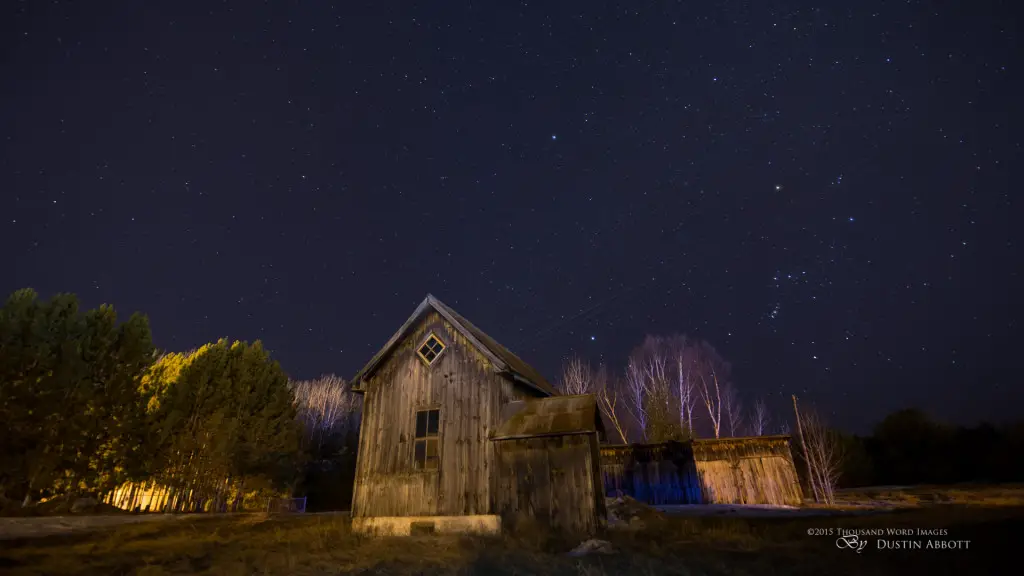
Once you have acquired your images, a few simple processing steps will make a big difference.  I’ve put together a little video processing tutorial that I will share with you that will help you get the most out of your nightscape images.  Here is the before photo that we will start with (I shot this with the Tamron 15-30 VC I mentioned above).

33 Starry Skies Original


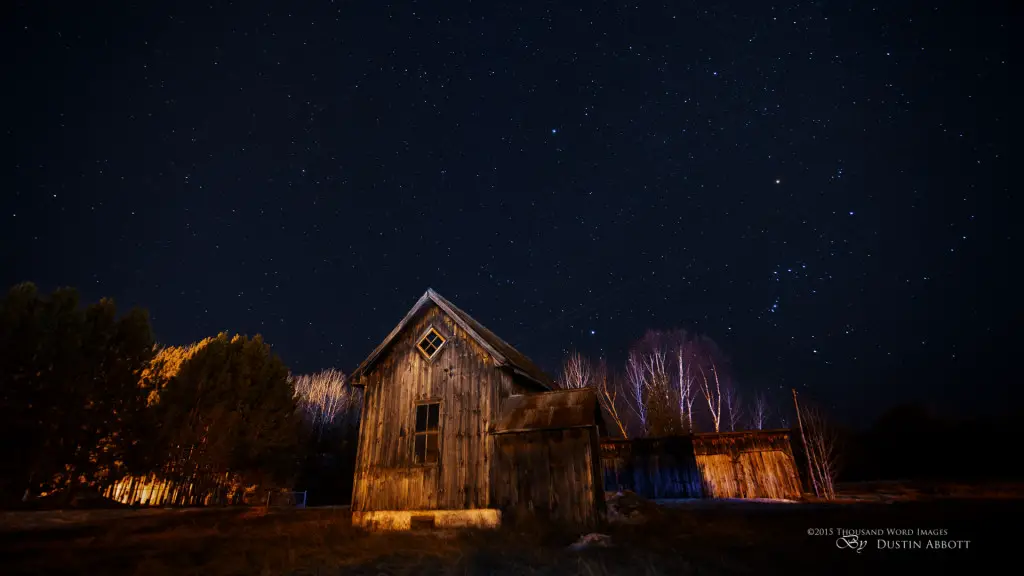
Here is the final image when the processing steps in the video have been applied.  You can see how that the finished image has more visual punch both in the foreground and in the night sky.  I should note that this photo was shot in less than ideal conditions.  The SkyLive app I mentioned above gives you a rating based on the conditions of where you are shooting, and this night only received a 63% rating, so you can image how much brighter the stars would be on a good night.

33 Starry Skies Finished

I hope this little combination of photography and processing tips can help you to go out and make some amazing nightscape images of your own.  There are few types of photography that are more rewarding, and getting images like this are easier than what you might think!

Gear Used:

Canon EOS 6D DSLR Camera (Body Only)
Tamron SP 15-30mm f/2.8 Di VC USD Lens (Canon EF)
Adobe Photoshop Lightroom 5 Software for Mac and Windows (Boxed Version)
Adobe Photoshop Creative Cloud 1-Year Subscription
Alien Skin Exposure 7 (Use code “dustinabbott” to get 10% off)

Purchasing your gear through B&H and these links helps fund this website and keeps the articles coming. Thank you for your support.

B&H Logo

Great News! I can now offer a 5% discount on all purchases at Amplis Foto, Canada’s Leading Photographic Supplier. Please enter discount code: AMPLIS52014 in your cart. It is good for everything in your cart, and is stackable with other coupons, too! It will take 5% off your entire order! Proceeds go towards keeping this site going and providing you with new reviews!

DISCLAIMER: This article and description contains affiliate links, which means that if you click on one of the product links, I’ll receive a small commission. As an Amazon Associate I earn from qualifying purchases.

Circular Polarizer Where?!!

Dustin Abbott

March 22nd, 2014

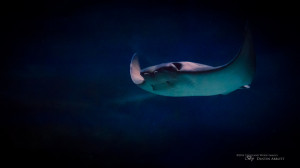
The StingrayMany of you are familiar with the traditional uses of a circular polarizer.  They help in keeping blue skies blue, improving color saturation, and reduce glare in bright conditions.  They are like a good pair of sunglasses for your lens.

In the perfect world for photographers, it would always be “golden hour”.  The light would be soft and directional, making even mundane things appear rich and interesting.  But in the real world golden hour only comes (at best) twice a day, and often not at all.  Experienced photographers learn to use things like circular polarizers and ND (neutral density) filters to help control the light in less than ideal conditions.  These filters are particularly helpful when the light is more harsh and glaring.  I personally like to have a circular polarizer available for all my lenses.

But this little article isn’t about using a circular polarizer in a conventional way.

It’s about why I screw on a circular polarizer in a very dark place like interior spaces at zoos and, most recently, at an aquarium.  What?!!

Over the March break (2104) my family and I visited the Pigeon Forge/Gatlinburg area of Tennessee for the first time.  One of the places we visited while there was the “Ripley’s Aquarium of the Smokies” in Gatlinburg.  Let me add as an aside that this aquarium was really quite excellent and was enjoyed by every member of our family.

An aquarium is a dark place.  The ambient light is very, very low to allow greater contrast on the lighting in the tanks, which typically isn’t that bright, either.

So dark environment and low light = polarizer?

If you are confused at this point, it is definitely understandable.  The standard circular polarizer typically reduces the light that hits the sensor by about two stops, which can mean a drastic change in ISO settings to compensate.  I should add that the technique that I am about to discuss works much better with a full frame camera that handles low light more efficiently.  My Canon EOS 6D is one of the absolute champs in this regard, so it is a great companion to this technique, even when using a relatively “slow” variable aperture lens like my EF 70-300mm f/4-5.6L IS USM Lens.  The good news is that high ISO performance is improving on most camera systems right now, so this technique will serve more people as time passes.
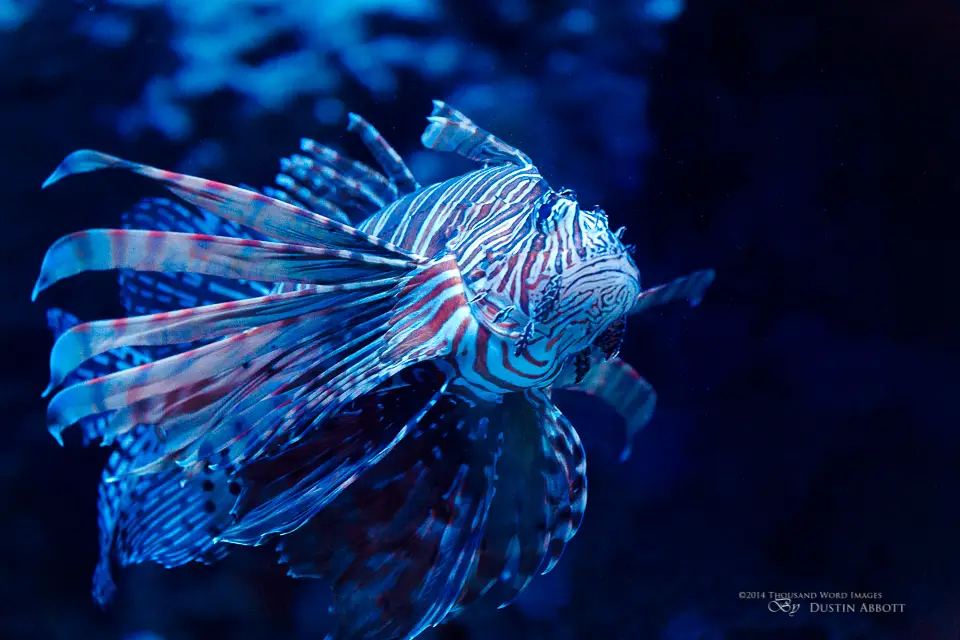
16 Lionfish

In these type of environments there is a secondary reason (beyond the low light) that explains why most people’s pictures don’t turn out very good – reflections.  Glass and acrylic surfaces are notorious for reflecting ambient light and causing photos to look either completely unnatural or very washed out.  Worse, many people will use a flash because A) their camera automatically flashes and they don’t know how to turn it off or B) because they feel like they need more light.  Our eyes are amazing tools, able to naturally filter out these distracting reflections, balance the lighting, and focus on what really matters, but cameras are far less sophisticated.  Countless people have come home from such places with amazing memories but lousy pictures.

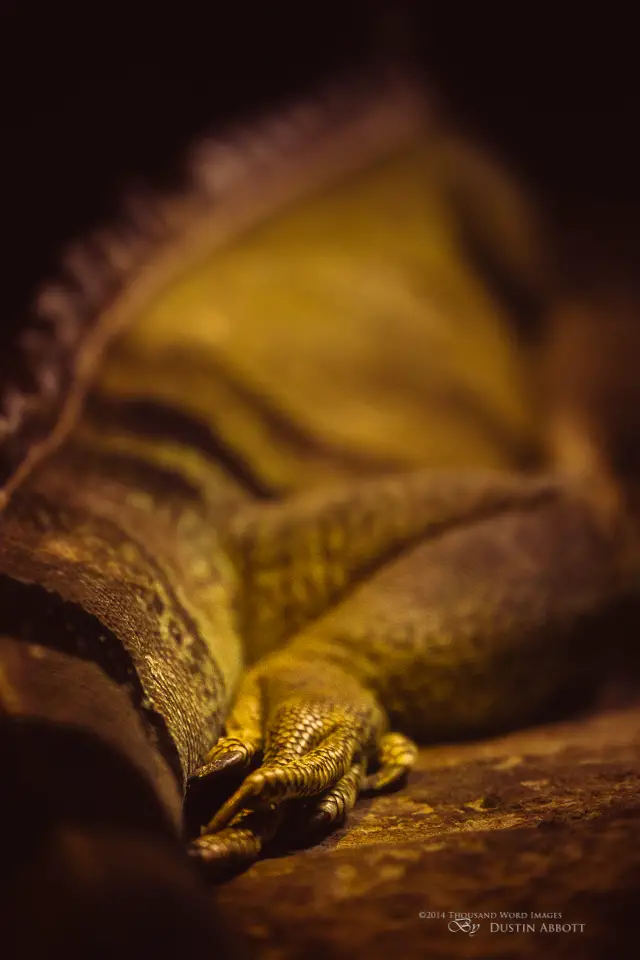
A good circular polarizer is a huge ally in this type of scenario, because, when used properly, it will eliminate the vast majority of distracting reflections and allow you to take pictures that will seem as if you “inside” the tank or the enclosure.  The key to making this work is visual…and simple – you just rotate the polarizer until you see the reflections disappear.

14 Dragon Foot

As photographers, we are often fixated in low light situations on maximizing the amount of light that reaches the sensor.  But consider this little tip the next time you are in this kind of environment.  It may seem counter-intuitive, but screw on that circular polarizer and watch the quality of your captures improve.  P.S.  I use Hoya filters almost exclusively.  I find they provide the best balance between price and performance.  Be sure to get one that is multicoated (MC) to reduce glare and reflections.

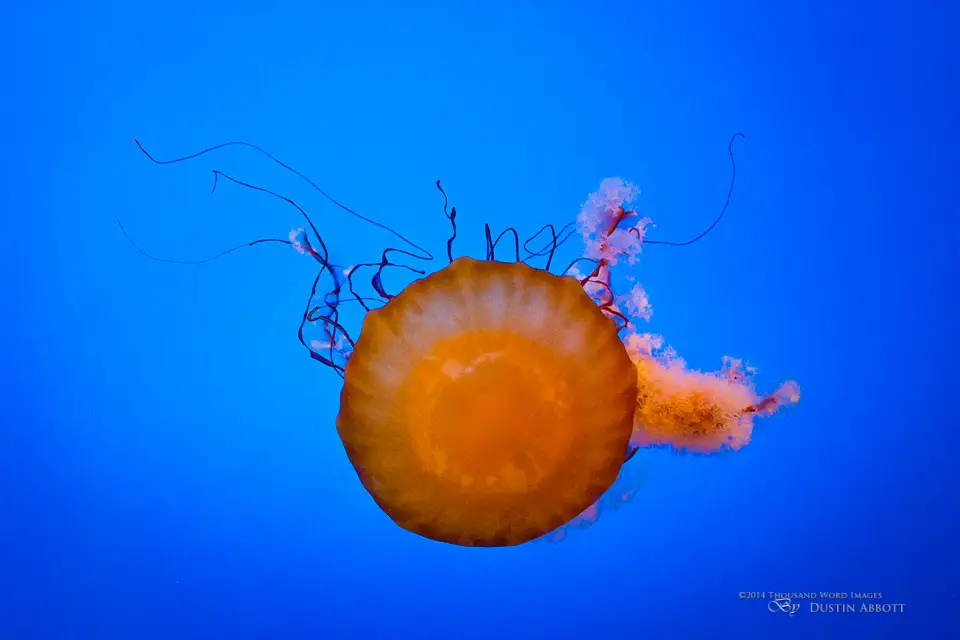
15 JellyThe Stingray

Gear Used:

EOS 6D DSLR Camera (Body Only)
EF 70-300mm f/4-5.6L IS USM Lens
67mm Circular Polarizer Super-HMC Thin Filter

Purchasing your gear through B&H and these links helps fund this website and keeps the articles coming.  Thank you for your support.
B&H Logo

DISCLAIMER: This article and description contains affiliate links, which means that if you click on one of the product links, I’ll receive a small commission. As an Amazon Associate I earn from qualifying purchases.