Fuji Standard Zoom Showdown Part 2
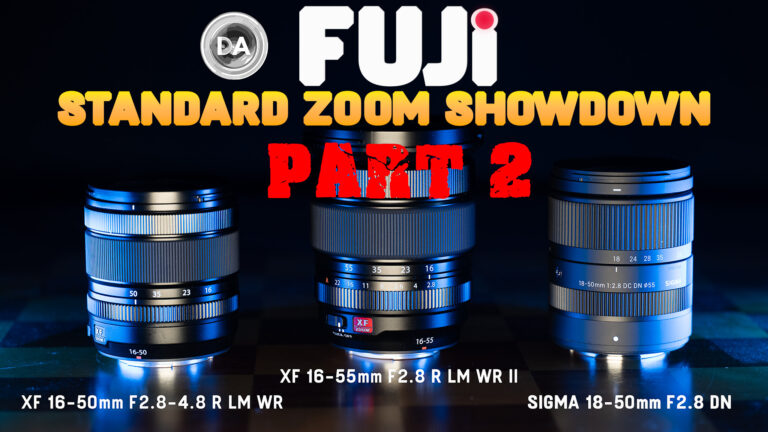
My most popular video of 2024 was a showdown between the (then) primary standard zoom options available on the Fuji X-mount platform – the Fuji XF 18-55mm F2.8-4 R LM OIS, XF 16-55mm F2.8 R LM WR, and the Sigma…
My most popular video of 2024 was a showdown between the (then) primary standard zoom options available on the Fuji X-mount platform – the Fuji XF 18-55mm F2.8-4 R LM OIS, XF 16-55mm F2.8 R LM WR, and the Sigma…

The Sigma 10-18mm F2.8 DC DN is the second of two Sigma zooms that we’ve seen rereleased on Canon’s RF mount, and they are very welcome. Earlier this year as I was doing my review of the Canon EOS R50…

Earlier this year I was doing my review of the Canon EOS R50 compact APS-C mirrorless camera. While I liked many things about the camera itself, I couldn’t help lament the state of the lens options for Canon’s RF-S mount.…
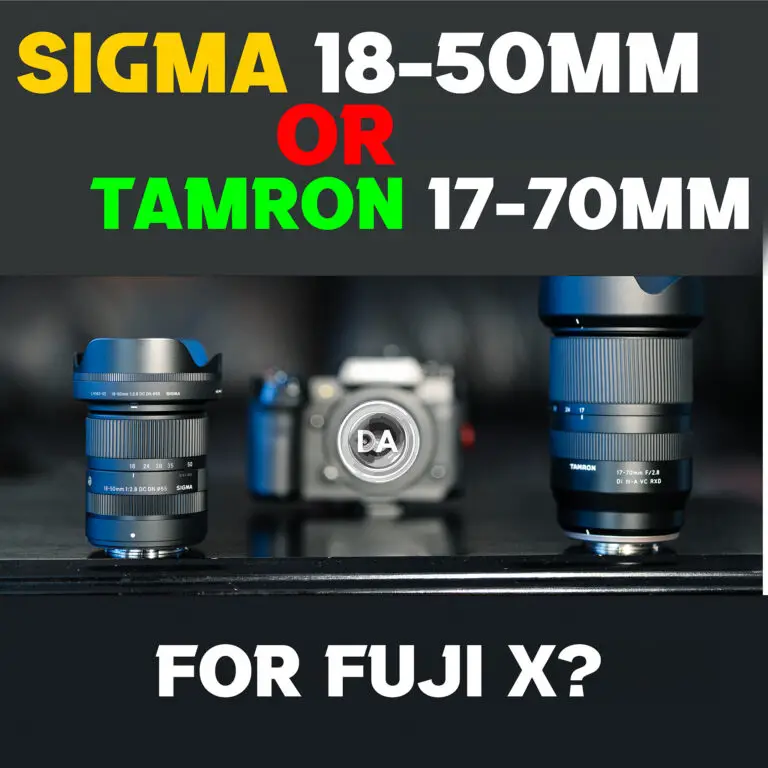
Photographer Dustin Abbott compares the Sigma 18-50mm F2.8 DN with the Tamron 17-70mm F2.8 VC to determine which makes more sense as a third party standard zoom on Fuji X
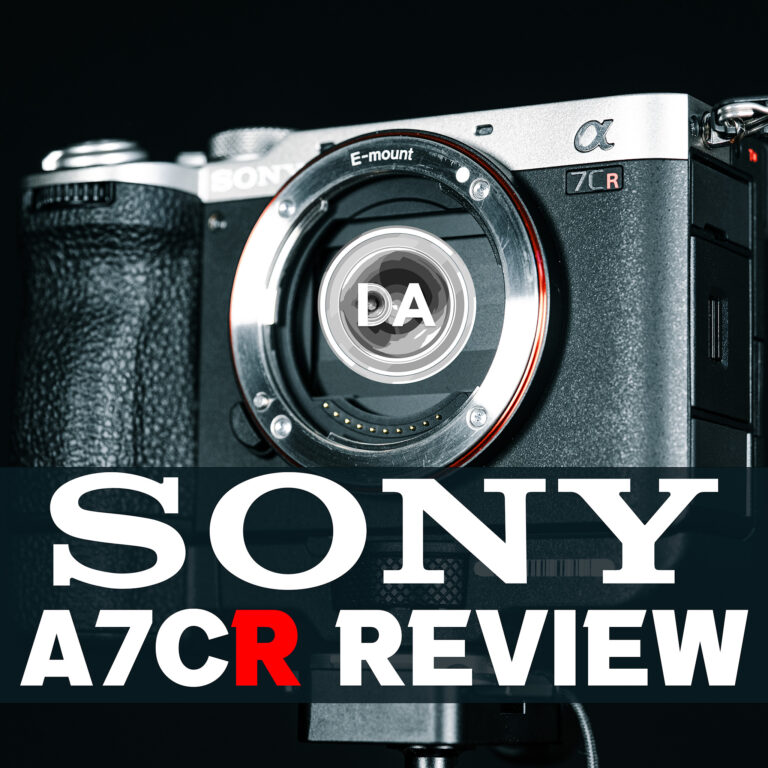
Photographer Dustin Abbott shares a thorough, real world review of the Sony a7CR compact high resolution camera

Photographer Dustin Abbott shares a gallery of images from the X-mount version of the Sigma 18-50mm F2.8 DN standard zoom
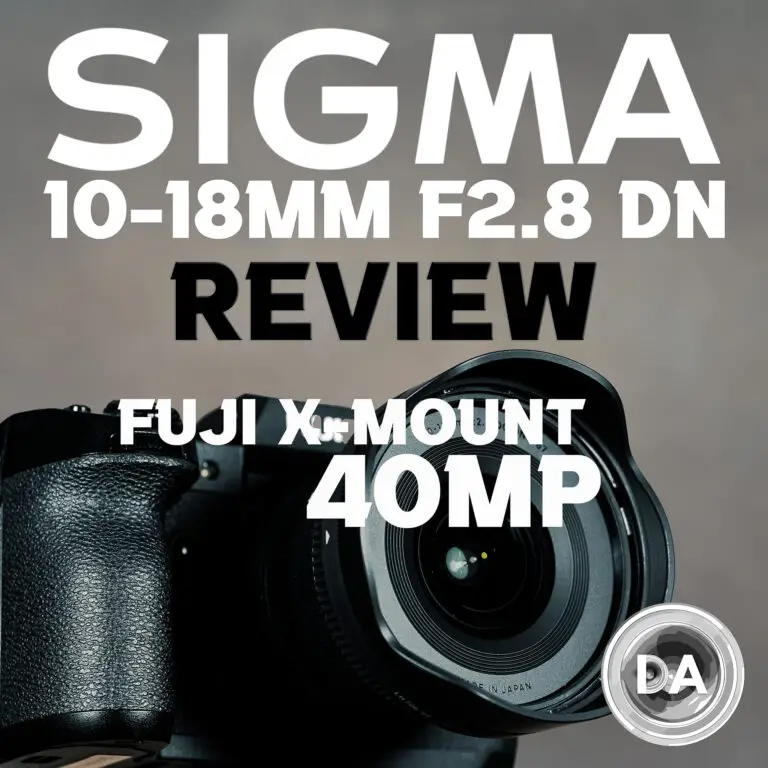
Photographer Dustin Abbott shares a new review of the Sigma 10-18mm F2.8 DN lens in Fuji X-mount to see if it can handle 40MP of resolution

Photographer Dustin Abbott shares a gallery of images from the X-mount version of the Sigma 10-18mm F2.8 DC DN wide angle zoom lens.
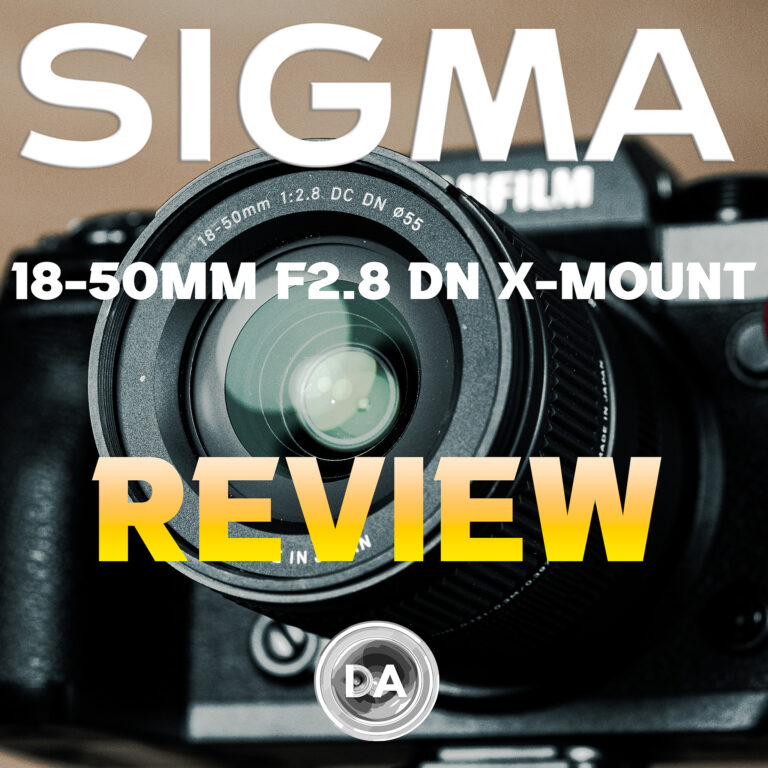
Photographer Dustin Abbott shares an updated review of the Sigma 18-50mm F2.8 DC DN lens to see how it handles moving to Fuji X-mount and 40MP
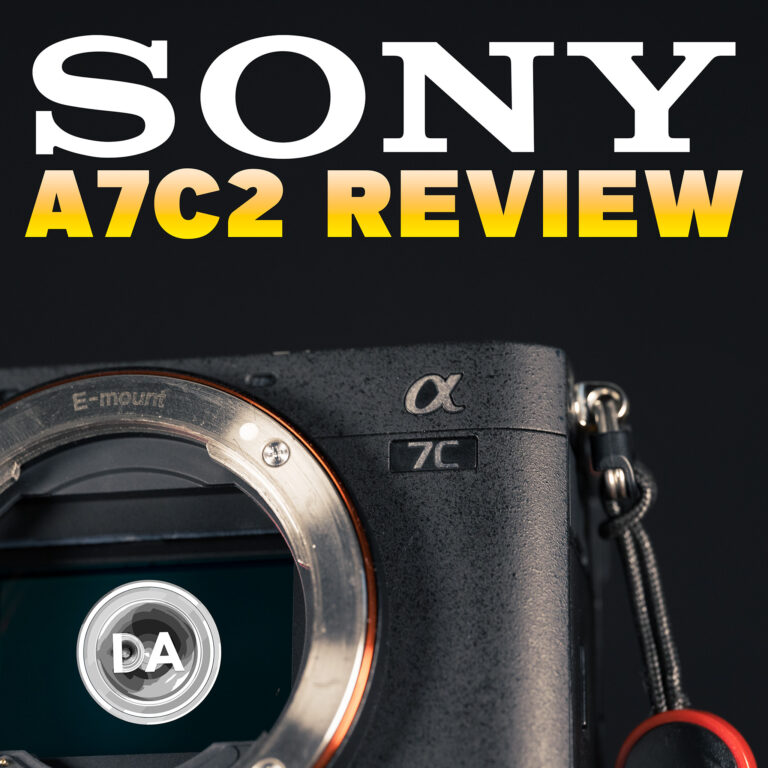
Photographer Dustin Abbott shares a thorough, real world review of the second generation of Sony's compact full frame camera - the a7C2!
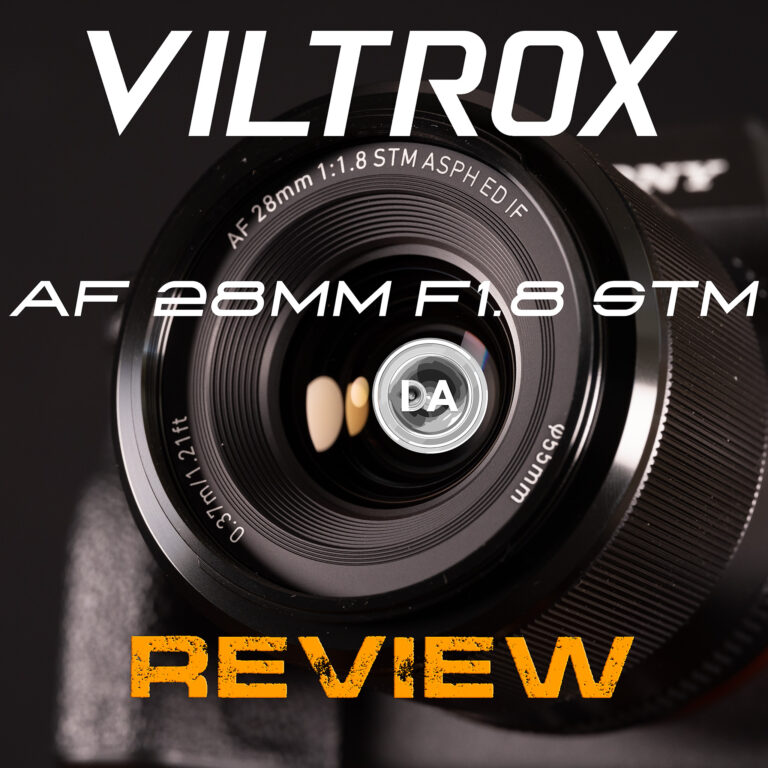
Photographer Dustin Abbott shares a thorough, real world review of the Viltrox AF 28mm F1.8 STM prime lens for full frame mirrorless.
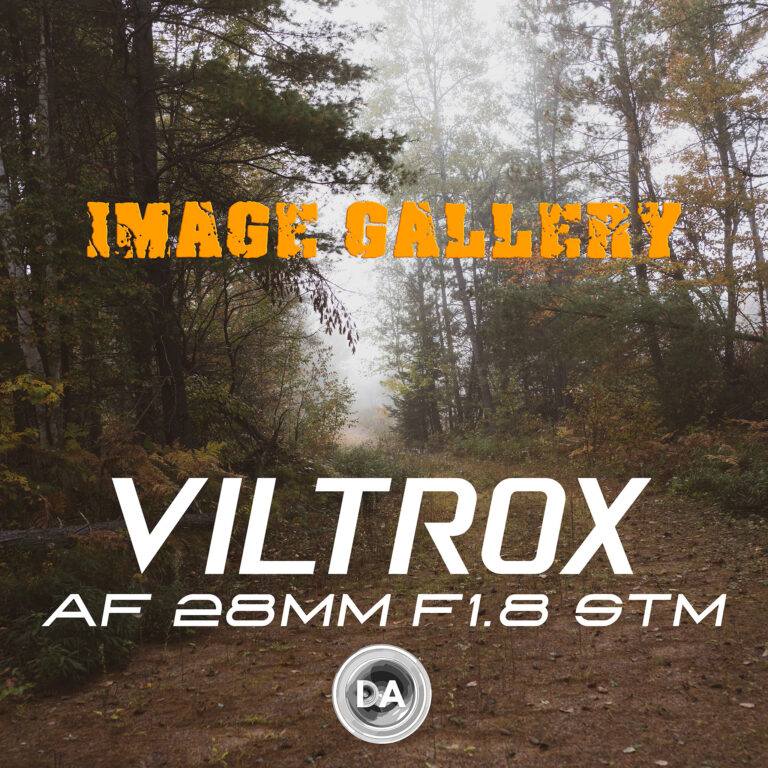
Photographer Dustin Abbott shares a gallery of images from the Viltrox AF 28mm F1.8 STM lens for full frame mirrorless cameras.

Photographer Dustin Abbott shares a thorough, real world review of the Sigma 10-18mm F2.8 DC DN wide angle zoom for APS-C mirrorless

Photographer Dustin Abbott shares a gallery of images from the Sigma 10-18mm F2.8 DC DN lens for APS-C mirrorless.
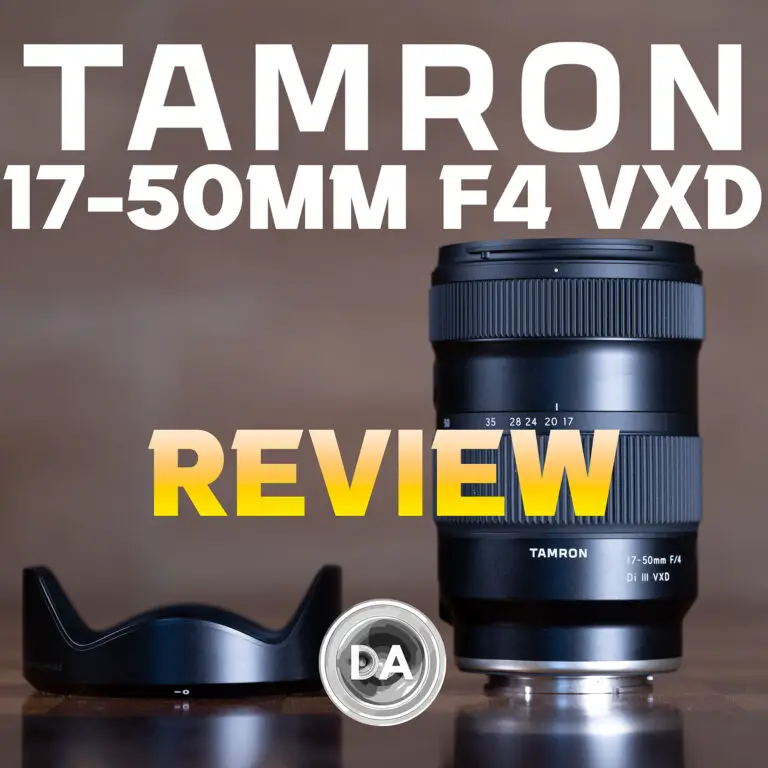
Photographer Dustin Abbott shares a thorough, real world review of the Tamron 17-50mm F4 VXD wide angle zoom
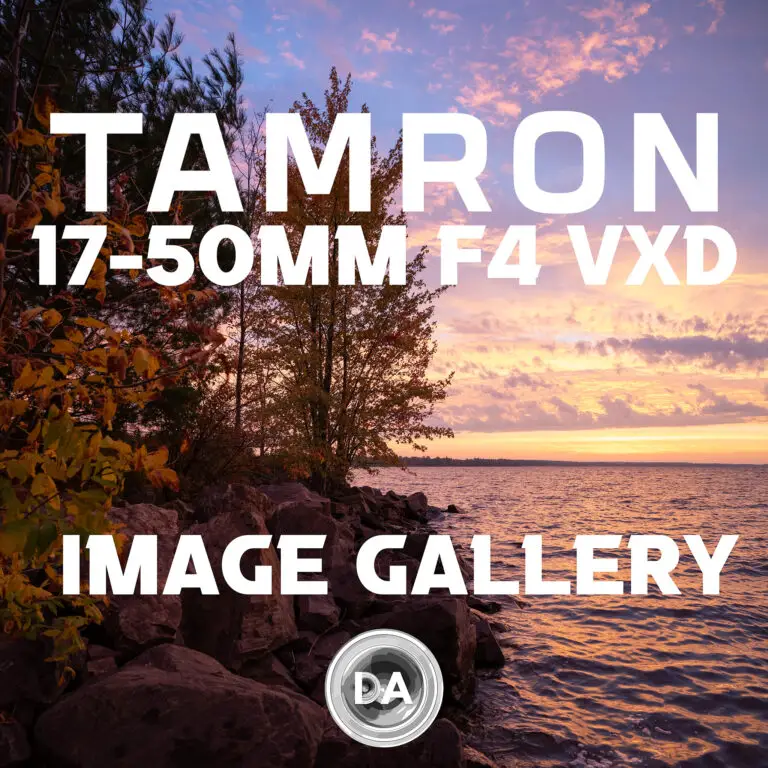
Photographer Dustin Abbott shares a variety of images from the Tamron 17-50mm F4 VXD wide angle zoom lens for full frame mirrorless
2020 was a weird year. For everyone. It was a weird year for lens reviewers as well, though one of the highlights of 2020 was the release of Tamron’s 70-180mm F2.8 VXD (which I reviewed here). It was…

2020 was a weird year. For everyone. It was a weird year for lens reviewers as well, though one of the highlights of 2020 was the release of Tamron’s 70-180mm F2.8 VXD (which I reviewed here). It was…